How to make Christmas Stockings
Disclosure: This post may contain affiliate links. As an Amazon Associate, I earn from qualifying purchases. 😊
No traditional holiday celebration is complete until we learn how to make Christmas Stockings.
Donkey said, “Christmas isn’t Christmas until somebody cries.” Well, I think it’s not really Christmas until we hang our stockings. And if you don’t have a fireplace in your home, no worries. Keep reading to the end and I’ll show you how to hang your Christmas Stockings on the inside of your front door. Which actually works surprisingly well in a small house or apartment or condo.
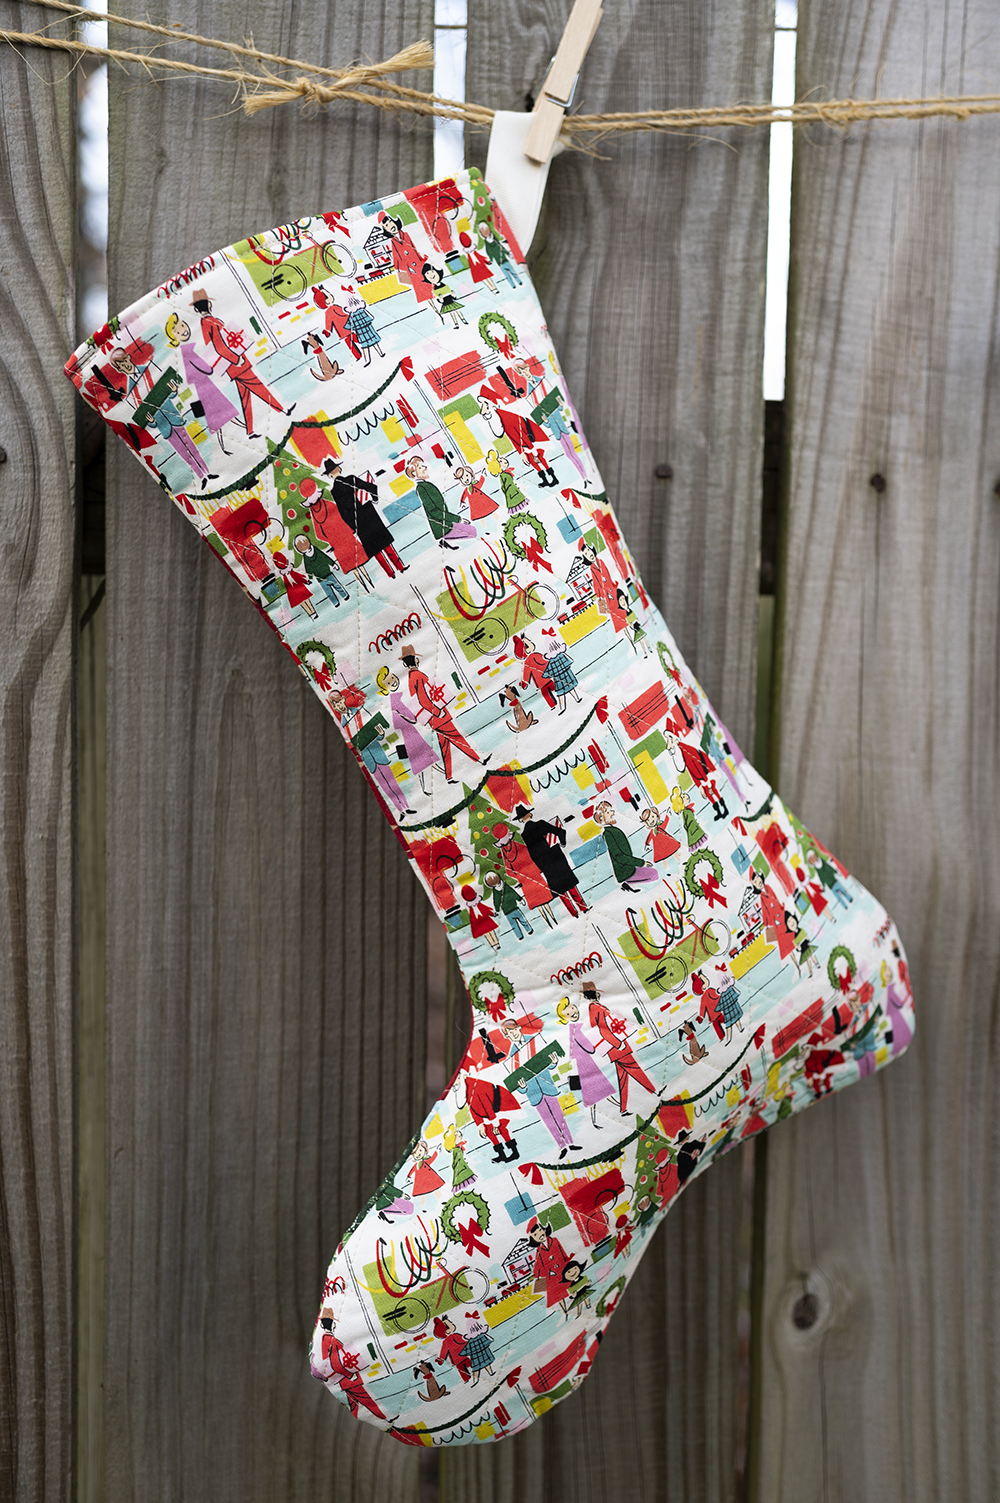
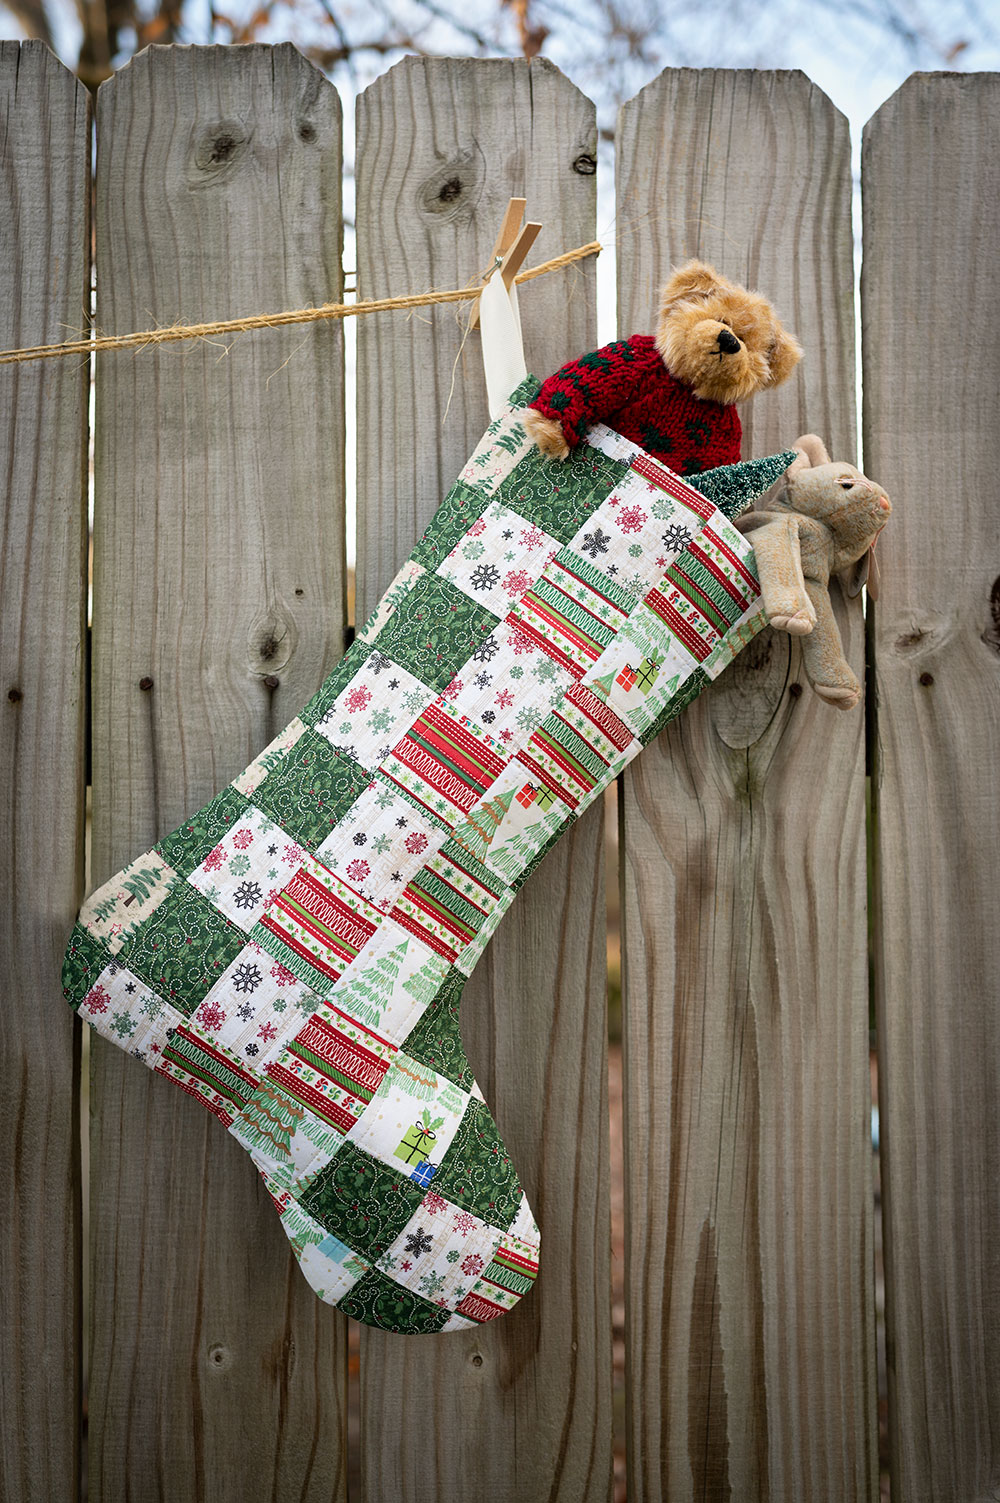
Let’s take a look at what we’re making today:
Materials needed to make a quilted Christmas stocking:
- Two fat quarter sized (18″ x 21″) pieces of fabric for the outer shell: Colorful quilting cottons are what I used. More if you want to make the patchwork design for the front of your Christmas stocking.
- Two fat quarter sized (18″ x 21″) pieces of fabric for the lining: Inexpensive muslin (affiliate link) is what I used.
- Quilt Batting: I used fusible, but use what you have on hand.
- Grosgrain Ribbon: I love Grosgrain ribbons for the hanger. This is cut 8″ long and the ribbon is 1.5″ wide.
- Thread: can be matching or contrast.
***To construct the quilted panels I used to make the Christmas stockings pictured, follow my tutorial for making both the patchwork quilted front and the fabric quilted back. You’ll need to do this first, then come back to this post to actually make your stocking if you want it to look like what’s in the photos.
Why follow the instructions on the other blog post about quilting the fabrics first?
First off, we do lots of quilting projects on this blog, so using quilted fabrics in projects is the name of the game around here. Secondly, if you don’t add structure and body to the cotton fabric, it won’t have any shape and will just hang there. Lifeless. I think that’s sad, to be honest. You want to look at your stockings hanging on the fireplace mantle and see stockings, not lifeless bits of fabric. You could certainly use interfacing to provide structure, but I think the quilted look is the way to go.
Tools needed to make a Christmas stocking:
- Rotary cutter (affiliate link)
- Cutting Mat (affiliate link)
- 2.5″ x 24.5″ quilting ruler (affiliate link)
- Pins
- Fabric scissors
- Disappearing ink pen (affiliate link)
- Point turner (affiliate link)
- Sewing machine: (affiliate link) recommend using the extension table and having a throat that allows the removal of the table to use as a narrow width sewing surface to make sewing the stocking top easier.
- Iron (affiliate link)
- Ironing Board
- A sleeve board is a big help (affiliate link) for pressing seams on a narrow project like this.
- All purpose presser foot (affiliate link)
- Walking foot presser foot (affiliate link)
- The pattern of your choice. I used McCalls 5778, (affiliate link) but any pattern with a Christmas stocking will work.
- A way to hang your stocking. I used small magnetic hooks to hang mine on the front door. (affiliate link) Most front doors are steel doors, so the magnets will stick to them. If you live in a small place like I do, or don’t have a fireplace, hanging your Christmas stockings on the inside of the front door if a fun way to still hang yours for Christmas.
I cover the methods I used to make the fabric panels in the last blog post. So read that post to get your patchwork and quilted panels made. When those are complete, we can start the process of making the stockings which is what we cover in this tutorial.
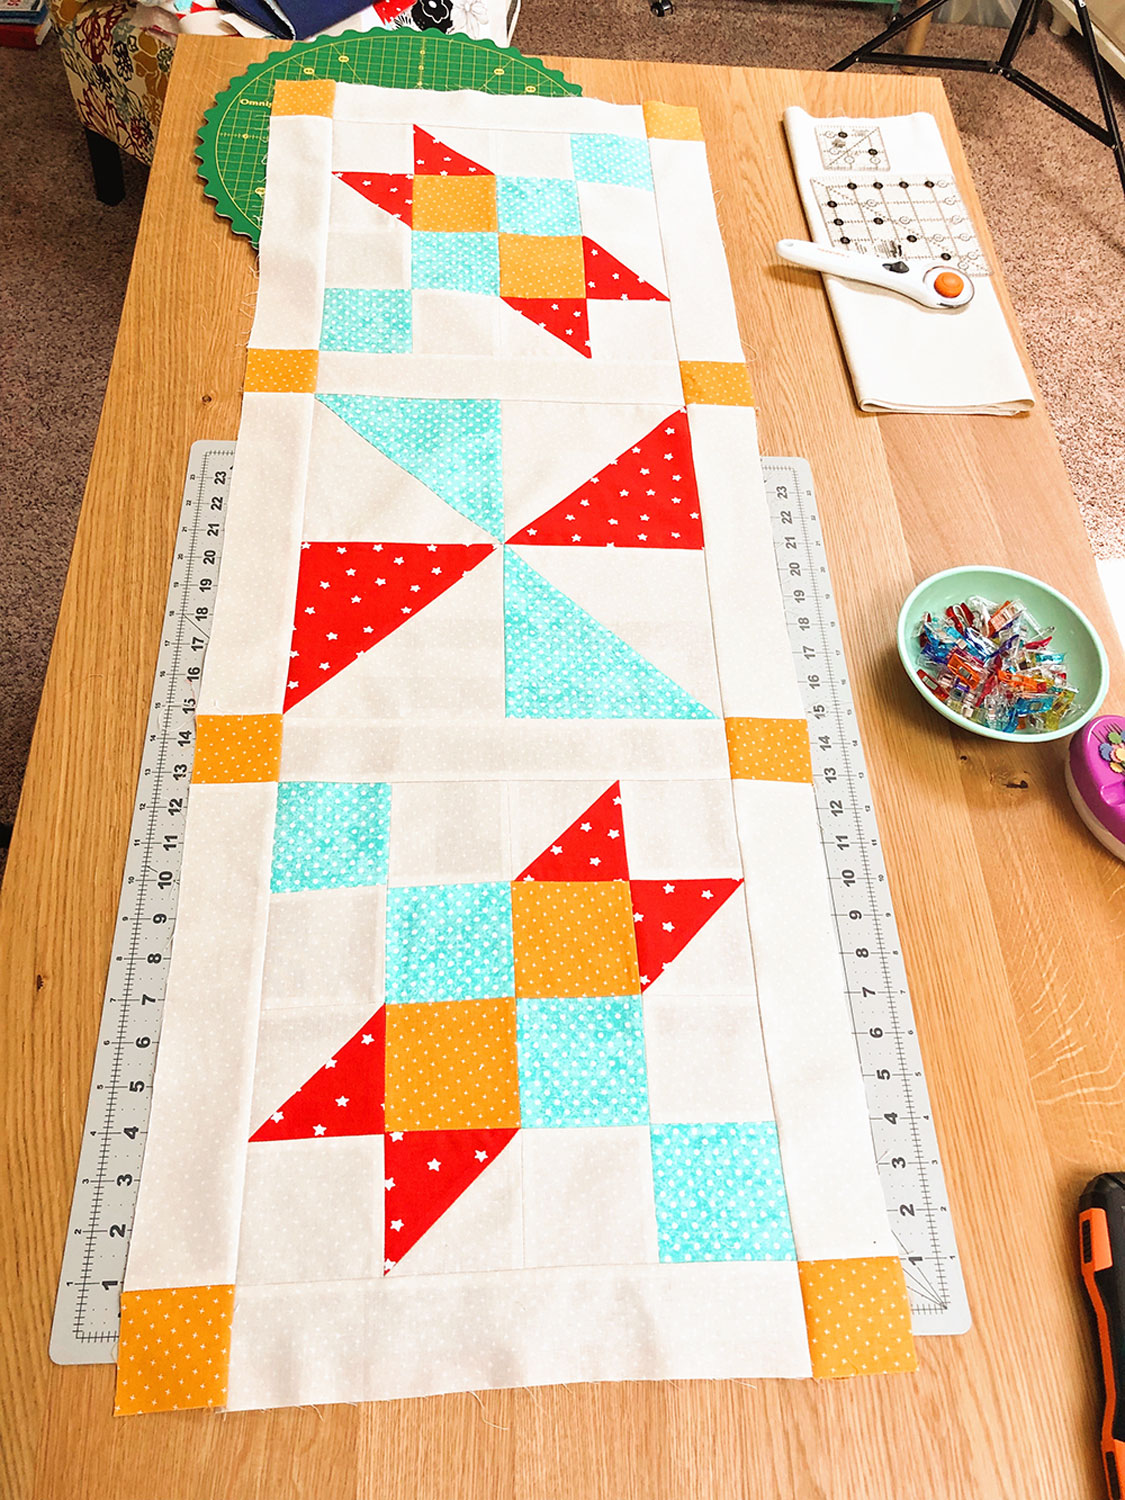
Tutorial to make Christmas Stockings
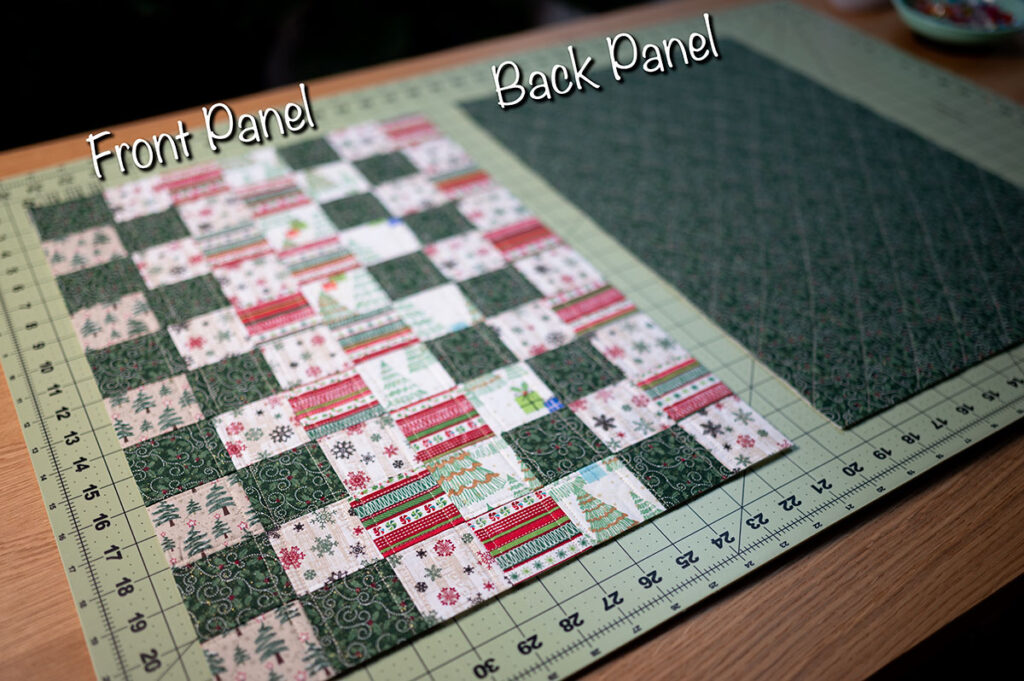
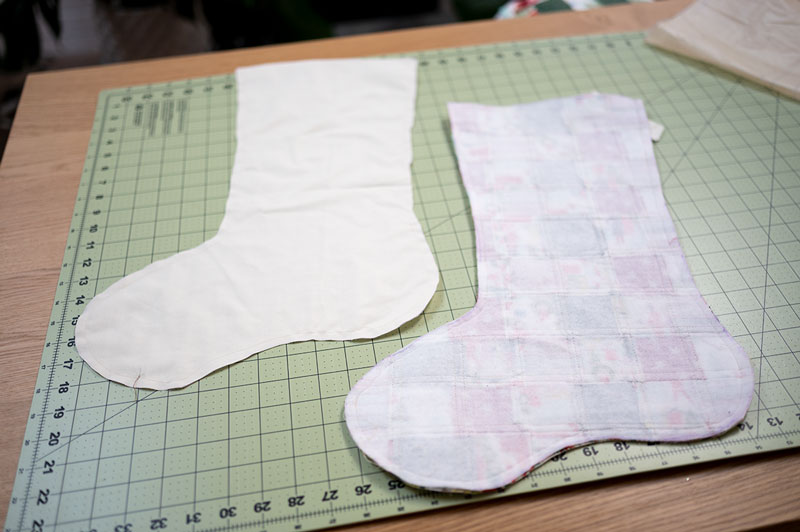
When you’ve made your panels this is what you will have. These are quilted, pressed and trimmed.
The approximate size of the panels is that of a fat quarter. So you could quilt two fat quarters like I did for the back panel and sew those together for your stocking if the patchwork feels like a little too much.
Place your fabric panels right sides facing and trace the shape of your stocking pattern using the disappearing pen.
Pin the fabric panels together so nothing shifts.
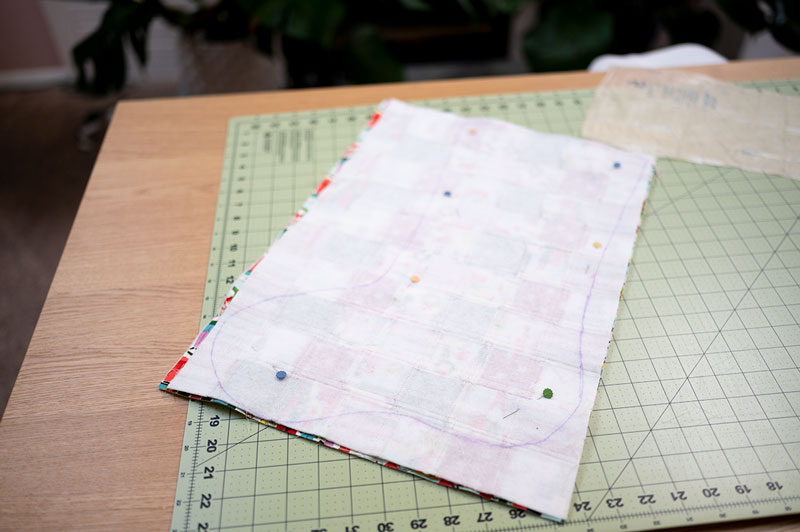
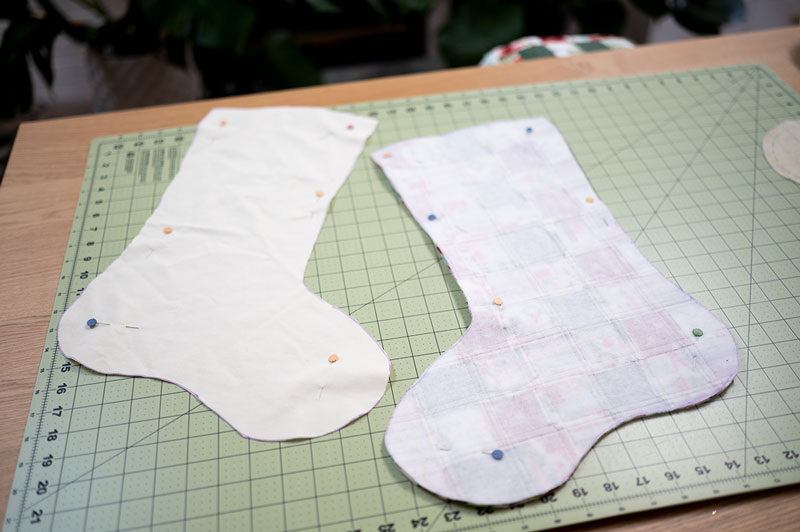
Trace the shape onto the lining fabric and cut out both pieces at the same time on the traced line.
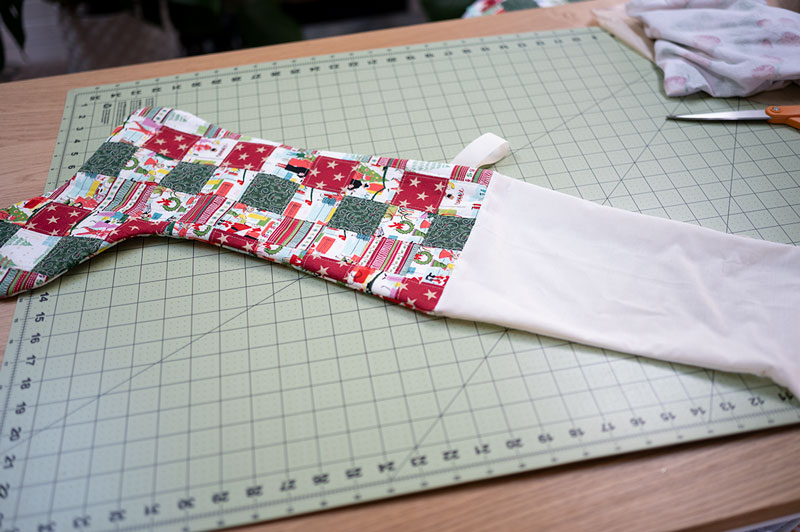
If you use a print for your lining, then also place fabrics right sides facing, secure and cut. The stocking has two parts. The decorative outer shell and the inner lining. I used an inexpensive muslin for my lining. **tuck the ribbon in between the layers of the outer shell with the loop INSIDE. It should be about 2″ from the top. Angle it so it’s facing the opening at the top of the stocking.
Using a 3/8″ seam allowance with your all purpose presser foot, sew around the perimeter of the stocking, leaving the top open. Set your stitch length to 2.5mm.
**On the lining leave a space on the back side of the stocking big enough to get your hand through. Maybe 4″. This is where you will turn the work.
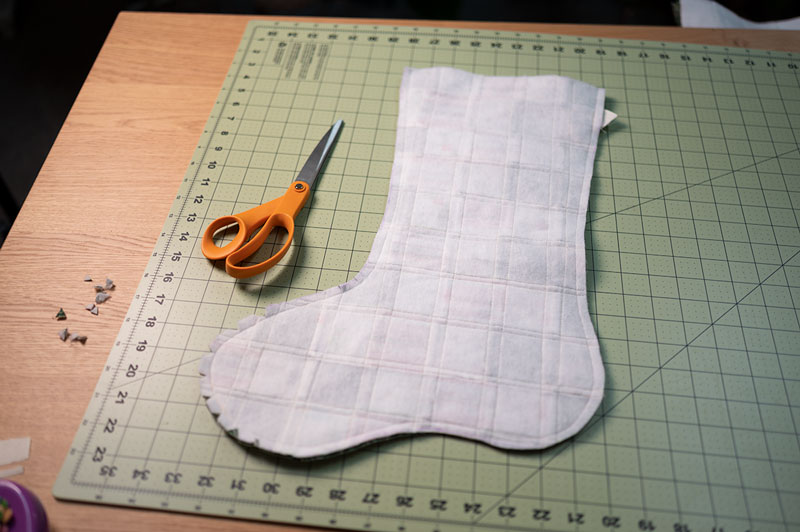
For best results, notch the seam allowance around the toe and clip the curve just above the toe.
We always notch curves that round out and clip curves that round in. It helps the work to open better and lay flat.
Once the outer shell is clipped and notched, turn the stocking right side out, open the seams and press the project.
The lining is still wrong sides OUT.
This is where it feels weird. But trust the process.
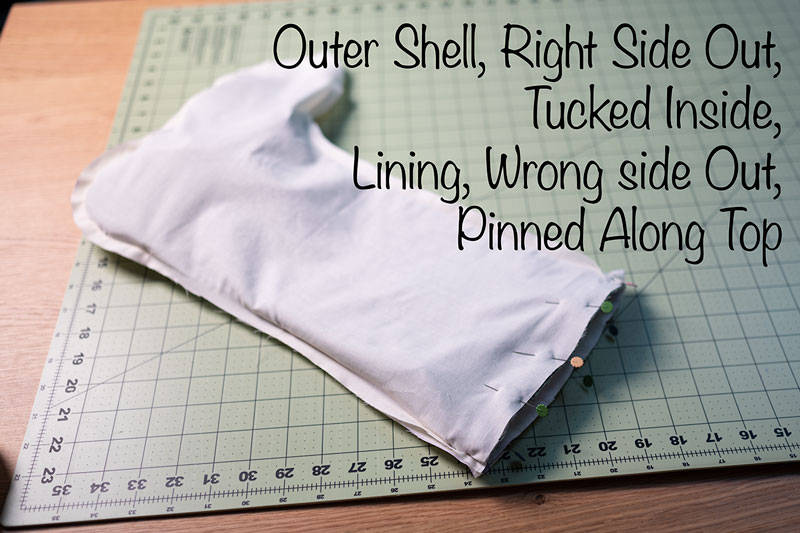
Tuck the outer shell inside the lining. The lining is still wrong side out. Carefully pin the top edge. Start at the opposing seams. Line them up, outer shell seams to inner lining seams, and pin into place. Ease the fabric together on either side of the seams so there is no puckering. I find that an abundance of pins really help.
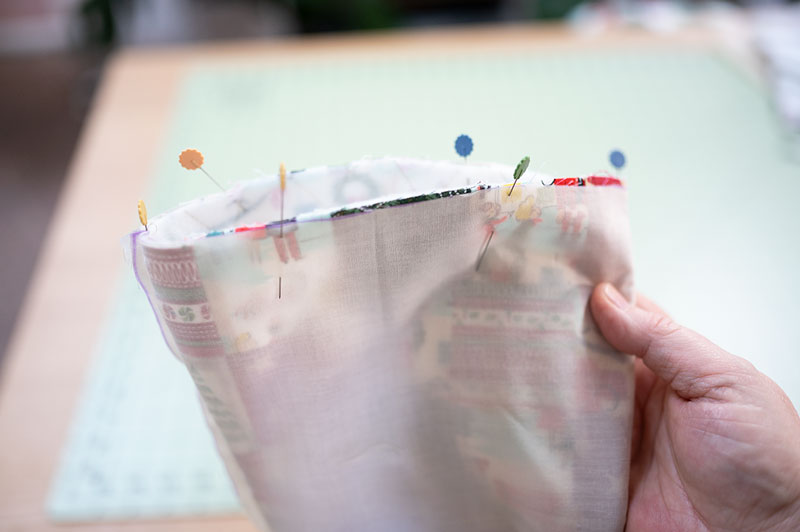
The top of your stocking is neatly together. Take it to your sewing machine and using the walking foot and a 1/4″ seam, sew all the way around. Use a 2.5mm stitch length.
This is easier if you have the sewing machine set up like you would for sewing a sleeve or a pants hem.
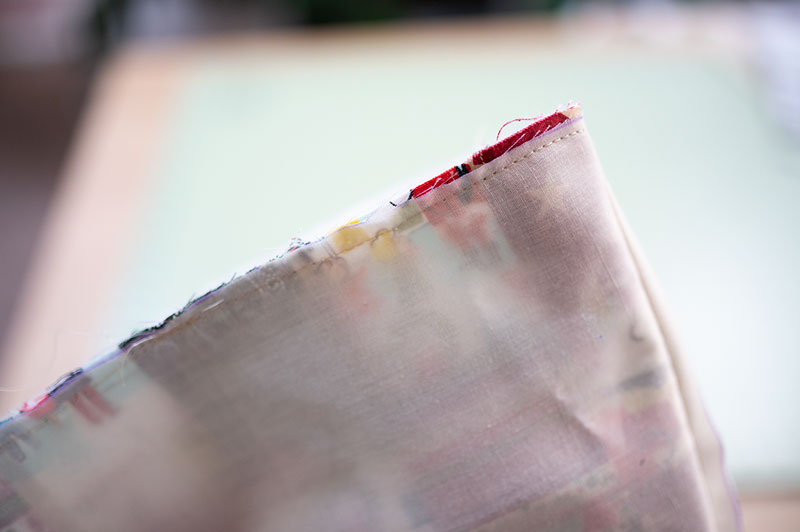
Here’s what the top of the stocking will look like once you’ve sewn all the way round the top and removed the pins.
So far, it doesn’t look great, but just wait!
Now, pull your project right side out through the opening we left in the lining.
Pull everything right side out and you’ll have a funny looking project.
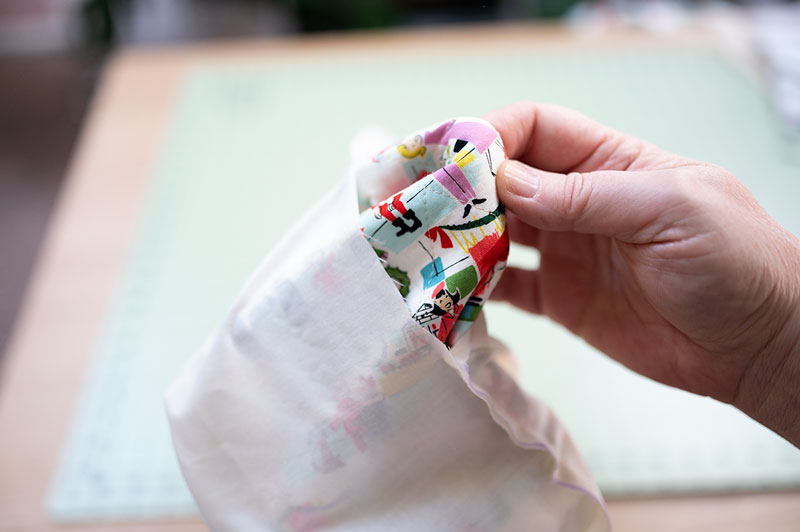
Your project is right sides out and connected on the top as you can see!
Press both halves nice and flat. Press the seam allowances in at that opening in your lining and go back to the sewing machine.
Stitch the opening in the lining closed and tuck the lining inside the outer shell.
Tuck the lining all the way down to the toe, and press the stocking. The sleeve board is really handy for giving the top edge a nice sharp press.

Take your stitch length back out to 3.5mm and edge stitch all the way around.
You could also use a pretty decorative stitch on this part as well.
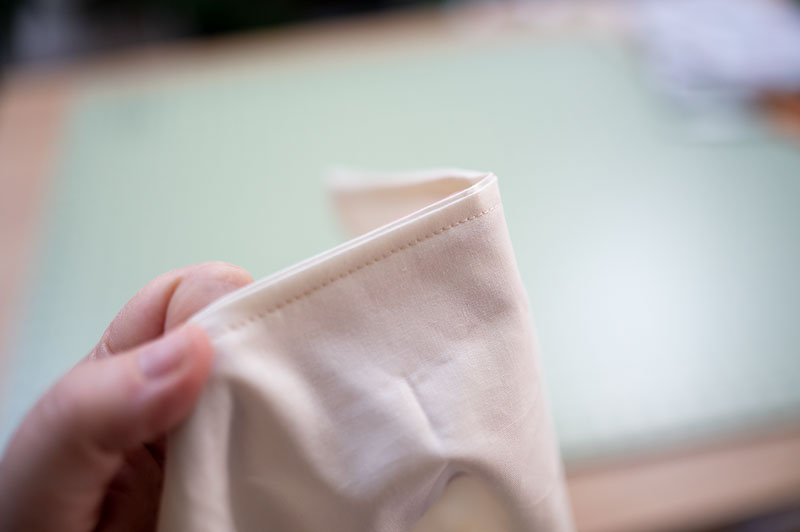
Here’s what the inside of your stocking will look like on the top edge.
Tucking that lining way down to the toe will pull the outer shell over a little which gives a pretty, finished look. The edge stitch holds it all in place.

And that’s how to make a Christmas stocking! For the longest time I was stuck on how they go together and then I finally realized it’s kind of like making a bag project. You have the outer shell and the lining. You always leave an opening in the lining to turn the bag, and you do the same with Christmas stockings.
Any stocking pattern can be used to follow this tutorial.
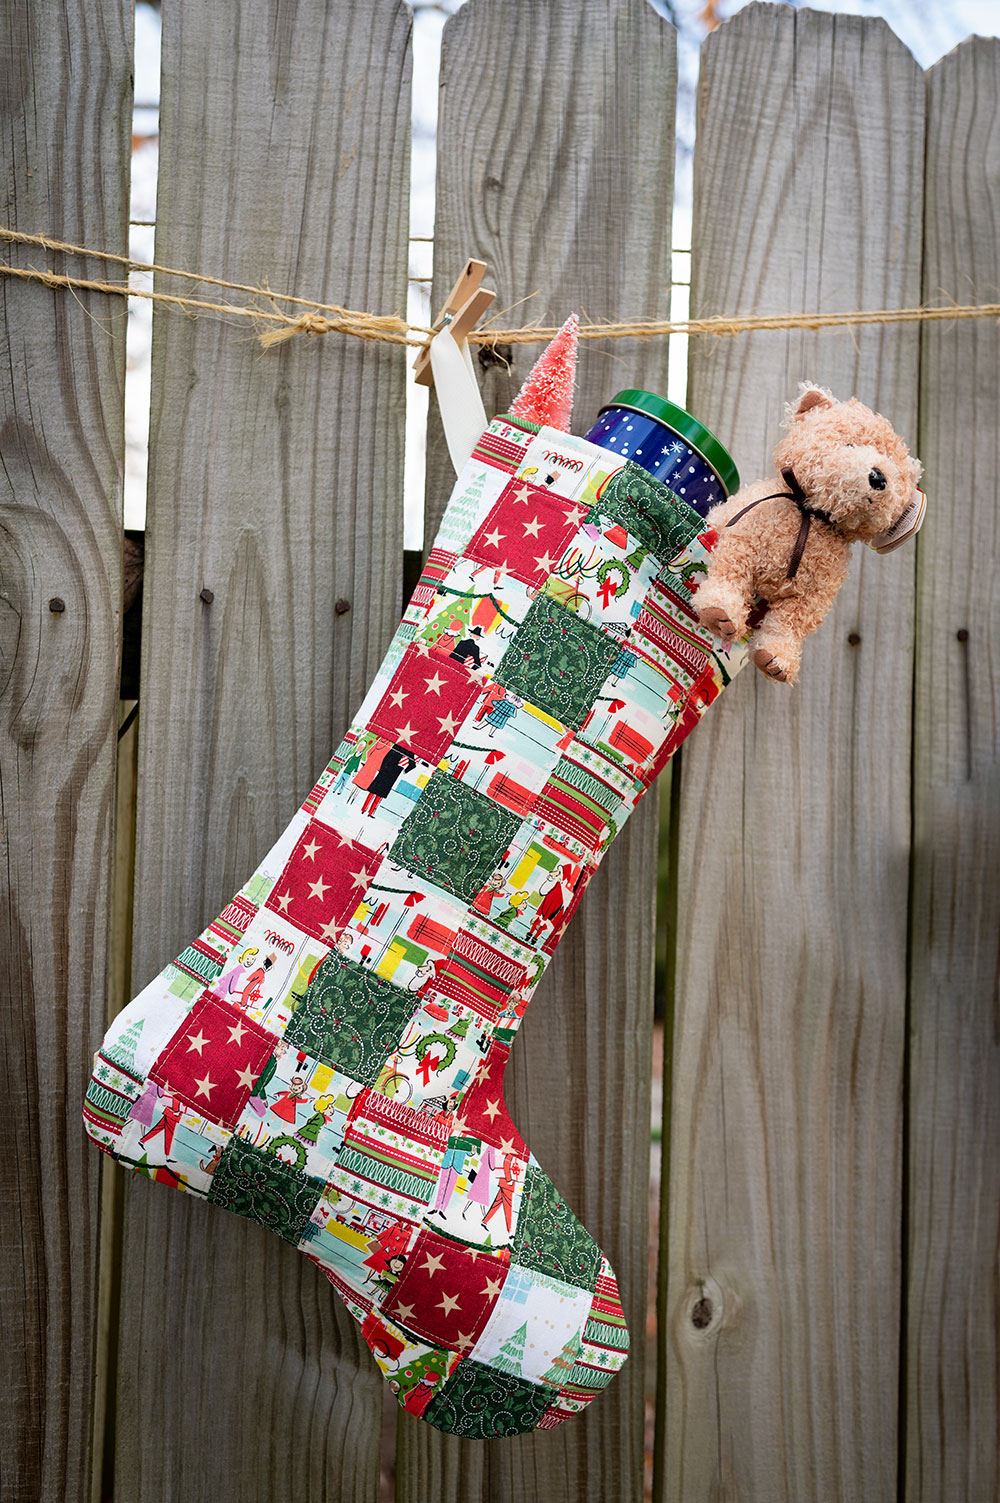
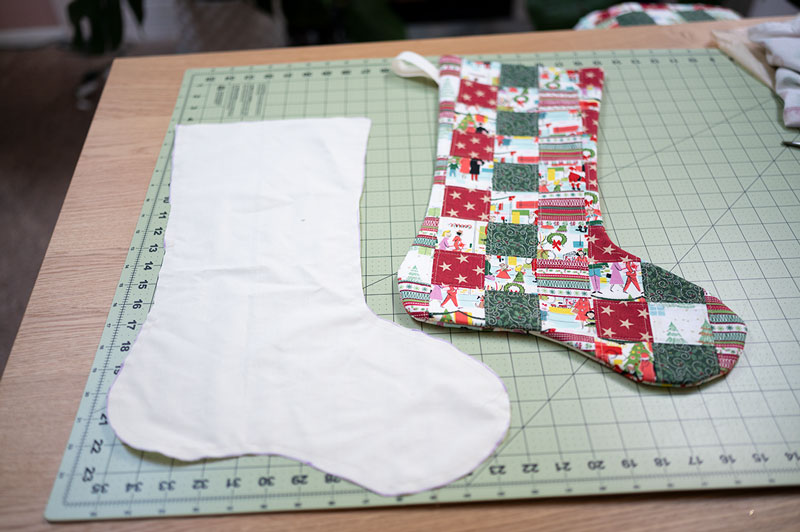
The project is made without extra embellishments, because I thought the patchwork was so cute and the finishing on the edge so pretty it looked great just like this. Next year we’ll add a cuff and some embellishments! But this year, I thought the cute fabrics and the quilting stood on its own.
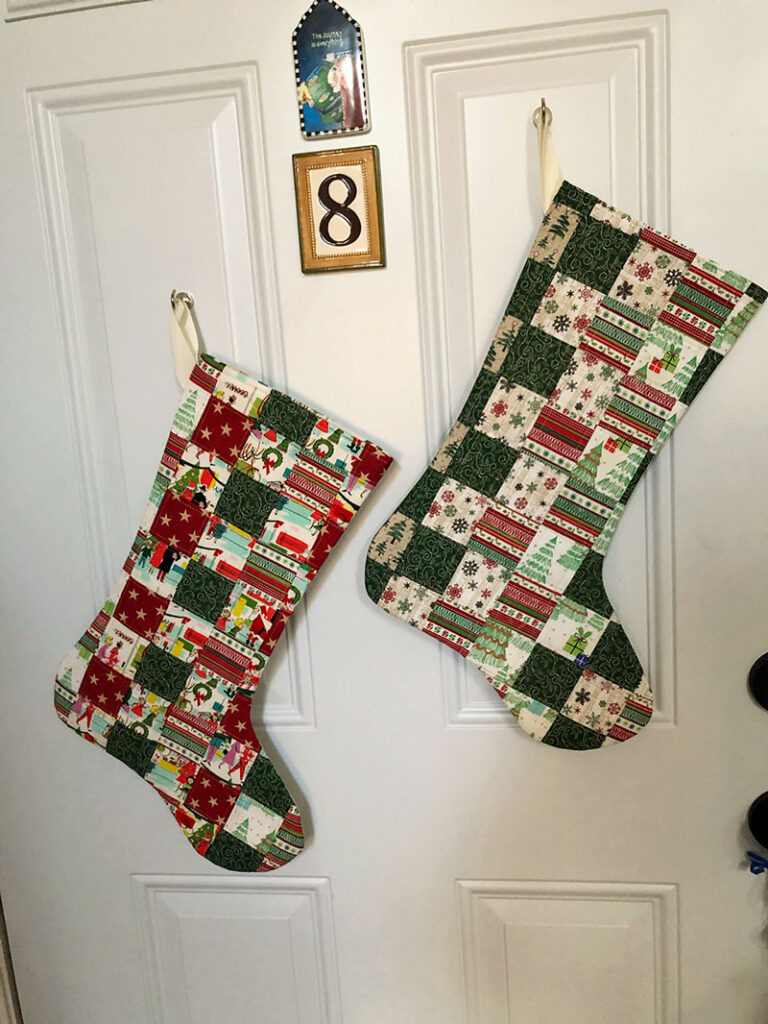
As promised at the beginning of this story, here are the two stockings I made hanging on our front door waiting to be filled with pretty Christmas presents. I like them so much on the front door, I even display them on the front with the lighted wreath. If you don’t have a fireplace or live in a small space like I do, these little super strong magnet hangers are a great solution. (affiliate link)
Once you learn how to make Christmas Stockings, you’ll want to make them for EVERYBODY!!
The most time consuming part of the process is making the quilted fabric. I recommend making your fabric panels one day, then cut and sew the stockings the next day. You can purchase pre quilted fabric in fabric stores, but it’s a little bit expensive and not necessarily in Christmas prints. I’ll leave that choice up to you. Made the way I’ve described in the tutorial, these are heirloom quality Christmas stockings that can be used for years and years. As such, I still have some I made way back in the 1980s! Yeah, I go way, way back with Christmas sewing.
Is there anyone who knows what Christmas is all about?
Luke 2: 8-14:
And there were in the same country shepherds abiding in the field, keeping watch over their flock by night. And, lo, the angel of the Lord came upon them, and the glory of the Lord shone round about them: and they were sore afraid. And the angel said unto them, Fear not: for, behold, I bring you good tidings of great joy, which shall be to all people. For unto you is born this day in the city of David a Saviour, which is Christ the Lord. And this [shall be] a sign unto you; Ye shall find the babe wrapped in swaddling clothes, lying in a manger. And suddenly there was with the angel a multitude of the heavenly host praising God, and saying, Glory to God in the highest, and on earth peace, good will toward men.
That’s what Christmas is all about, Charlie Brown.
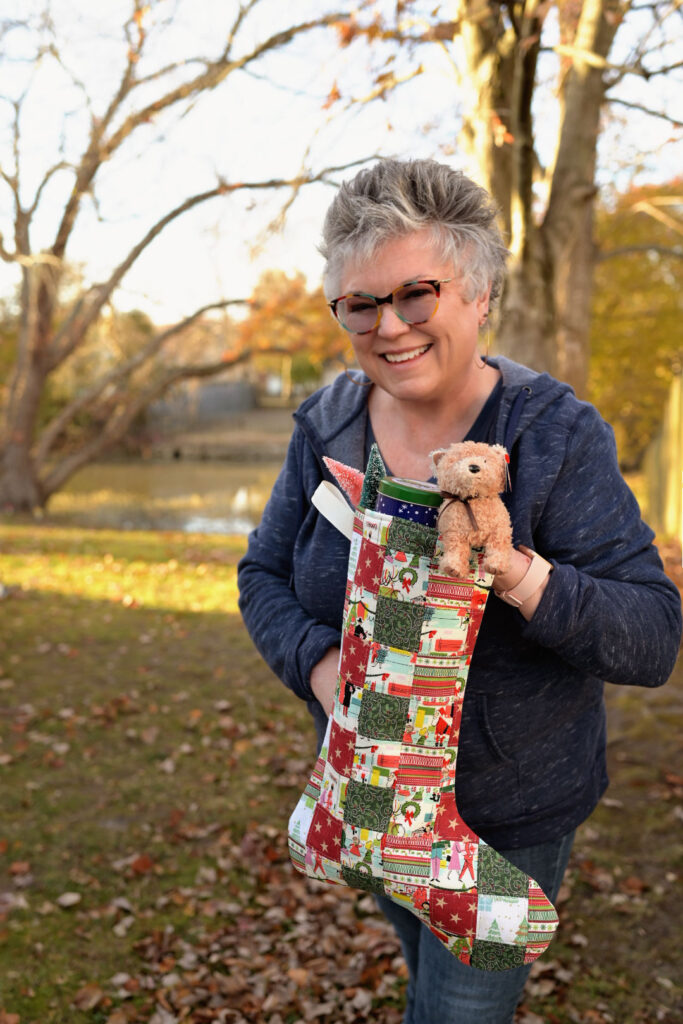

Hi! I’m Pattymac
Quilter, Baker, Maker
I’m a creative lifestyle blogger living and working in Coastal Virginia. When not mixing or quilting or taking pictures, I’m out exploring the cookbook section of my favorite library or munching on my own home baked cookies at a classic movie matinee.