Jelly Roll Quilt Pattern for Placemats
This post has affiliate links to products I use and love. If you buy something I can make a small commission, so thanks in advance. 🙂
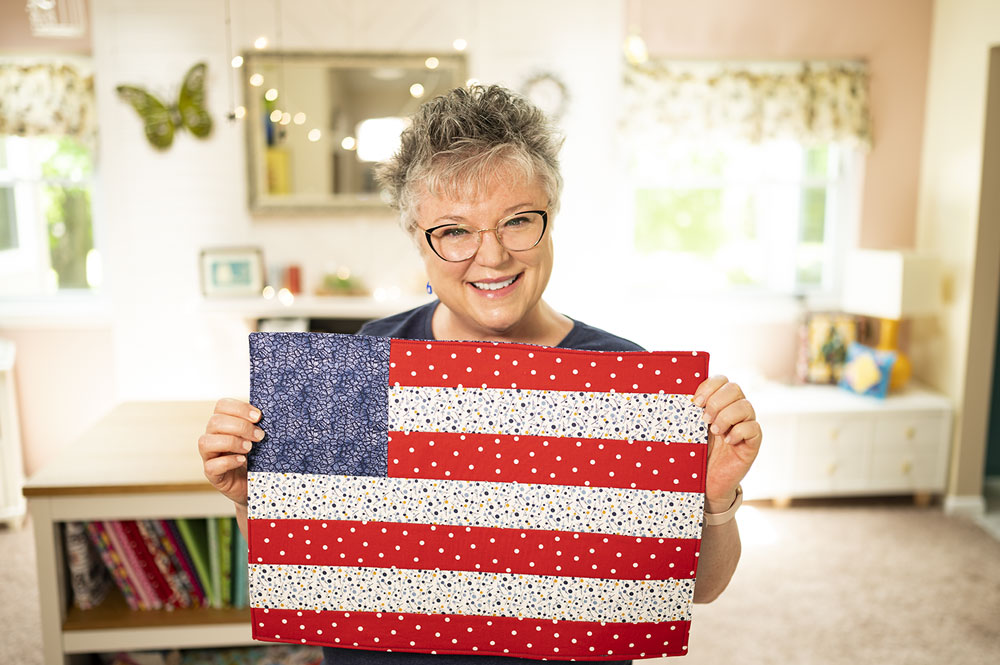
Let’s make a beautiful project that can be updated seasonally, can be perfectly personalized to your exact taste, and is an easy quilt project. What is this magic you ask? How about a jelly roll quilt pattern for placemats?
Sewing small projects for your home is a fun way to enjoy quilting and sewing. It’s not terribly expensive, and the finished projects give your home a personal flair. That’s why I love a good jelly roll quilt pattern for placemats.
First things first. Let’s clear up a huge misconception about quilting.
Quilts are huge projects and often take months to complete. They are expensive and daunting. So you probably want to quit right now.
That little voice in your head

The idea that all quilt projects are massive undertakings that will take months to complete is something that immediately turns off a LOT of people to quilting.
And the truth is, constructing beautiful placemats and pillows and wall hangings and table runners and door quilts are fantastic ways to enjoy the process of quilting without the huge commitment.
Who doesn’t long for a little less commitment these days?
Supplies to construct Quilted Jelly Roll Pattern for Placemats:
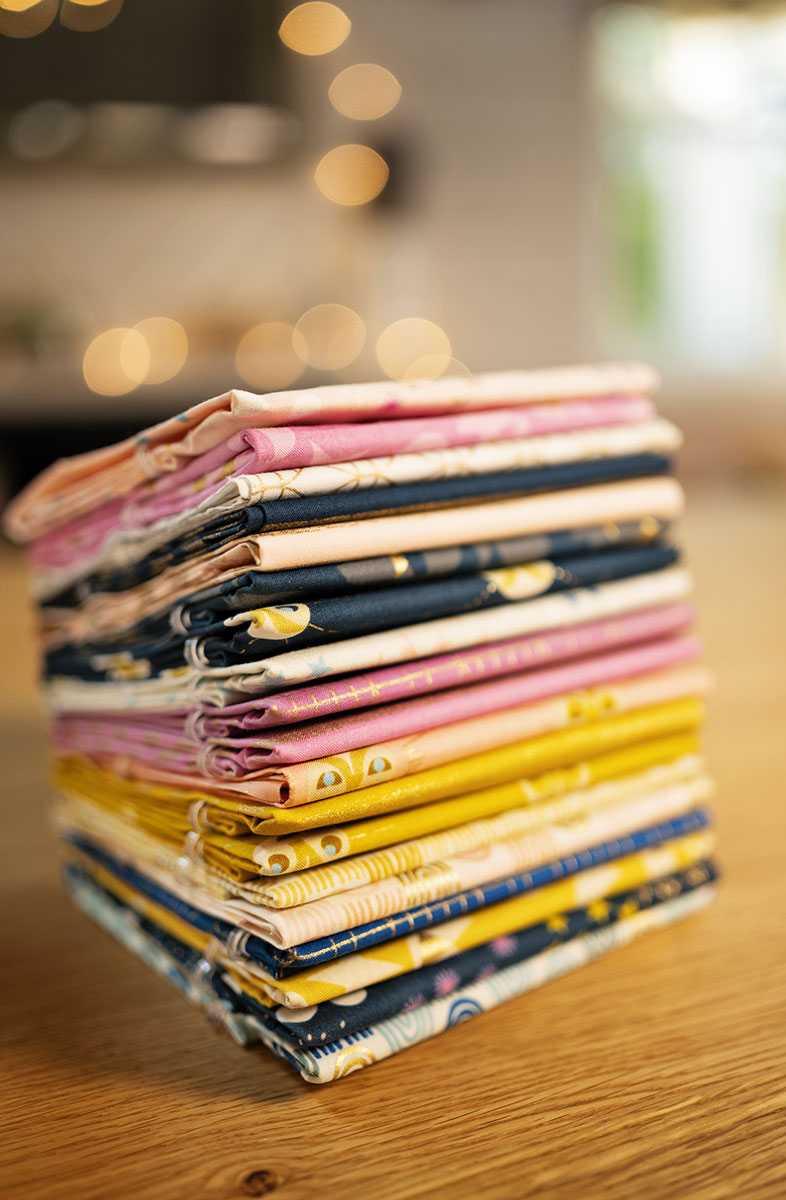
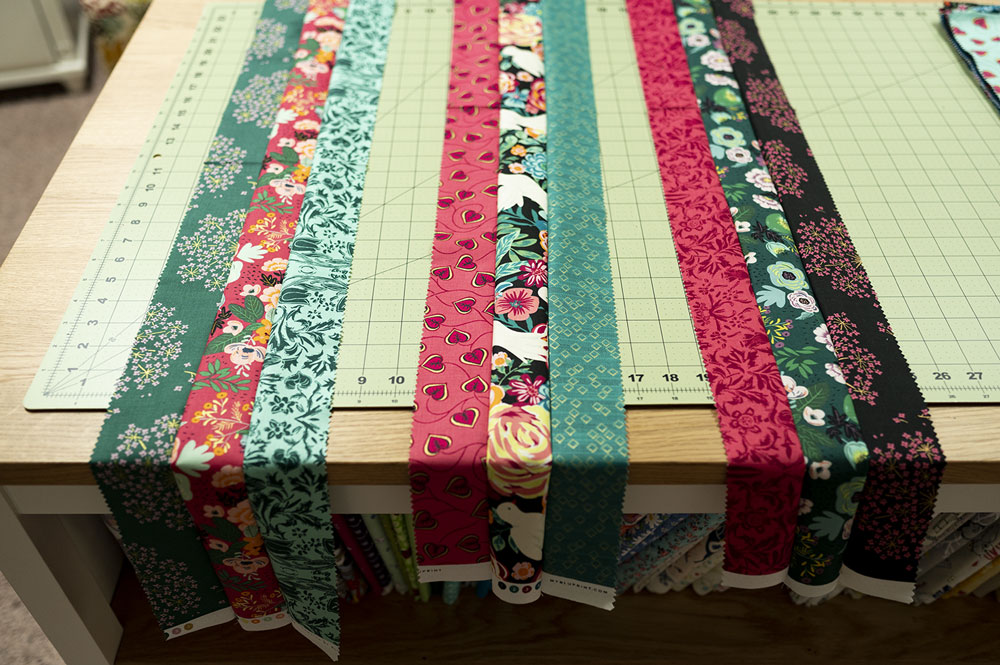
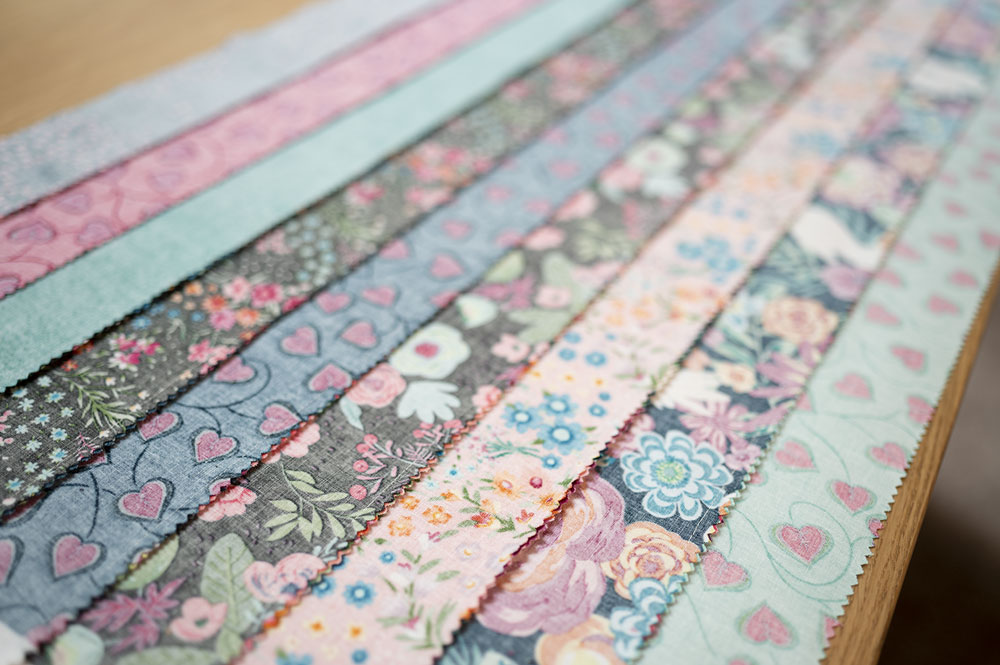
- 9 Jelly Roll Strips: this can be strips from an actual jelly roll, or something you cut yourself. Strips will be 2.5″ wide cut on the WOF which is typically 42″ including selvage for quilting cottons.
- Backing Fabric: if using a jelly roll, then selecting coordinating yardage within the same collection is the easiest way to arrive at a choice for what goes on the back of your placemat. Plan at least 1/2 yard for 2 placemats, or a full yard for 4.
- Fusible Quilt Batting: We use fusible quilt batting because it’s not as lofty and it has less drape than regular quilt batting. We want placemats to have some body and we don’t want filled glasses to tip over sitting on a surface that’s too soft.
- Thread: 50 weight cotton thread is the preferred choice in quilting. I love Aurifil products and Gutterman. Decide if you want the thread to match or contrast. I used cream colored thread which is what I use mostly for piecing, and I like that I can see my edge and quilting stitches.
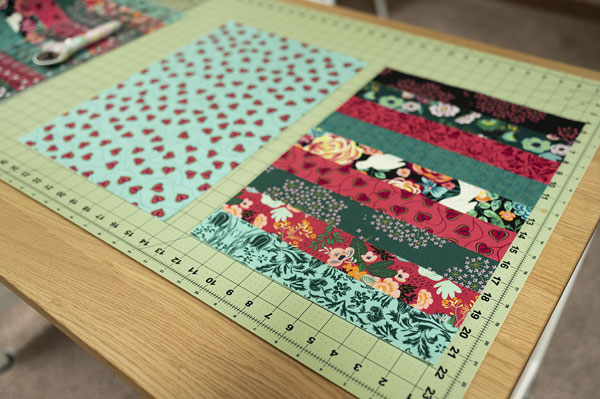
The strip set with 9 strips will give you a couple of options.
- Cut and construct 2 placemats with a large leftover for another project.
- Enough to cut 3 placemats.
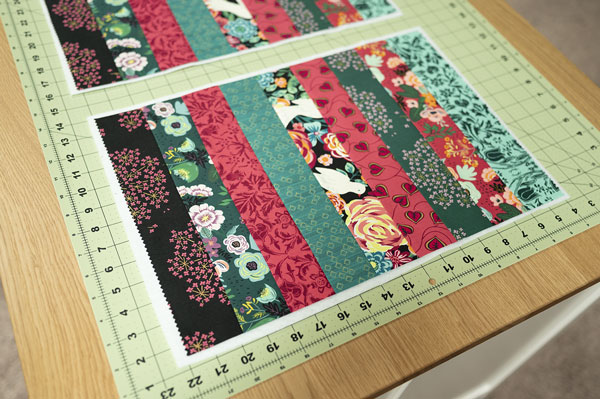
Since we generally make our placemats in even numbers, I opted to make 2 different strip sets of 9 strips each. I cut each strip set into two mini quilt tops to make my placemat front, and I saved the leftovers for the next project I want to share with you.

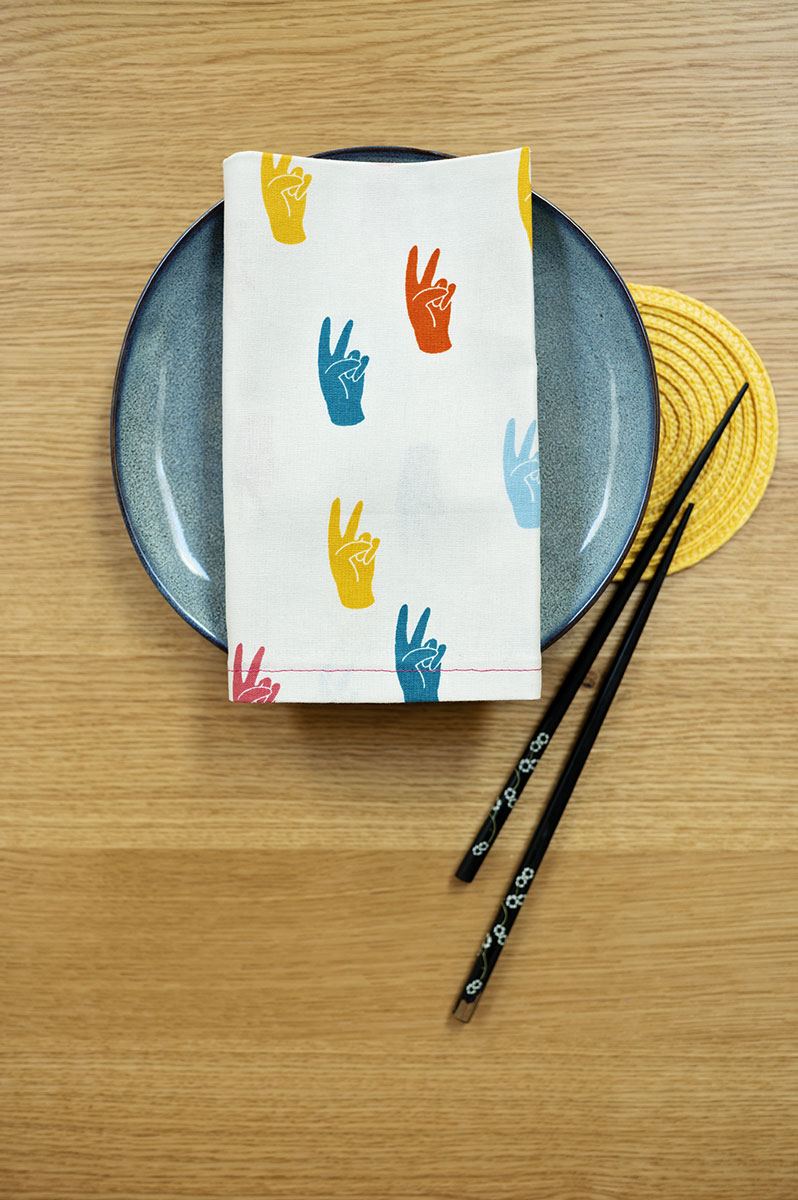
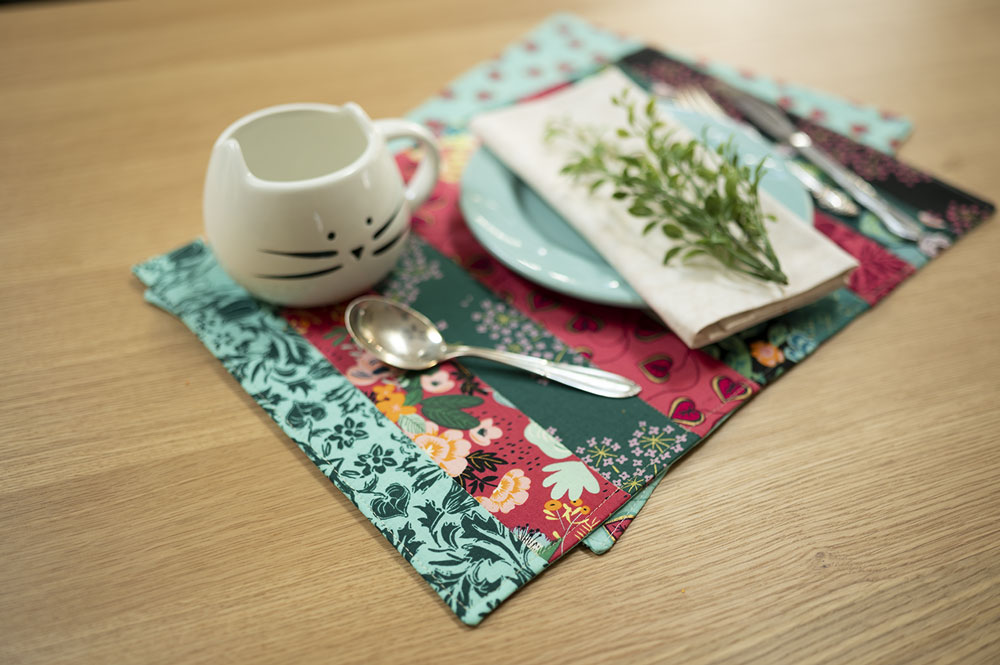
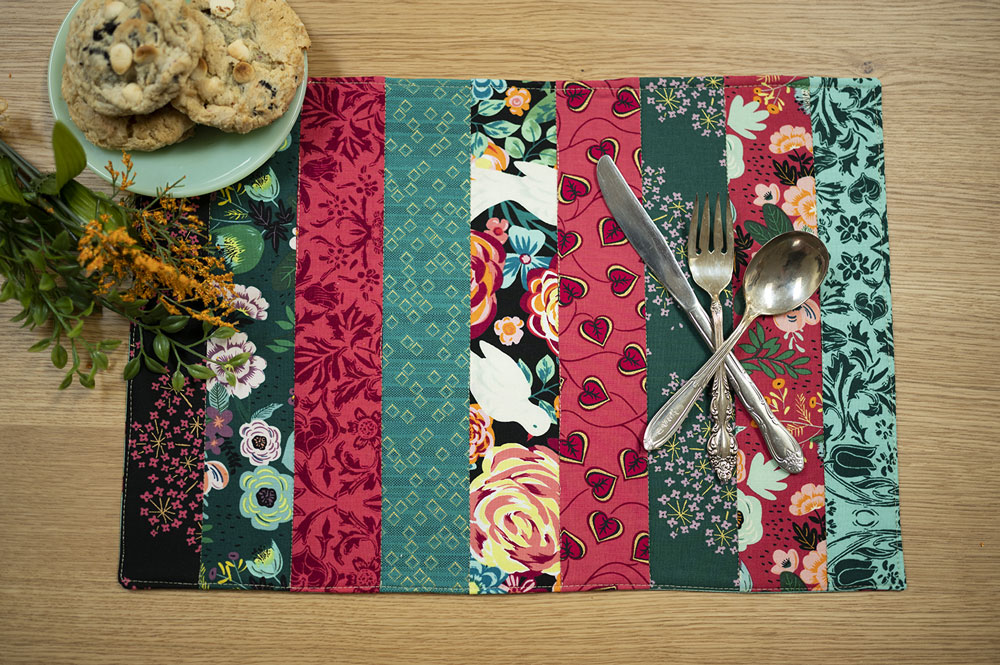
Coordinate your plate colors to your placemats for added zing
Tools to make Jelly Roll Quilted Placemats:
- Rotary Cutter
- Cutting mat
- Fabric Scissors
- Thread Snips
- Quilting rulers: I used my wide Creative Grids 6.5″ x 24.5″ ruler to cut my strip sets to size. If you are cutting your own strips, I highly recommend investing in a 2.5″ x 24.5″ ruler to make cutting that standard size strip quick and easy.
- Sewing Machine
- 1/4″ foot: not required, but I love mine for keeping an accurate 1/4″ seam which is critical for accuracy in a long strip set. Use your preferred method to keep your seam allowance correct. Make sure you get one that properly fits YOUR machine.
- Walking Foot: If you haven’t added a walking foot to your presser foot collection, it’s time. The only way to quilt without puckers is to use the walking foot attachment. I’ve linked to the one I use, but make sure you get the one that fits YOUR machine.
- Point Turner: Also not required, but it’s an inexpensive investment, and I much prefer it to the chopsticks I used before.
- Iron: A high quality iron is a necessity in sewing and quilting. If you are still using a cheap iron, consider investing in an upgrade. You will be surprised at what an improvement it makes.
- Wonder Clips: I use both pins and wonder clips in my sewing and quilting, but honestly, if I can use the clips, I reach for them every time. You will wonder how you went so long without them.
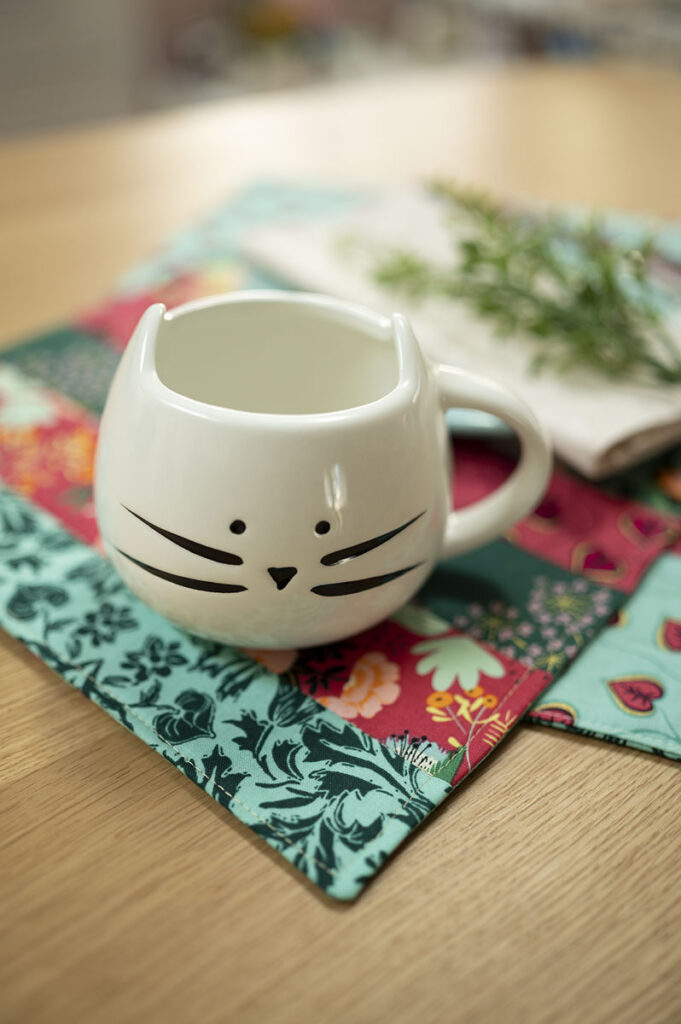
Adding your own personality filled mugs and plates and decorations creates a tablescape you’ll look forward to using with that Wednesday night takeout.
** The placemats in today’s tutorial finish up at 12″ x 17″ and use 1/4″ seam allowances throughout the project.
How to construct the Quilted Jellyroll Placemats:
Piece 3 sets of 3 jelly roll strips together.
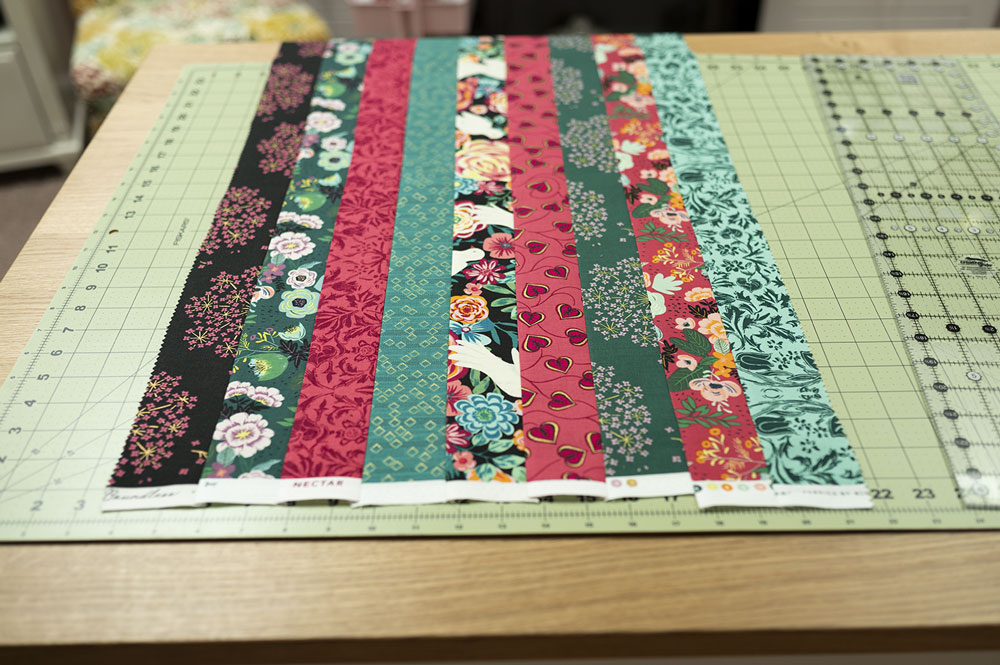
Piece the 3 sets into one complete strip set of all 9 strips. Press carefully.
Flat strip set with straight seams Wrong side showing seams pressed the same way
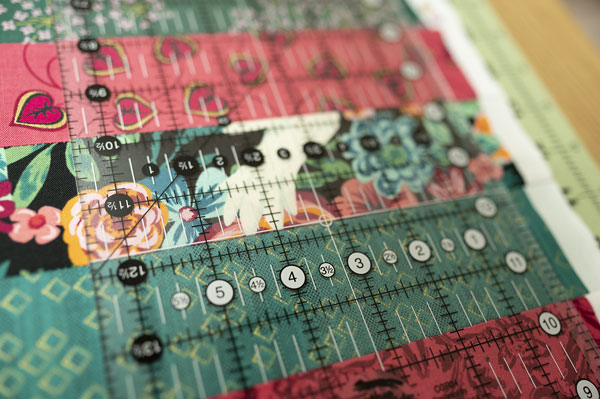
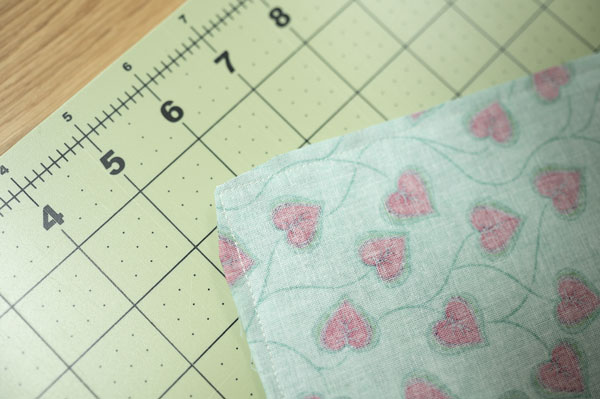
Trim strip sets to 12.5″ wide cuts. The strips give the perfect width of 17.5″ automatically. Trim the selvages before measuring your 12.5″ cut, and use the wide ruler, lining the ruler up with a seam in the middle of the strip set.
Cut fusible quilt batting slightly larger than placemat top and adhere using manufacturer’s instructions.
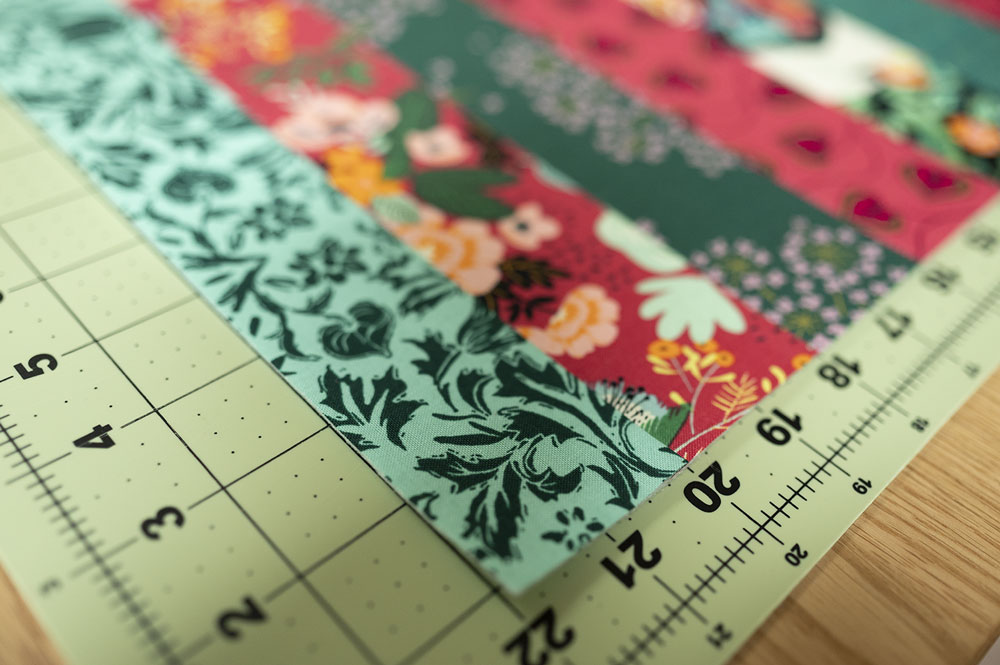
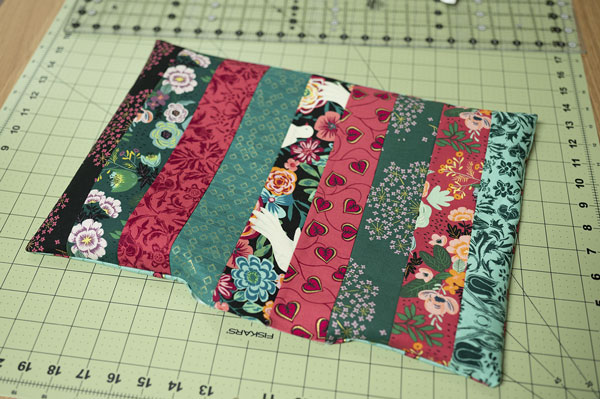
Using the same quilt ruler, square up the placemat top with batting in place.

Cut backing fabric to same size as front Fabrics right sides facing, clipped together showing where to leave opening
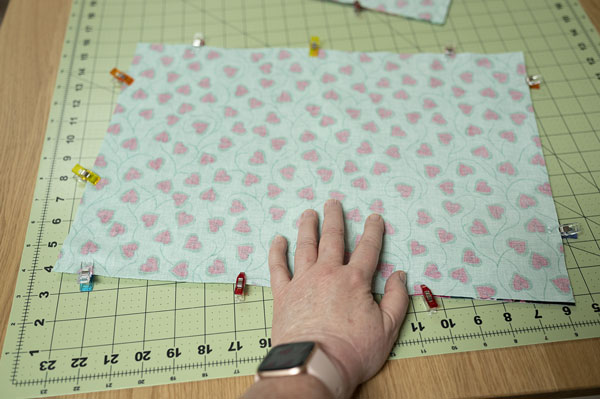
Using a 2.5 mm stitch length and a 1/4″ seam allowance, sew all the way around the placemat. Leave an opening large enough to turn the work, and backstitch at the beginning and end of the sewing. Carefully clip the corners before turning. See previous photo for reference.
Turn the work right sides out. Use the point turner to poke out the corners and open seams. Press flat. Press seam allowances in and secure into place.
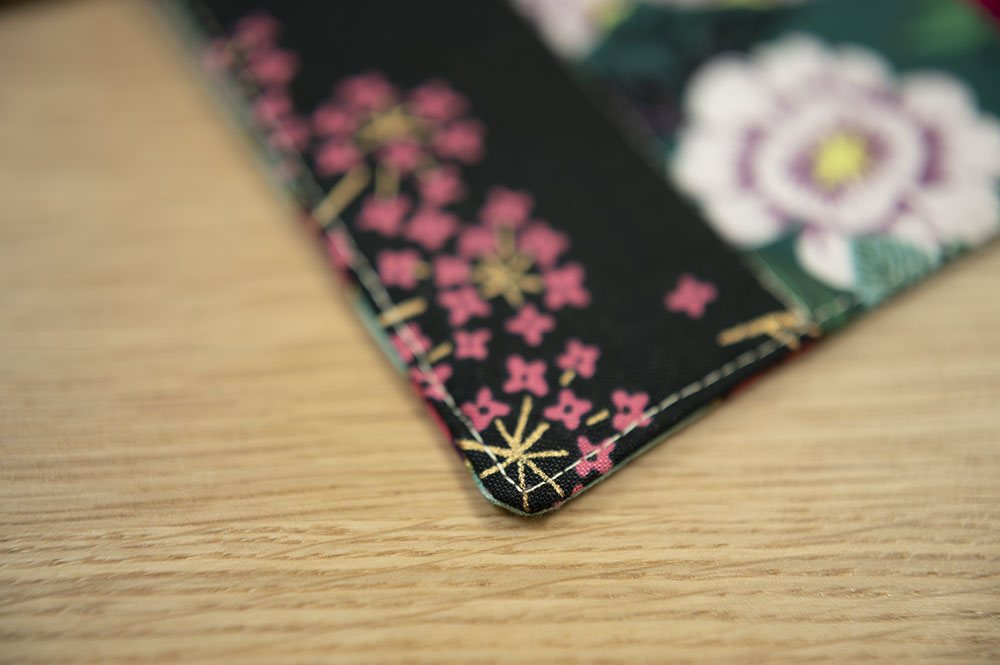
Carefully edge stitch all the way around the placemat. I like a longer stitch length here and used 3mm.
Using the walking foot, quilt as desired. I used a 3mm stitch length and used a stitch in the ditch method. Back stitch at the start and finish of a stitch line.
Give your placemat a final press and enjoy
Insider Tips and Tricks:
- By saving the quilting until the very last step, we are affixing the backing fabric, the batting and the front of the placemat together all at once. Securing the back to the front means the project will hold together in the wash.
- Care of placemats means I simply throw them in the washer and dryer with the rest of my linens. Placemats are meant to be used! So don’t be precious with them.
- The point turner is not just for poking out the corners. On it’s opposite end, the tool is wonderful for running along seams and opening them so the finished project lays flatter and looks more professional.
- The edge stitching not only looks great, it also closes the opening we needed in order to turn the work right side out. So we added a finishing touch AND closed the opening in one step.
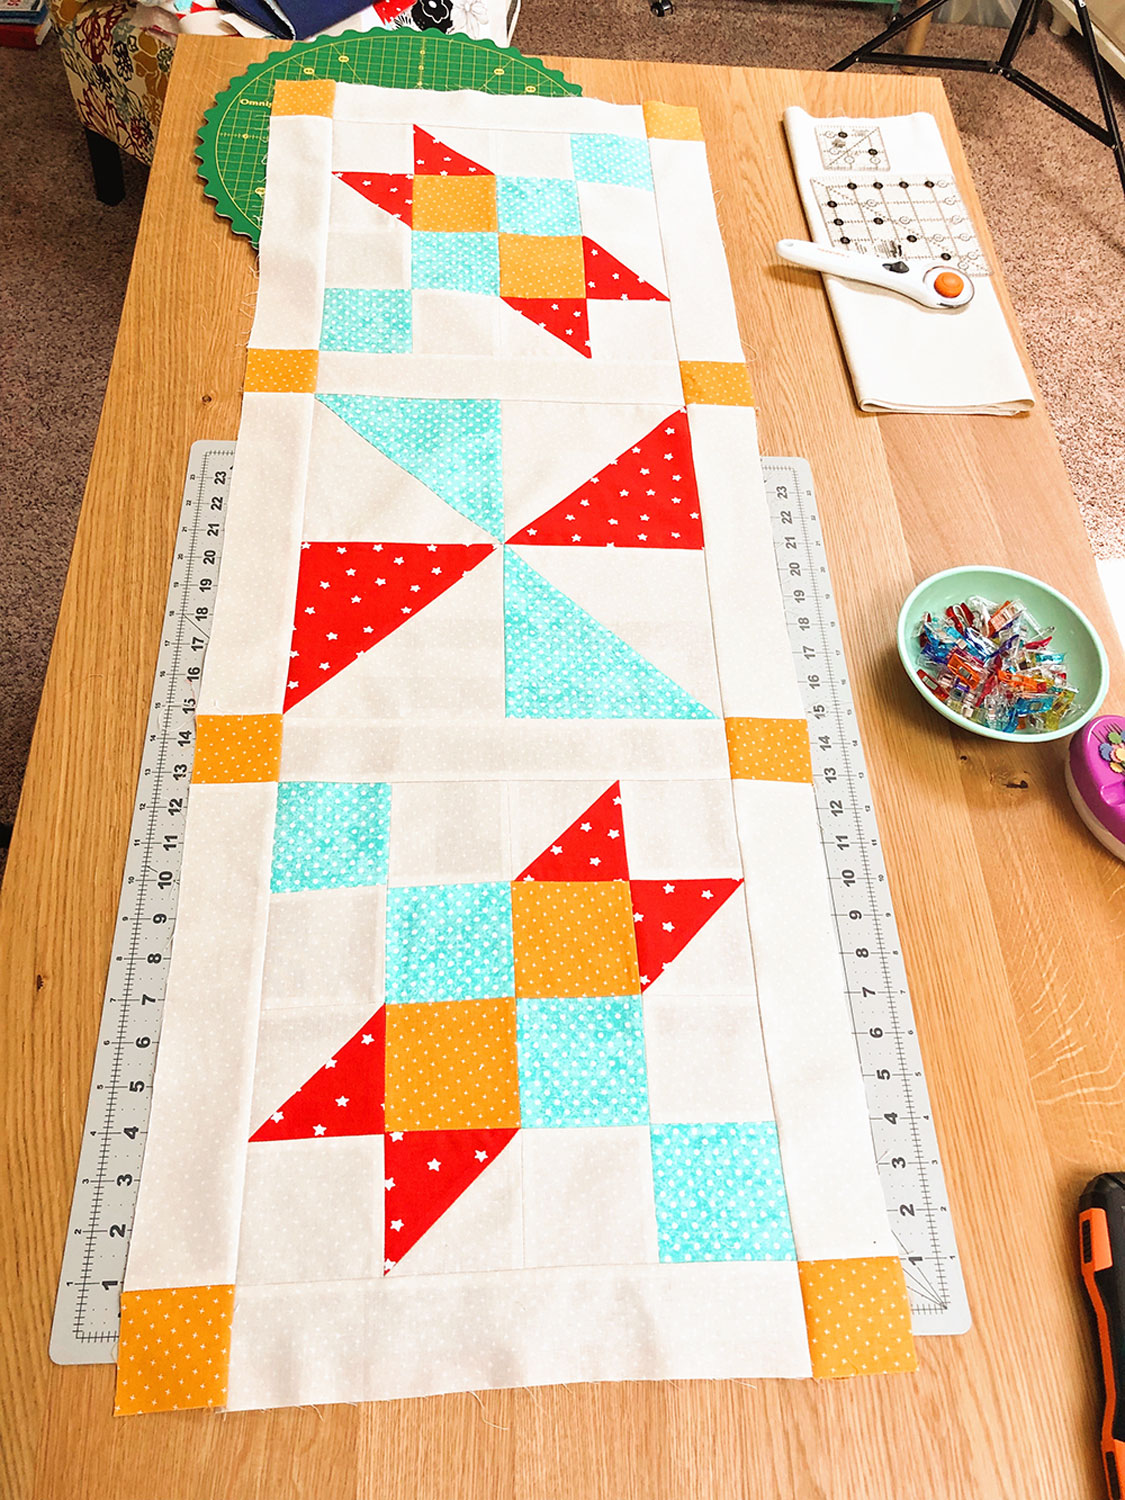
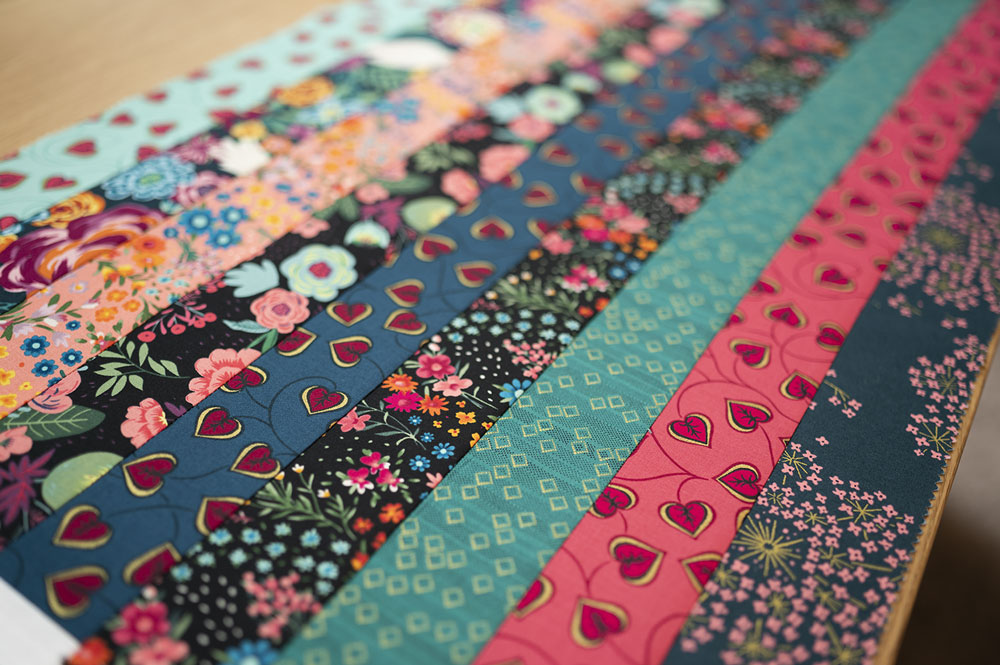
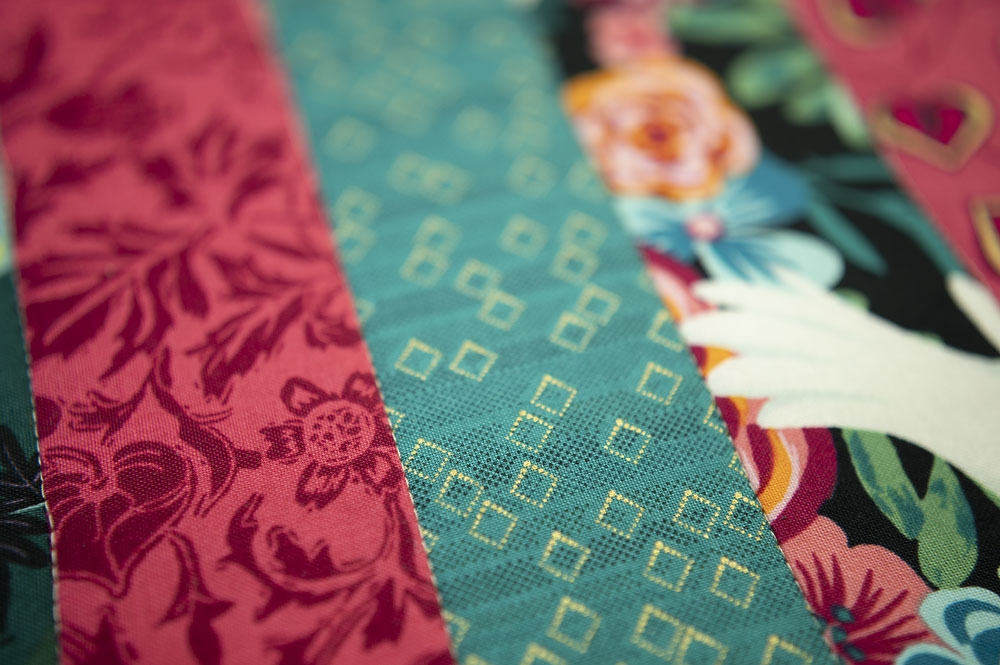
- A small project like this is a fun way to experiment with color and play with a fabric collection you might otherwise be timid to use. Pairing colors in threes is a great way to try out different combinations without the pressure of making more complicated blocks or committing to a full sized quilt.
- Placemats with coordinating napkins also make fantastic gifts for friends and family as well as dressing up your dinner table at home.
- Lastly, here is a quilting project to make without fiddling with quilt binding!! I’m always down for a no binding quilted project!