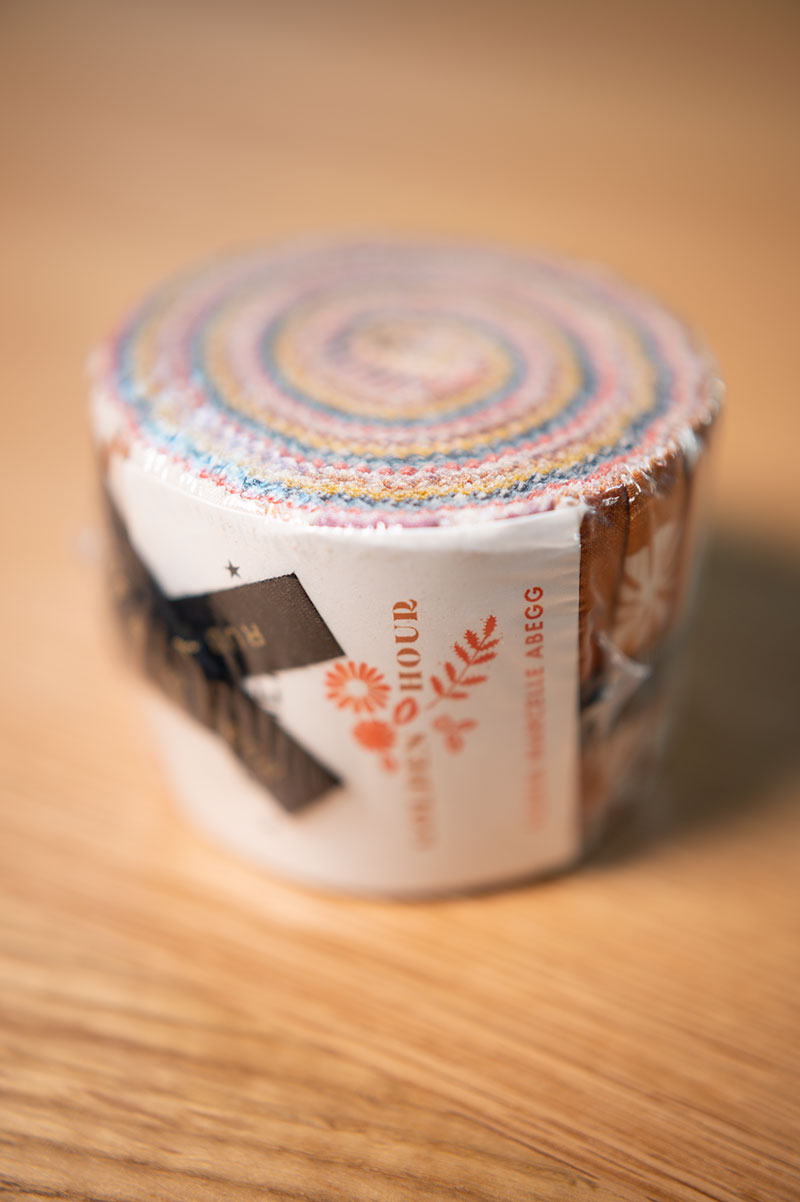
Quilted Zipper Pouch Tutorial
Allow me to share a quilted zipper pouch tutorial, an object you will use and love. As a bonus, this project is easy to personalize and give as a gift to just about anyone.
As sewists, we look for projects that are both fun to craft, and that make wonderful gifts. Let’s be honest for a hot minute. Not all handmade gifts are greeted with enthusiasm. However, today’s quilted zipper pouch is something people absolutely love to receive.
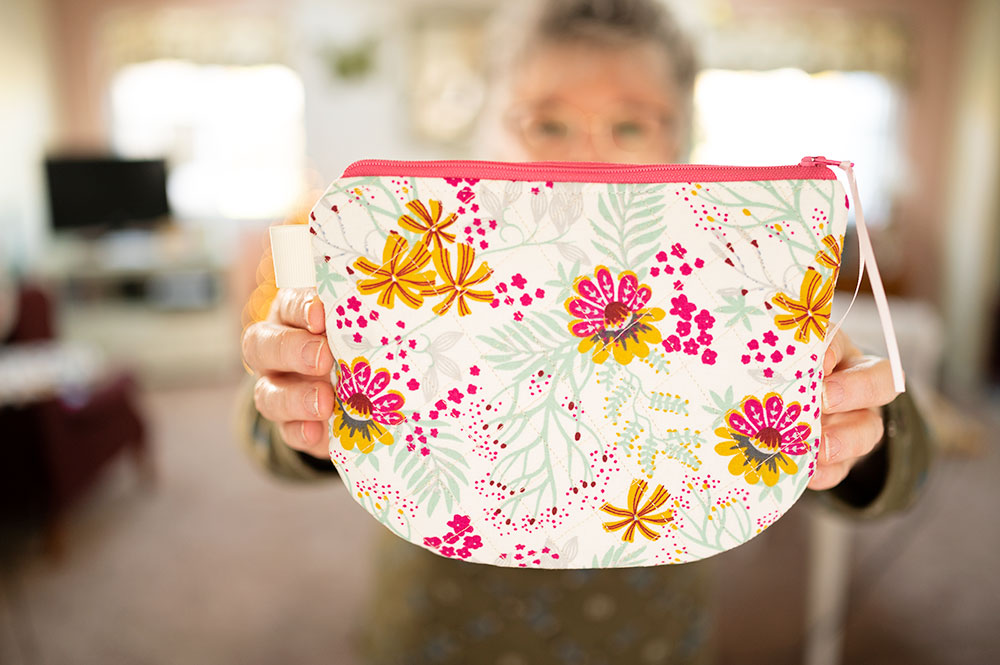
One of the first projects I made when I when I took up sewing again is a zippered pouch, and after all this time, it’s still one of my favorite projects. For this tutorial I will lay out the steps for you as clearly as possible, and be sure to read to the end for the free printable pattern.
What is the first step in this sewing tutorial for a quilted zipper pouch?
Your first step is to quilt the fabric, but don’t worry! It’s easy to do.
- To keep it simple, use a pretty fat quarter in a print (affiliate link) and affix fusible quilt batting to the entire fat quarter. Follow the instructions on the packaging that comes with the fusible quilt batting. I prefer fusible quilt batting in bag projects, because it has a stiffness that works well in bags.
- Once quilted, trim to square up.
- After that, sew straight rows of stitching in parallel lines first one way and then at 45 degree angles to the first rows. Essentially, you are stitching a diamond pattern with the quilt lines. I estimated the distance and didn’t worry too much about perfection.
- Using an all purpose presser foot is fine, but you can use your walking foot for best results.
- Once the fabric is quilted it’s ready to cut into panels using the pattern piece for the outside of the pouch. You will be able to get 4 outer panels to sew into 2 pouches from one fat quarter.
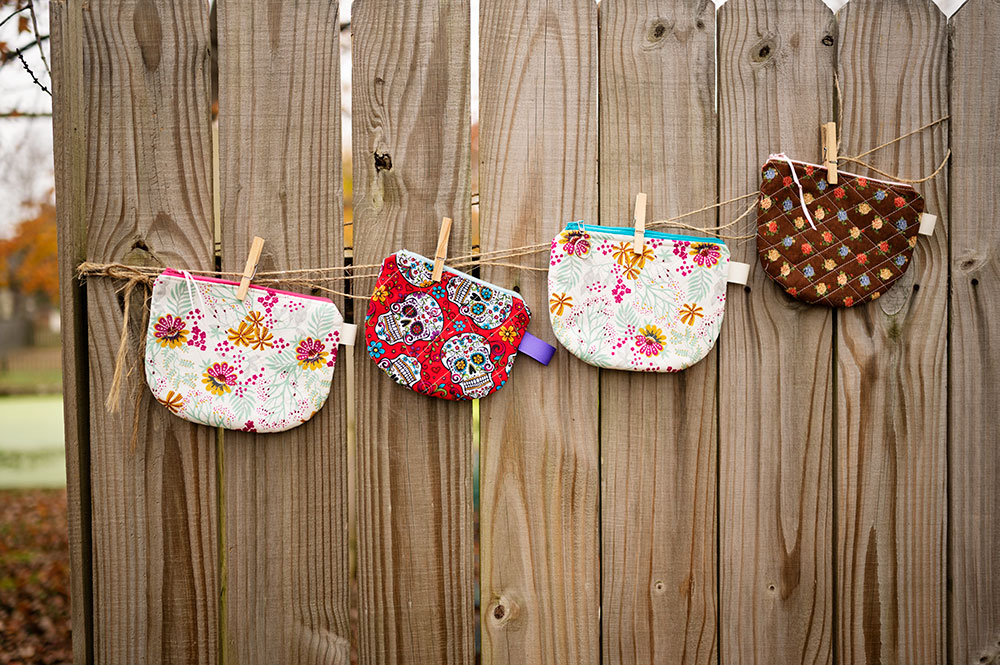
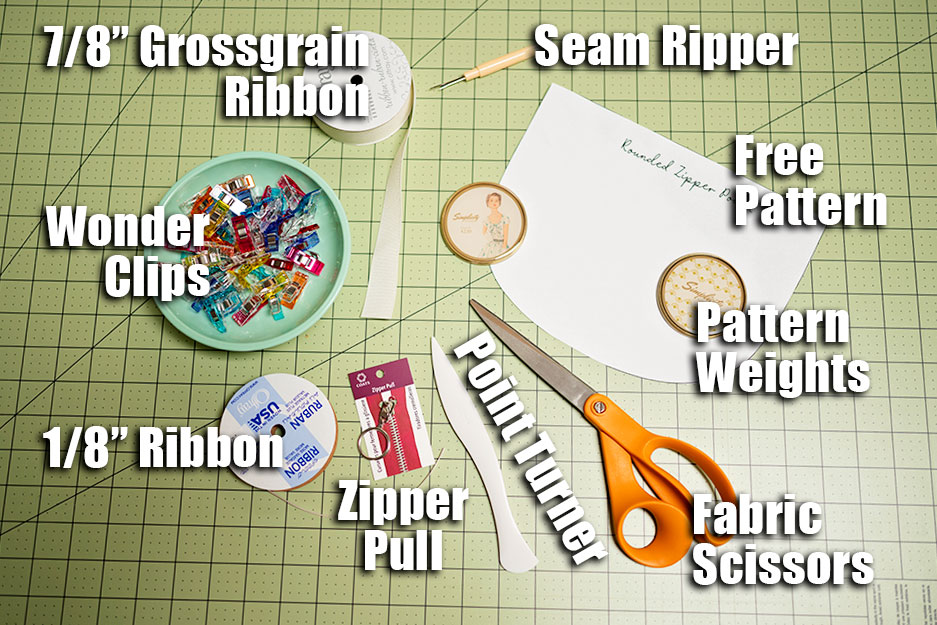
Tools and notions needed to sew Quilted Zipper Pouches
- Fabric Scissors (affiliate link)
- Disappearing ink pen (affiliate link)
- Clips (affiliate link) or Pins
- Sewing Machine
- All purpose Presser foot
- Zipper foot Presser foot
- Walking Foot (optional)
- Seam Ripper (affiliate link)
- Pattern weights (optional)
- Iron (affiliate link)
- Ironing Board
- Point turner (affiliate link)
- Free pattern (affiliate link)
- Grosgrain ribbon
- 1/8″ satin ribbon
- Decorative Zipper Pull (affiliate link) (optional)
Materials needed for the Quilted Zipper Pouch Project:
- Cotton woven fabric for the outside of the pouch. I generally like a fun print for my outside panels. This could easily be cut from fabric scraps, because the pieces are small. But, in general, a fat quarter will yield four panels. (affiliate link)
- Cotton woven fabric for the inside of the pouch. I typically use a solid fabric for my bag lining. You will need two panels.
- Polyester zipper, 12″ – 14″ length. I use a zipper longer than my bag needs and trim it down to size.
- 7/8″ Grosgrain ribbon for the tab on one side of your bag.
- Cotton thread. You will be sewing your quilting lines as well as sewing the bag together. You can use all the same thread or different colors if you want to be more decorative.
- Fusible quilt batting.
- Either a length of 1/8″ ribbon or a zipper pull to use on the zipper itself. This is optional, but I like something decorative on my zipper with a pretty quilted pouch project.
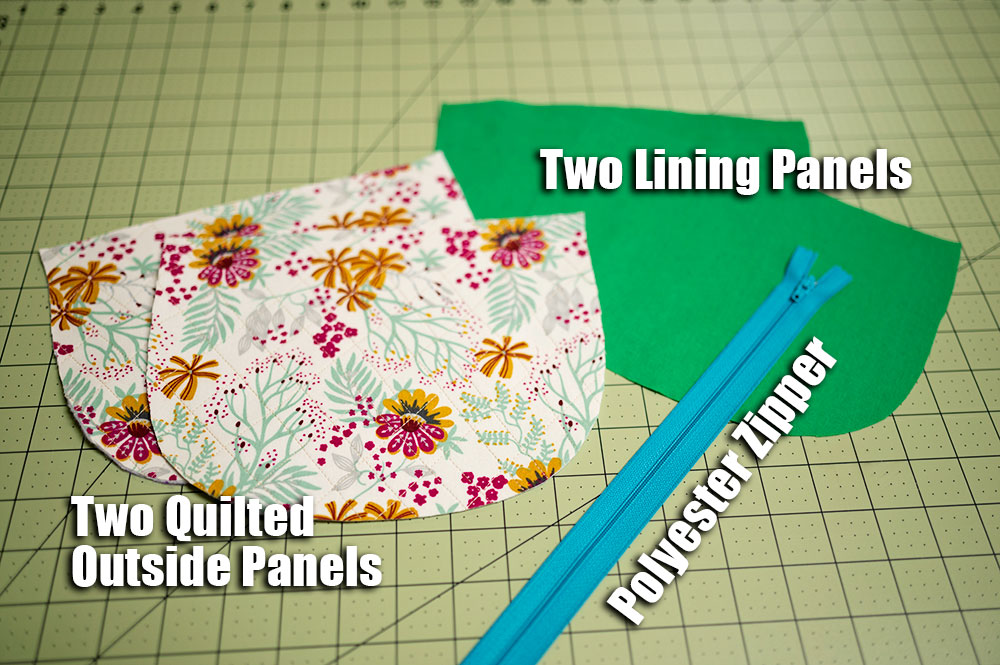
To keep this easy, let’s cover the process of putting the project together into 3 separate zones.
First steps to constructing the zippered pouch in today’s tutorial:
- Download the free printable pattern, print it out and cut it on the pattern lines.
- Using the free pattern from the last step, Cut out the pattern pieces. Two in the outer fabric (this is the fabric you quilted earlier) and two in the lining.
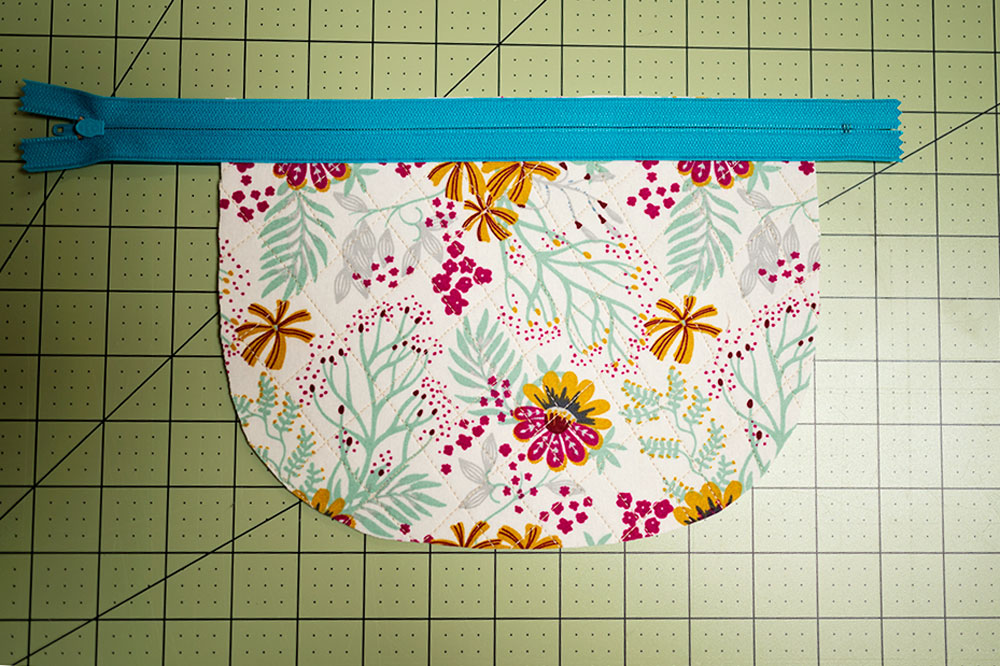
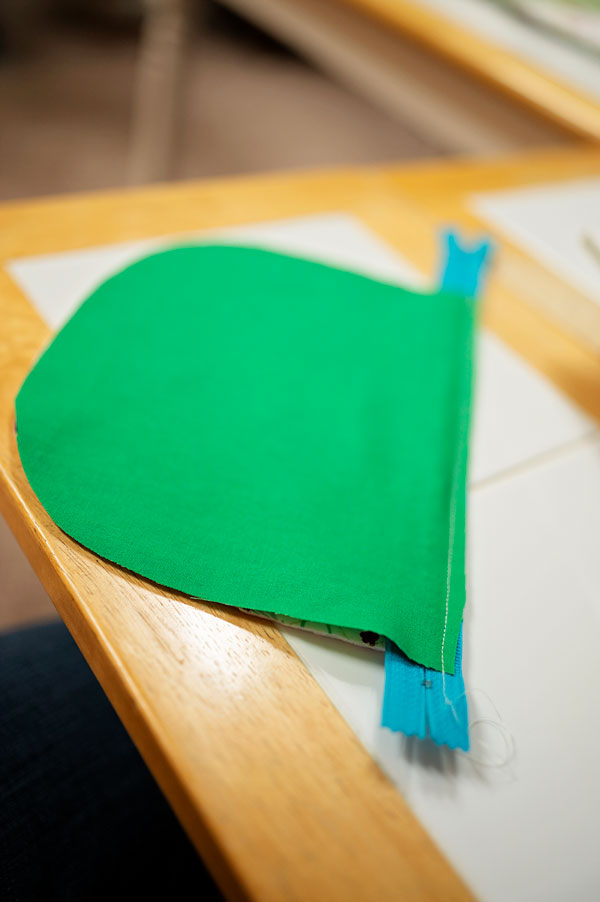
- Lay one outside panel right side UP.
- Turn the zipper right side DOWN and align the top edge of the zipper to the flat edge of the outside panel piece.
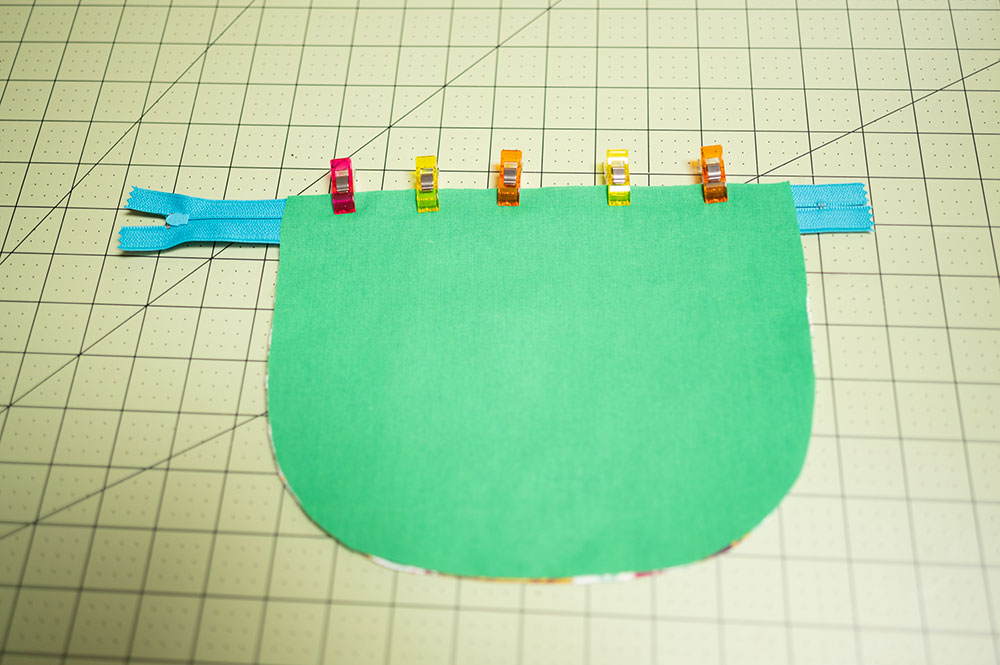
- Lining the straight edges together, lay the lining piece right side DOWN.
- Secure along the straight edge using either pins or clips.
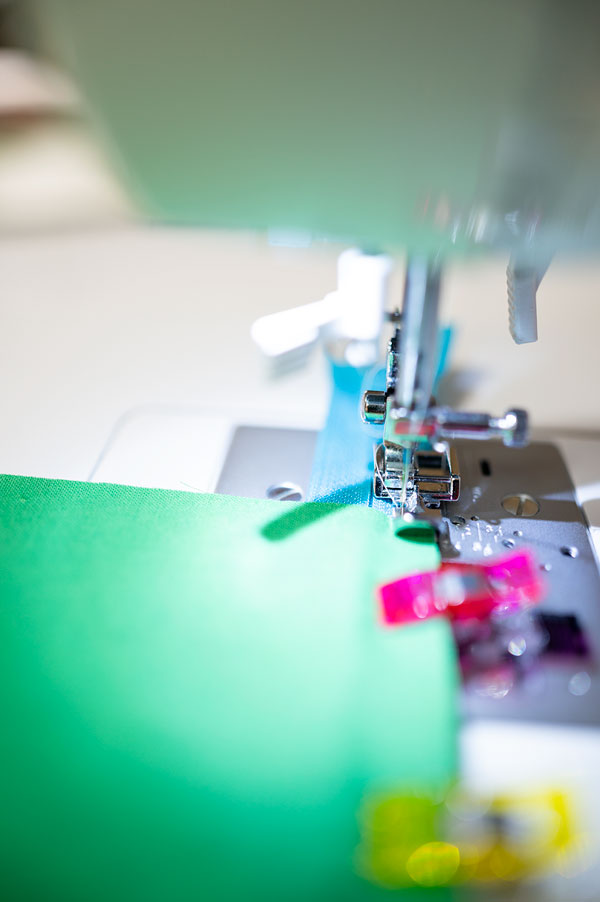
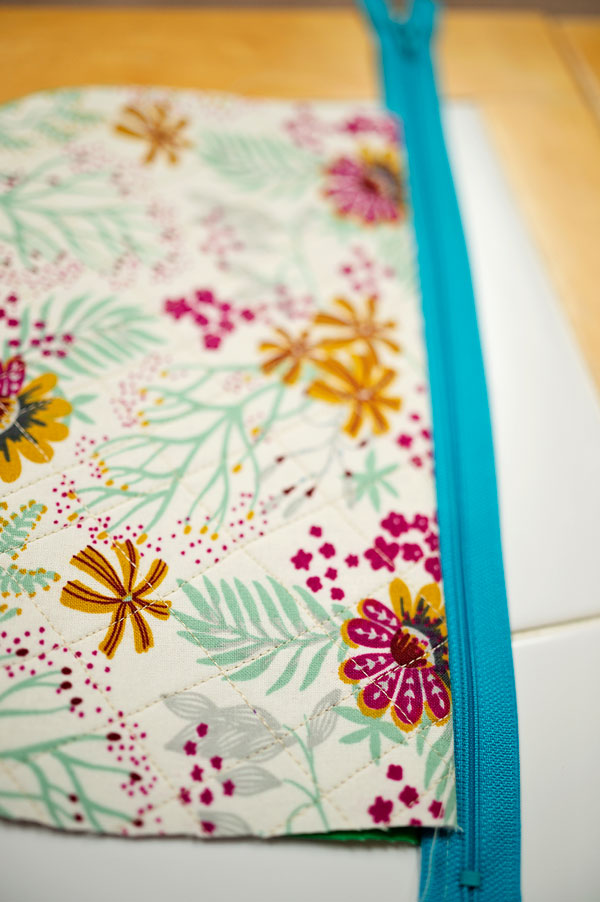
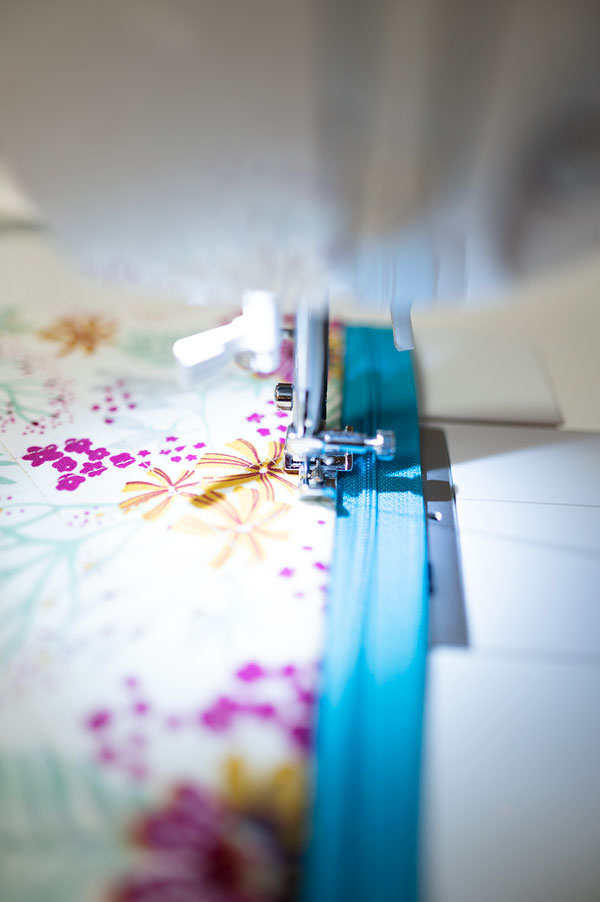
- Take the sandwich to your sewing machine that is fitted with the zipper foot presser foot. Using a 2.5mm stitch length, stitch all three layers together.
- Press out the piece with sewn edge flat on the zipper.
- Increase stitch length to 3.5mm and topstitch fabrics to the zipper. This both looks decorative and keeps lining fabric from sticking in the zipper once the bag is turned out.
The second zone in constructing the zippered pouch for today’s tutorial:
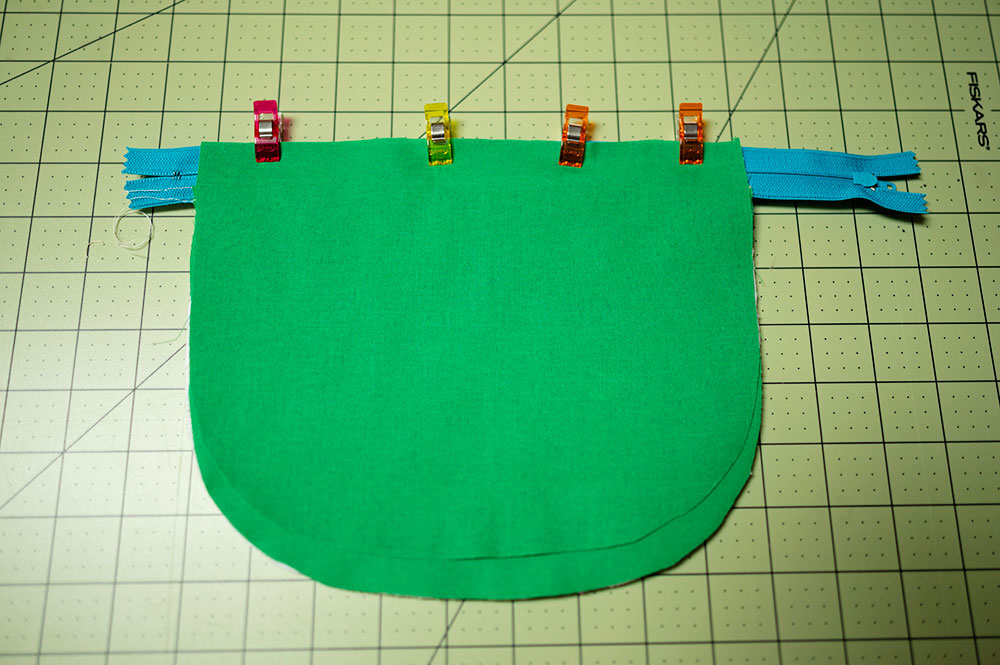
- Lay unsewn outer panel right side UP.
- Take partially sewn pouch, turn it panel piece down and line up the zipper edge to the outer panel edge. You are placing the outer panels right sides together for this step.
- Lay the second lining piece, right side down on top of this pouch sandwich, lining up the straight edge to the zipper edge.
- Secure the sandwich in place with either pins or clips.
- Take the sandwich to your sewing machine that is fitted with the zipper foot presser foot. Using a 2.5mm stitch length, stitch all three layers together.
- Press out the piece with sewn edge flat on the zipper.
- Increase stitch length to 3.5mm and topstitch fabrics to the zipper. This both looks decorative and keeps lining fabric from sticking in the zipper once the project is turned out.

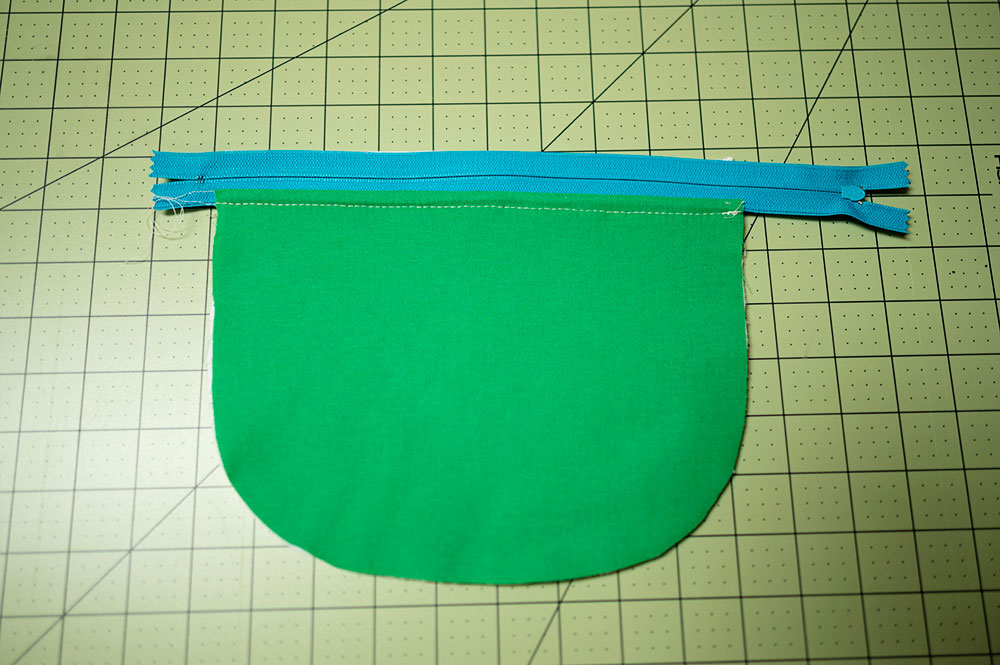
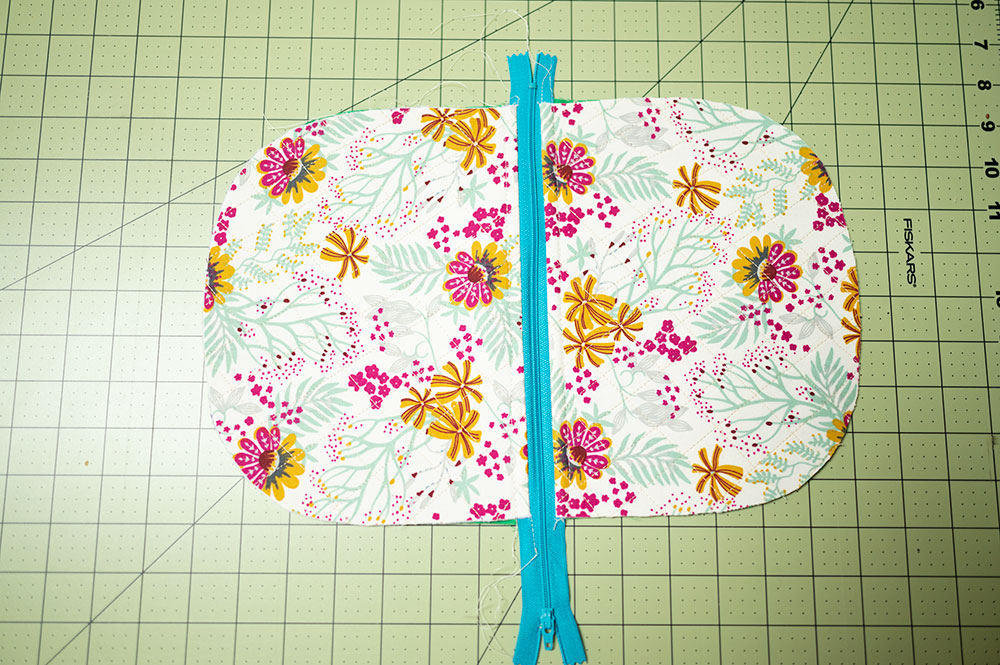
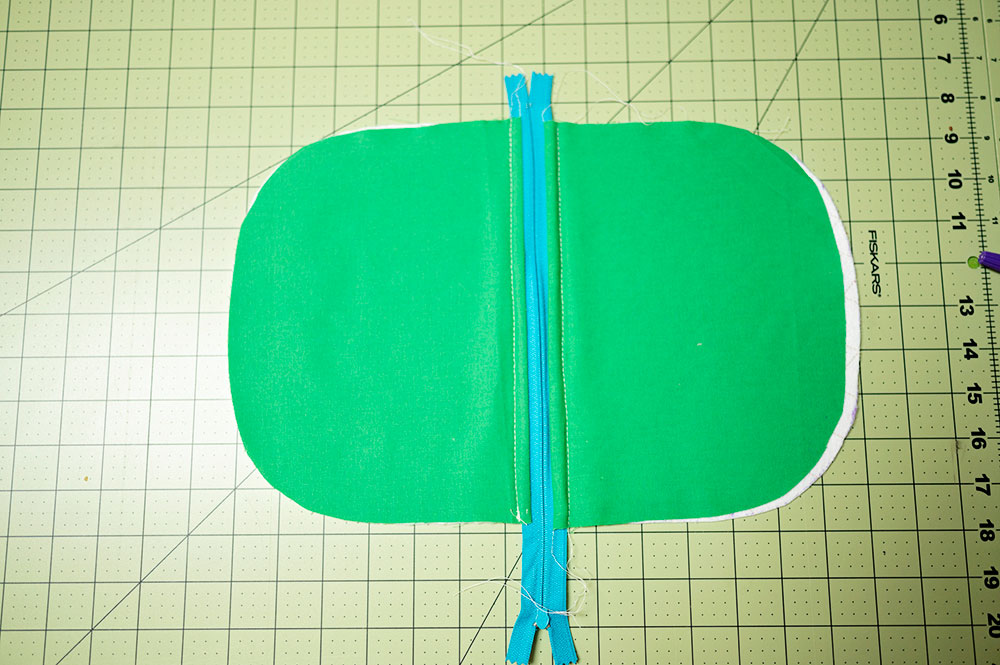
The zipper is now installed and we are ready to put the bag together. The next step is a small one but, it’s super important.
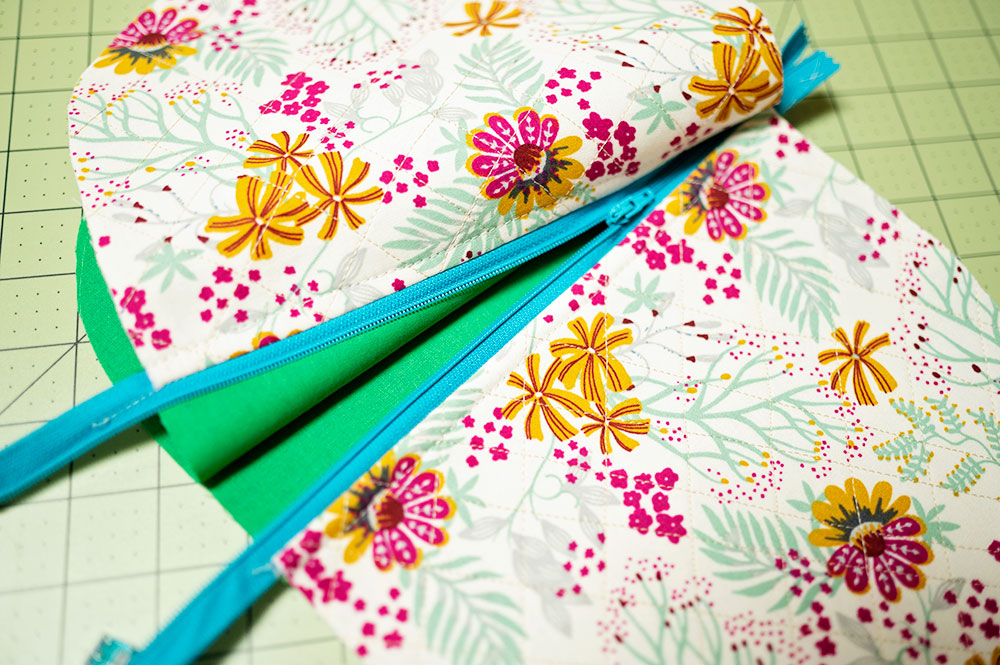
Unzip the zipper to a little more than half way.
This is important, because when you turn your bag out, if the zipper is not open, there is no way to reach through and turn out the finished bag! You will have to rip out a seam on one side, and then unzip the zipper before restitching.
The third zone in constructing the zippered pouch in today’s tutorial:
- With the zipper partially unzipped, meet right sides together on the outer lining and match right sides together on the lining. Line up the edges the best you can.
- Secure the outer panel together with clips or pins.
- If a small tab is desired, cut the Grosgrain ribbon to a 4″ length and fold in half making a short loop. Tuck the loop side in between the outer panel fabrics, close to the zipper edge. The cut or raw edges will be facing out on the project wrong side. Secure into place.
- To get the zipper just right, fold it in half with the teeth facing the lining side of the bag. Secure in place with clips or pins.
- Secure the lining side of the bag together remembering to mark a space along the bottom to leave an opening large enough to reach inside and turn the bag.
- Starting on one the left side of the lining opening, using a 3/8″ seam allowance with an all purpose presser foot, sew carefully all the way around the circumference of the bag back to the other side of the opening in the lining. Back stitch at the start of finish of the stitching line.
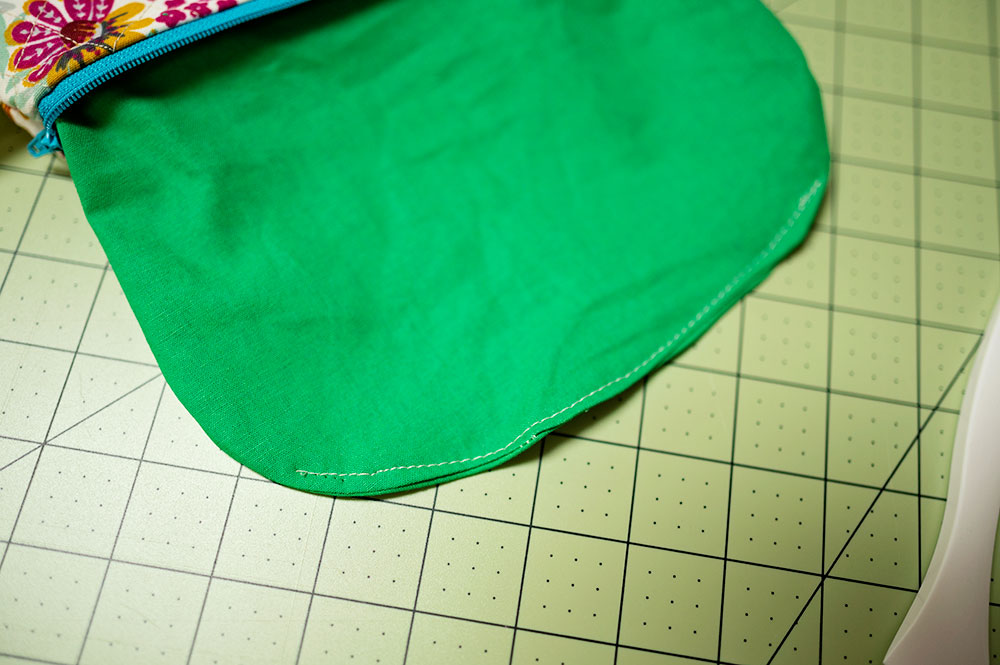
- Trim the excess zipper off the bag and carefully clip the curves.
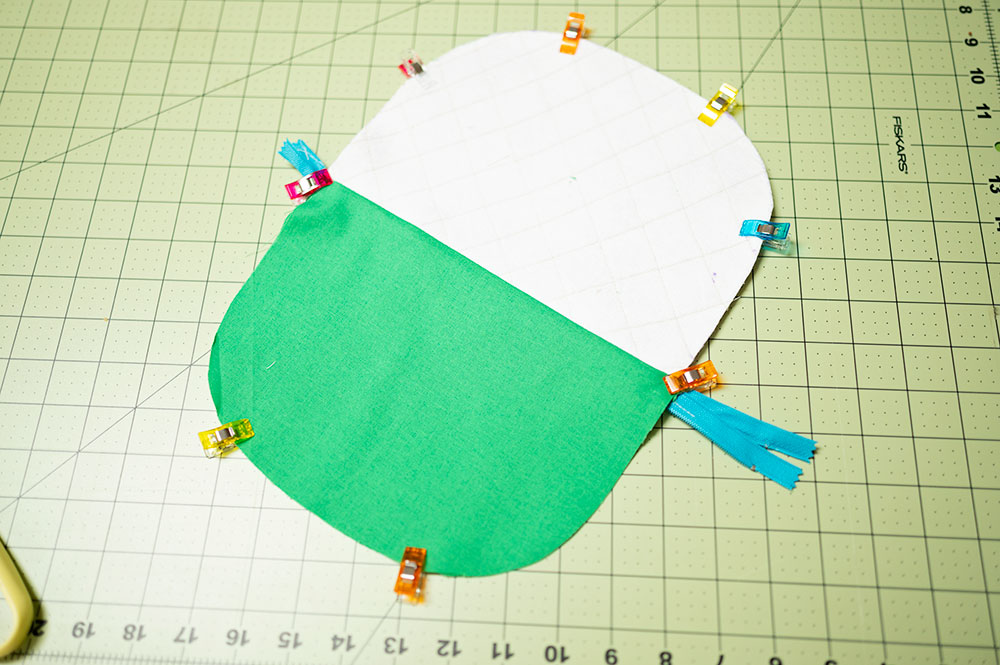
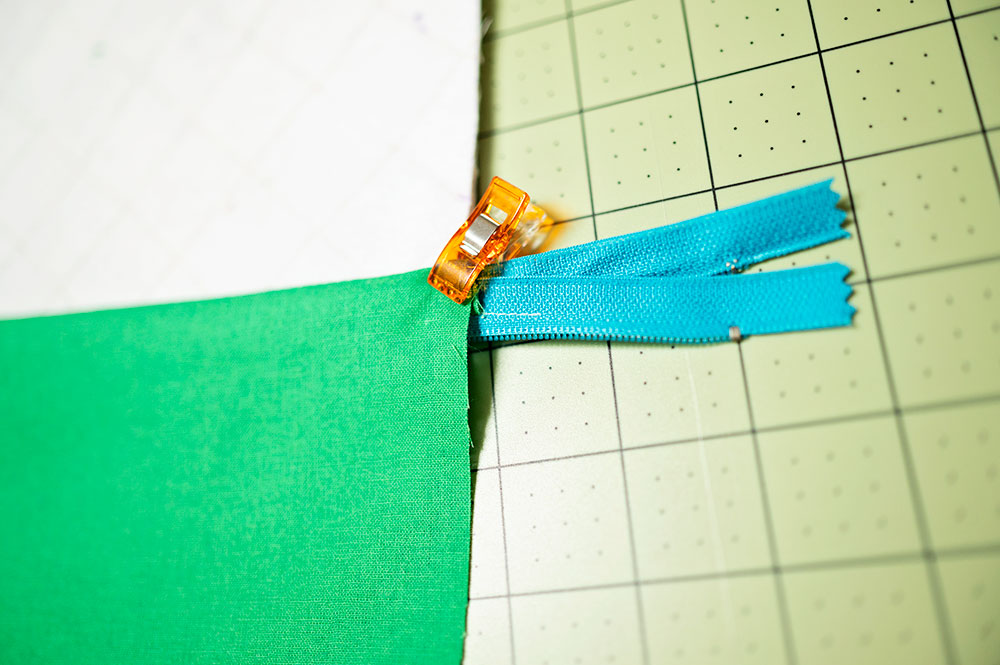
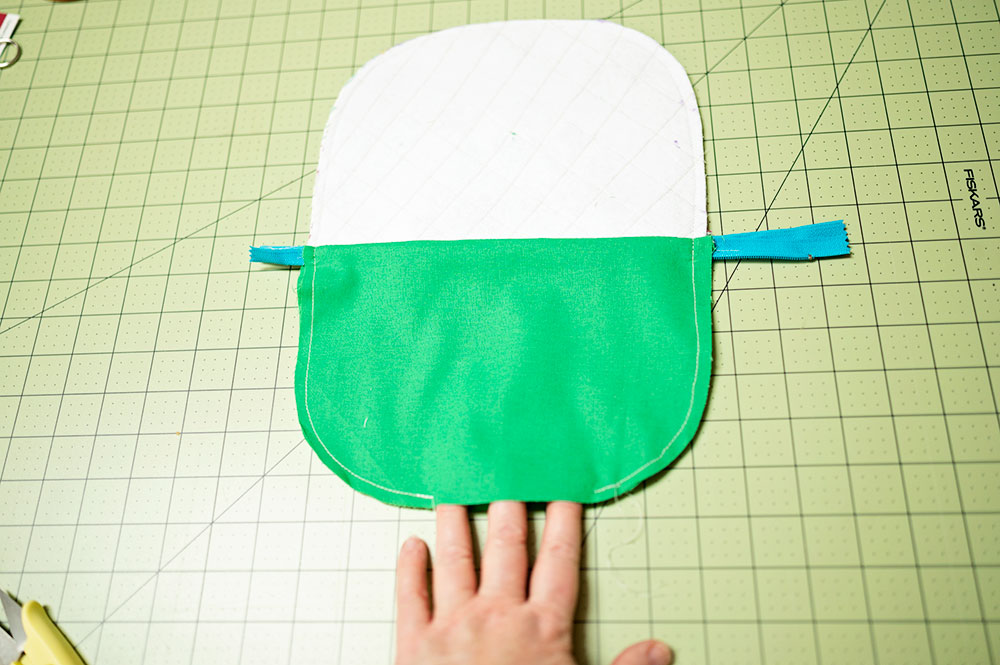
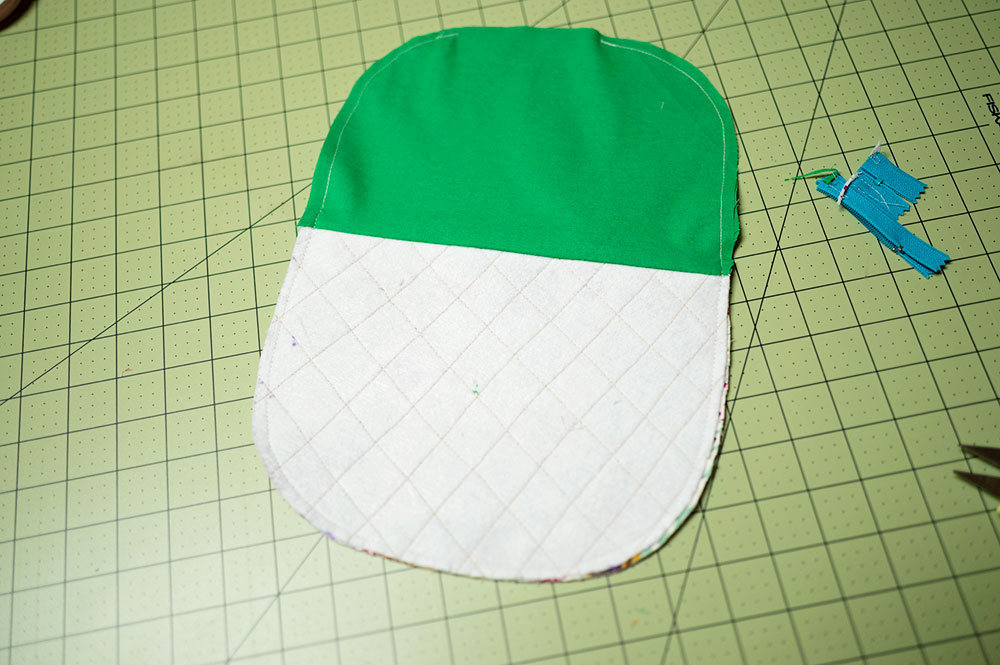
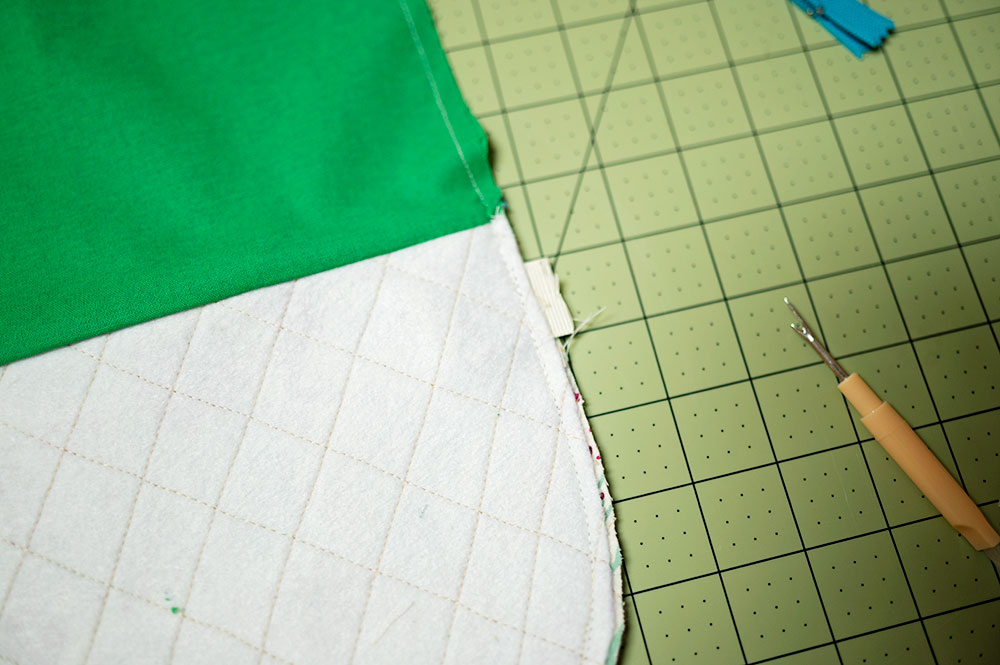
To finish the quilted bag:
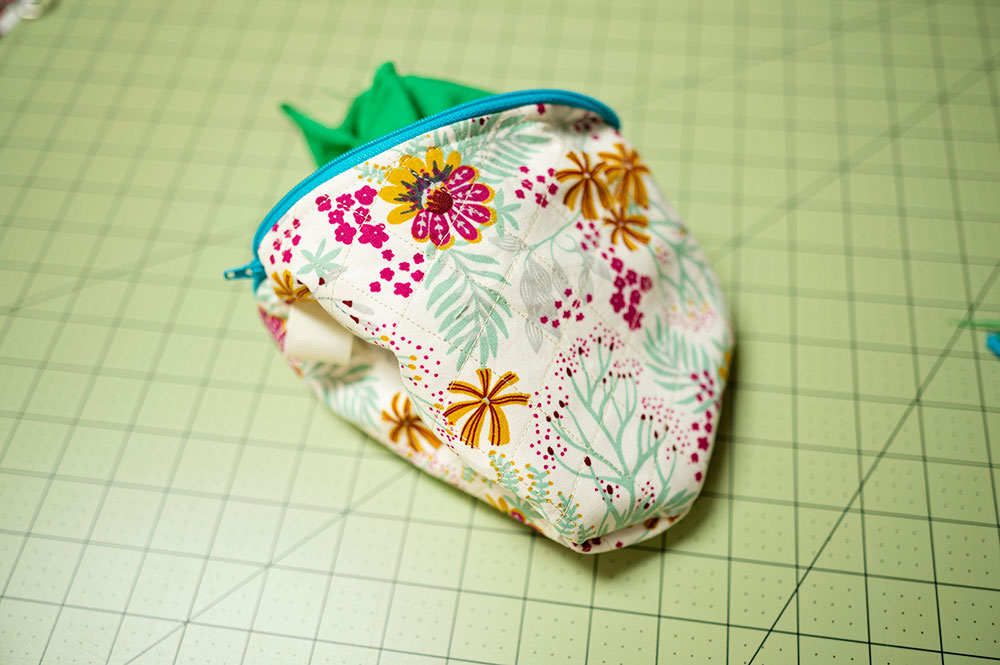
- Reach inside the bag, through the opening in the lining and pull the project right sides out.
- It’s normal for the project to look horrible at this stage.
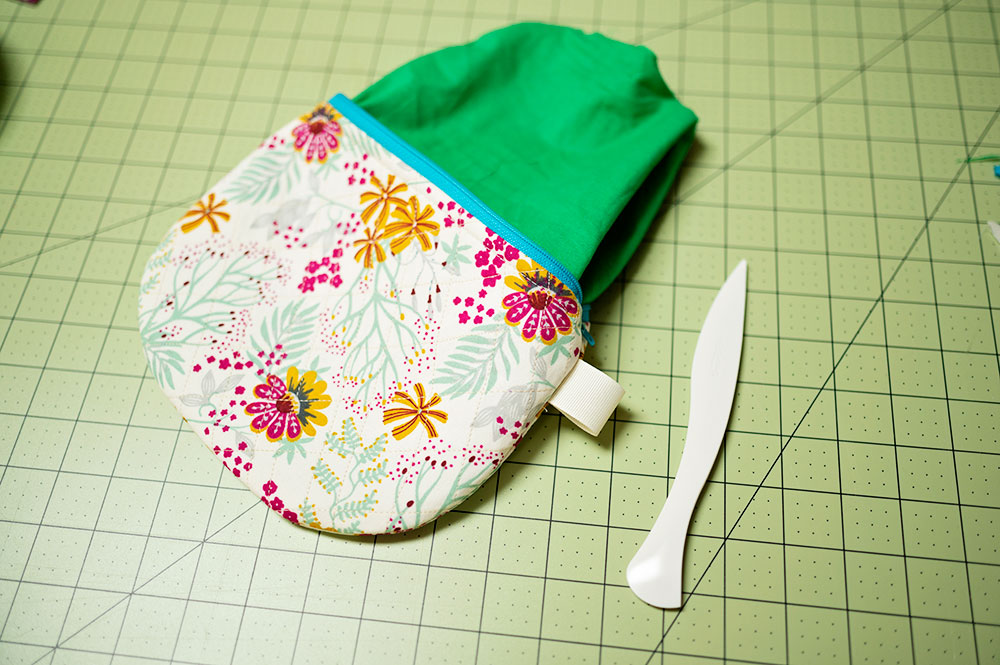
- Using the point turner, run along the seams and open up the project fully. The rounded side is perfect for the bag seams and the pointier end to push out the zipper in each corner.
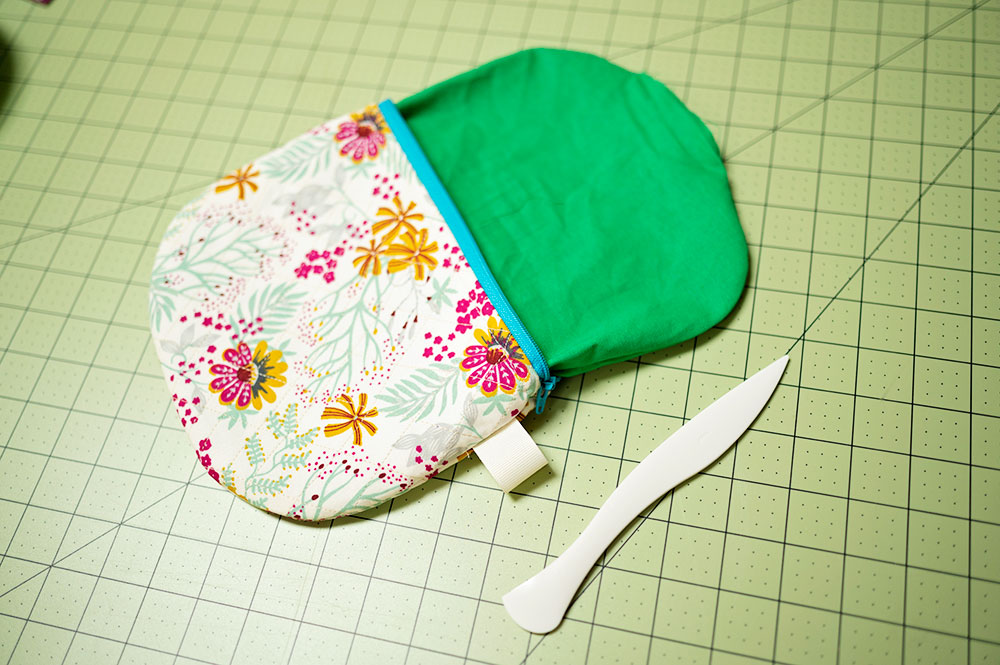
- Sew a 1/4″ seam along the opening in the lining to close the project and tuck the lining inside the bag.
- Give the project a good steam press to finish it off. Pressing will put the lining in place as well as smooth out the outer panel giving a more professional looking finish.
Tips and Tricks for Success:
- First of all, the quilting on your outer fabric does not have to be perfect. No one will notice if the lines and spacing are not totally perfect. Also, you can use already quilted fabric for the outside panels.
- Quite often, the lining panels will migrate slightly, so if they are not “perfect” don’t worry, you can trim excess seam allowance if needed before turning the bag. The more of these projects you make, the better your technique becomes.
- Let’s talk about sewing over the zippers. Yes it can be done, and yes you have to be careful about it. I find increasing the stitch length slightly upon approaching the zipper helps. Additionally, hand cranking the needle over the zipper really helps. Using an all purpose presser foot will better get over the bulk of a zipper. After sewing dozens of these little zipper bags and as long as I take it slow and easy over the zipper teeth, I’ve never had a problem.
- The biggest thing I find with making a zipper pouch project like this is that it can be easy to get confused. Take your time, and follow the steps as I’ve listed them. You will have beautiful bags to show for your effort.
Ways to have fun with Quilted Zipper Pouches:
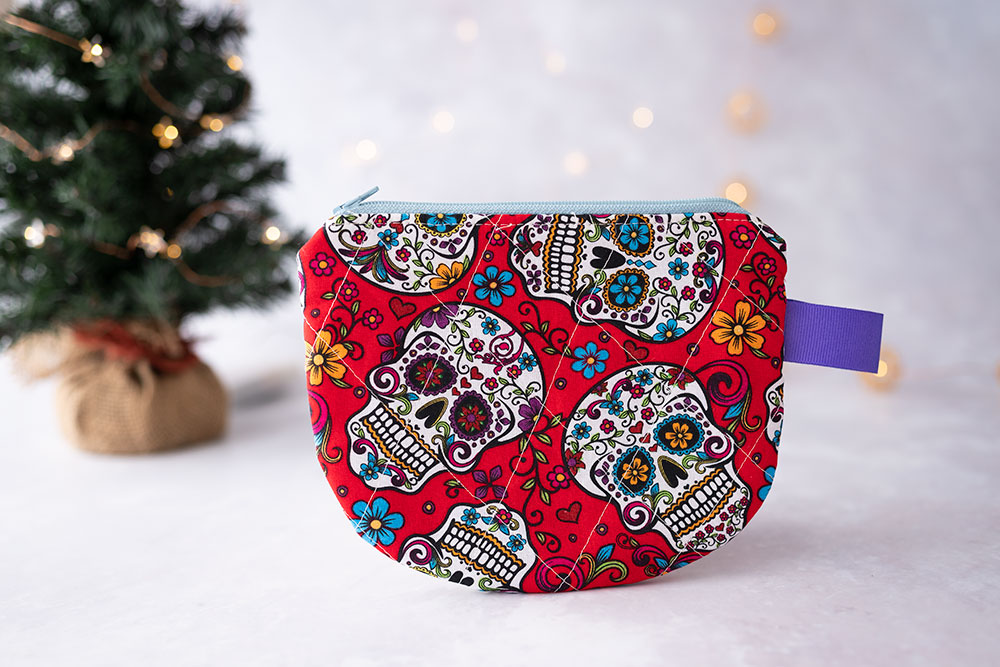
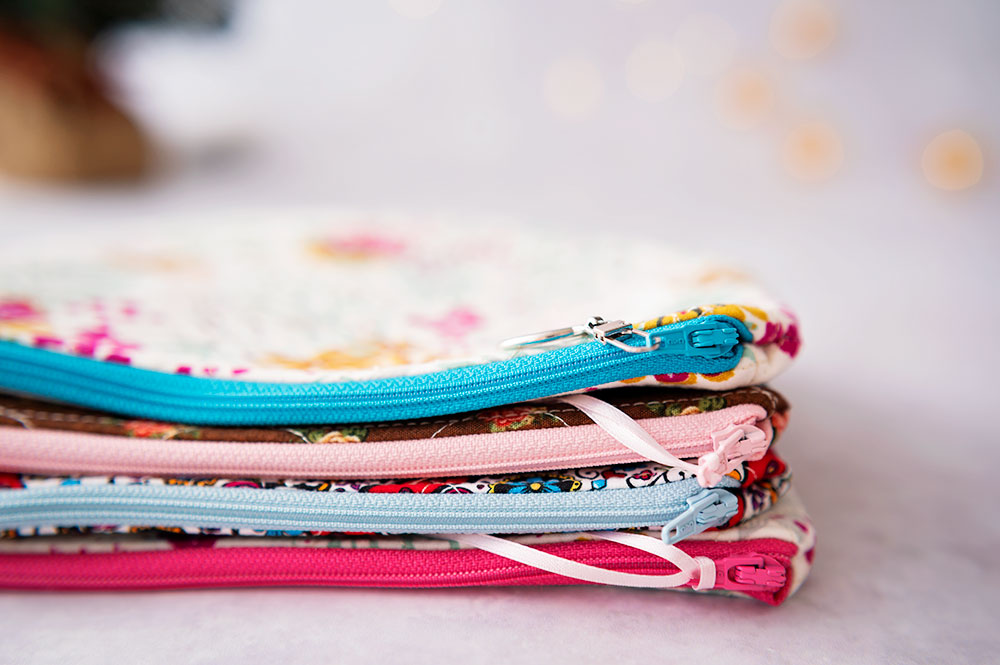
- Get spicy with your color choice when it comes to zippers. A bright and colorful zip in a contrasting color makes a really pretty bag.
- If you want to add the Grosgrain tab, something colorful is really fun. But if you want something neutral, a cream or a black goes with any fabric choice.
- Adding a ribbon or a fancier zipper pull to the zip is my favorite way to dress up my zipper pouches.
- Have a big contrast between the lining and the outer fabric. Personally, I like a fun print on my outer panel and a solid for my lining. Also, solid fabrics are generally less expensive when purchased as yardage.
- Experiment with leftovers or fat quarters to design playful bags. A zipper pouch is a great project to explore your creativity. If you are shy about color, get whimsical when combining elements and see what happens. You might find you have designed the perfect gift for that hard-to-buy-for teenager. 🙂

Quilted Zipper Pouch Tutorial
Description
As sewists, we are always looking for those projects that are both fun to make, and are something that make welcomed gifts. I use the word “welcomed,” because let’s be honest. Not all handmade gifts are greeted with enthusiasm. But today’s project is something people absolutely love to receive.
Ingredients
- Cotton woven fabric for the outside of the pouch. I generally like a fun print for my outside panels. This could easily be made from fabric scraps, because the pieces are small. But, in general, a fat quarter will yield four panels.
- Cotton woven fabric for the inside of the pouch. I typically use a solid fabric for my bag lining. You will need two panels.
- Polyester zipper, 14″ length. I use a zipper longer than my bag needs and trim it down to size.
- 2″ Grosgrain ribbon for the tab on one side of your bag.
- Cotton thread. You will be sewing your quilting lines as well as sewing the bag together. You can used all the same thread or different colors if you want to be more decorative.
- Fusible quilt batting.
- Either a length of 1/8″ ribbon or a zipper pull to use on the zipper itself. This is optional, but I like something decorative on my zipper with a pretty quilted pouch project.
Tools and notions needed to sew Quilted Zipper Pouches
- Fabric Scissors (affiliate link)
- Disappearing ink pen (affiliate link)
- Clips (affiliate link) or Pins
- Sewing Machine
- All purpose Presser foot
- Zipper foot Presser foot
- Walking Foot (optional)
- Seam Ripper (affiliate link)
- Pattern weights (optional)
- Iron (affiliate link)
- Ironing Board
- Point turner (affiliate link)
- Free pattern
- Grosgrain ribbon
- 1/8″ satin ribbon
- Decorative Zipper Pull (affiliate link) (optional)
Instructions
First steps to constructing the zippered pouch in today’s tutorial:
- Cut out the pattern pieces. Two in the outer fabric (this is the fabric you quilted earlier) and two in the lining.
- Lay one outside panel right side UP.
- Turn the zipper right side DOWN and align the top edge of the zipper to the flat edge of the outside panel piece.
- Lining the straight edges together, lay the lining piece right side DOWN.
- Secure along the straight edge using either pins or clips.
- Take the sandwich to your sewing machine that is fitted with the zipper foot presser foot. Using a 2.5mm stitch length, stitch all three layers together.
- Press out the piece with sewn edge flat on the zipper.
- Increase stitch length to 3.5mm and topstitch fabrics to the zipper. This both looks decorative and keeps lining fabric from sticking in the zipper once the back is turned out.
The second step in constructing the zippered pouch in today’s tutorial:
- Lay outer panel right side UP.
- Take partially sewn pouch, turn it panel piece down and line up the zipper edge to the outer panel edge. You are placing the outer panels right sides together for this step.
- Lay the second lining piece, right side down on top of this pouch sandwich, lining up the straight edge to the zipper edge.
- Secure the sandwich in place with either pins or clips.
- Take the sandwich to your sewing machine that is fitted with the zipper foot presser foot. Using a 2.5mm stitch length, stitch all three layers together.
- Press out the piece with sewn edge flat on the zipper.
- Increase stitch length to 3.5mm and topstitch fabrics to the zipper. This both looks decorative and keeps lining fabric from sticking in the zipper once the back is turned out.
The third step in constructing the zippered pouch in today’s tutorial:
- With the zipper partially unzipped, meet right sides together on the outer lining and match right sides together on the lining. Line up the edges the best you can.
- Secure the outer panel together with clips or pins.
- If a small tab is desired, cut the Grosgrain ribbon to a 4″ length and fold in half making a short loop. Tuck the loop side in between the outer panel fabrics, close to the zipper edge. The cut or raw edges will be facing out on the project wrong side. Secure into place.
- To get the zipper just right, fold it in half with the teeth facing the lining side of the bag. Secure in place with clips or pins.
- Clip the lining side of the bag together remembering to mark a space along the bottom to leave an opening large enough to reach inside and turn the bag.
- Starting on one the left side of the lining opening, using a 3/8″ seam allowance, sew carefully all the way around the circumference of the bag back to the other side of the opening in the lining. Back stitch at the start of finish of the stitching line.
- Trim the excess zipper off the bag and carefully clip the curves.
To finish the quilted bag:
- Reach inside the bag, through the opening in the lining and pull the project right sides out.
- It’s normal for the project to look horrible at this stage.
- Using the point turner, run along the seams and open up the project fully. The rounded side is perfect for the bag seams and the pointier end to push out the zipper in each corner.
- Sew a 1/4″ seam along the opening in the lining to close the project and tuck the lining inside the bag.
- Give the project a good steam press to finish it off. Pressing will put the lining in place as well as smooth out the outer panel giving a more professional looking finish.
Hi! I’m Pattymac
Sewist, Baker, Maker
I’m a creative lifestyle blogger living and working in Coastal Virginia. When I’m not mixing or stitching or taking pictures, I’m out exploring the cook book section of my favorite library or munching my own home baked cookies at a mid week movie matinee.


