Sashing for Quilts
Let’s look at sashing for quilts and how to use it to connect our quilt blocks.
Finished quilt blocks? Sew them together! This makes the quilt top. The subject of today’s article is one way of doing that. This is today’s discussion: sashing for quilts.
In quilting, the varieties of design are as varied as wildflowers in a Cotswold summer field. But one issue is always a constant. Connected quilt blocks form the finished quilt top. Sometimes blocks are sewn together directly and sometimes they are joined using a generally narrow strip of fabric known as a sash.
If you’re following along with the Power of 3 Row Quilt Series you should have 20 assorted quilt blocks ready to be assembled into the quilt top.
All The Blocks below Are 12″ Finished Blocks.
Row 1: The Sawtooth Star
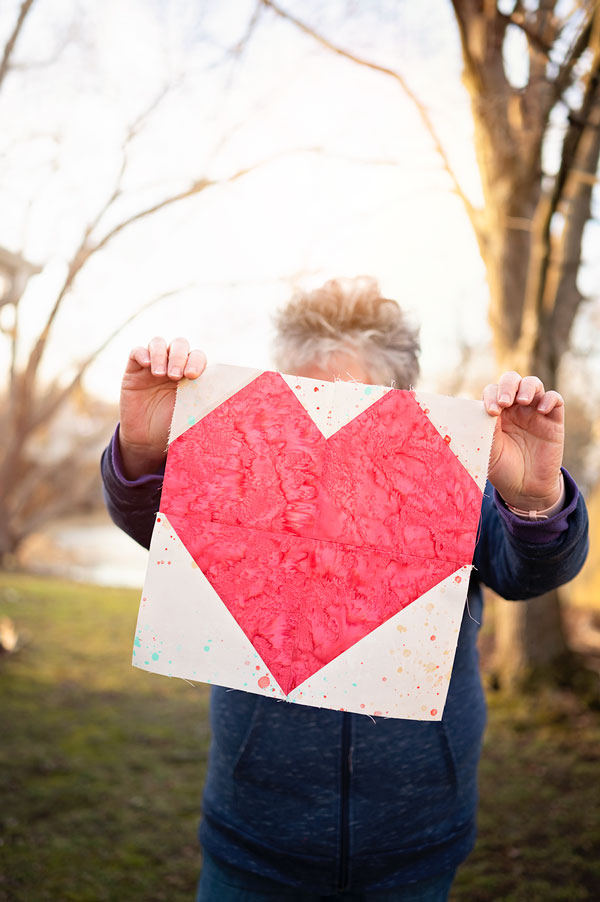
Row 2: A Patriot’s Heart
Row 3: The Diamond Block
Row 4: The Classic Pinwheel
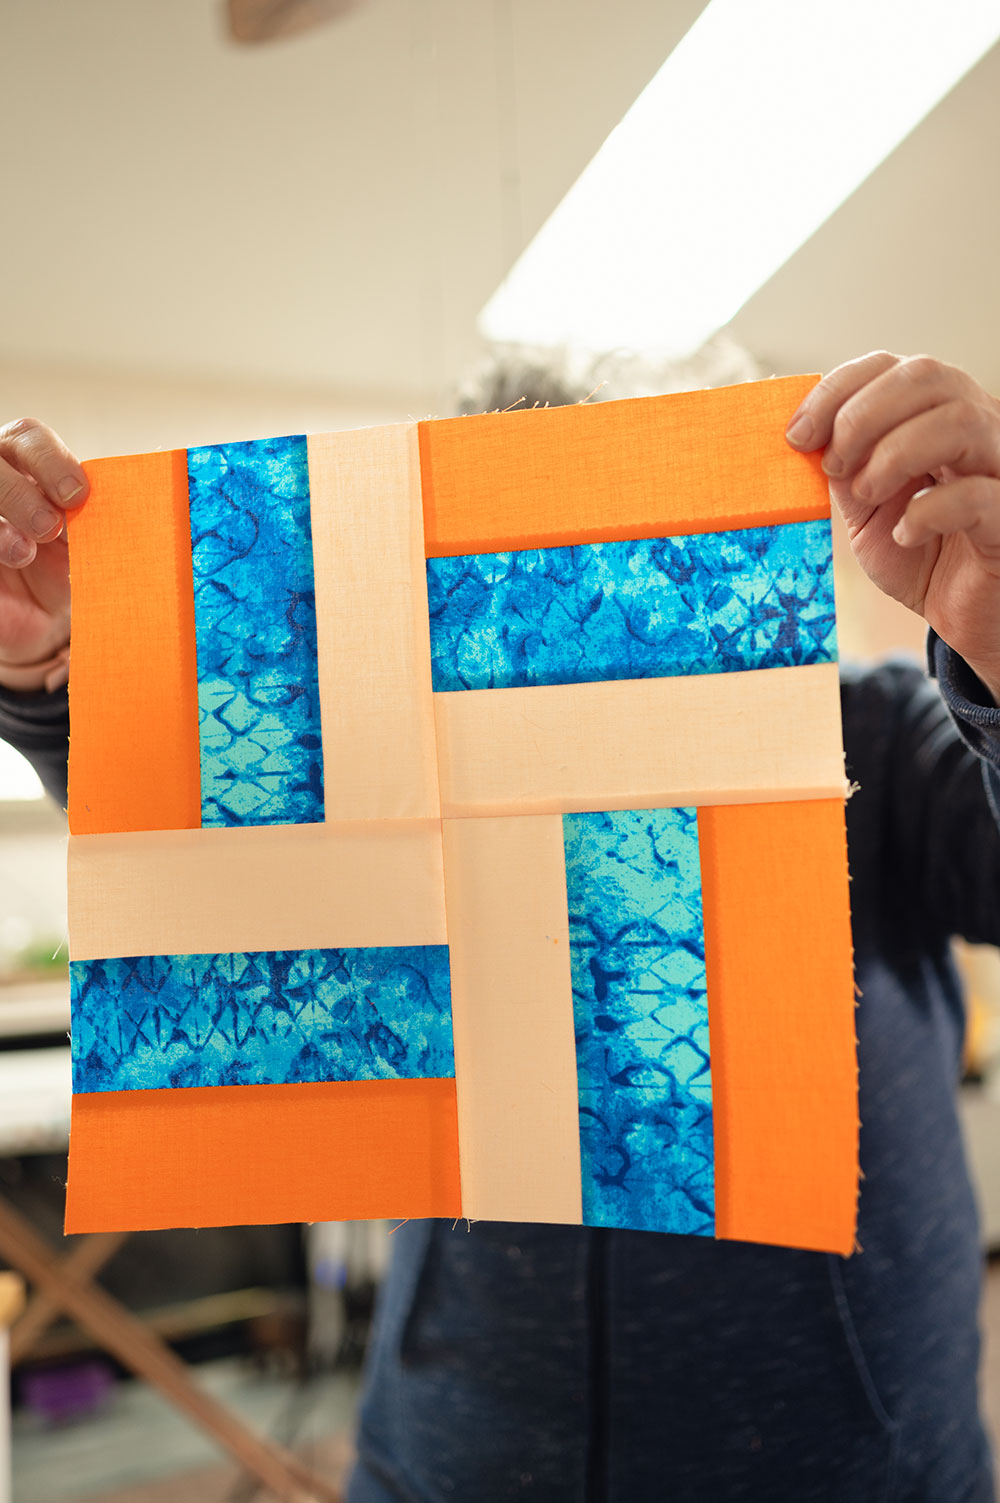
Row 5: The Stair Step Block
Make Your Quilting Easier By Using The Right Tools For The Job
- Rotary Cutter (affiliate link)
- Cutting mat (affiliate link)
- Square Rulers (affiliate link)
- Patriotic Fabrics (affiliate link)
- Really good iron (affiliate link)
Cutting Instructions For sash in the Power of 3 Row Quilt✂️
Color C (Gold):       30 - 2.5" Squares
Color D (White):      49 strips cut 2.5" x 12.5"
How do we get started?
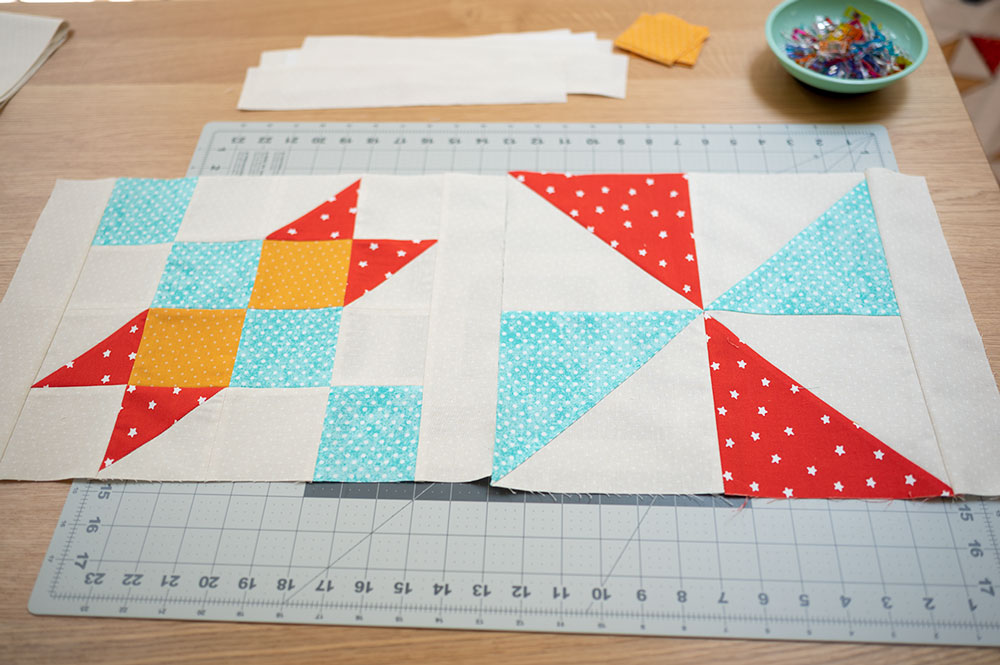
Your first step is to cut your strips and your squares which will form your sash and cornerstones. The sash will connect the blocks to each other forming rows, and the long sash with cornerstones will connect the rows to each other gradually building the full length of the quilt top. Careful cutting is critical, but some easing in is not uncommon.
Tutorial describing sashing for Quilts (beginner Friendly)

Carefully cut the pieces:
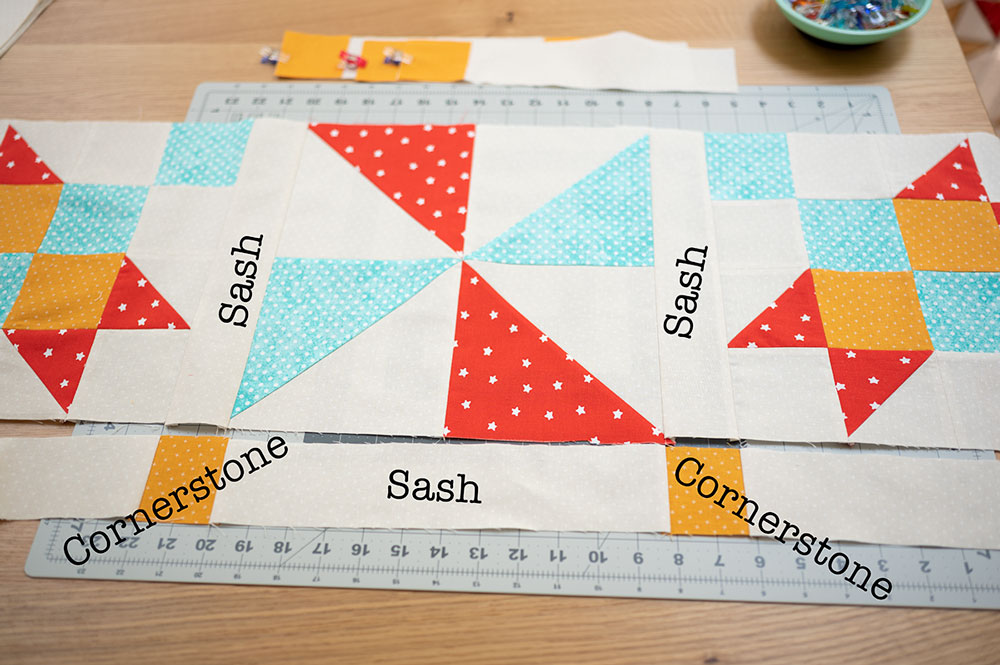
Full cutting instructions are given above for the Power of 3 Row Quilt. In general, the background fabrics are cut as 2.5″ x 12.5″ strips to go around the 12.5″ quilt blocks used in the pattern. 2.5″ squares are cut to use for cornerstone blocks.
Cornerstones both add visual interest and aid in keeping columns straight.
Attach sash to the blocks
Start by sewing the sash strips to the left side of each of the blocks in the row. Once attached using 2.5mm length stitches and 1/4″ seams, press the seam so in goes away from the block.
The sash continues
The sash strips not only go in the middle of blocks to connect them to each other, they also go on the outer edges. Generally speaking the sash goes all the way around the blocks on all sides and separates the blocks from the border.
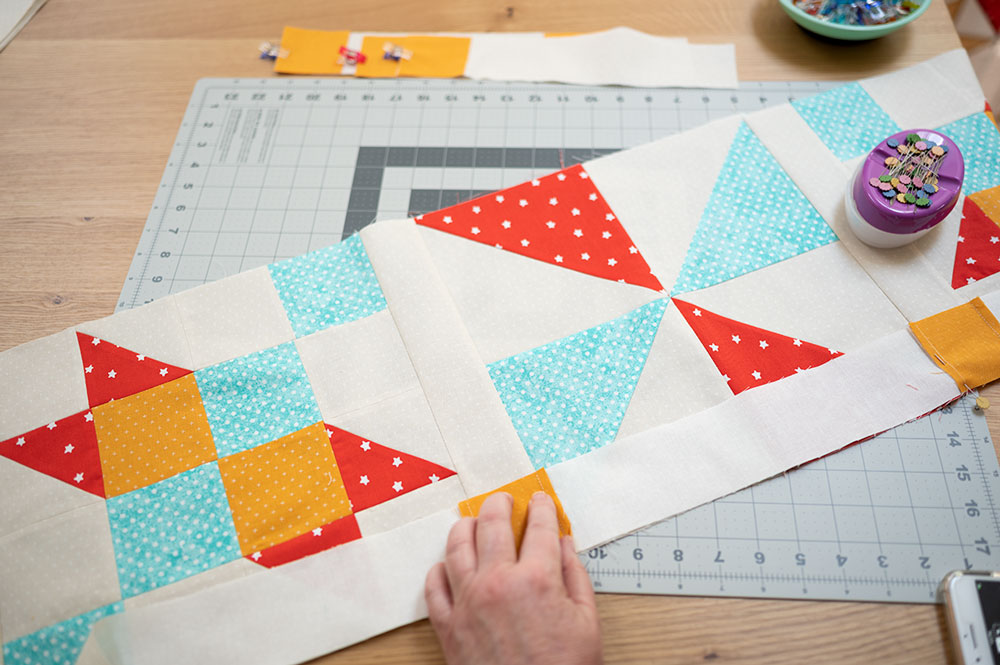
Time for the long sash strips
Once the blocks in a row are joined, it’s time to join rows to each other. In this case, we’re using a long sash strip created using the strips and squares sewn together in alternating oder. You can see the cornerstones fall at the intersection of the sash above it. Keeping accurate seam allowances are critical for getting all of these seams to line up properly. Press the seams at the cornerstones outward or away from the cornerstones.

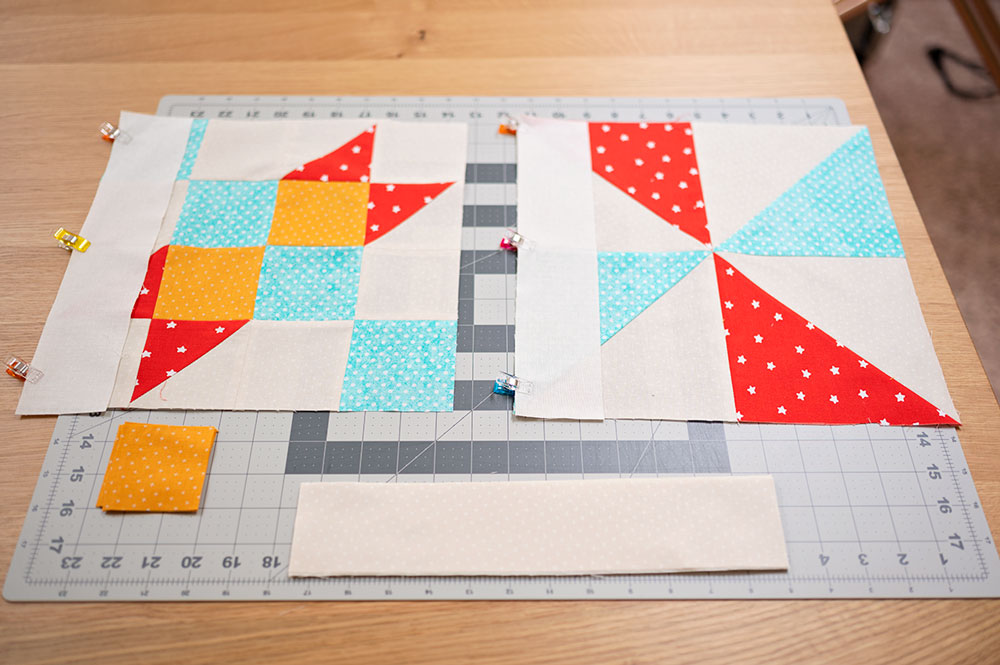
Sew with the project wrong side up
Carefully pin the intersections of cornerstone to sash so those seams line up and stay in place. I generally recommend starting the pinning process in the middle of the project and work your way out to the edges. Be sure to attach fabrics in the middle of the blocks so the sash stays in place and seams are straight. Because we pressed seams in opposite directions, they will nest at the cornerstone intersections, and that will assist in achieving seams that line up correctly.
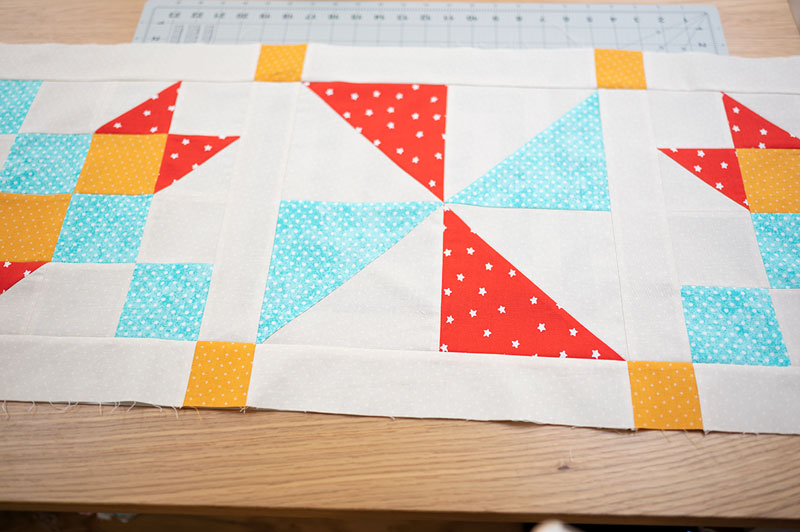
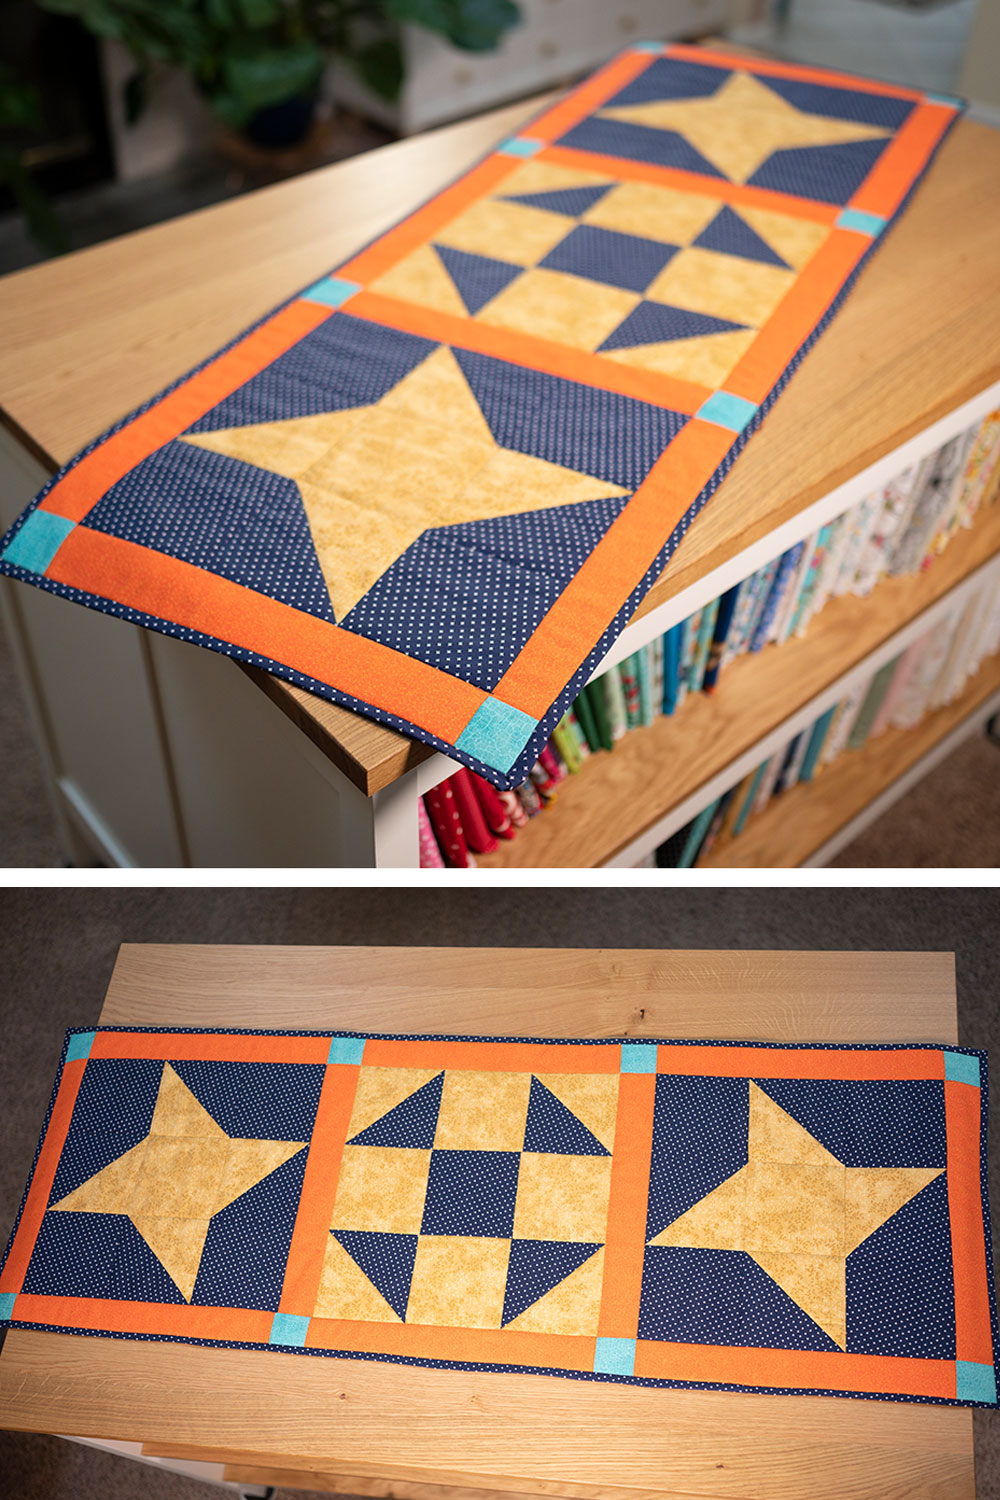
The finished look!
Here is a table runner created using 3 blocks and sashing all the way around the joined blocks. If you are piecing the Power of 3 Row Quilt, you will have sash on the top and bottom on the quilt top as well as in between each row. I press the seams away from the blocks to finish the project.
questions about sashing for Quilts
- What size should Sashing be? Quilt sash can be narrow or wide, and ranges from 1” finished (or even smaller for mini quilts ) 😳 to several inches in width. Sash should generally be proportional to the size of the blocks — you can definitely use a wider sash with bigger blocks. I like to keep my cutting and measurements easy, so I tend to design quilts with 2.5″ strips as they are easier to cut and easier to piece.
- How do you sew Sashing strips together? This tutorial shows how to make sash using cornerstones. If you make solid strips as your sash, cut on width of fabric, remove selvages and join strips on the 45 degree angle to create longer strips.
- How do you cut quilt Sashing strips? As I mentioned, I like going with 2.5″ strips in projects I design because they are easier to cut and piece. I have a quilt ruler that measures 2.5″ x 24.5″ and it makes cutting strips very easy.
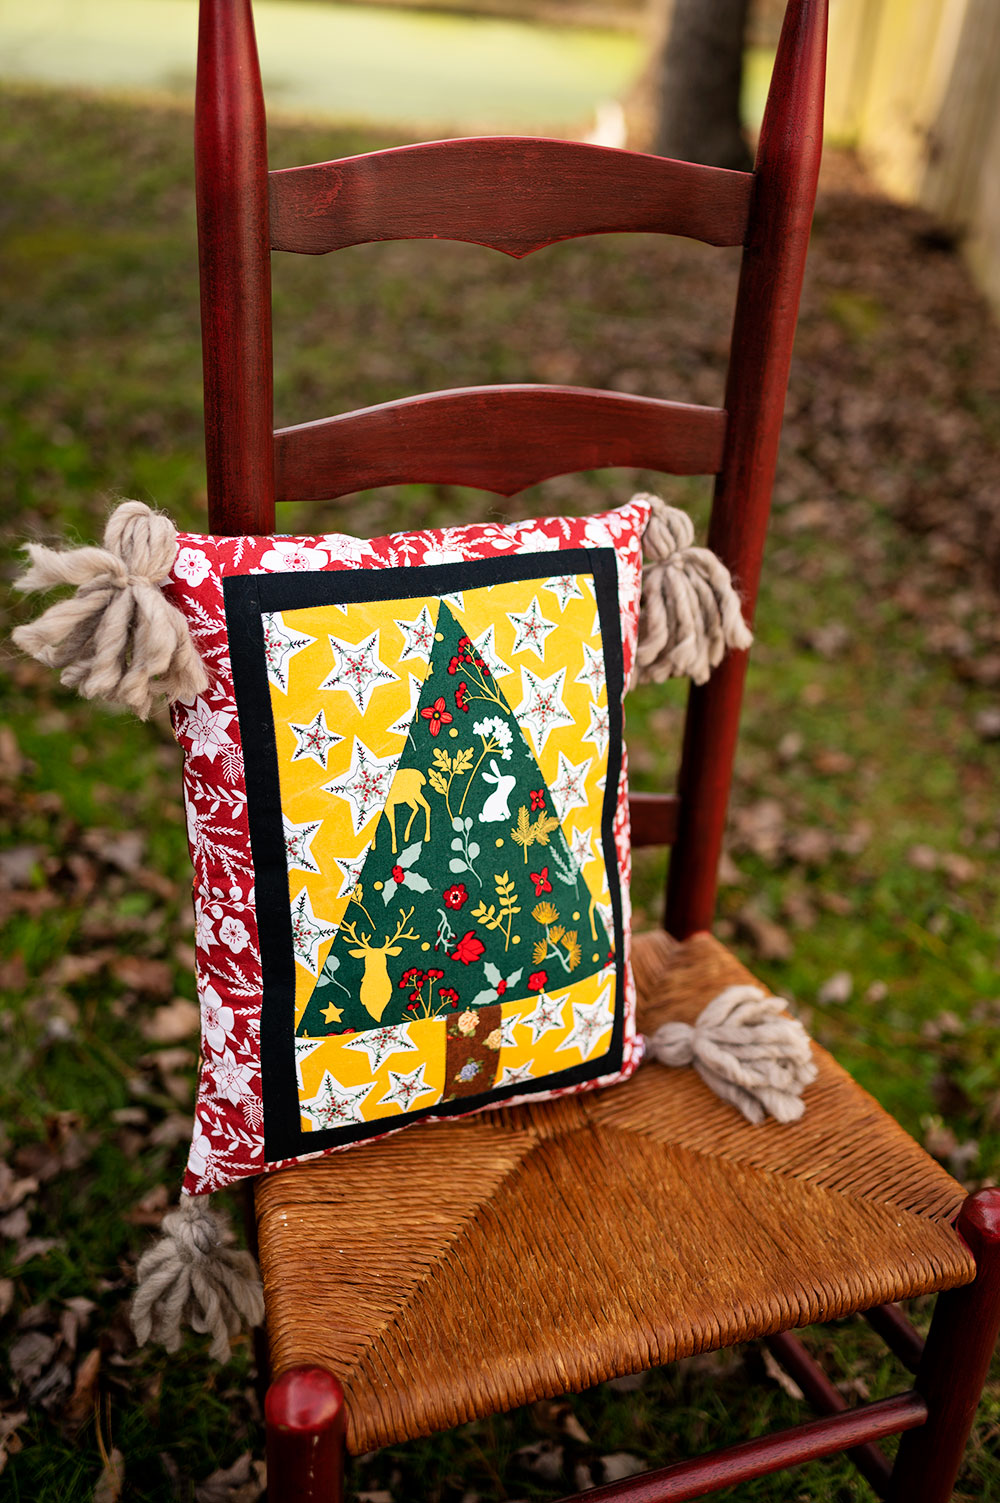
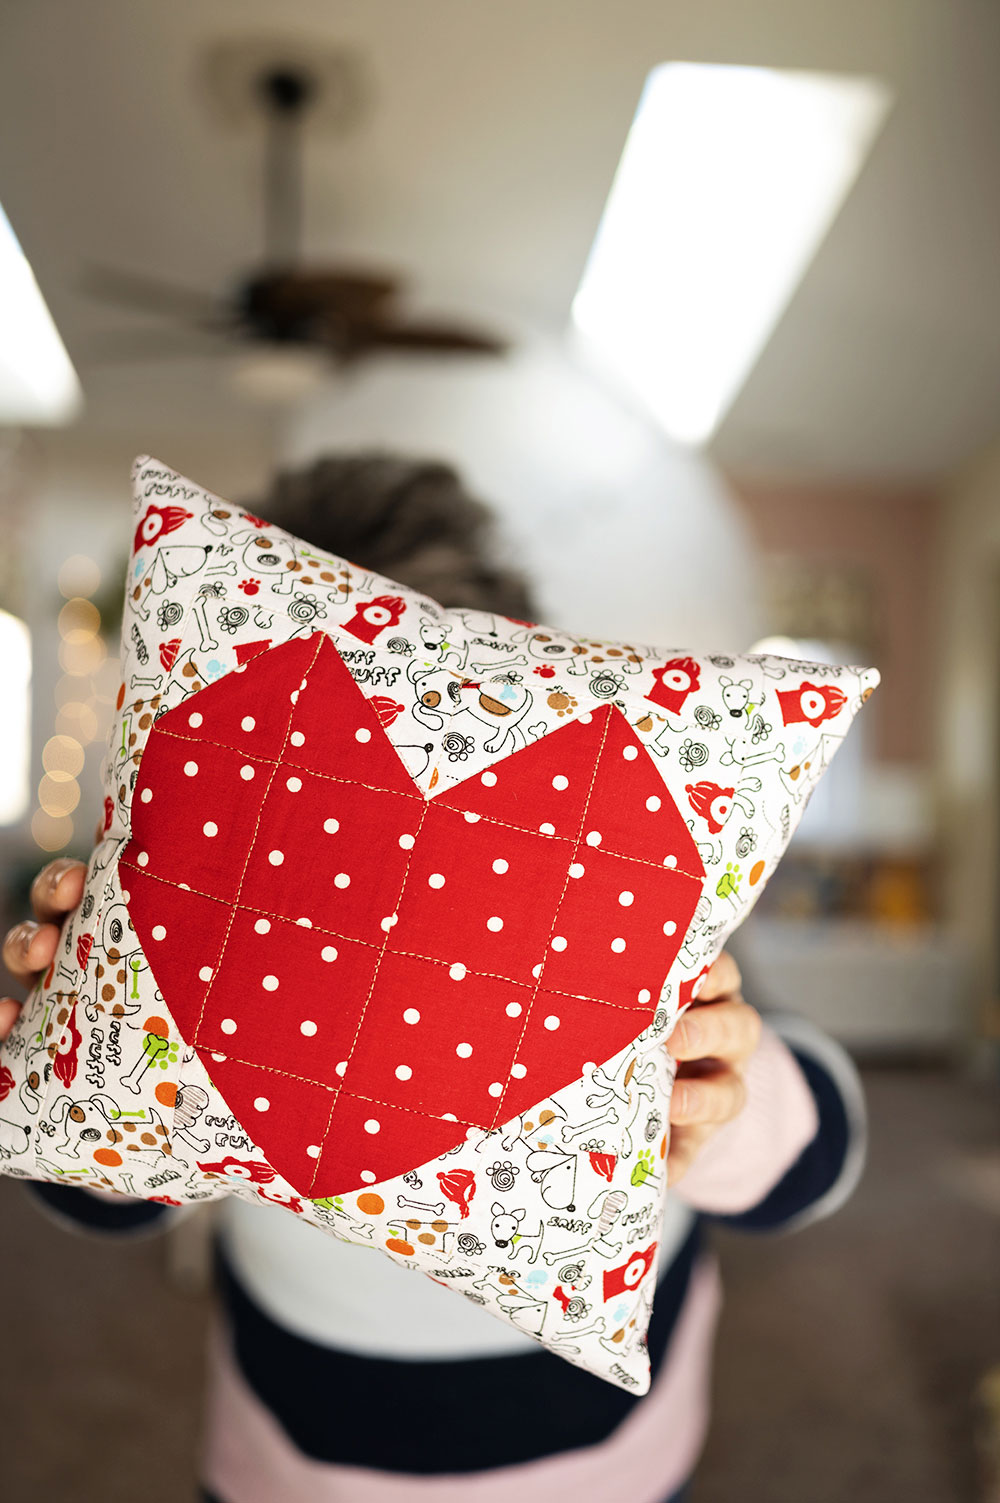
That’s about all there is to sashing your quilt projects. Cut some strips and attach them on all four sides of the blocks. When sewing blocks together, sash around the pieced blocks and then apply border. Sometimes sash is the background fabric and sometimes it’s a different fabric. See examples used in my Tree pillow and in my patchwork Pillows. The real point of using it is to give the eye a visual rest or provide a break in between the designs on the blocks.
Stay tuned for next week when we delve into the border on our quilt projects and from there we are SO CLOSE to finishing!! Thanks for being here and see you next time!