Starting seeds indoors
Disclosure: This post may contain affiliate links. As an Amazon Associate, I earn from qualifying purchases. 😊
When it comes time to start a garden, there are two approaches. One is to purchase seedlings in the nursery for planting, and the other is the DIY approach of starting seeds indoors at home.
They each have benefits and costs associated which we’ll discuss later. What makes me crazy about this topic is the over simplification I see online regarding the seed starting process.
Seed starting is simple, but it’s not easy. Let me explain.
We see these pictures online and romanticize the beauty of planting strong seedlings in our gardens.
The truth is that getting seeds to germinate without root rot is challenging, and growing a healthy seedling is not as cut and dry as people think.
The first step in growing seedlings is to get the seeds to actually germinate.
If there is no germination, there is no seed starting indoors. Let’s begin by looking at the definition of germination as stated by the WVU extension office.
Germination is the process by which a plant grows from a seed into a seedling. Seeds remain dormant until conditions are favorable for germination. All seeds need water, oxygen and optimal temperature to germinate. When a seed is exposed to the proper conditions, water and oxygen are taken in through the seed coat.
The key point that is often over looked when working with seed germination is that the seeds must remain moist for up to two weeks. This means planting your seeds at the appropriate depth and maintaining even moisture over time. Temperature also plays a role, but the critical step of even moisture is frequently misunderstood.
You want your seeds MOIST not WATER LOGGED. There’s a difference, and it’s difficult to get it right.
Here’s a seed starting tray on a heat mat with a humidity cover. Look at the sopping wet seed mix. Not only are the seedlings a bit water logged, when it comes time to transplant, you’ll have to dig through that glop to retrieve your seed start.
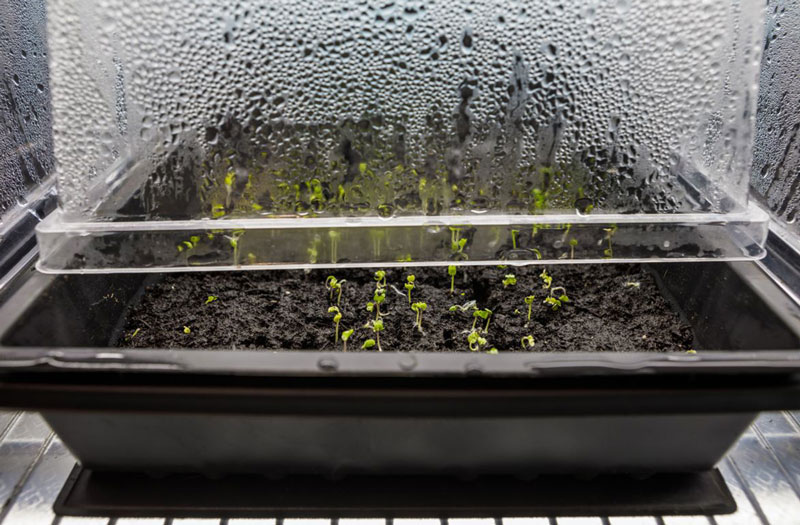
As in quilting, the right tools for the job make all the difference.
Let me share my indoor seed starting method with you, and I’ll let you decide if it works for you or not.
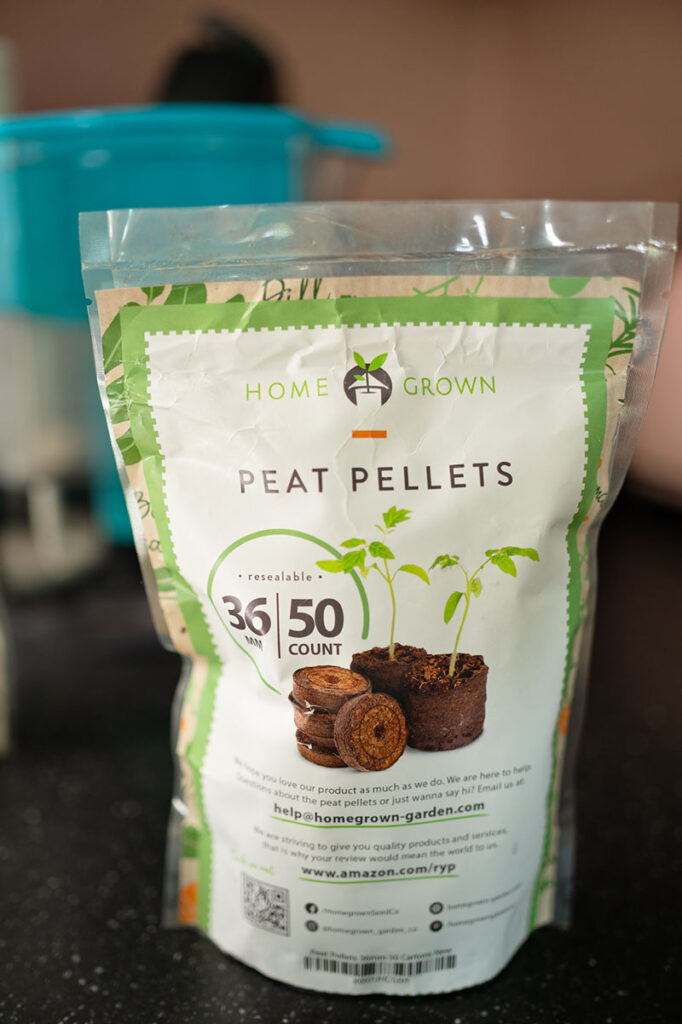
Say Hello to my little friend for seed starting indoors.
Peat pellets are hotly contested in the garden community. A lot of gardeners despise them and prefer using large seed trays with their own seed starting mix. And I think that’s great if you have a garden bench or a greenhouse to set up your seed starts.
I’m doing this in my very small home in my living room. I don’t want a sopping wet mess of soil and draining trays there. I find peat pellets make a messy job much neater, (affliliate link) and also makes transplanting a lot easier.
How do peat pellets work?
- Peat pellets are compressed discs of growing medium.
- Soaking dry pellets in a bowl of water will rehydrate them to provide the growing medium for your seed.
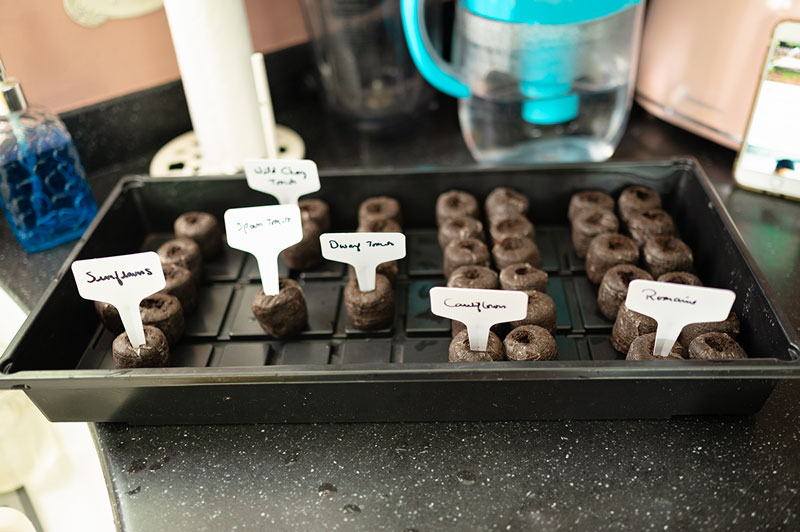
- You simply soak the peat pellets, (affiliate link) put your seed into the moistened substrate, place in your growing tray, label, and watch for sprouts.
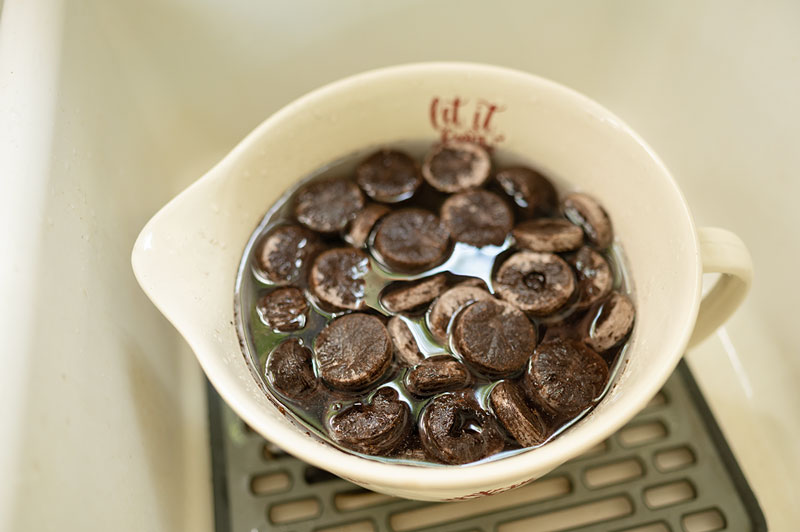
Allow your peat pots time to fully rehydrate.
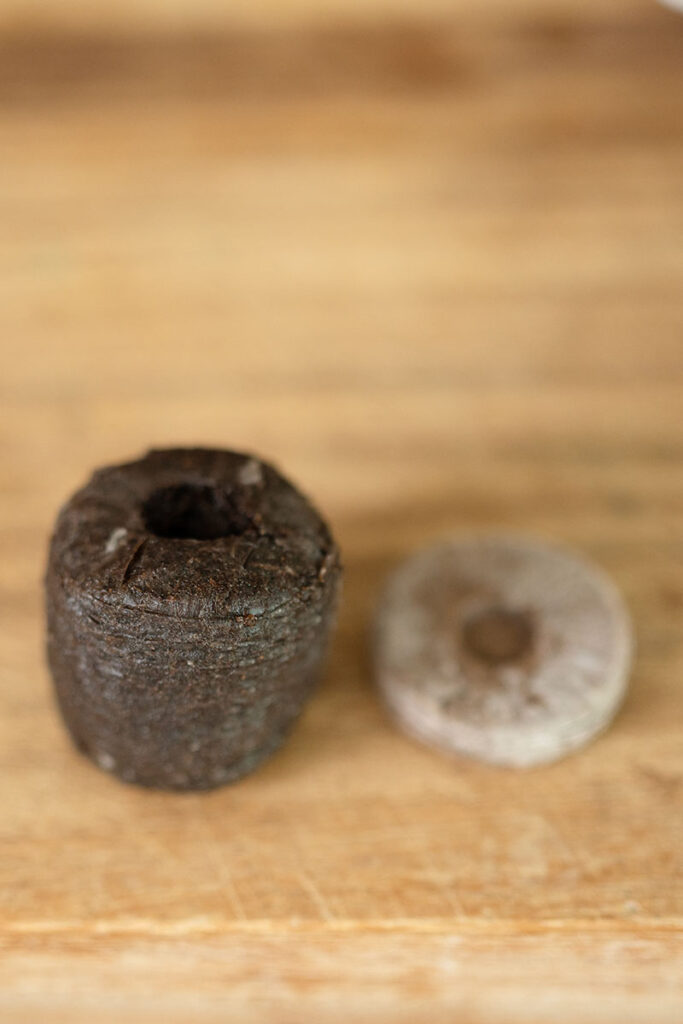
The color will change to a much deeper brown and they will grow about four times in size. They will be sopping wet when you pull them out of the water, so I advise doing this in your kitchen at the sink.
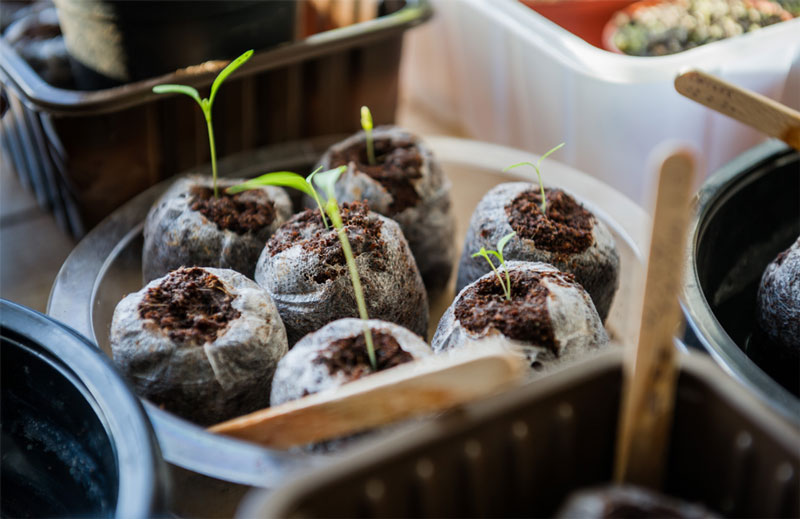
Once a peat pellet is fully rehydrated, it will grow quite a bit in size. It will provide plenty of growing medium for seedlings.
What are the steps to using peat pots for starting seeds indoors?
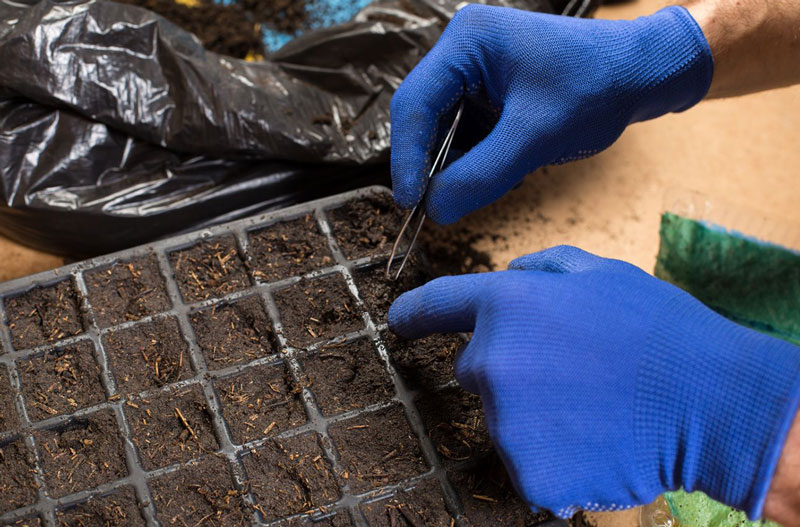
- When peat pellets are fully rehydrated, place a seed about a quarter inch beneath the surface and cover. I recommend using tweezers to handle the seeds. Seeds are tiny and the tweezers make it much easier to handle them and place properly.
- Place your planted peat pellet into your growing tray or on a platter. Whatever you choose to use to corral your seed starts is up to you, but I recommend using a seed starting tray. (affiliate link) I use a kit that came with seedling heat mats (affiliate link) and a cover that works much like a terrarium. This is especially helpful in the dead of winter when it’s time to start your spring and summer plants.
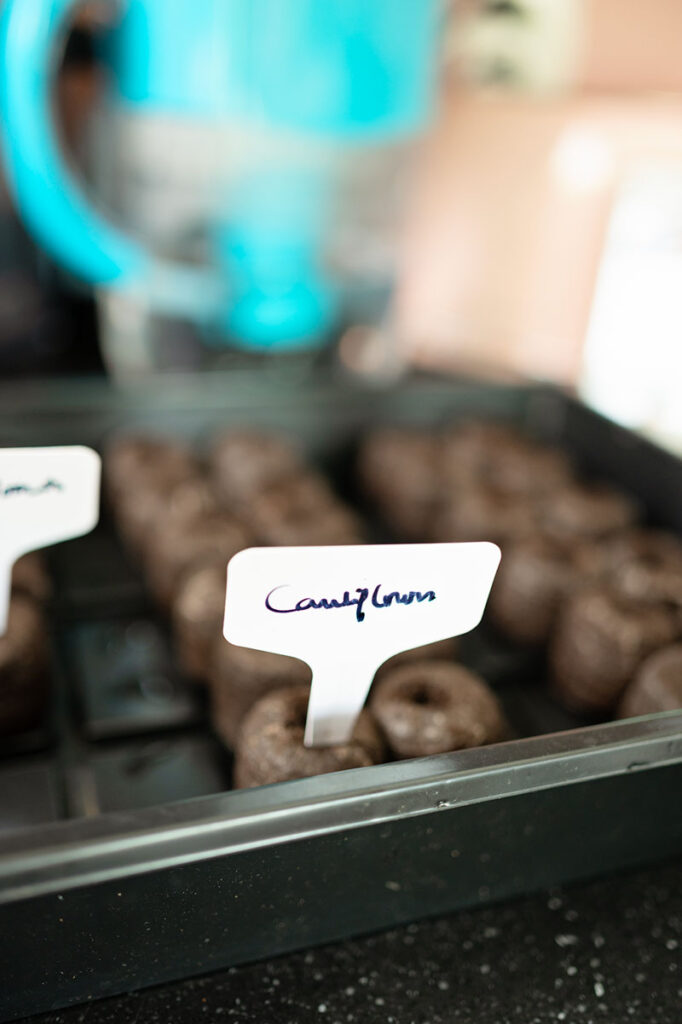
- Having a tag to mark your seedlings is super important. You will never remember what you planted where. Ask me how I know. 😂 I use cute little garden flags (affiliate link) and I write the plant name on them with permanent markers. They can be used over and over if you store them carefully.
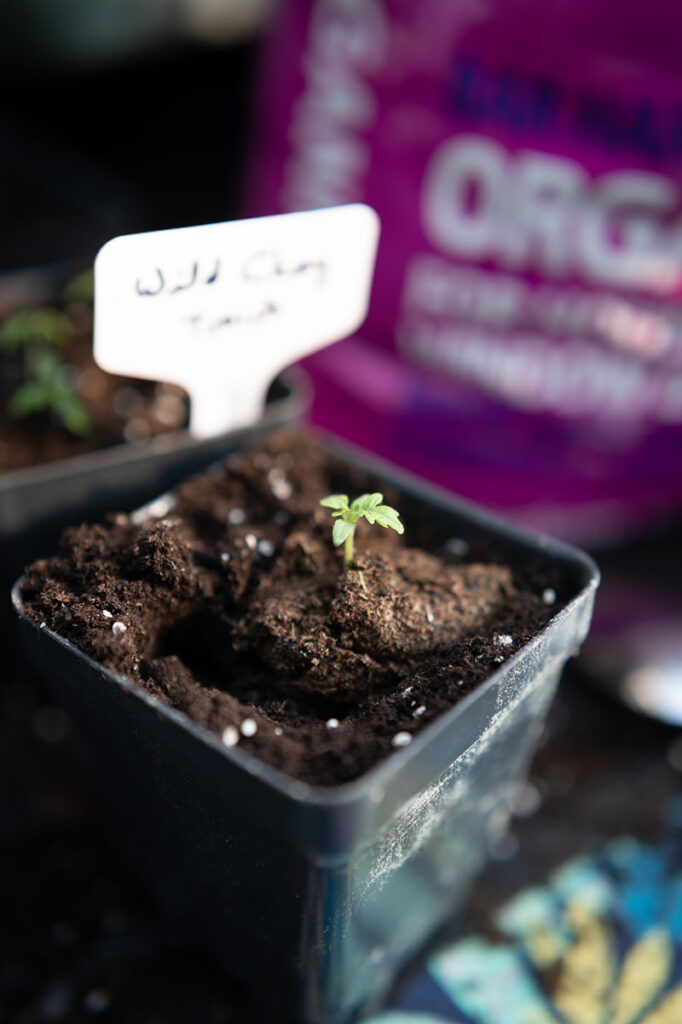
Once your seed starts establish, it’s time to transplant them to a nursery pot. Even though we are starting our seeds indoors, after 2 -3 weeks, they will be ready to size up their pot.
Putting tiny seedlings in the garden right away is generally a bit too much of a change for them to be successful. So transplanting to a nursery pot, like a 4″ pot, (affiliate link) and letting them grow there as they establish for a few weeks is what I recommend. Here’s where the big controversy concerning peat pellets comes in.
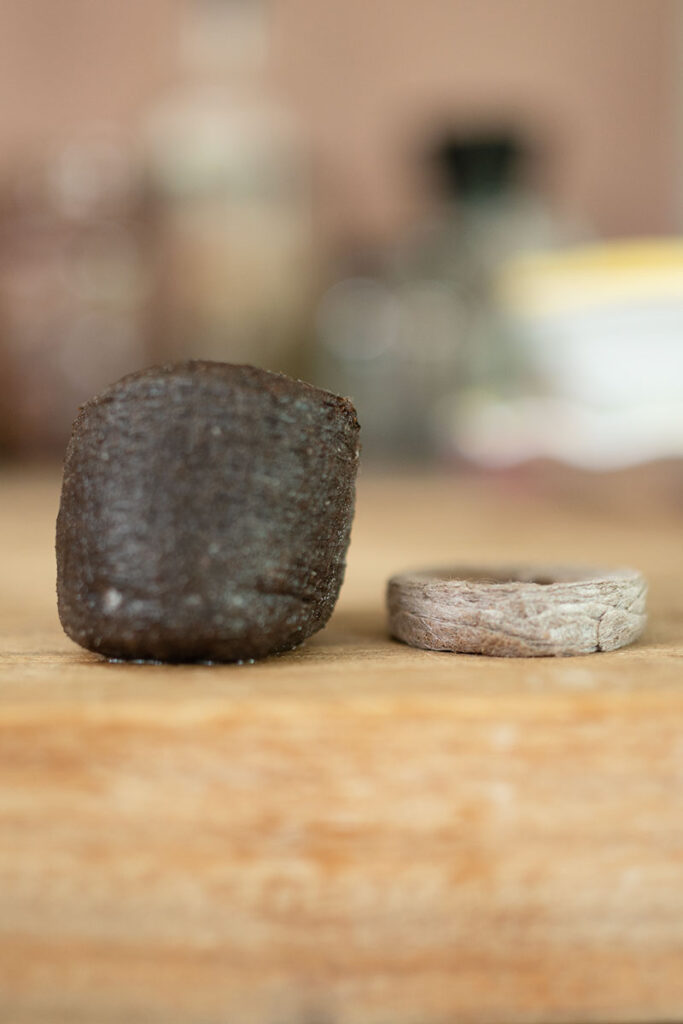
The baggie that holds the growing medium is billed as being biodegradable which means it should break down in the soil of where ever you transplant the seedling. Well, it doesn’t actually do that. And the issue is it can strangle the growth of your seedling when you go to transplant. I’m not sure why people flip out over this like it’s the end of the world, because it’s very easy to simply remove the outer skin and place your transplant into it’s new pot.

Peat Pellets with and without the casing 
simply tear the casing to remove
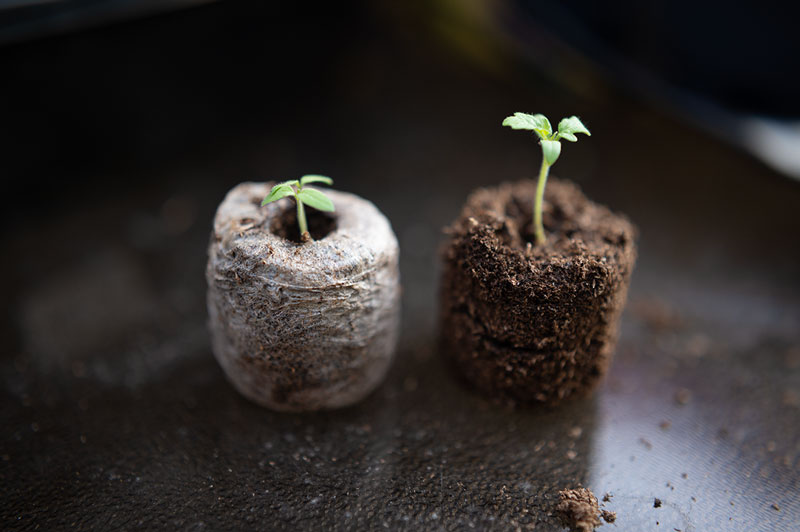

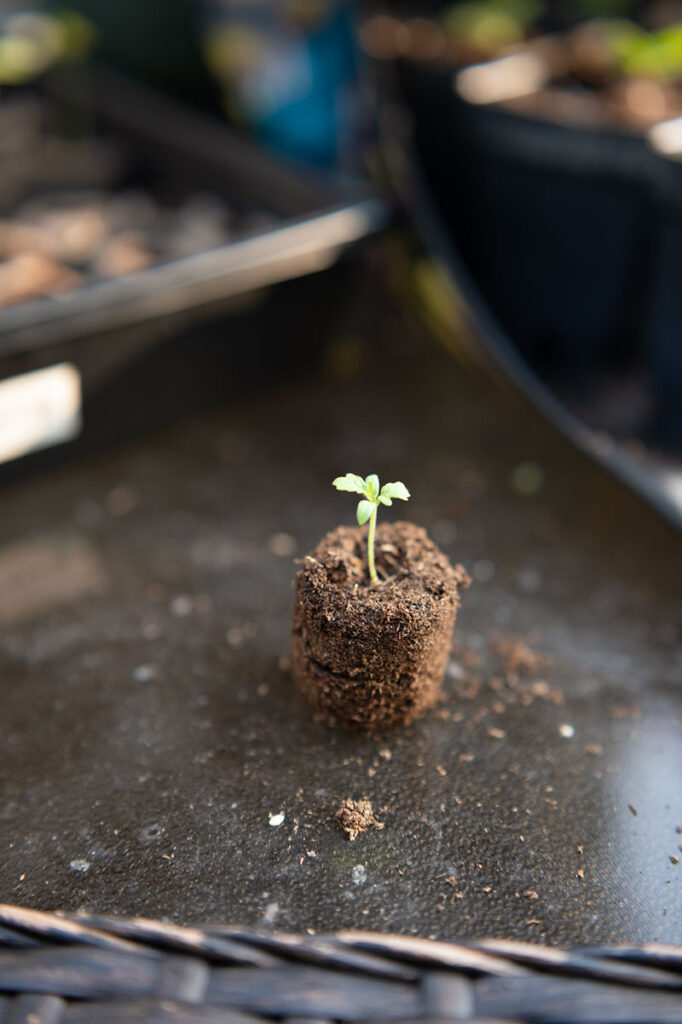
 your seedling is ready for transplant without disturbing the roots
- the seedling placed in its nursery pot
Benefits of using peat pellets for starting seeds indoors
- Easier to keep moist and provide optimal conditions for seeds to germinate.
- I like how easy it is to see what is germinating and what isn’t
- Less transplant shock on tiny seedlings when going to nursery pots.
- A neater way to seed start in a small space indoors.
- Much easier to store compressed peat pellets than soil mix.
Cons:
- Peat pellets are relatively expensive so you are paying for the convenience.
- People dislike the “skin” on the pellet. (but it’s easy to remove it when you are in the transplanting process).
I struggle to find too many cons, because I like this method so much. If I had a larger garden and a potting shed, then the larger trays would be more appropriate. But I do find seed starting in them to be a bit more difficult. A greenhouse situation with lights would be necessary to compete with nursery plants.
Step by Step Instructions for starting seeds indoors
- Gather your seed starting supplies. Seeds, peat pellets, large bowl, large tray,
- Soak peat pellets to prepared them for planting.
- Plant the seeds.
- Label the newly planted seeds. .
- Keep seeds moist and warm. Hydrated peat pellets hold a lot of water, but they still need gentle watering every couple of days.
- Once seeds start to sprout, put them under grow lights.
- Grow the seedlings 2 – 3 weeks in the peat pellets, and transplant to 4″ pots until ready to place in their garden spot.
I know it might feel like a lot…
There are many steps to get garden seeds sprouting and eventually growing in a garden location, but it’s so worth the journey!
Whenever I help someone start something new, my primary mission is to make it easy for them. Having success right away is such positive reinforcement, and it’s great for confidence.
So when I recommend the peat pellets, it truly is because I think it’s an easier seed starting method.
🥬
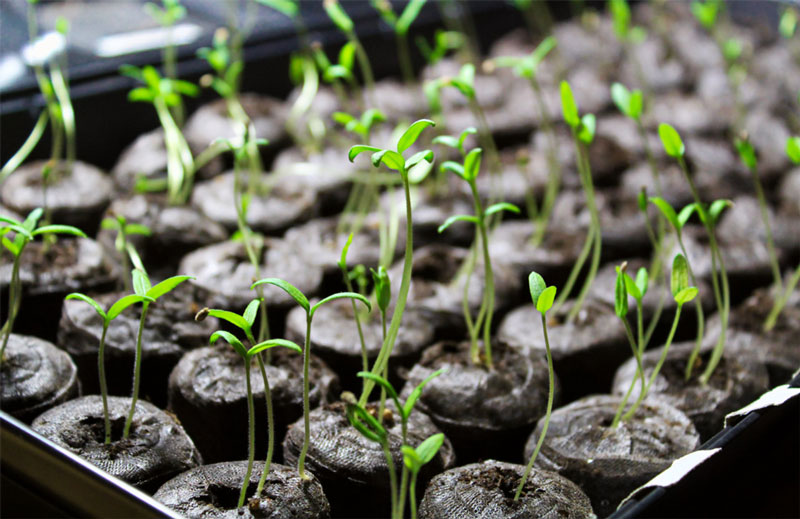
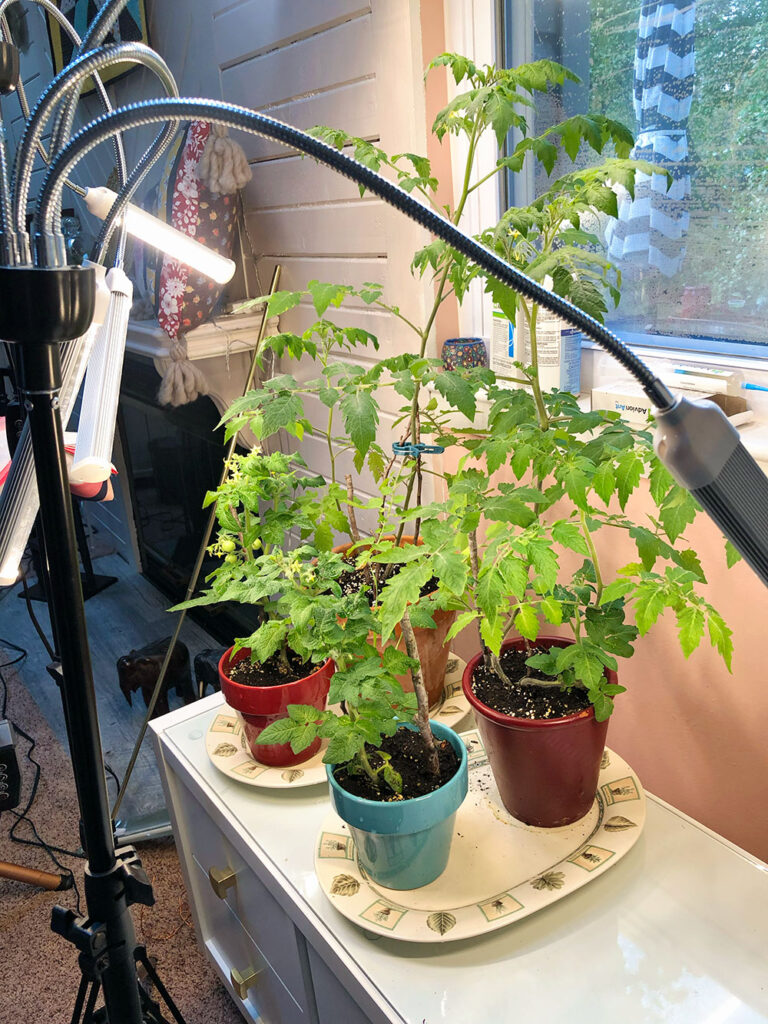
Where are those seedlings now?
The very same little bitty tomato seedlings in the pictures above and now they are growing in the living room under grow lights! All the plants are flowering and one even has fruit!
I’m growing Dwarf Tomatoes from Baker Creek and Wild Cherry Tomatoes from Johnny Seeds.
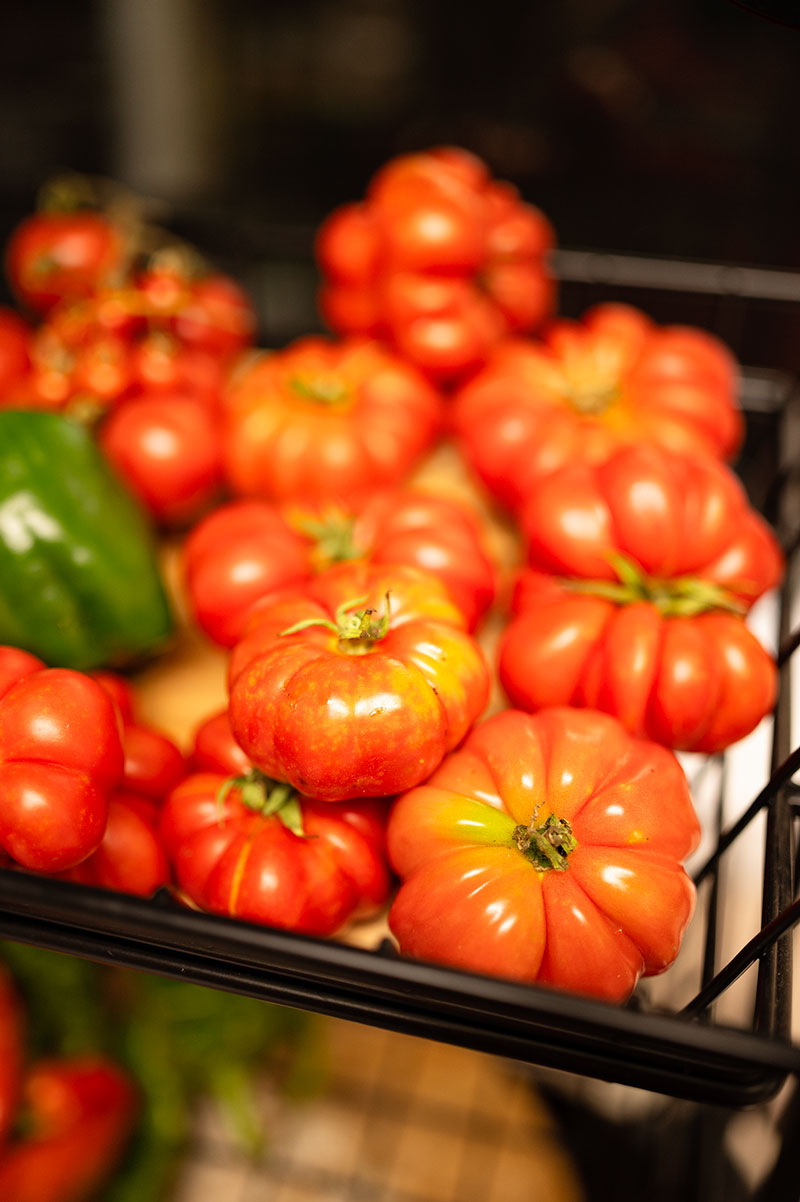
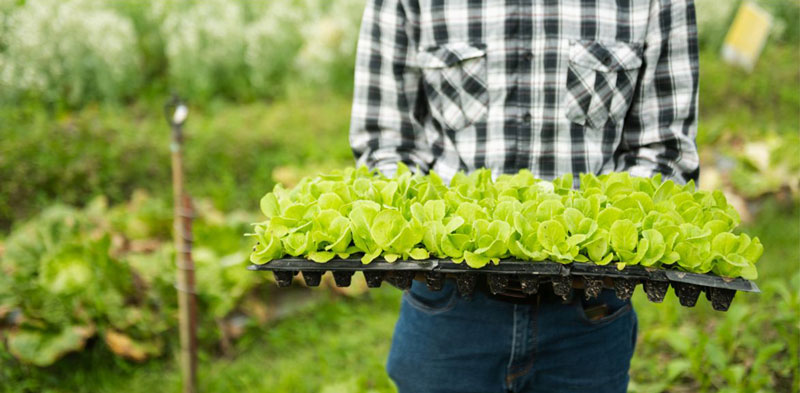
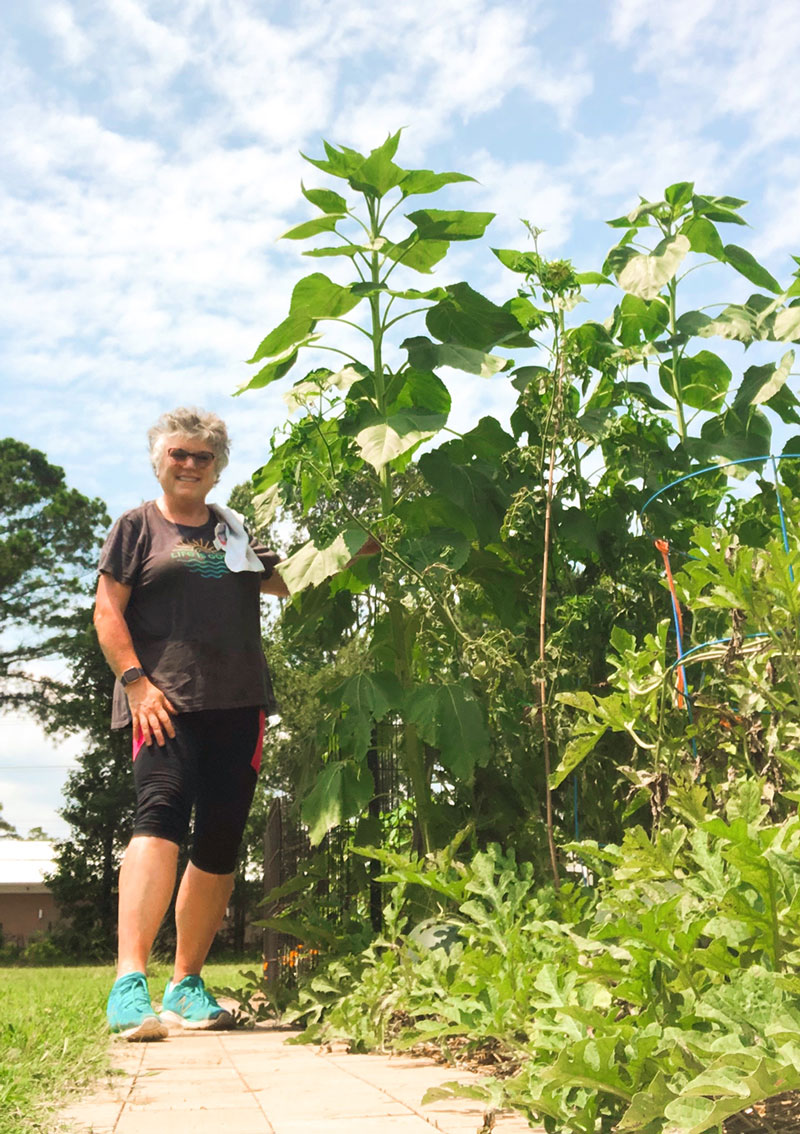
Here’s a glimpse of just some of the garden I grew this past summer. I started all my plants using the method I outline in this post.
🍅
Hopefully this article provides a little more information and understanding about how to use peat pellets to start seeds indoors.
The methods for seed starting are pretty varied, and everyone has their own likes and dislikes. It takes time to find your favorite tried and true methods. The purpose of today’s post is to share how I do this and why I like this method. I recommend people experiment with different techniques to find their preferred process. There are many ways to achieve similar outcomes, so take some time to find your favorite system. Don’t be afraid of a little failure here and there. It is a necessary part of the learning process. Eventually, you will get the hang of it and become your own backyard Garden Goddess.

Hi! I’m Pattymac
Maker, Baker, Gardener
I’m a creative lifestyle blogger living and working in Coastal Virginia. When I’m not mixing or stitching or taking pictures, I’m out exploring the cook book section of my favorite library or munching my own home baked cookies at a mid week movie matinee.