Rail Fence Quilt Block
Disclosure: This post may contain affiliate links. As an Amazon Associate, I earn from qualifying purchases. 😊
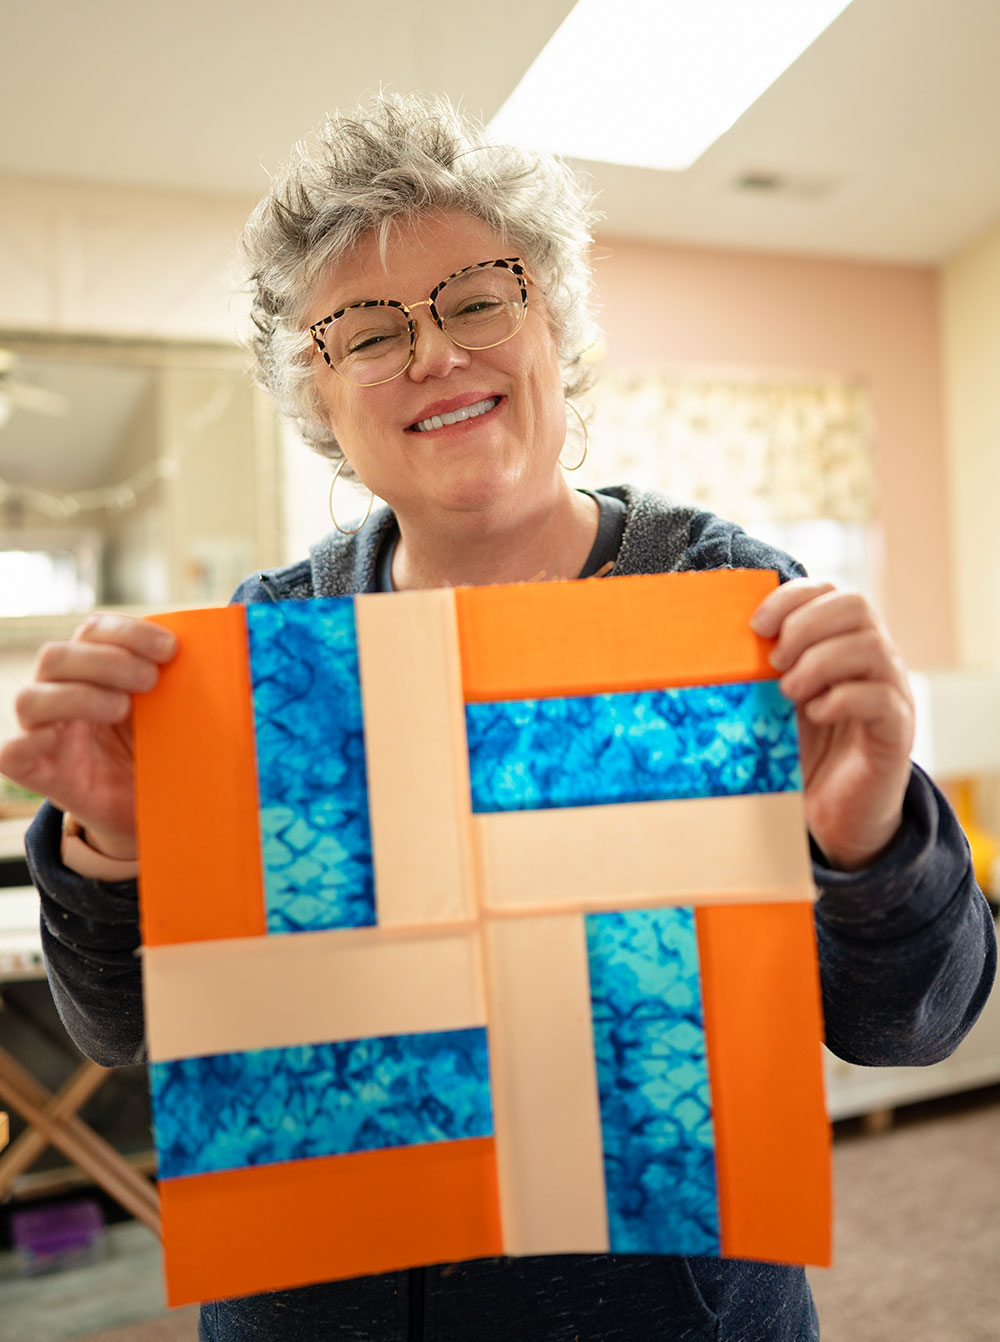
Rail Fence is a classic quilt block, and one every quilter should make at some point in their quilting journey.
That’s a pretty big statement, and so you’re probably wondering, “Why?” Why is Rail Fence such a great choice for quilters? Two reasons: It’s EASY and it’s FUN.
How to set up a Rail Fence Quilt Block
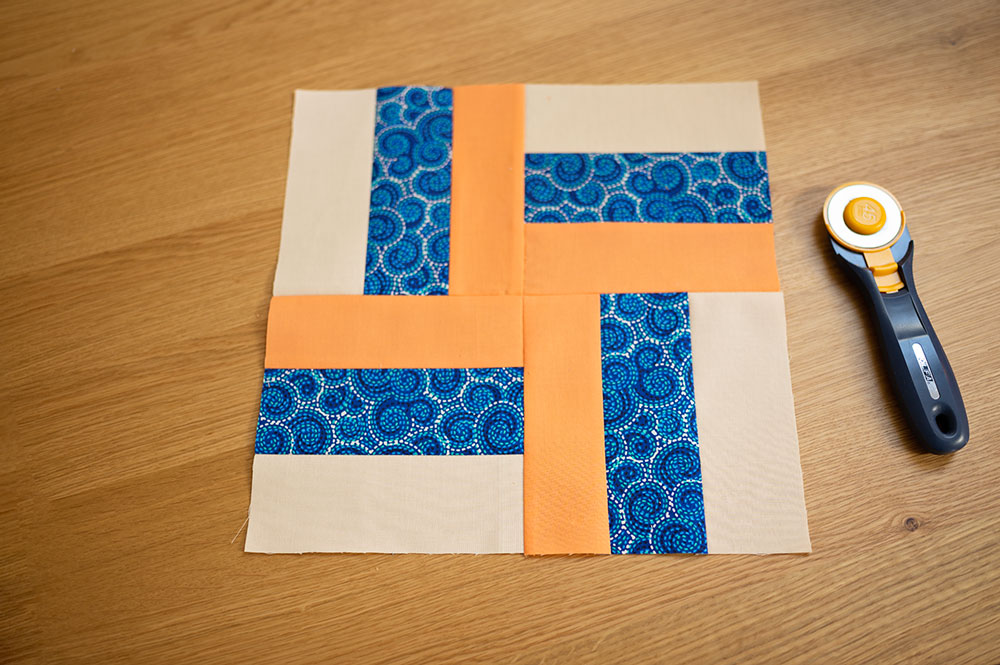
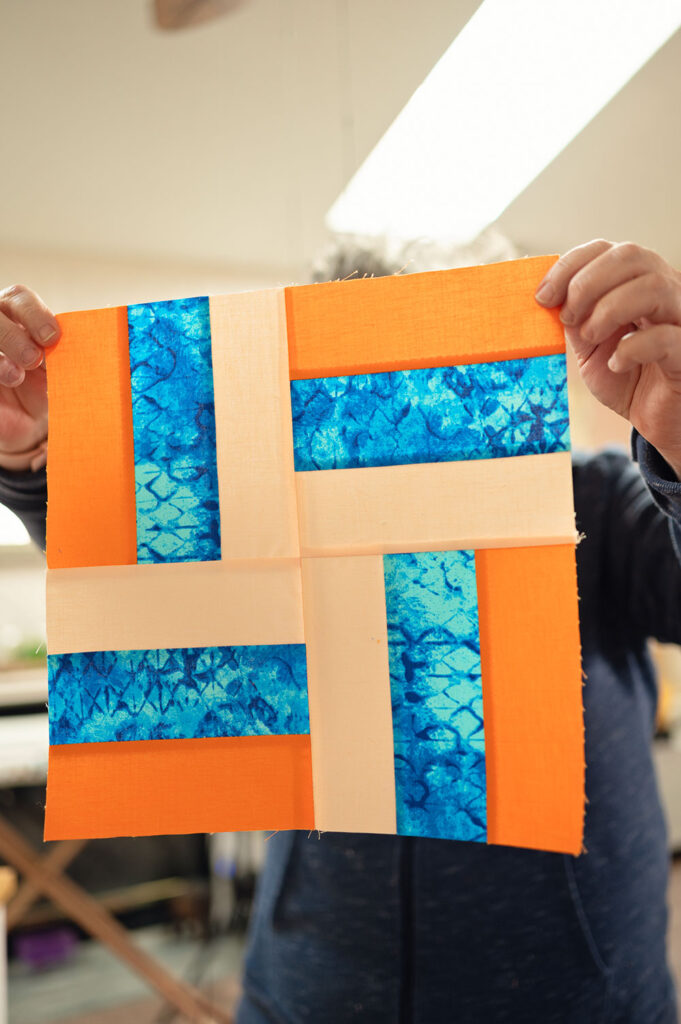
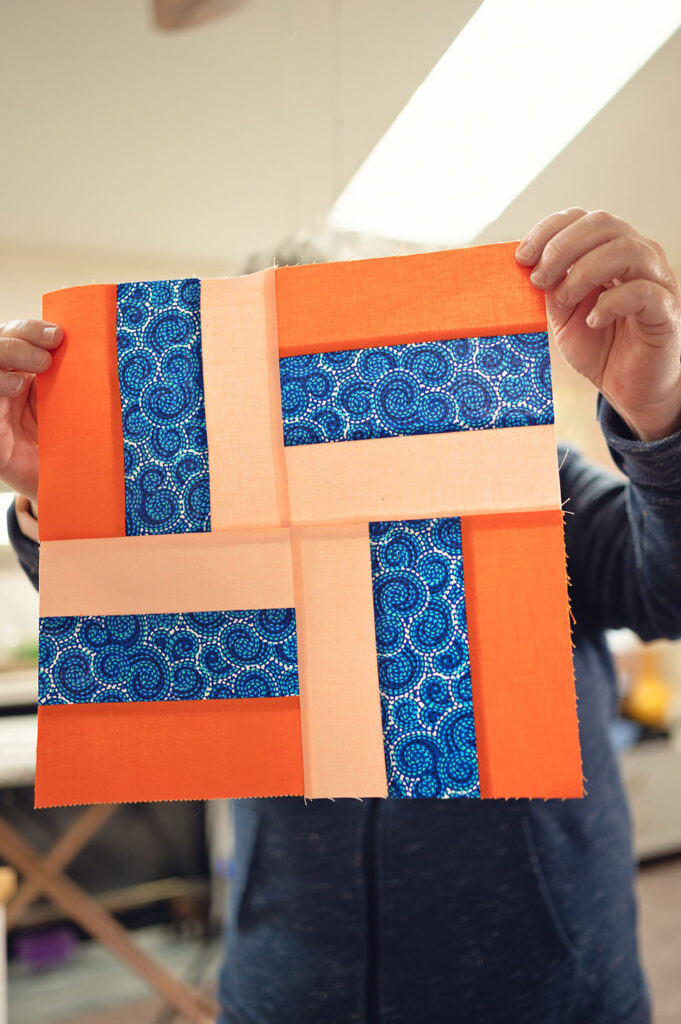
Essentially, the pattern is a 4 patch with the same unit in each quadrant rotated 90° clockwise.
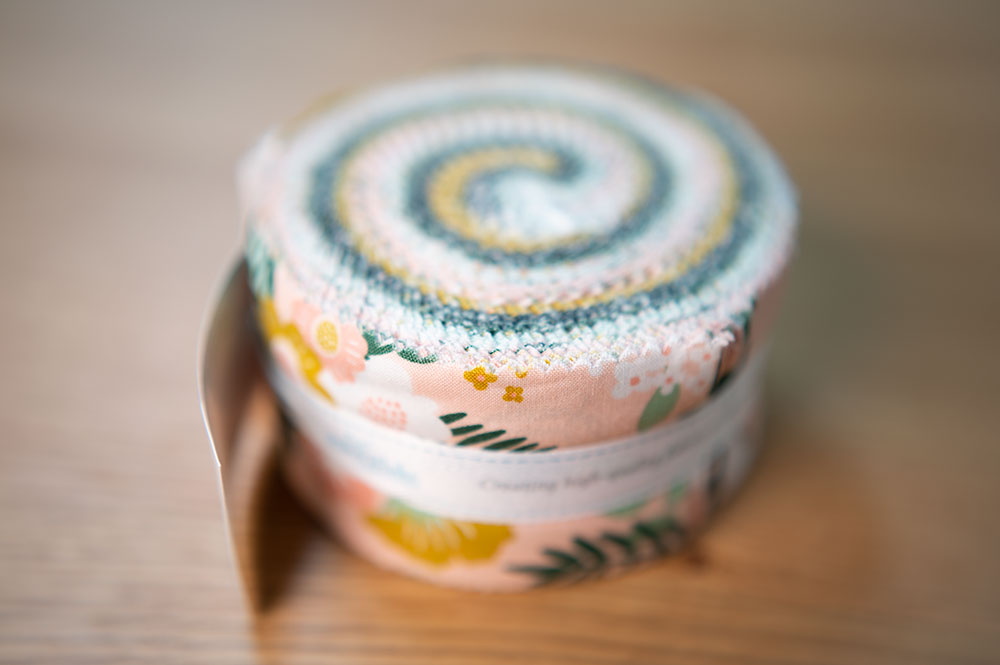
It’s a pattern that is pre cut friendly! Especially those fun jelly rolls we all collect.
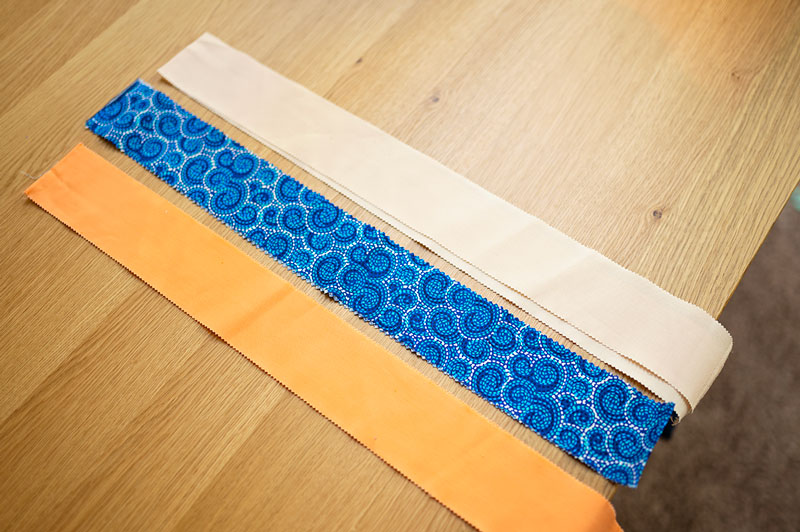
You’ll sew strip sets in the number you decide. I chose 3 strips in my example
Sew the strips together using a quarter inch seam allowance, and neatly press all the seams the same way. Aim to have the strip set as flat and even as possible.
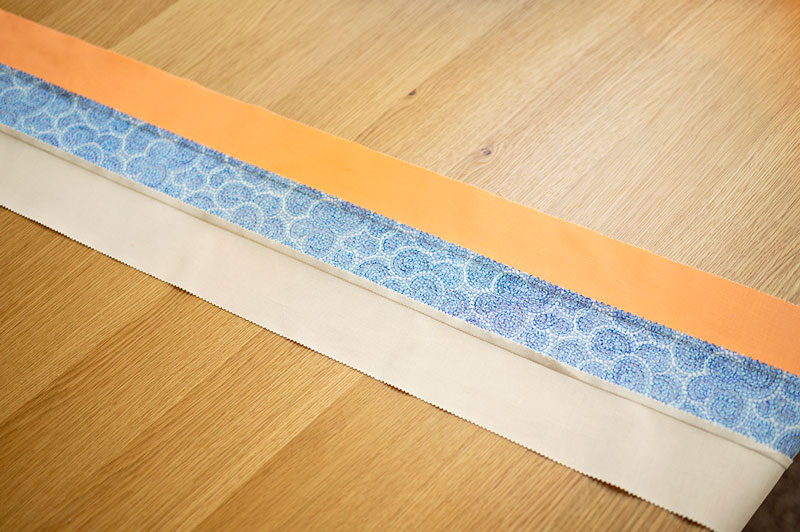
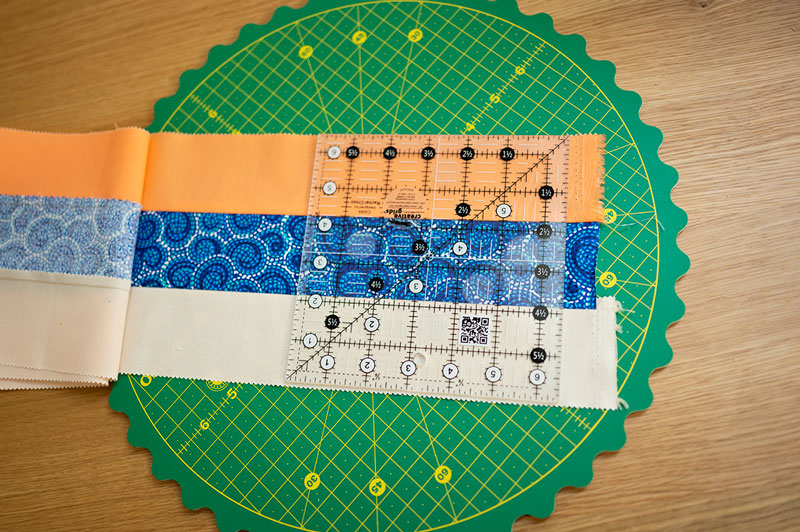
Once our strip set is sewn and pressed, it’s time to sub cut. It’s important our cuts yield a perfect square.
How to correctly sub cut strip sets for rail fence quilt blocks
As mentioned earlier, the rail fence quilt block is constructed of 4 quadrants, like a 4 patch.
- Each quadrant needs to be a perfect square.
- To figure out the correct size to cut the square, count how many strips are sewn together.
- In this example, there are 3 strips. We used jelly roll size precuts with are 2.5″ wide. We will multiply 3 strips times 2 inches for a unit size of 6.5″. We always add a half an inch as our seam allowance. If we made a strip set with 4 strips, then we could cut 8.5″ units. If we used 5, it would be a 10.5″ unit. You see how this works. Always add the half inch seam allowance. An 8″ block is 8.5″ in its unfinished state.
- I find it’s easiest to cut correctly using a square in the size you need for the finished unit. In this case, it’s a 6.5″ square quilting ruler. I absolutely LOVE Creative Grids quilting rulers, (affliate link) and I recommend them to everyone.
- Because precuts are not always accurate to size, the likelihood is there will be a little to trim on the unsewn edges to get to the correct size. I recently switched to using a rotating mat to trim things (affliate link) like this to square up my blocks. It’s very helpful when the mat turns and the ruler stays in place.
- Cut as many blocks as possible from the strip set, sewn on WOF so is approximately 42″ in length, In this example of 6.5″ units, expect to get 6 nicely constructed and trimmed blocks.
Let’s finish up this block. Shall we?
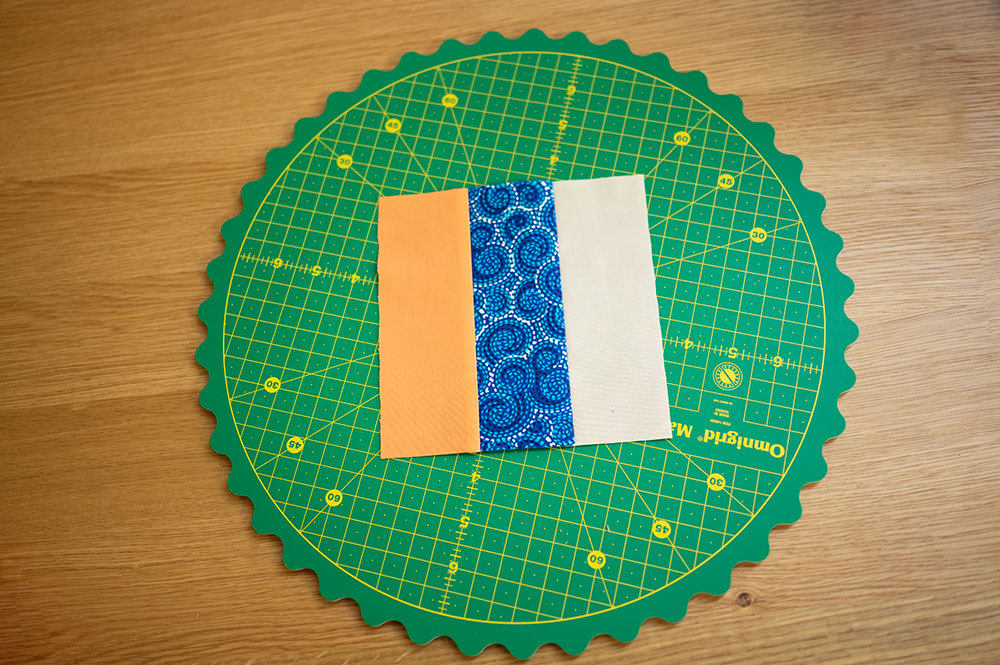
Taking the time to carefully press and trim each unit will give a lovely result. Four of these babies, and we’ve got enough for a quilt block.
More detail on setting up a 4 patch block can be found by clicking here.
Lay out all four blocks going the same way in each quadrant. This will ease confusion about how to lay out the block.
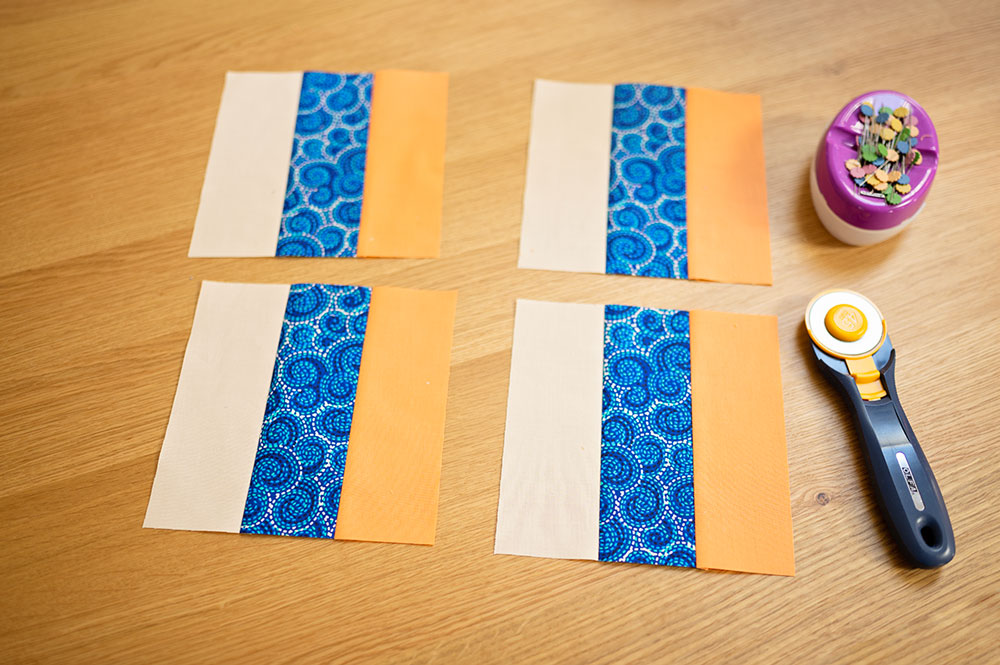
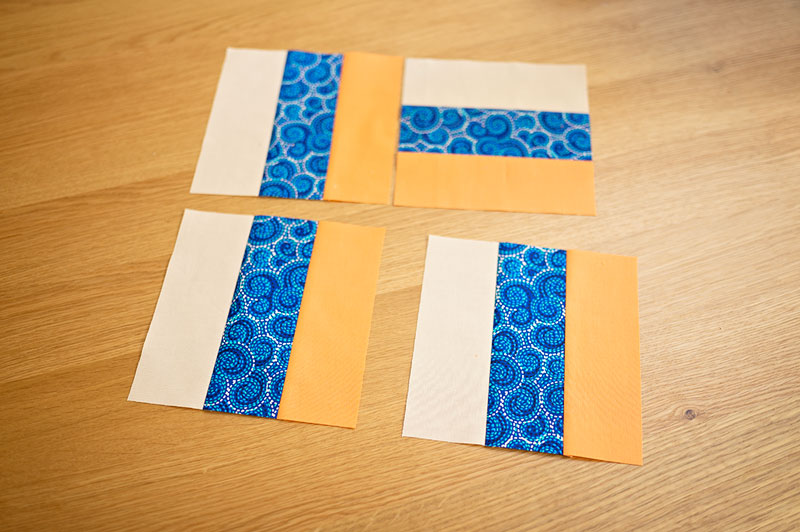
Rotate the upper right quadrant 90° clockwise to get it into position. Consider this making one turn around the clock.
In the next position, the lower right quadrant, rotate the unit 2 turns clockwise. Continue on the lower left quadrant and give it 3 turns. Now all of the units are in position.
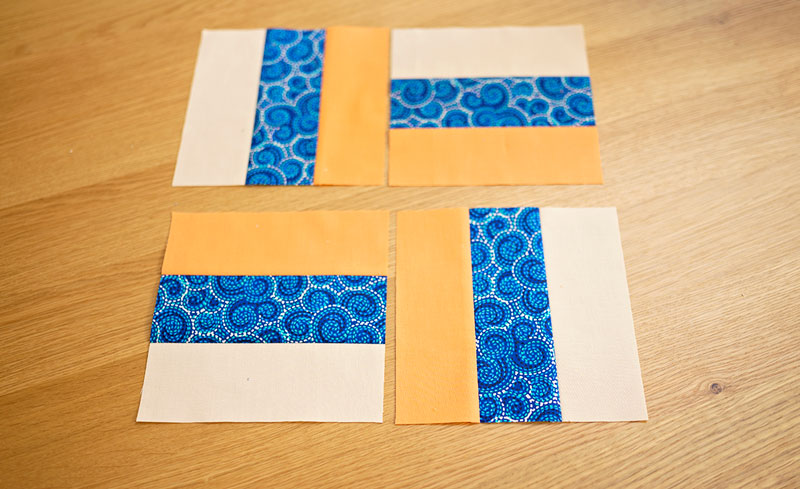

Finally, using 1/4″ seams, piece your block as you would any other 4 patch block. Flat seams will make your simple block look elegant.
Constructing 6″ units will create a 12″ block which is a much used size in quilt making. How you want to place this block into a quilt top is completely up to you!
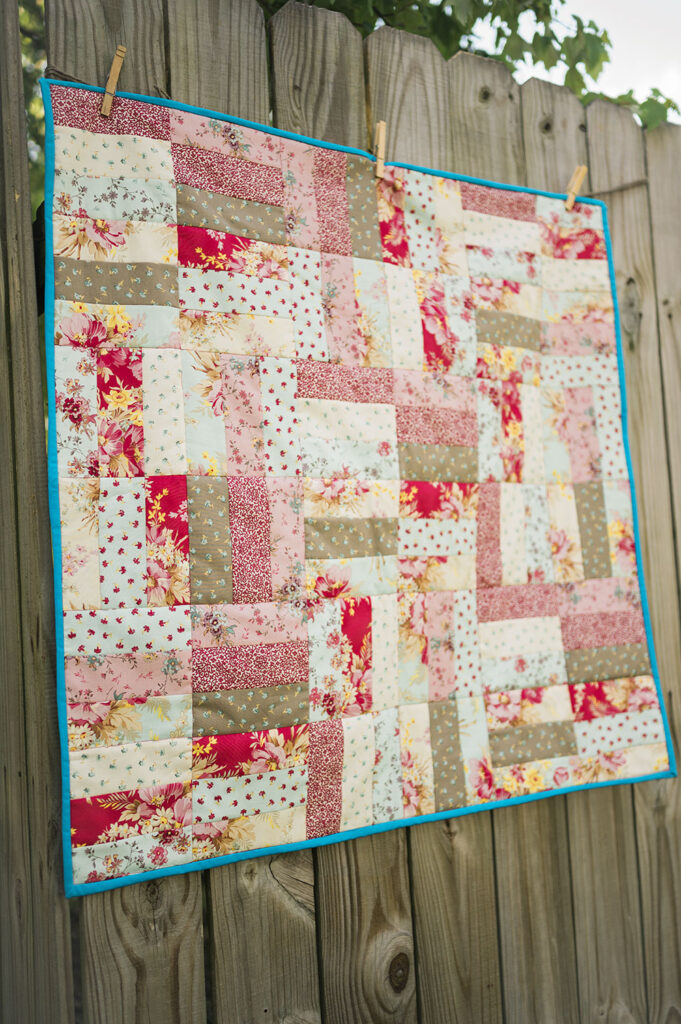
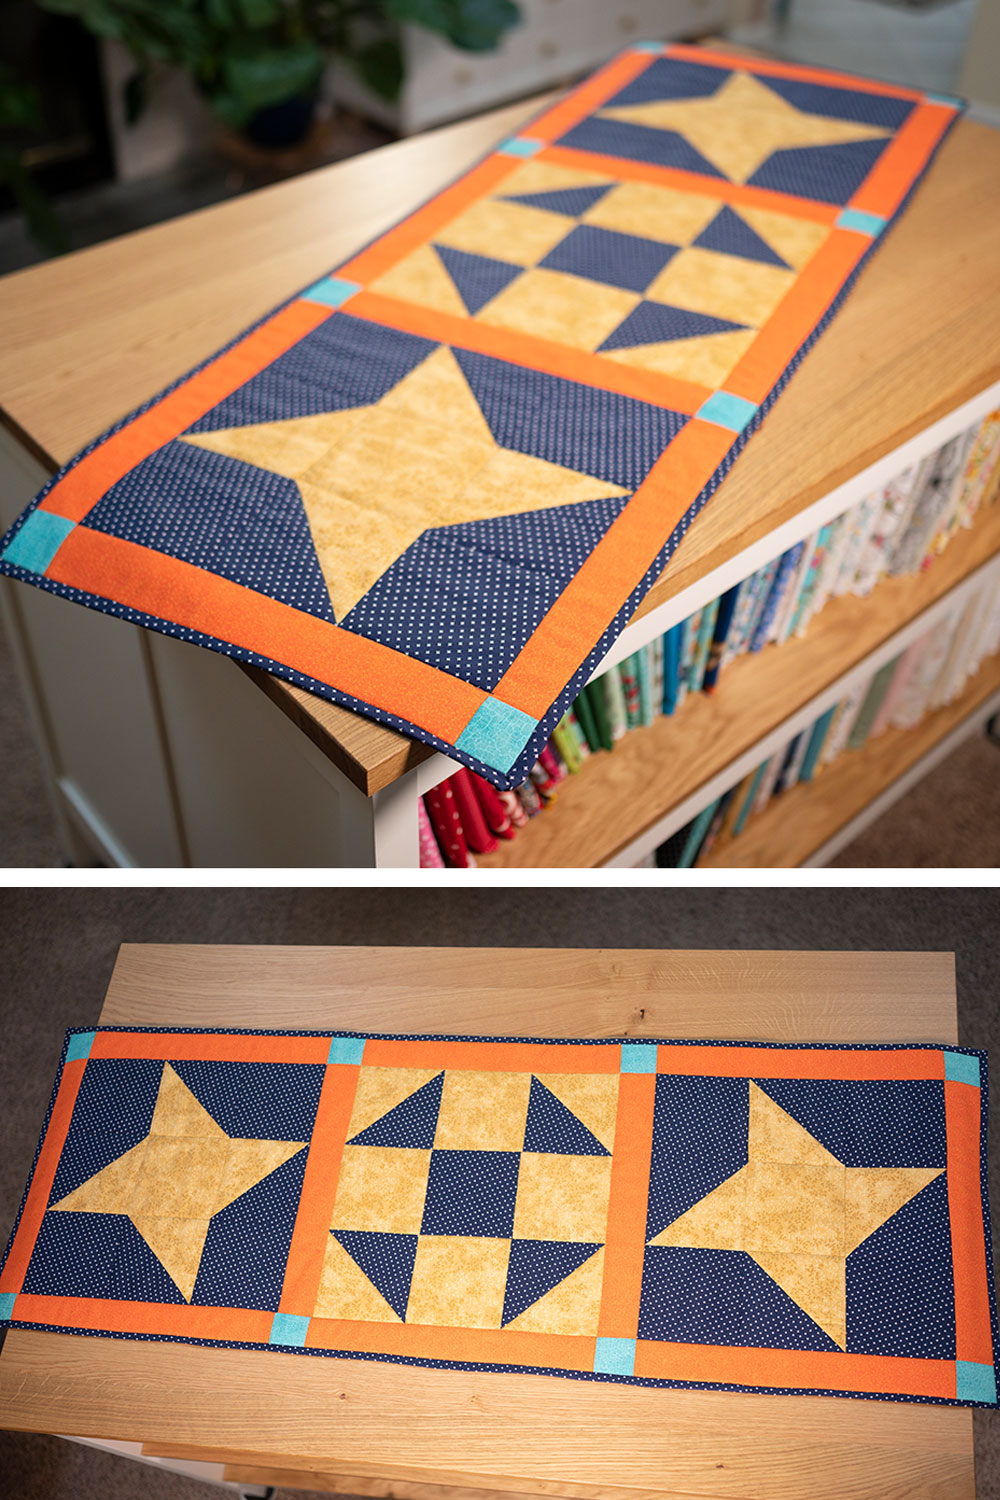
There are several ways to use this same block in multiple designs. I thought Suzy Quilts did a fabulous job demonstrating several ways to use this block.
Supplies to make a Rail Fence Quilt Block
- Rotary Cutter (affliate link)
- Rotating Mat (affliate link)
- Jelly Roll (affliate link) (A jelly roll is a pre-cut bundle of 2 1/2″ x 42″ strips of fabric) – with pre cut fabrics, the cutting is already done!
I’m an affiliate for Fat Quarter Shop, and I LOVE their selection and service.
Other common questions people have about using jelly rolls
- What size quilt will 40 jelly roll strips make? In general, the standard 40-strip jelly roll, will construct a quilt top that is 50″ x 64″ without any additional border.
- What size quilt will 2 jelly rolls make? This is an approximation but a standard jelly roll contains 40 strips measuring 2 1/2 ” by 42″ long. In that case, you would need at least 1 jelly roll for a baby quilt or lap quilt, 2 jelly rolls for a twin-size quilt, and 3 jelly rolls for a queen-size quilt.
- Are jelly roll quilts easy? Quilting with pre-cut jelly roll strips allows you to spend less time cutting your fabric, and more time sewing and piecing together your quilt top (the fun part!). Using jelly roll fabric is a wonderful way to create quick, easy, and beautiful quilts, while still leaving plenty of room for creativity.
A couple summers back, I hosted a weekend quilt along where we made a version of the Jelly Roll Jam Quilt from Fat Quarter Shop. It’s a variation of a rail fence quilt, and you might enjoy it if you’re looking for something fast and fun to do with your extra Jelly rolls!
I hope this inspires you to have a little fun with with your fabric stash and you will try out your own Rail Fence project!
🙂
Hi! I’m Pattymac
I’m a creative lifestyle blogger living and working in Coastal Virginia. When I’m not mixing or stitching or taking pictures, I’m out exploring the cook book section of my favorite library or munching my own home baked cookies at a mid week movie matinee.


