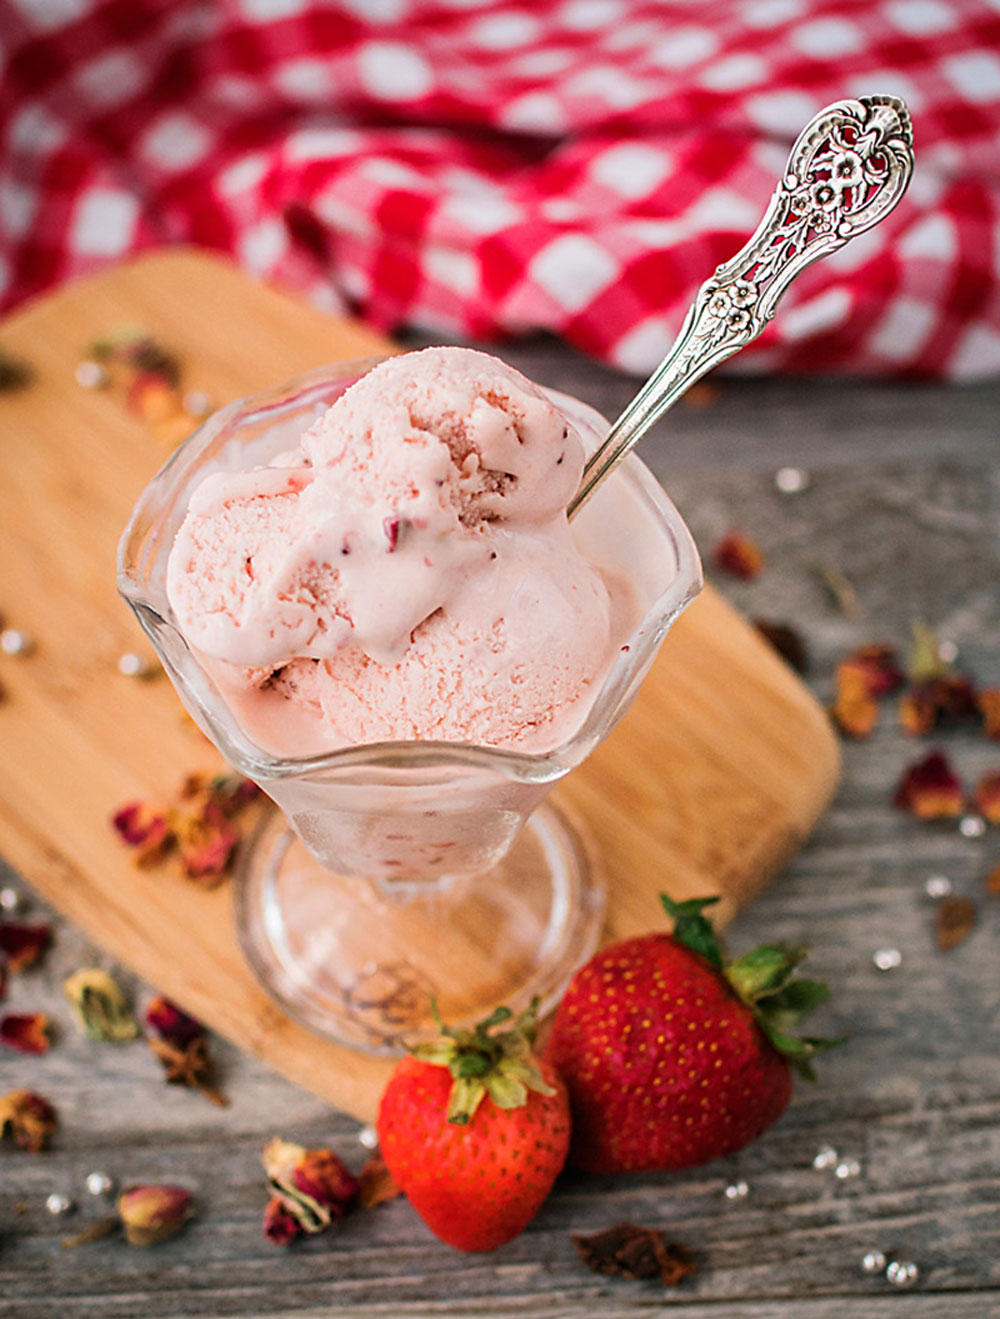
Easy Homemade Vanilla Ice Cream
This post has affiliate links to products I use and love. If you buy something I can make a small commission, so thanks in advance. 🙂
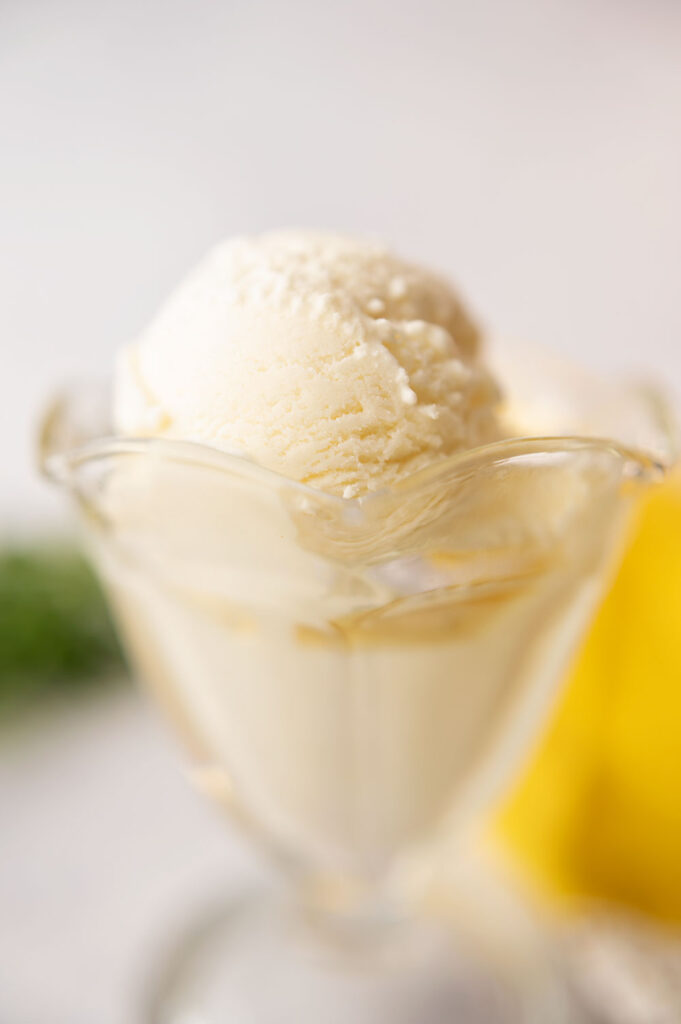
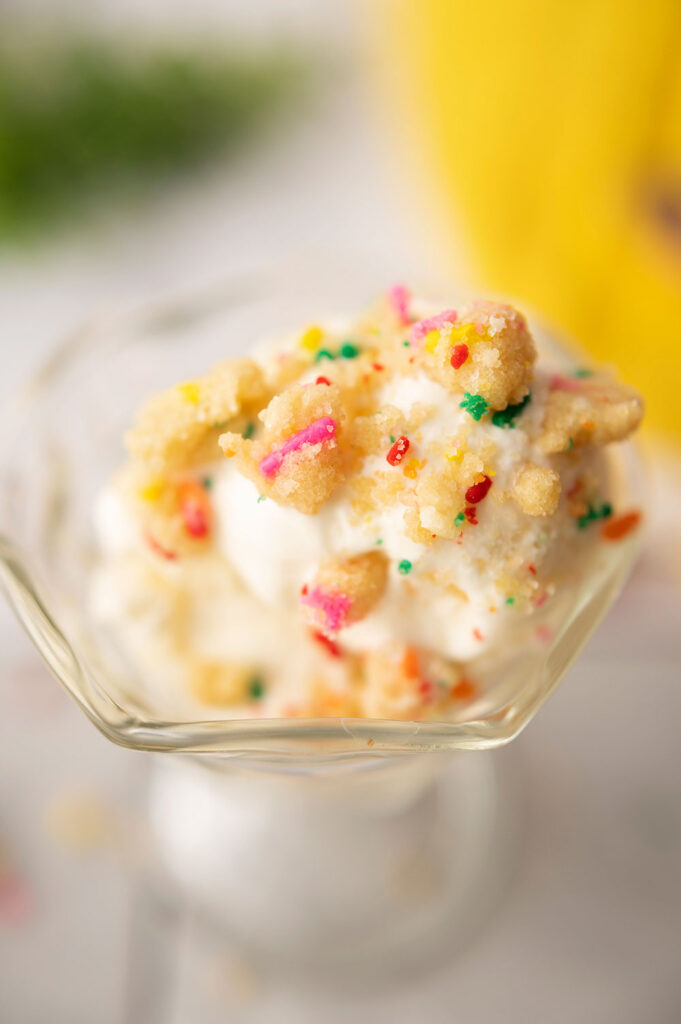
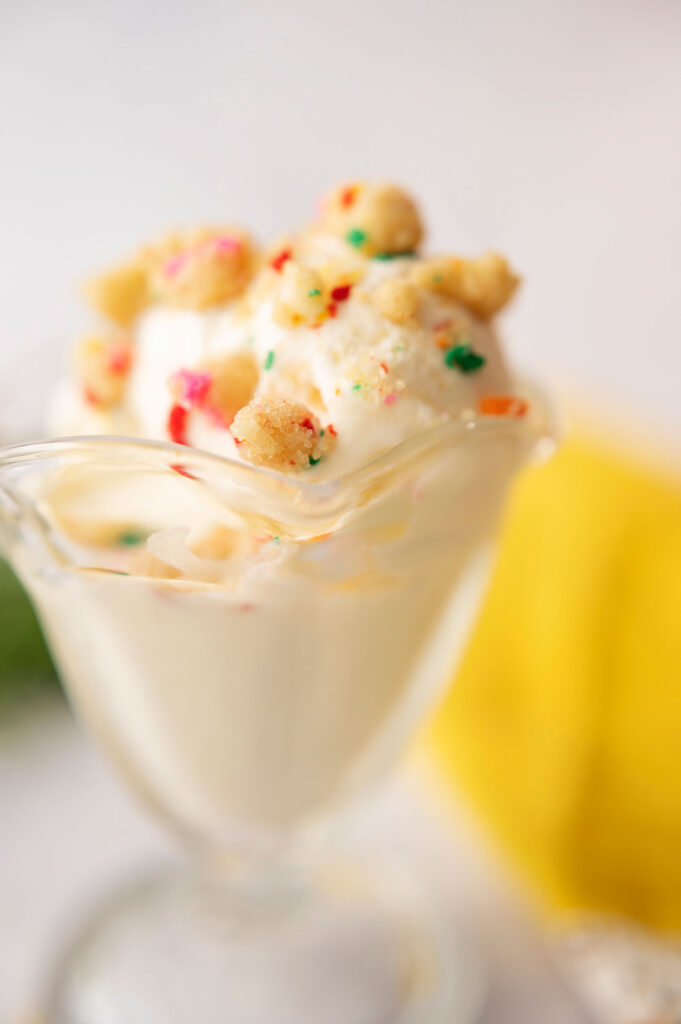
Some people only make creamy, frozen desserts in the summer season. Why would you limit yourself like that? Especially when you can enjoy easy homemade vanilla ice cream all year long. It’s perfect for topping pies and brownies as well as scooped and garnished with a crunchy, salty, sweet rainbow crumb.
Today’s Easy Homemade Vanilla Ice Cream recipe is made with an ice cream maker. You can simply pour your final mixture into a couple of loaf pans or something and freeze, but if you like homemade ice cream, go ahead and invest in an ice cream maker. Mine is the type that has a frozen core kept in a freezer. It’s easy to use and it’s pretty inexpensive. Especially when you figure a pint of ice cream in the store is over $5.
One batch of homemade ice cream costs about $3 -$5 to make at home, depending on where you grocery shop. But it makes around 5 pints which is worth $25 of fancy boutique style ice cream. Once you’ve made 4 batches of ice cream in your churn, you have pretty much paid for it. So it’s a great investment that quickly pays for itself.
Why is making homemade ice cream so awesome?
- Using whole, fresh ingredients in your recipes is always the best way to go. You know exactly what’s in the product being consumed.
- No added fillers or stabilizers: no need for those strange ingredients to stabilize your creamy ice cream.
- It’s fun to see how ice cream is made and how easy it is to make it at home. Bonus, this is a great recipe that even younger kids can help make.
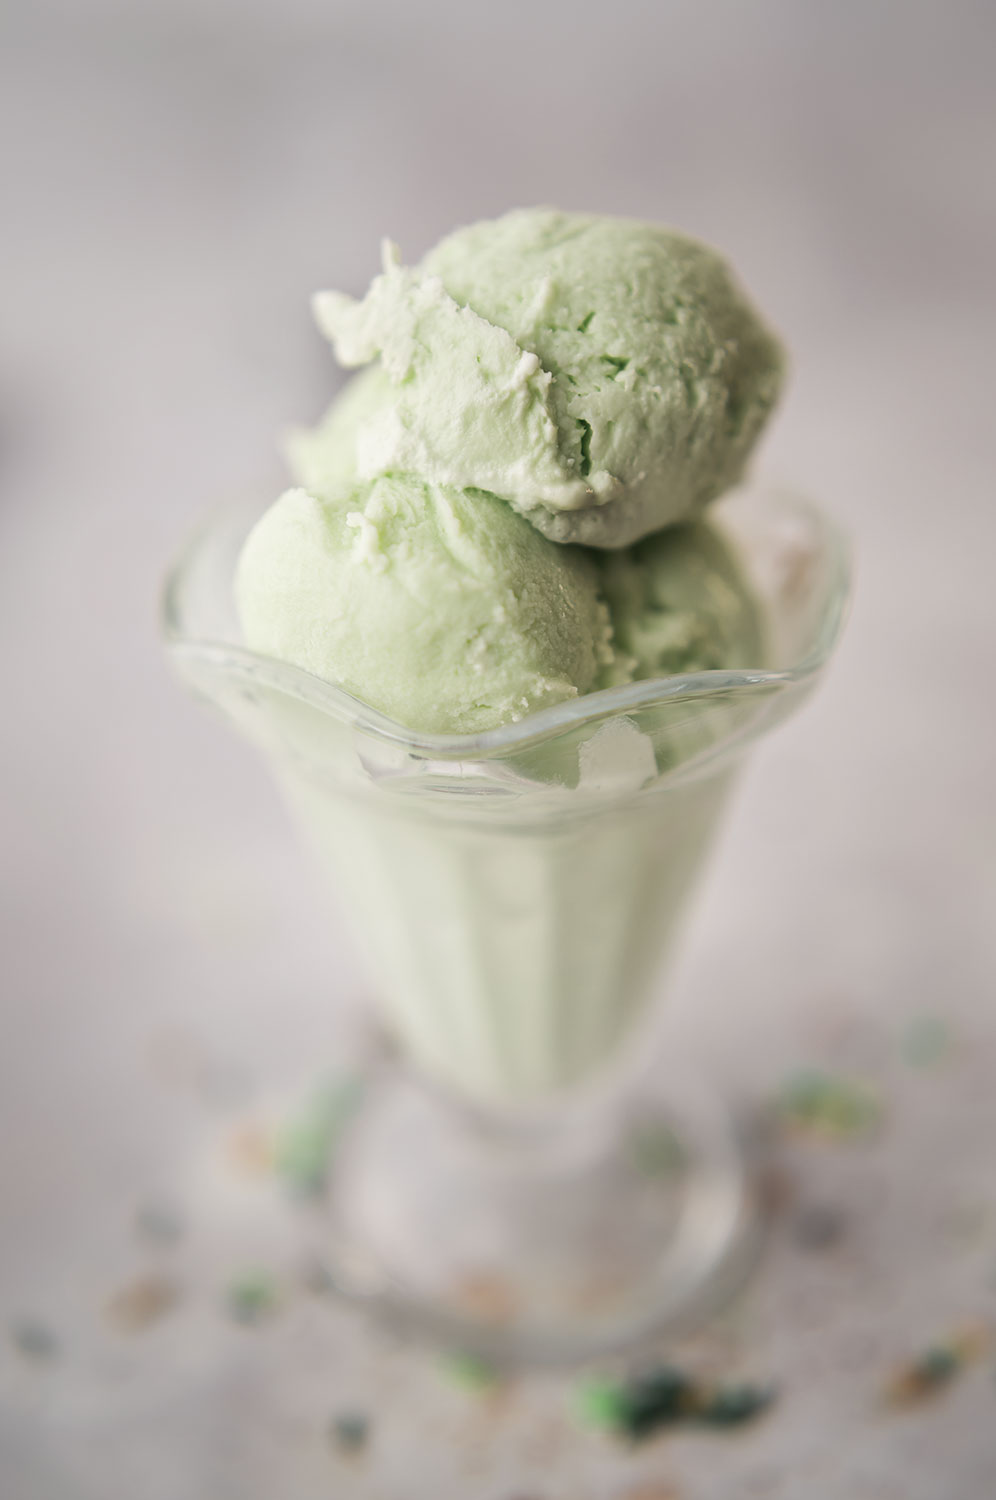
- Once you understand how to make a vanilla base, like in today’s recipe, it’s very easy to play with flavors and texture combinations.
Ingredients for Easy Homemade Vanilla Ice Cream:
- Heavy whipping cream: Heavy whipping cream is required, because without the fat content it provides, your ice cream will be a solid brick and not creamy and scoopable.
- Sweetened Condensed Milk: Provides the sugar and the sweetness in the ice cream. Adding this thickened milk adds to creaminess.
- Half and Half or Whole Milk: Use what you have in the fridge. If you have to buy something, then get what you will use in your coffee or on cereal later to use the leftovers. Just don’t skimp on fat content, because a frozen brick is not really the best ice cream.
- Vanilla Extract: Use any vanilla you like. Also, you can actually put ANY flavoring you like into the mixture and it will become that flavor. I think mixing the vanilla WITH another flavoring is always so delicious.
- Corn Syrup: Corn Syrup is an old school, secret ingredient that keeps ice cream smooth and scoopable. I helps your dessert to be frozen but not so hard you can’t scoop.
We are making Philadelphia style ice cream which is ice cream without eggs. French style ice cream is custard based and requires cooking the ingredients, letting the cooked mixture chill in the fridge overnight and then churning the following day.
Making egg free ice cream means all we have to do is pour everything into a bowl and mix. I learned how to make ice cream from David Lebovitz and I highly recommend his wonderful book if you are interested in going deep with you ice cream education.
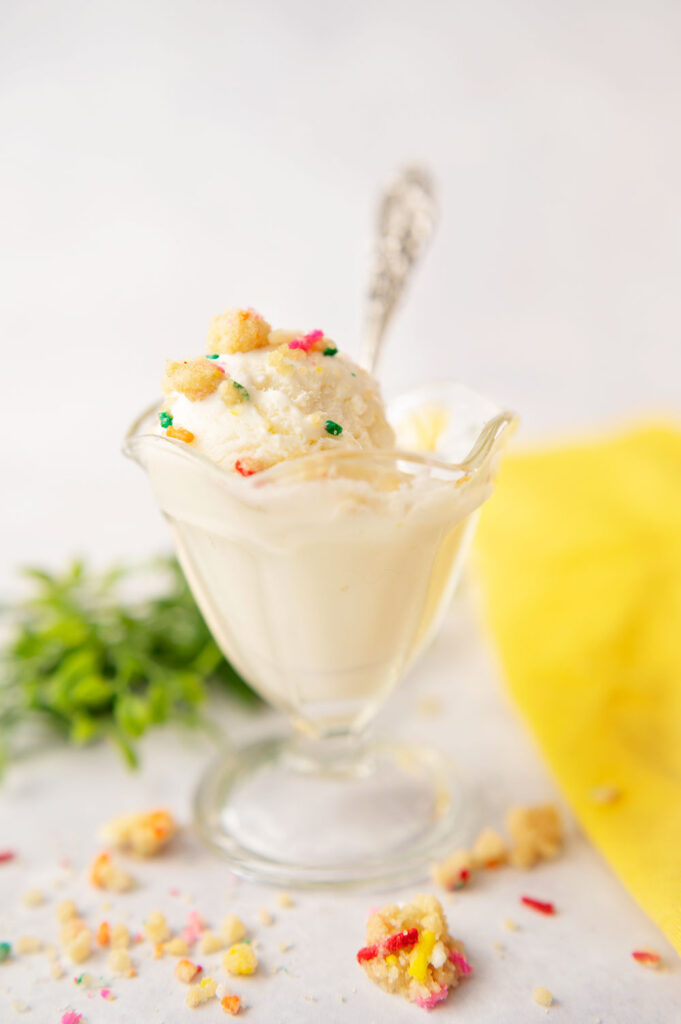
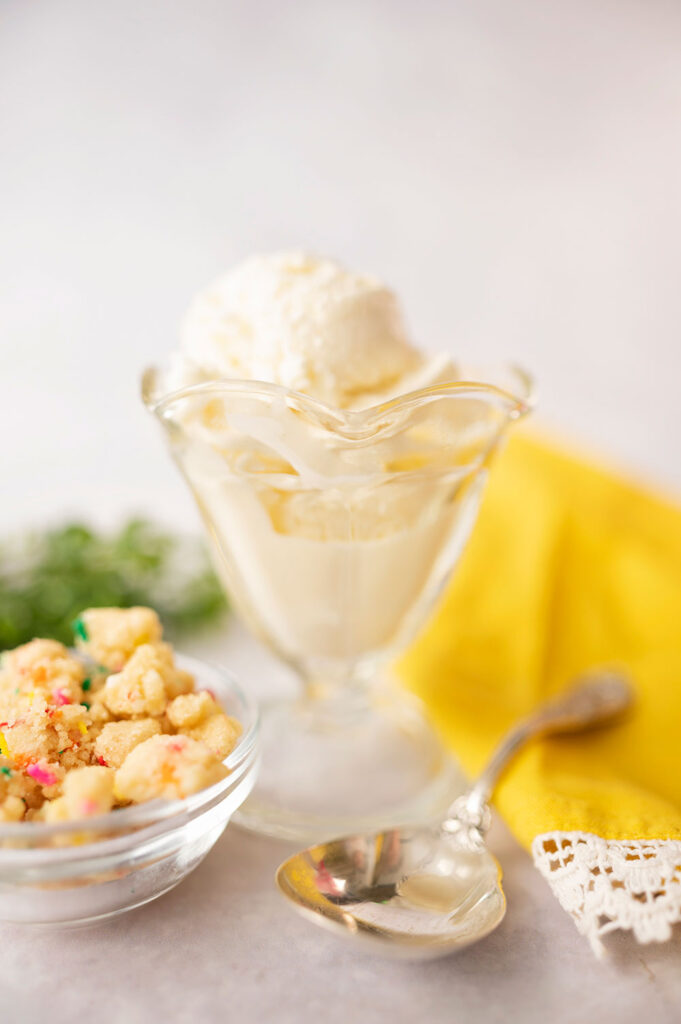
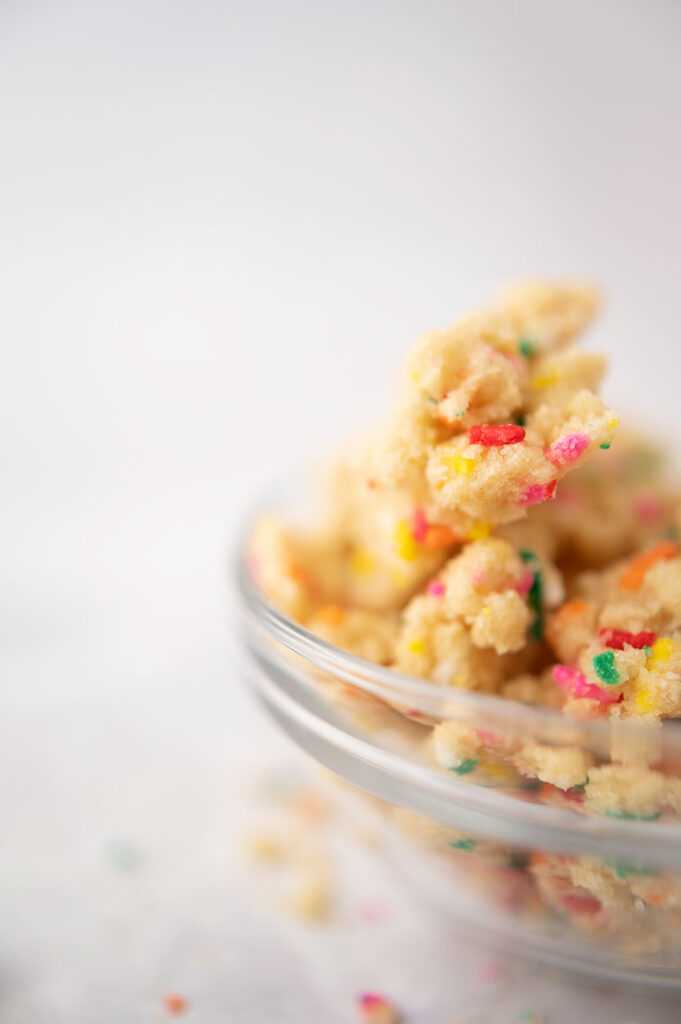
Let’s talk about that salty sweet rainbow crumb added to today’s easy homemade vanilla ice cream mentioned in the beginning.
I paired the vanilla ice cream with something called Birthday Cake Crumbs. You might remember them from the Milkbar Birthday Cake recipe I made recently. Once you make the crumbs, you are going to want them around all the time. They are delicious on anything, but on the vanilla ice cream, they are a perfect character foil.
What’s in Birthday Cake Crumbs?
- Granulated sugar. I used superfine sugar.
- Light brown sugar
- Cake flour
- Baking powder
- Kosher salt
- Rainbow sprinkles
- Grapeseed oil
- Clear vanilla extract
Before you complain about a list of ingredients you’ll never use, I have this to say:
- You will love the crumbs so much you will want to make them all the time! Nothing will go to waste.
- There are many delicious recipes on this website that use those ingredients, so if you make other goodies from the site, you will use all those ingredients.
- Don’t skimp on the clear vanilla extract. It’s such a yummy flavoring.
How to mix Philadelphia style ice cream:
Honestly, I love this version of ice cream, because it’s so darn easy. I do keep the whipping cream and milk refrigerated, of course. The rest of it I pull out of my pantry when I’m ready for it.
- Pour all the ingredients into a large bowl.
- Mix well.
- Pour into the ice cream maker and churn according to directions.
- Once churned, scoop into a container and freeze 4 hours, but over night is best.
That’s it. Mix, pour, freeze. The ice cream does need a few hours to set up, or “cure” to have it’s best consistency. But you can have it right out of the churn as a soft serve.
You might also like:
Print
Easy Homemade Vanilla Ice Cream
- Total Time: 1 hour 15 minutes
- Yield: 12 1x
Description
Homemade vanilla ice cream is perfect for topping pies and brownies as well as scooped and topped with a crunchy, salty, sweet rainbow crumb.
Ingredients
Ice Cream:
- 2 cups (250 grams) Heavy Whipping Cream
- 14 oz can Sweetened Condensed Milk
- 1 cup (227 grams) Half and Half or Whole Milk
- 1 tbsp Vanilla extract
- 1/4 cup (78 grams) Light Corn Syrup
Birthday Cake Crumbs
- 1/2 cup (100 g) granulated sugar. I used superfine sugar.
- 1 1/2 tbsp (25 g) tightly packed light brown sugar
- 3/4 cup (90 g) cake flour
- 1/2 tsp (2 g) baking powder
- 1/2 tsp (2 g) kosher salt. I used Fleur de Sel.
- 2 tbsp (20 g) rainbow sprinkles
- 1/4 cup (40 g) grapeseed oil
- 1 tbsp (12 g) clear vanilla extract
Instructions
Ice Cream:
- Combine all the ingredients into a large bowl and whisk until thoroughly combined. About 3 minutes.
- Pour mixture into prepared ice cream maker.
- Churn according to appliance recommendations.
- Once churned, put ice cream into an appropriate container. Freeze for 4 hours but overnight is best.
Birthday Cake Crumbs
- Pre heat oven to 300 degrees F.
- Combine first 6 ingredients in the bowl of a stand mixer fitted with a paddle attachment. Run mixer on low to combine the ingredient, maybe a minute.
- Whisk oil and vanilla and while mixer is running on low drizzle down the side of the bowl.
- Mix until clusters form.
- Spread clusters on the sheet pan lined with parchment paper and bake 20 minutes.
- Allow Crumbs to cool completely before using. They will keep at room temp in an air tight container for a week or in the freezer for a month.
Notes
A wooden spoon is the most efficient way to get the churned ice cream out of the core and into a container. You want to use wood or silicone so the core doesn’t get scratched, but I find the heavy wooden spoon is best for scooping heavy ice cream and scraping the sides.
My favorite container for storing ice cream is from Tovolo. It’s double walled to keep the ice cream frozen and slim lined to fit in the door.
- Prep Time: 15
- Cook Time: 60
- Category: dessert
- Method: no bake
- Cuisine: American