How to decorate flower pots
This post has affiliate links to products I use and love. If you buy something I can make a small commission, so thanks in advance. 🙂
As DIY projects go, nothing is as fast and easy…and, dare I say rewarding, as learning how to decorate flower pots.
While terra cotta is the best container for your potted plants, it can be a little bit generic. Let’s talk about how to decorate your flower pots to give them a personal spin.
First, let’s jump in the way back machine and travel into the past about 35 years. It’s the 1980’s and Madonna is the bad girl of rock, hair is so high it’s practically a performance art, and nobody went to aerobics class without their Reeboks and legwarmers. In the midst of all this New Wave craze (which I admit I still love), we were all decorating our homes in a country style that included lots of ruffles, calico, wooden geese and stenciled hoop projects. Girl, we stenciled everything back in the day!
And then all of a sudden it wasn’t cool anymore, and the stencils were put away and forgotten: until recently, that is. I guess we can thank the “Modern Farmhouse” aesthetic for bringing it back.
Long story short, Emily from Stencil Revolution wrote to me asking if I would be interested in using a couple of her stencils for a project, and I was immediately interested!
An easy project like how to decorate flower pots is perfect for a small stencil.
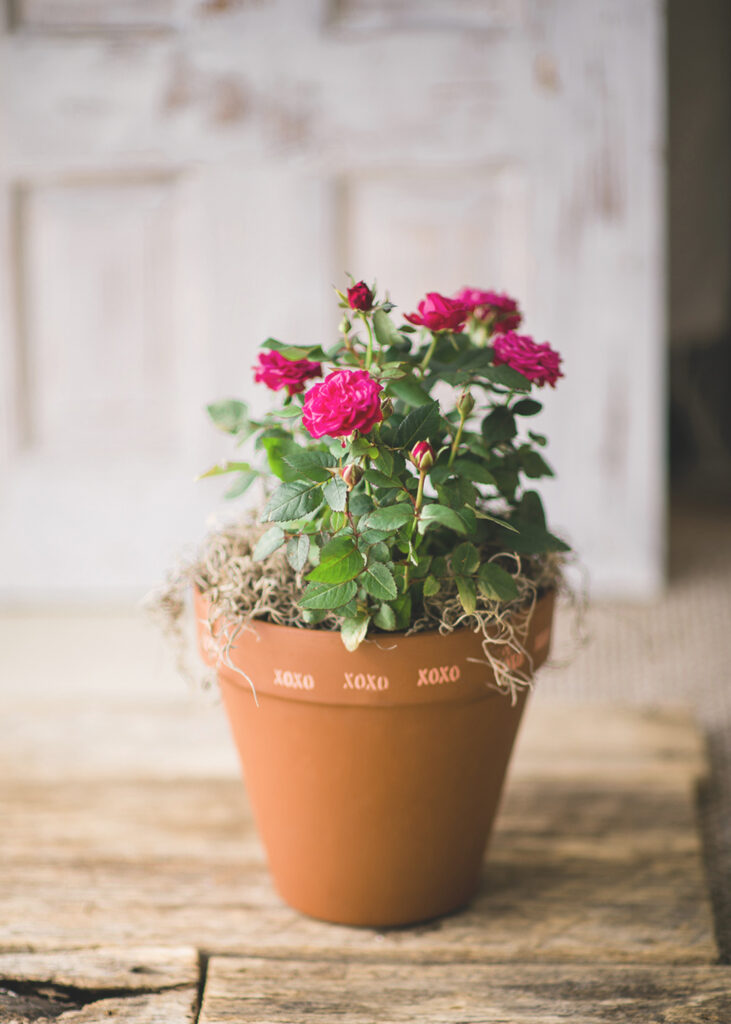

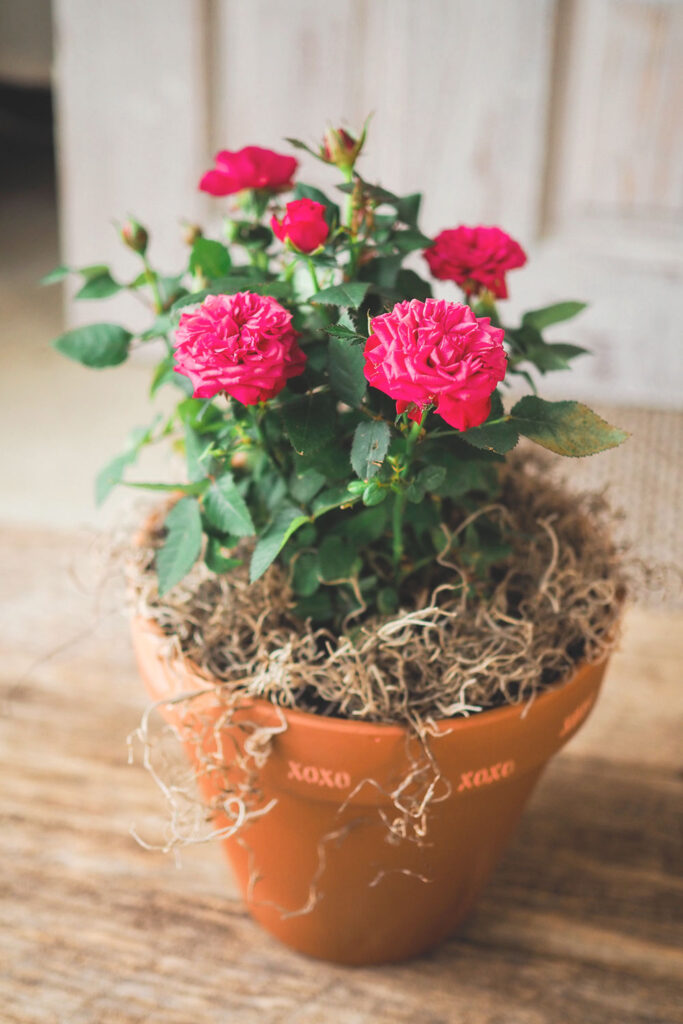
See what I mean? That is one gorgeous project, and it’s perfect for Mother’s Day, a birthday, or a hostess gift at a summer party. I love cut flowers and all, but adding a personal touch to a plain flower pot with a live plant with a little fancy top dressing is really a notch above.
What do you need to decorat a terra cotta flower pot using a stencil?
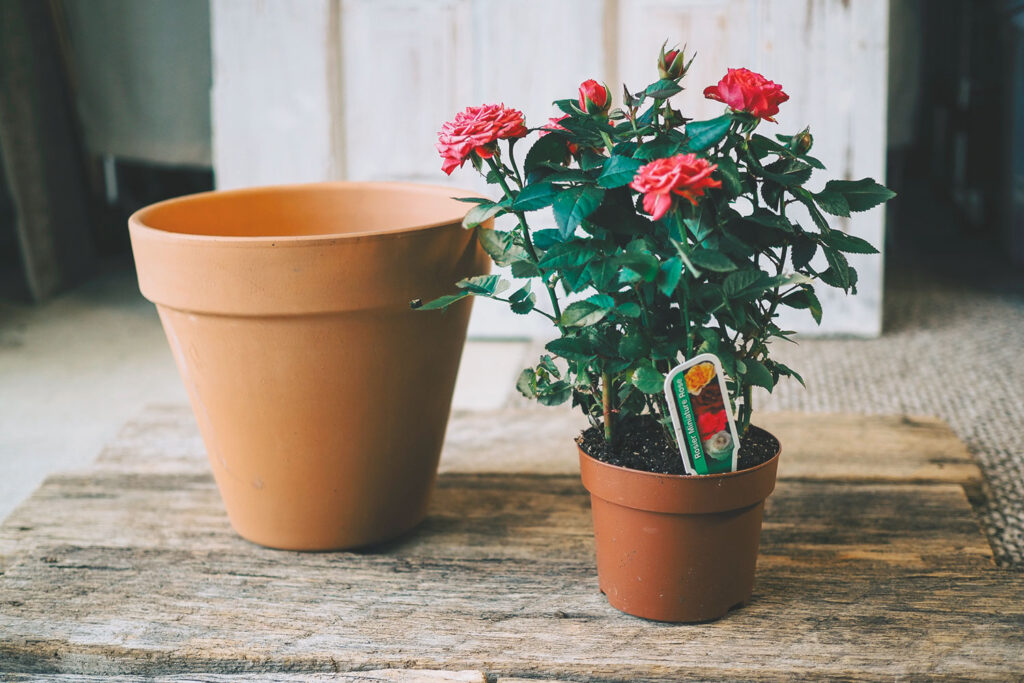
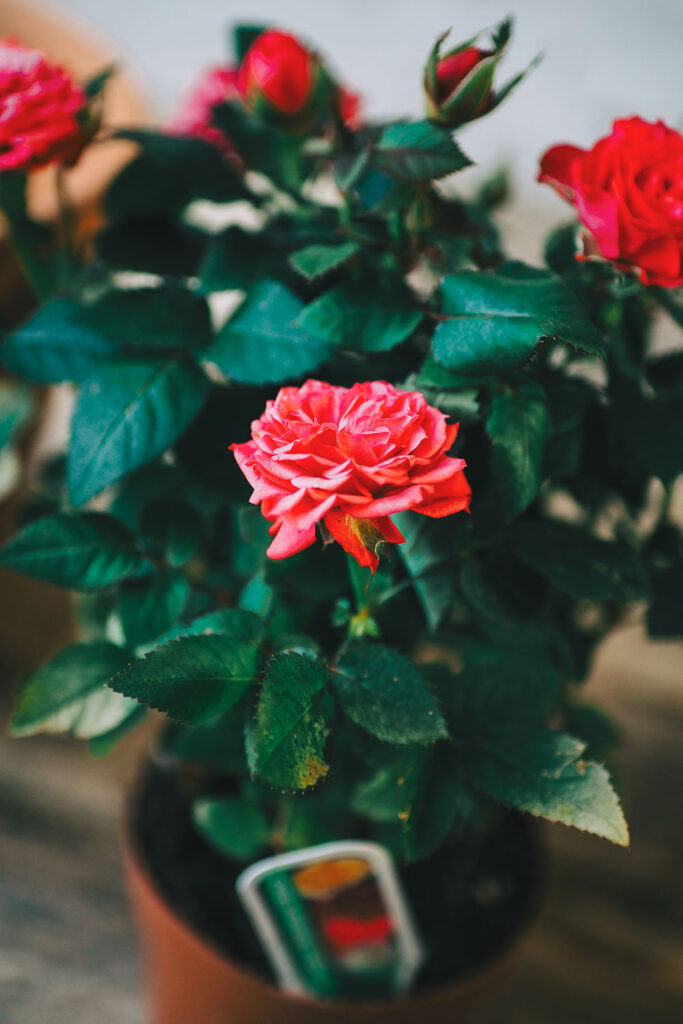
- Live plant (I used miniature roses and a small ponytail plant)
- Terra Cotta Pot.
- Potting mix.
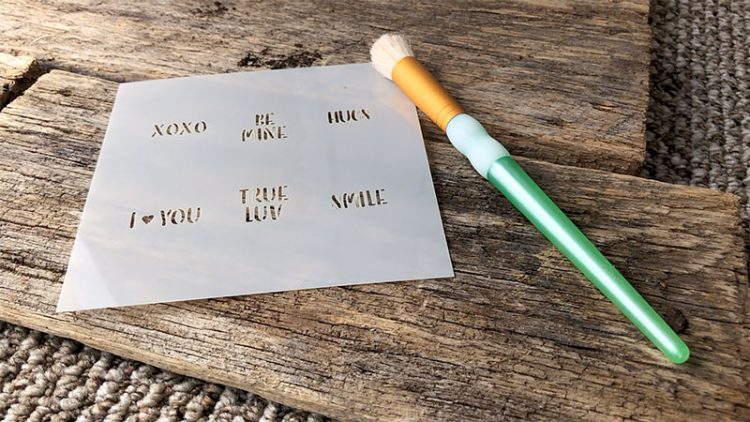
- Stencil.
- Craft paint. Make sure the color you select has enough contrast against the color of your surface to show up.
- Stencil brush.
- Paper towel.

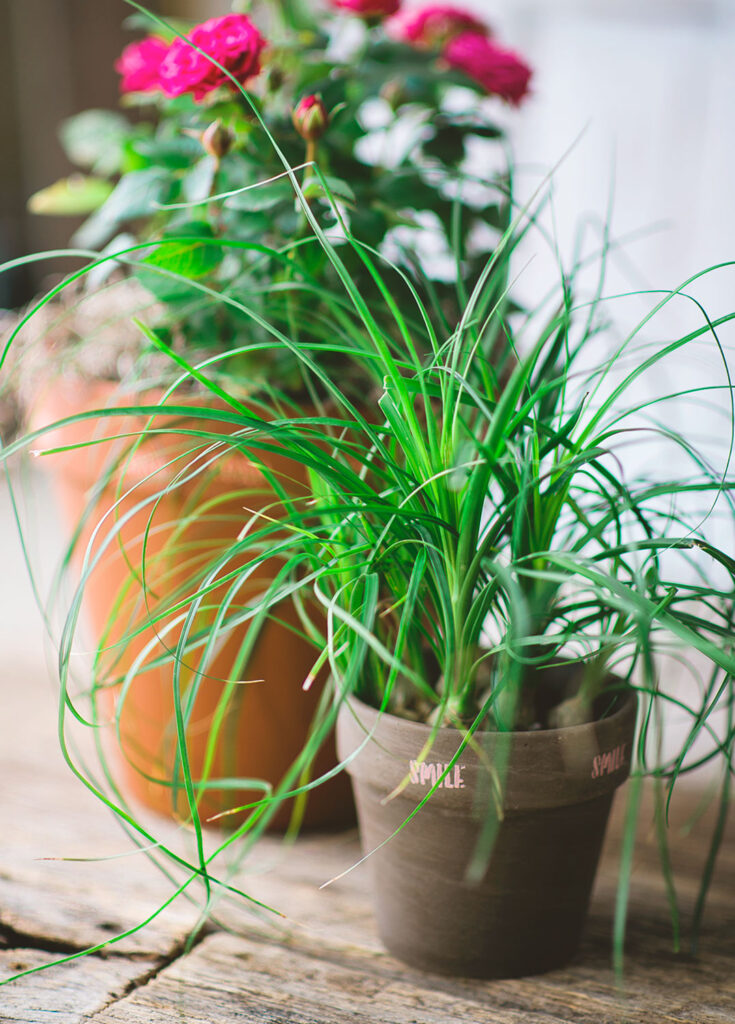
Start with selecting a plant and the terra cotta pot to go with it. From my own experience, I find miniature roses grow really fast. Going up a few sizes from the plastic nursery pot will make them very happy. Get them out of that plastic nursery pot ASAP. They really don’t like being in them. And put them outside. They do so much better in full sun outside.

How to decorate a flower pot:
- Stencil your pot.
- Allow it to dry at least 2 hours.
- Using potting soil, fill the pot the appropriate depth, and place your plant in the fresh soil. Fill around the root ball enough to hold the plant in place. Match the fresh potting soil to the top of the soil line on the plant.
- Top dress the soil with something decorative if desired. For the roses I used dried moss that I picked up in the craft store.
That’s truly it. Stencil, pot the plant, top dress if needed and BOOM. Done.
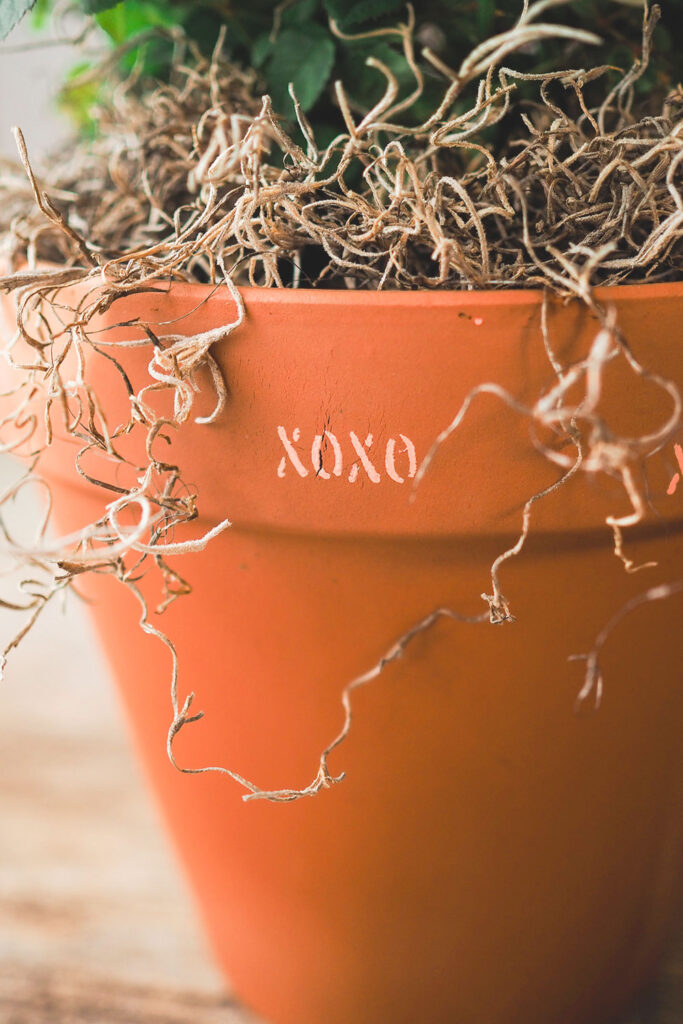
The trick to this project is getting the stencil to look good. So let’s talk about that.
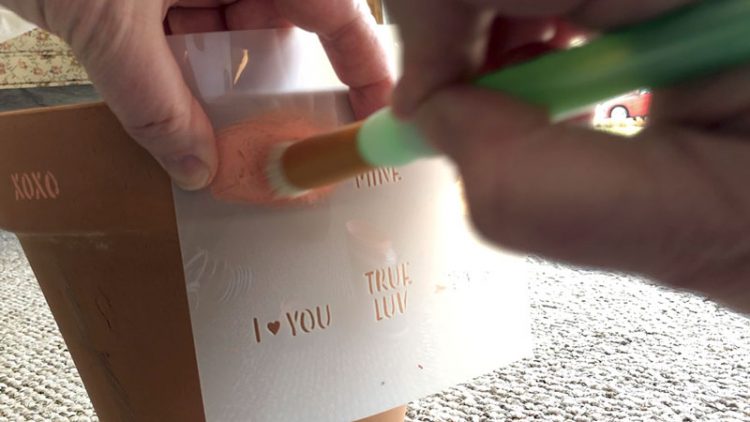
- Make sure to hold the stencil flush to the project surface.
- Use an appropriate stencil brush.
- Dip the end of the brush into the paint, and then BLOT THE EXCESS off onto the paper towel. Blotting the paint before application is the trick here. The brush will be just about dry. Starting with a small stencil is the best way to learn the technique. Start small, and go onto bigger projects as your paint skills improve.
- While holding the stencil flush to the surface, stipple the blotted paint brush over the design. Also a swirling motion is good. It only takes a very little bit of the paint to do this.
- Pull the stencil away quickly and straight up and off the project surface.
- Wipe the back side of the stencil dry, if needed, with a clean paper towel before returning the stencil to the project surface to paint again.
Let’s take a good look at the supplies used in this project. The stencil I used was in reality a Valentine’s Day stencil for cookies. But I like the messages, and thought we could all use something positive and uplifting.
I recommend buying two stencils and keep one for food and one for paint if you think you might like to use the stencil on decorated cookies at some point.
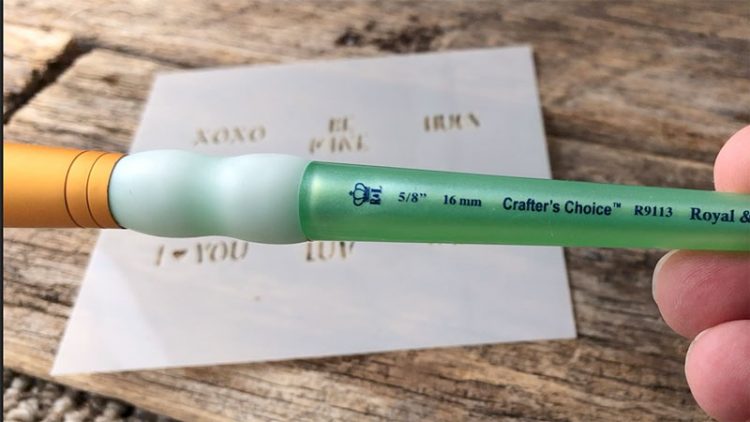
Getting the right brush is important. This one worked well, and was not expensive. Most of what I see people doing online is using a sponge applicator, and I don’t think you can get a dry enough brush that way. I always stenciled using a brush like this, and my motto is, “If ain’t broke, don’t fix it.”
Truly, I hope this inspires you to try out stenciling a few flower pots this summer. A decorated flower pot is fun and easy to do.
It’s the cutest project, and frankly, I’m kind of excited to do a few more. It’s a fun way to add a personal touch to your gardening life. I loved getting in touch with a craft I loved decades back, and I’m already thinking of what else to make together this summer using stencils.
If you are new to my website, I would like to say Hello! And Welcome! Please sign up for my email list to ensure you never miss an update. I share recipes, gardening ideas and, of course, craft and knitting tutorials. And if you are a returning reader, thank you so much for dropping by. It’s always lovely to see you. See you in the next post!
Hi! I’m Pattymac
Sewist, Baker, Maker
I love figuring out new ways to use pom poms, where I can stash more fabric, and I’m always wondering what to bake next…chocolate or lemon? When not dreaming up new things to make (or bake), I love riding my beach cruiser on the Boardwalk, escaping to mid week movie matinees, and planting new things in my tiny but mighty container garden.


