Mason Jar SnowGlobe
This post has affiliate links to products I use and love. If you buy something I can make a small commission, so thanks in advance. 🙂
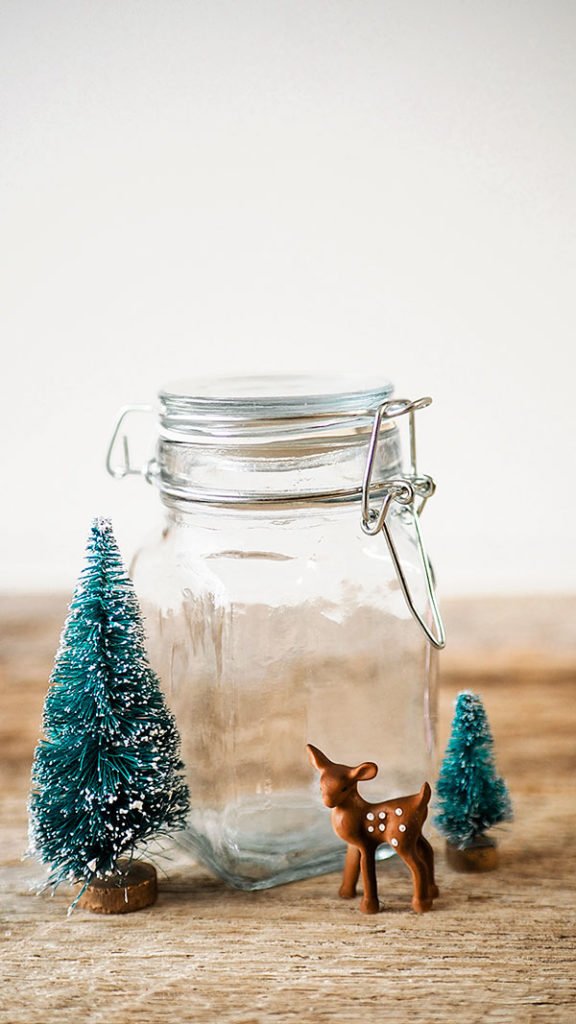
Create a vintage inspired Mason Jar Snowglobe! Be sure to include woodland animals, bottle brush trees, and fake snow. Let’s DIY an adorable Christmas craft.
Thanksgiving is behind us and the sprint to Christmas is here. All the craziness and pressure that is now synonymous with the holiday season is also here. Please don’t misunderstand. I really enjoy the holiday season, but not the level of craziness that is normalized in our culture now. Step off the modern crazy train, and let’s make a mason jar snow globe project that recaptures vintage charm.
To combat the over the top craziness, allow me to share a Vintage inspired Mason Jar Snowglobe DIY, replete with adorable woodland animals and bottle brush trees. I used glass jars, because who doesn’t love mason jar crafts? It’s a perfect Christmas decoration easily tucked on a window sill or displayed on the fireplace mantle.
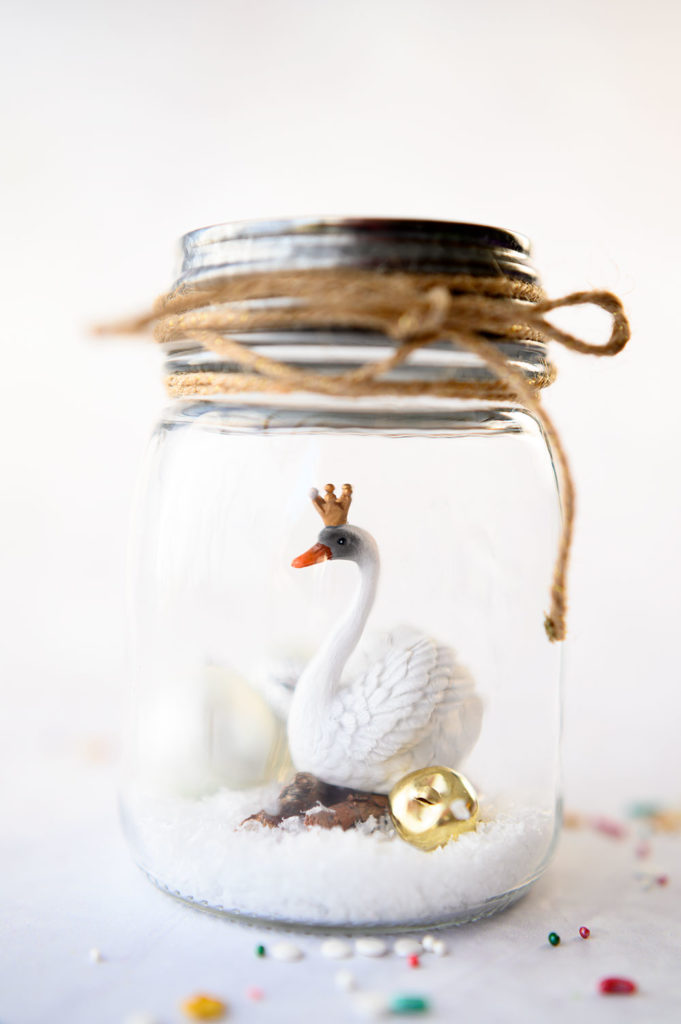
Isn’t that beautiful? The best part is that this is a really easy project.
You will love this charming Christmas Craft designed to take you and your family back to a simpler time.
The snow globe project does require the fast acting power of a glue gun to work. So smaller children will need grown up assistance and supervision to make their jars. Let your child pick out their favorite elements, and decide how they want it laid out, and then do the glue gun portion for them. They can sprinkle in the snow at the end.
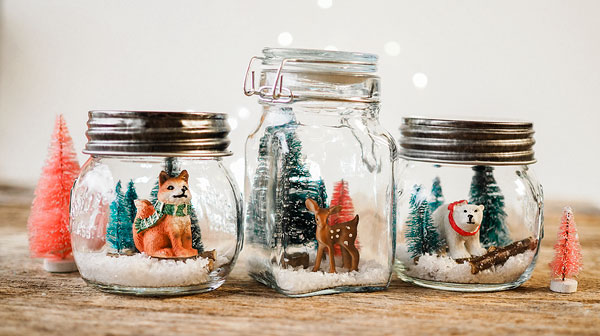
To begin, decide on the jar you want to use. Something with a wide mouth is the easiest to use. Something short and stout also makes the project easier to style, but tweezers can be used to set pieces into place in taller jars. I’ve been itching for something that included bottle brush trees, because they are the cutest thing ever. I was inspired by someone’s project I saw on Pinterest. She made her snow globes using mini cars.
I found all of my items in a section of my craft store with Christmas tree ornaments and miniatures. I picked out the trees and the animals I liked, and found a tub with little sticks that looked like forest logs. I also bought the snow in this section, because it seemed like a better scale.
When I came home, I placed the items together I wanted in the mason jar.
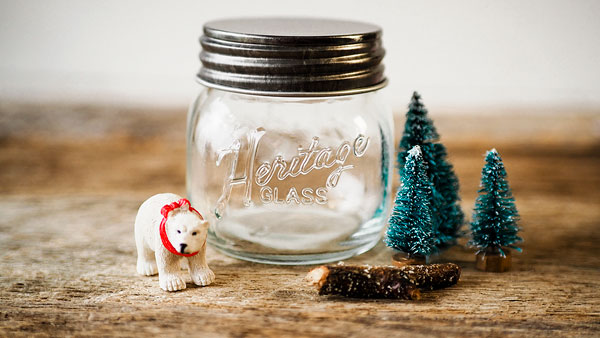
Apparently, anything in a mason jar elevates to a new level of cuteness.
I also made a couple of things with a different style jar to try that out, too.
The fawn is truly a vintage motif, so I knew I wanted to make something using this precious little baby. I thought the pink tree really took this snowglobe to all new retro heights and I’m super happy with the outcome.
If woodland animals are not your thing (how are they not your thing?), don’t despair, because I thought the mini ornaments in the mini mason jar also looked adorable.
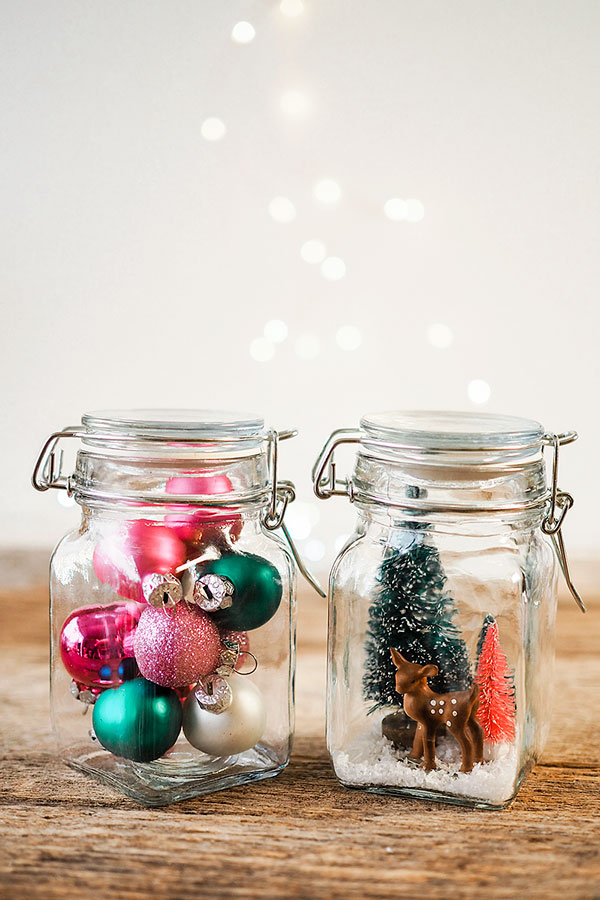
Materials list for a Mason Jar Snowglobe:
- A container of your choosing. I selected small glass jars with lids.
- An assortment of treasures to put into the jar. Items like bottle brush trees, woodland animals, sticks and fake snow are a great starting place.
- A spoon, and I found that a long handled tea spoon is best.
- A pair of tweezers.
- A glue gun.
To assemble:
- Lay out your pieces to get a general idea of what you want to put into your jar. Decide on the arrangement.
- Glue gun the bottoms of your pieces into the jar so they stay put.
- Use tweezers to lower the items into place inside the jar.
- Sprinkle in the snow using the spoon around the edges of the project inside.
- Put the lid back on.
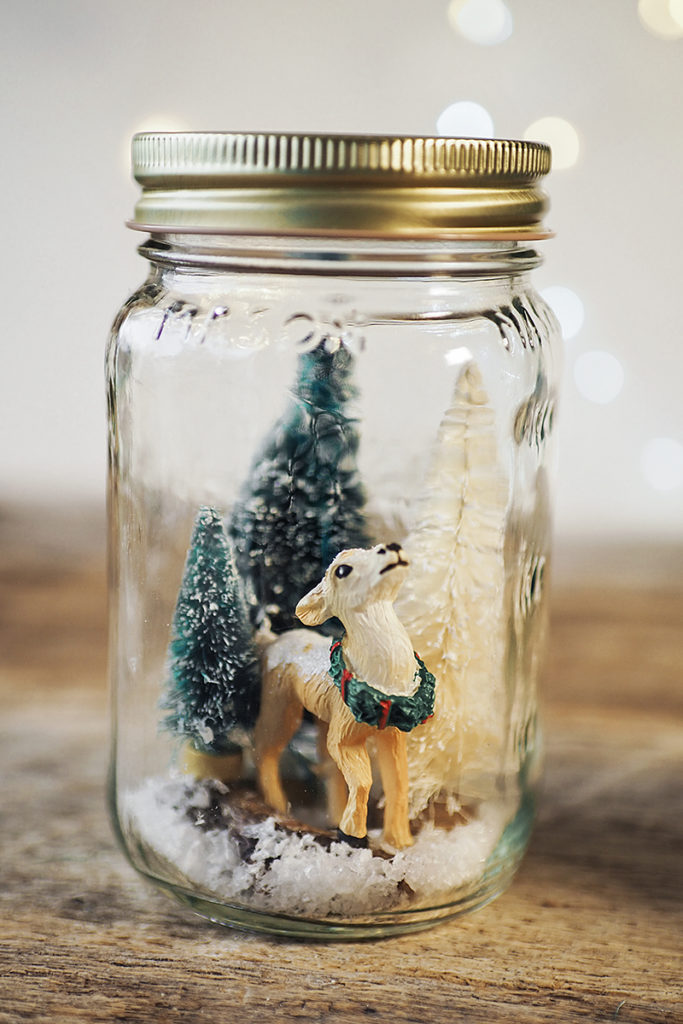
I made several of these in under an hour! If the trees are too tall, use wire cutters to cut to bottoms off the trees and then place them into the jars. A pair of kitchen scissors would also do the trick.
Enjoy this video showing the complete process used to make my version of mason jar snow globes.
Please note that this is a WATERLESS mason jar snow globe. It’s not something to shake up and watch the snowy bits float around.
This is a dry snowglobe. The water part would not travel well, and I have concerns the trees would start breaking down and the paint start coming off the animals pretty fast. As made in this tutorial, they will basically last forever.
And as you can see, the jars add to the personality of the snow globe. So spend a little time looking at every thing to pick out the pieces you like the best. Although, if you find a larger figure that you love and it doesn’t really fit into a mason jar, don’t worry. I made this deer arrangement, and it sits happily on my fireplace mantel.
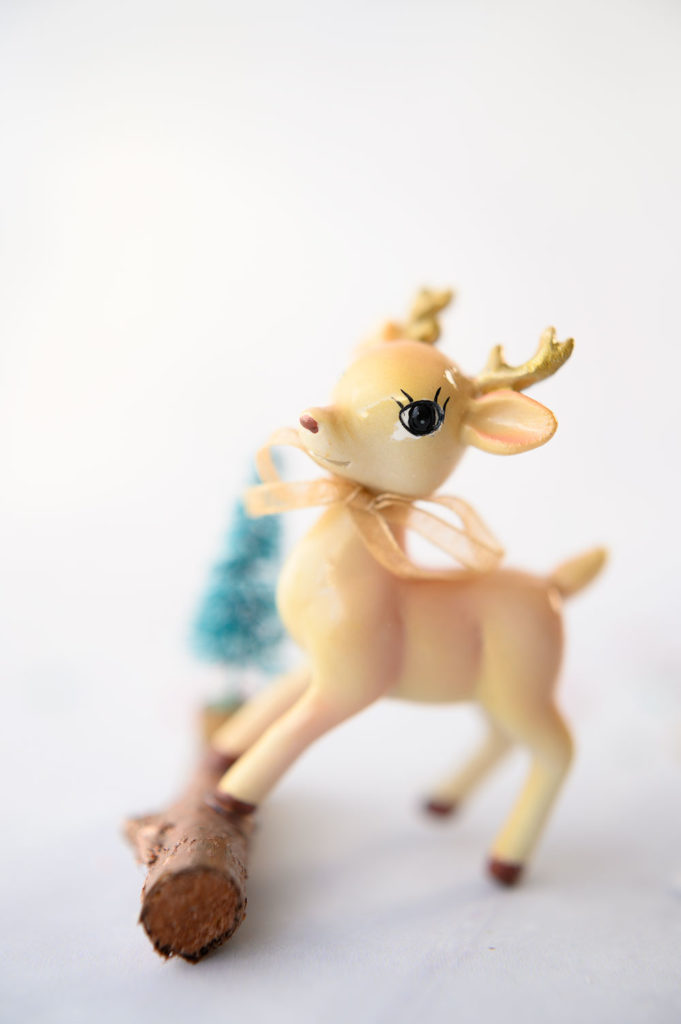
I hope you enjoy this and make your own little projects. If you are new to the blog, welcome!! And if you are a returning reader, then welcome back! Please be sure to sign up for my email list before you leave today. I create all sort of fun new projects, videos, recipes and tutorials every month, and I email them to you so you don’t miss a thing. 🙂
You might also like:


Hi there, I’m Patty.
Sewist, Maker, Baker
I love figuring out new ways to use pom poms, where I can stash more fabric, and I’m always wondering what to bake next…chocolate or lemon? When not dreaming up new things to make (or bake), I love riding my beach cruiser on the Boardwalk, enjoying classic films, and planting new things in my tiny but mighty container garden.


