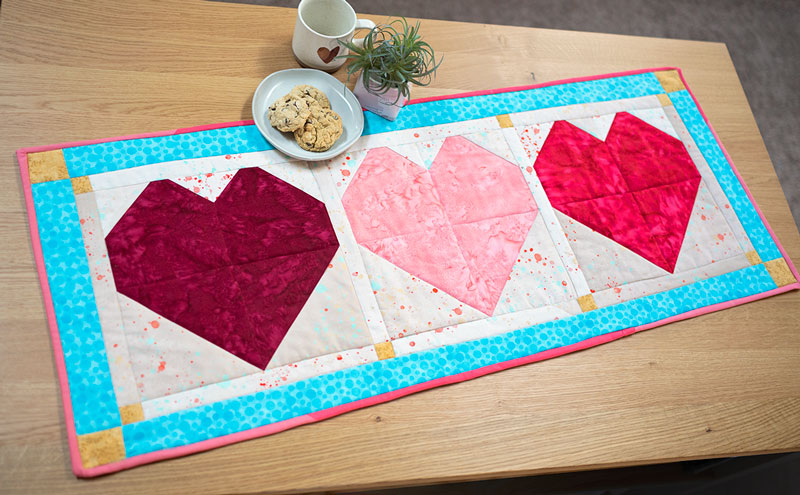
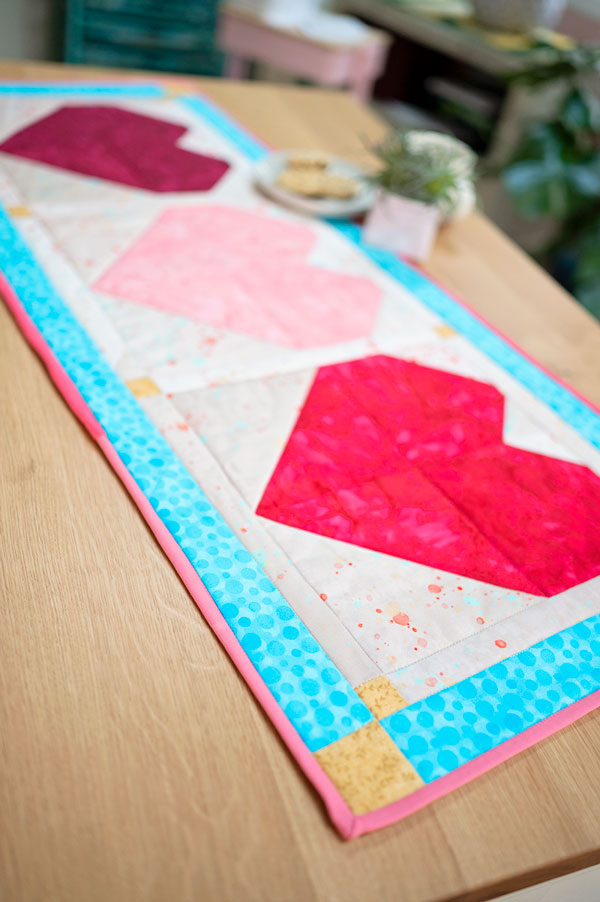
Joyful Hearts Quilted Table Runner
How to dress up a mid winter table with a Joyful Hearts Quilted Table Runner.
Let’s face it. February is dreary. It’s cold, it’s generally wet and it’s dark by dinner time. Did I mention it’s cold? Perk up your winter table with something colorful (dare I say cheerful?). It’s called the Joyful Hearts quilted table runner to remind us that spring is not far off and finding joy even in dark, dreary days is important.
But the fruit of the Spirit is love, joy, patience, kindness, goodness, faithfulness, gentleness, self-control; against such things there is no law.
Galations 5:22-23
God reminds us of the importance of keeping our hearts in a state of joy no matter how circumstances appear to the eyes. The spring bloom is not far away, and staying in faith is important no matter how things look on the outside. Inside the withered branch, the buds are preparing themselves to burst forth into bloom.
Parts of the Joyful Hearts Quilted Table runner:
All quilts are generally made the same way. The size or design doesn’t matter as the construction is nearly identical.
- The first step is to construct the quilt top of your choosing.
- Secondly, we prepare the quilt sandwich which comprises the quilt top, the quilt batting and the backing fabric.
- Third, we secure the quilt sandwich. Some people spray baste, but I use the pinning method. In small projects, my preference is to use fusible quilt batting.
- Fourth the actual quilting is done.
- Fifth we trim the quilted piece to even.
- Sixth we apply the quilt binding.
**NOTE: Quilts are generally written to assume a 1/4″ seam allowance and this pattern is also written that way
Today’s table runner pattern uses the Heart Quilt block described in the previous tutorial. To learn how to construct it, please refer to that tutorial. You will need 3 heart blocks the Joyful Hearts table runner.
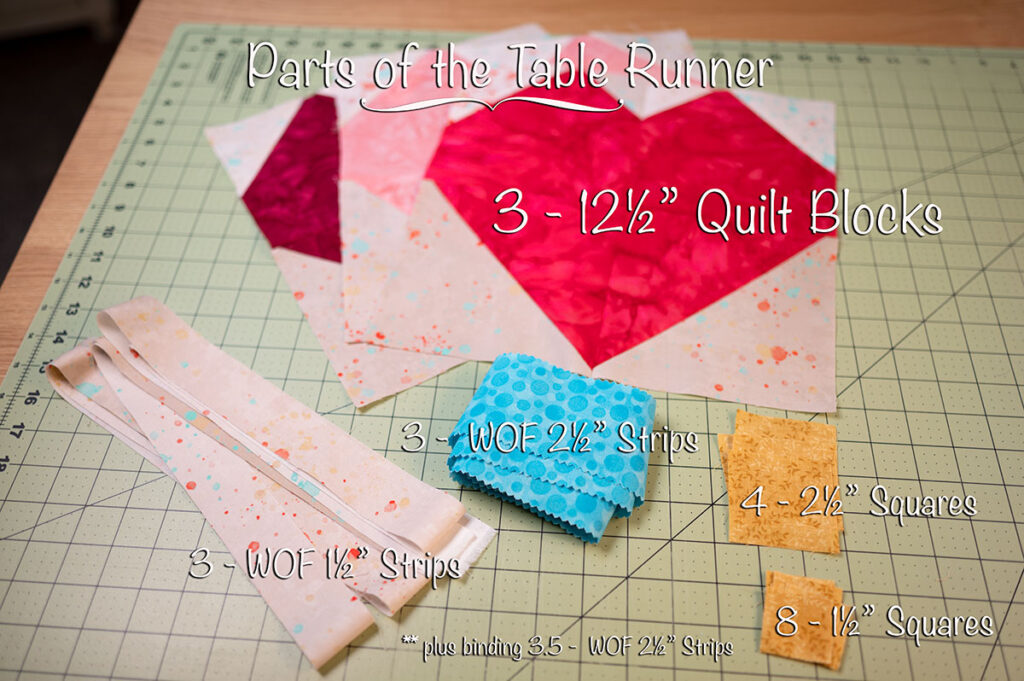
Cutting Instructions:
- 3 – 12.5″ heart quilt blocks
- Color A: Background fabric to match the blocks 3 WOF 1.5″ strips
- Color B: Outer border: 3 WOF 2.5″ strips
- Color C: 4 – 2.5″ squares AND 8 – 1.5″ squares
3.5 – WOF 2.5″ strips for the binding. Color of your choice. I used jelly roll strips from an opened package with a color that complemented the hearts.
How to Construct the Joyful hearts Table Runner:
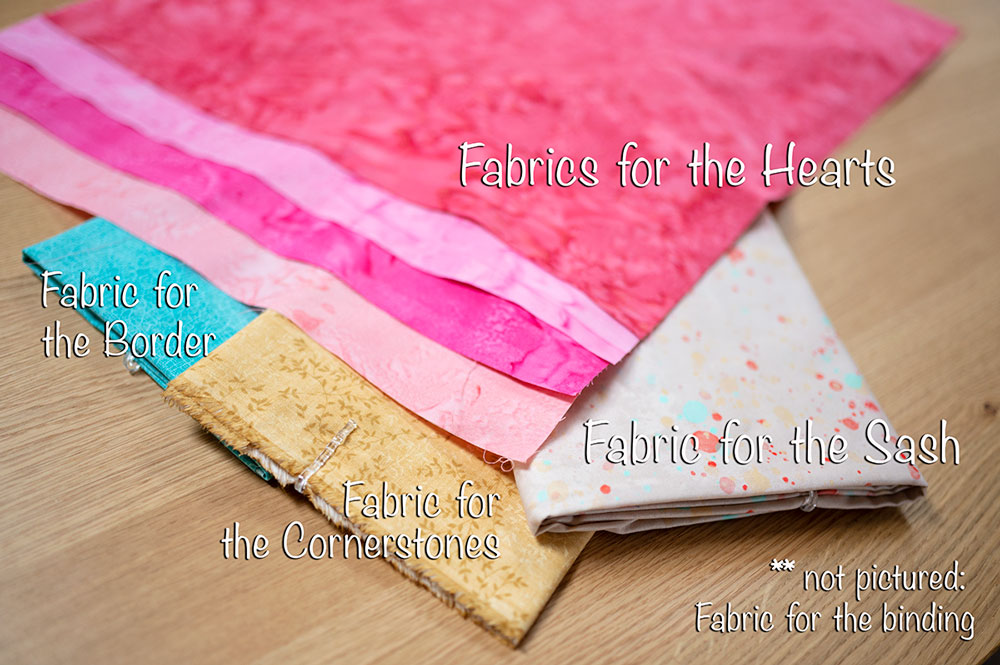
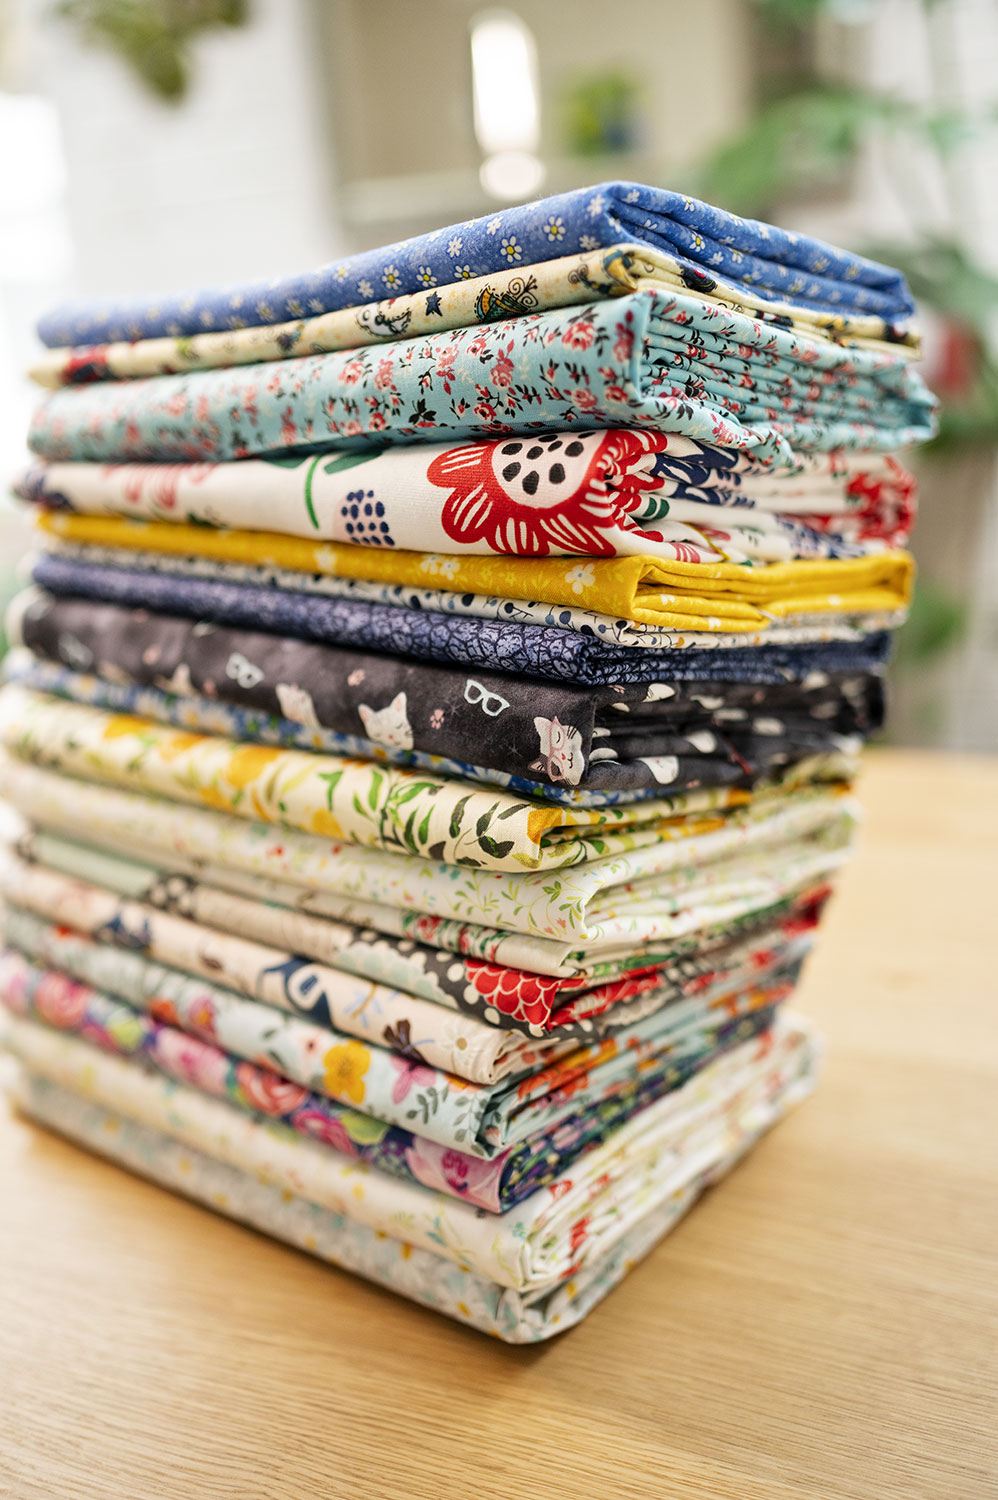
First: Take time to select your fabric.
I used my color wheel to make my fabric choices and I encourage you to find similar colors in your stash to make this project. Essentially, this is designed as a triadic color scheme using red, yellow and blue tints. The back ground fabric had the 3 colors incorporated as a further complement. It’s a fun experiment in using your color wheel to plan your version of the project.
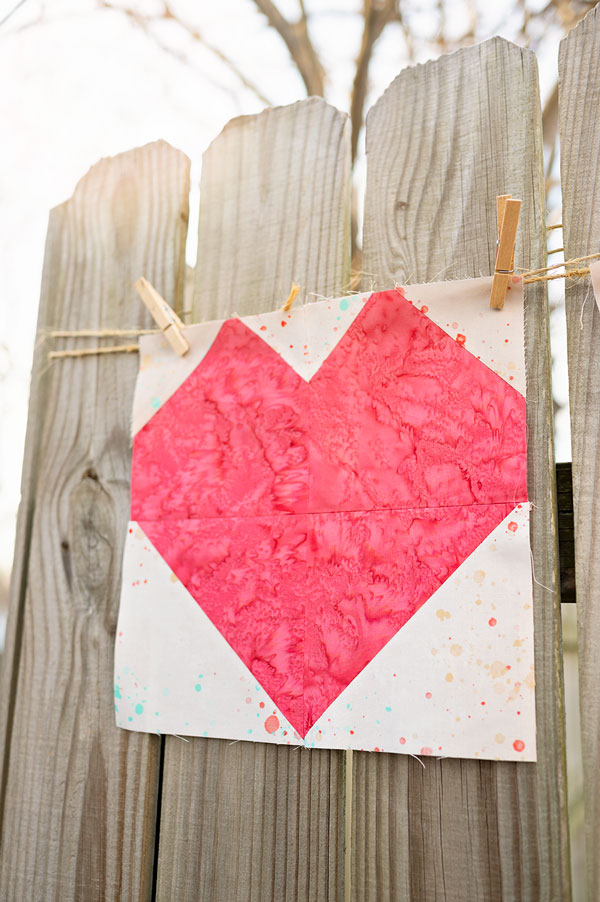
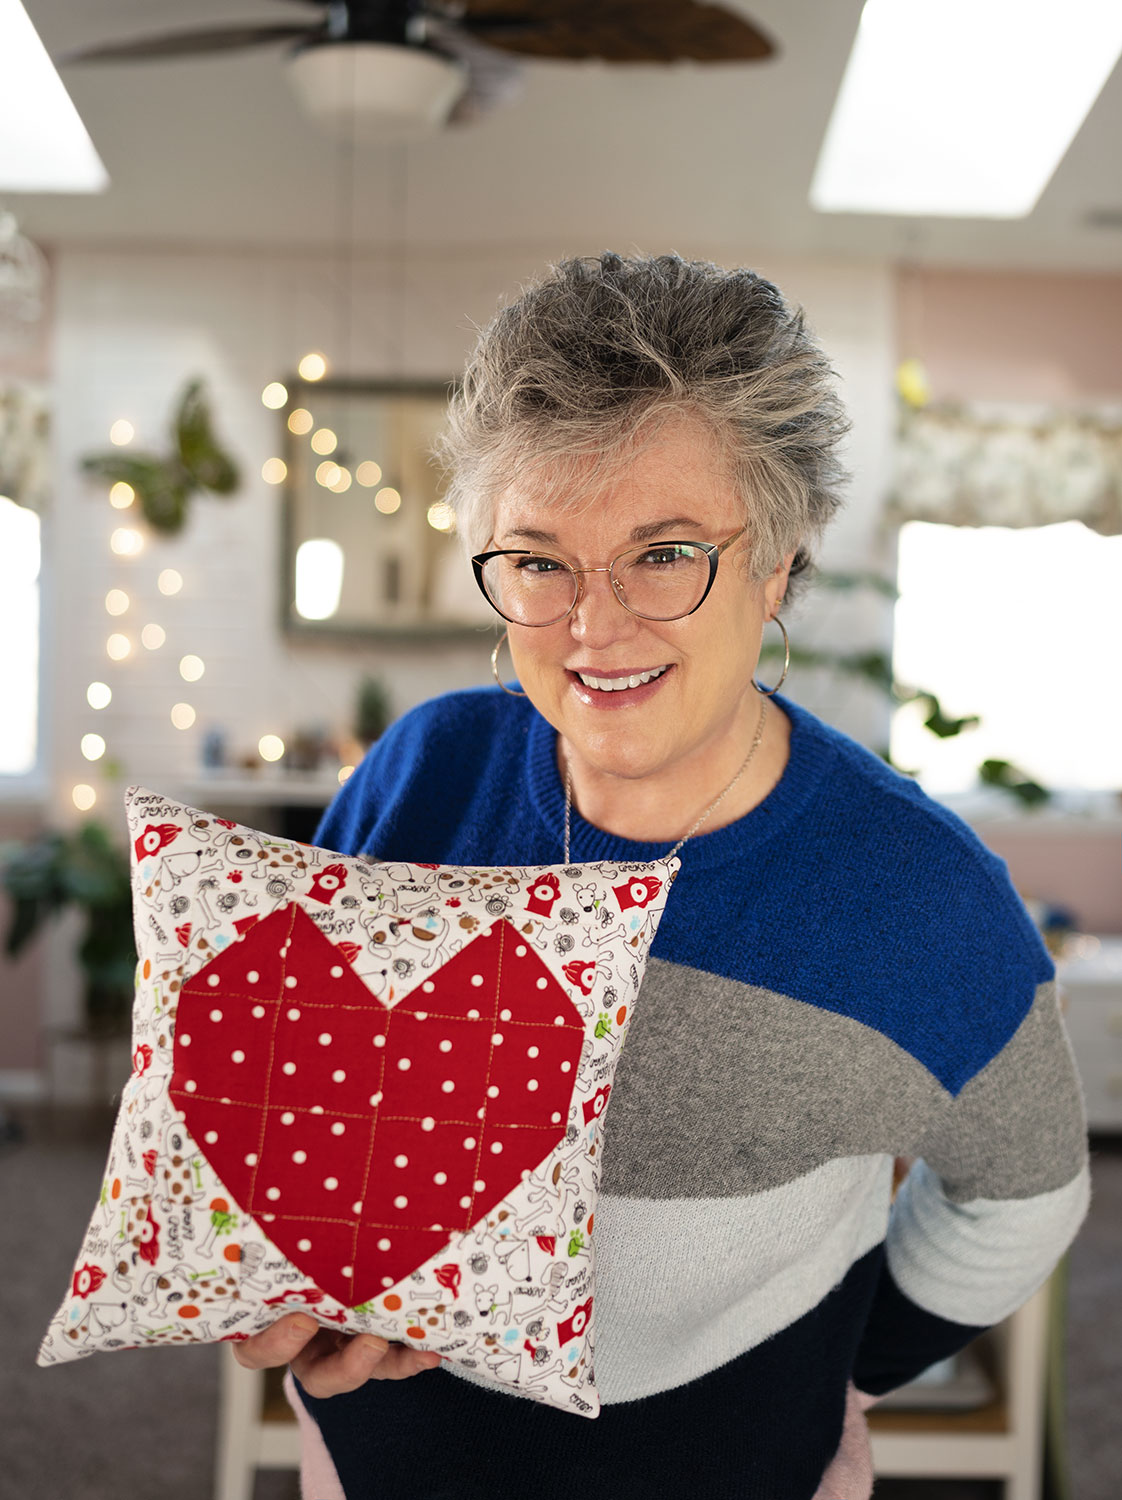
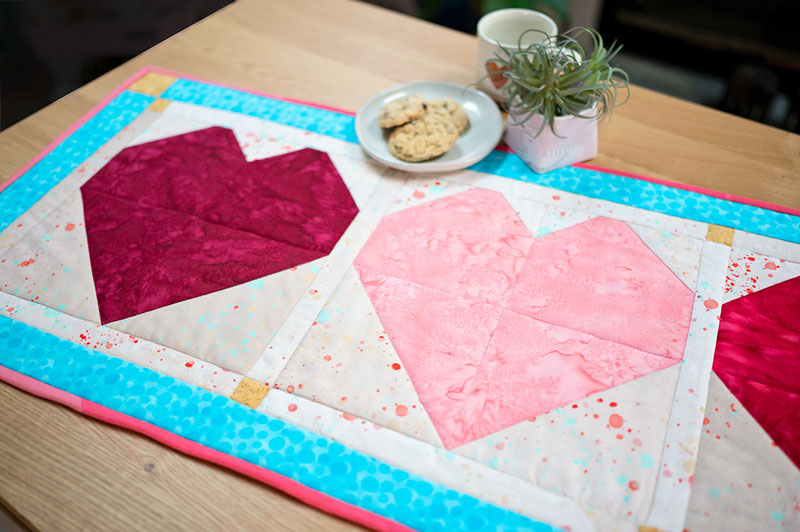
Second: Construct 3 of the Heart Blocks
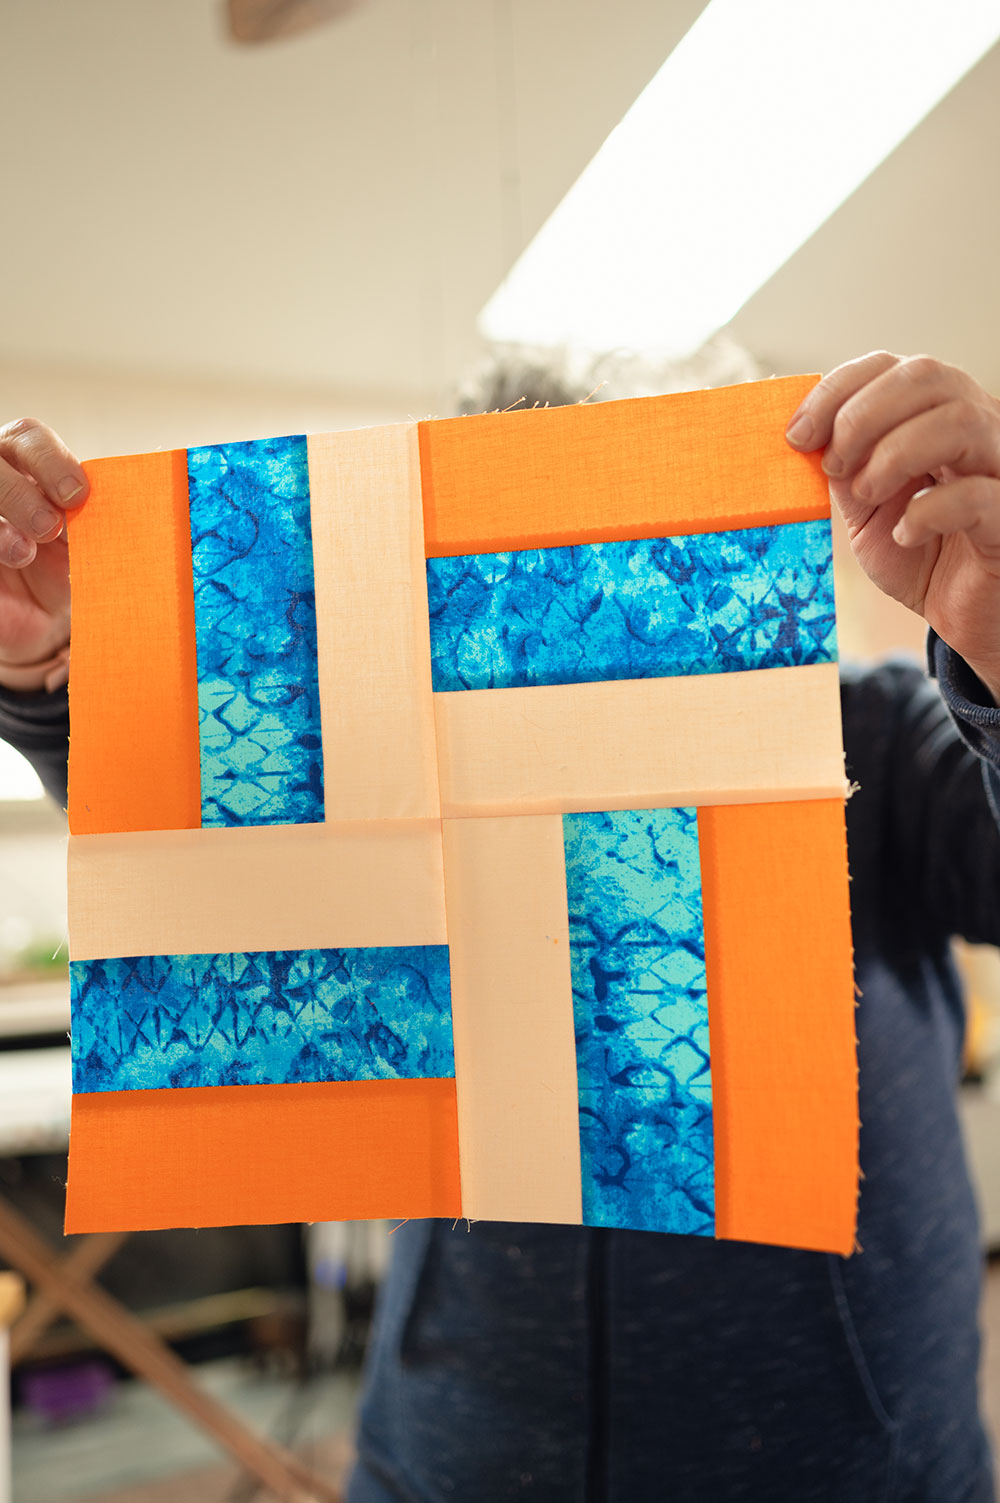
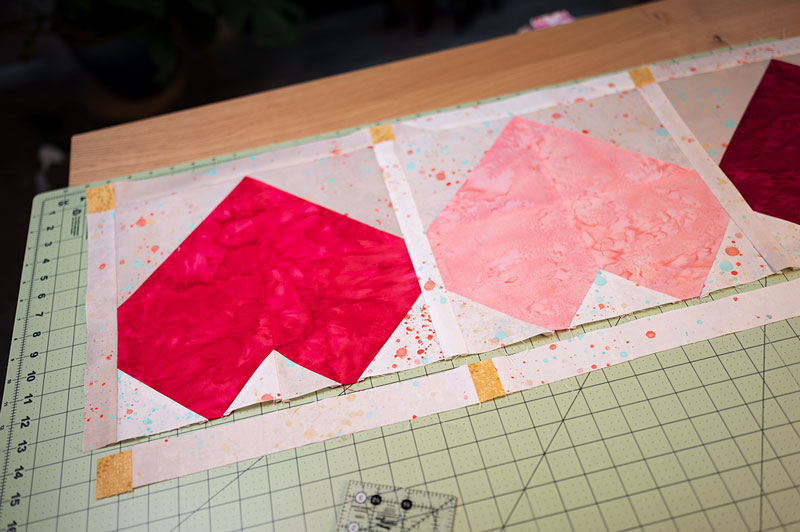
The heart Quilt block used in the Joyful Hearts table runner is a 12.5″ block. You can use ANY 12.5″ block you like in this pattern. So if you come across another block that finishes to 12.5″, simply drop it in here. Here’s my heart quilt block, and I love it in this table runner.
In a small project like a table runner, the parts can easily mix and match. So if you find a block design you really like, make 3 of them and drop them into a table runner!
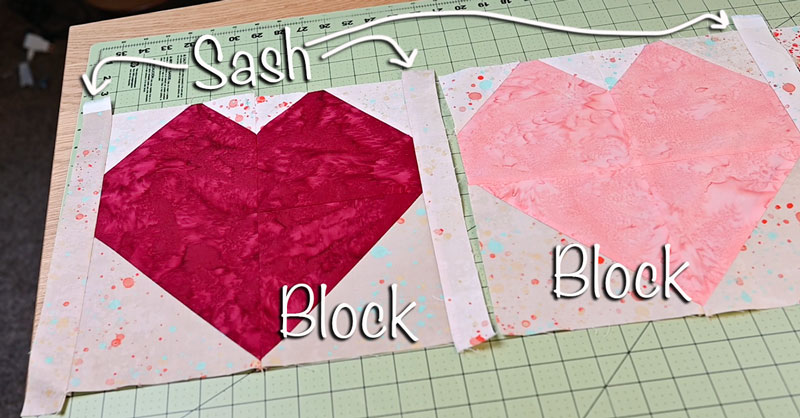
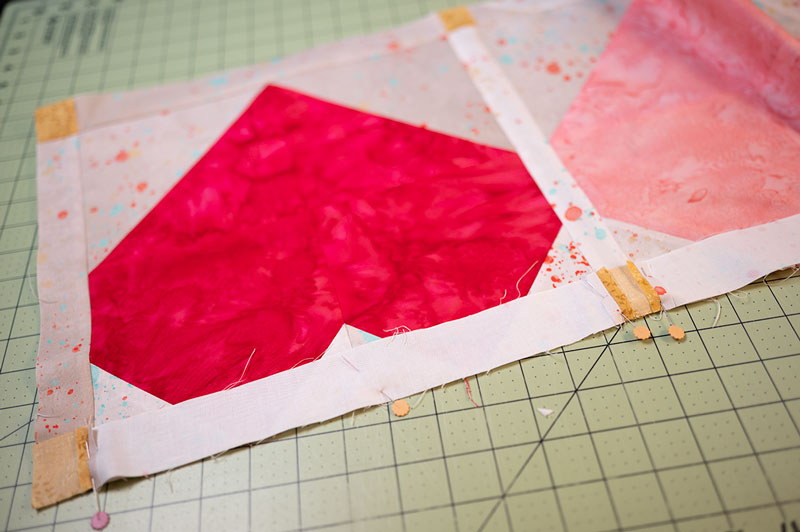
Third: Join the blocks together with the sashing strips.
Connect the quilt blocks together by sewing the 1.5″ strips in between each block and on either end. The strips can be cut as a 12.5″ length or simply sew them on first, leaving a little extra on the ends, and then trim flush once pressed into place.
Fourth: Piece the top and bottom sash.
When the pieces are joined, it’s time to add the north/sound orientation of the sash. I prepared mine using cornerstones. This is a little tricky as the seams should all line up. You will cut the sash strip to 12.5″ strips, sew on the 1.5″ square blocks on and join 3 strips and 4 cornerstone blocks into one long strip. If the cornerstone units feel too hard, simply put the top and bottom sash on as one long strip.
To work with the cornerstone blocks:
Carefully pin at each seam intersection, and use at least one pin in the middle of the block to secure. I love using wonder clips, but for getting seams to line up and hold them in place, nothing beats a good old fashioned pin. Take time to set up this long strip to get the neatest possible finish to your sash.
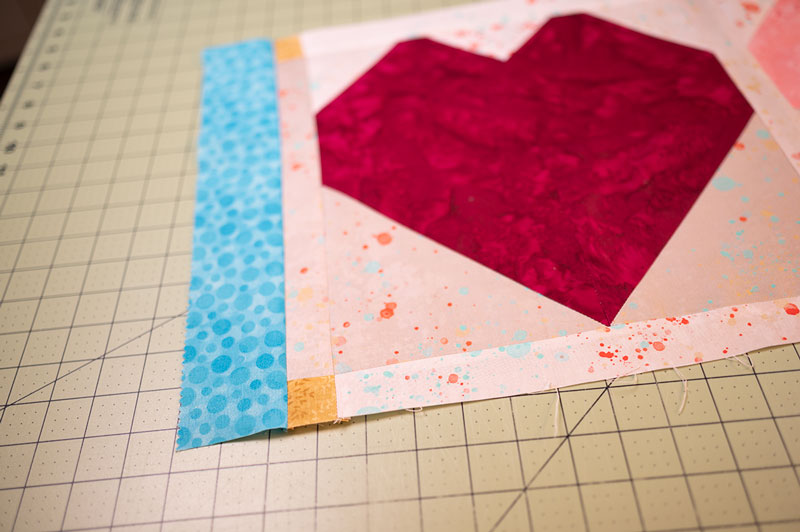
Fifth: Time for the border
Just as we applied the sash pieces first as east/west orientation, so will we sew on the border pieces. Piece on one side and then the other.
The long strip of border goes on last.
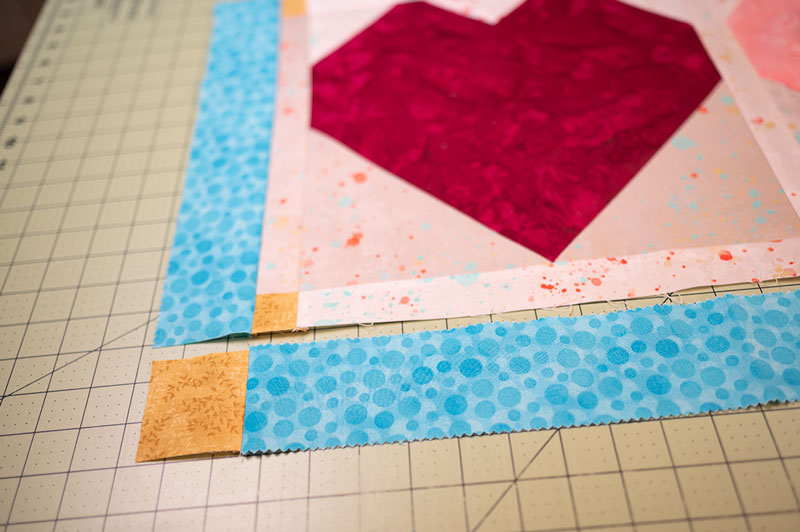
Sew a 2.5″ square onto each end of your top and bottom border strips. This time, you only need to match two seams and the beginning and end of the strip.
- Strip length with cornerstones = 40.5″
- Strip length without cornerstones = 44.5″
Cornerstone blocks add so much visual interest to a quilt project.
While getting all the seams to line up is a definite challenge, I encourage you to try it. Even if it feels hard, persevere and try it anyway. The stacked blocks look beautiful, and it’s an excellent way to practice a common quilting motif while working in a small project.
We learn and grow in our craft by trying new techniques. So don’t be afraid to add cornerstones to your projects. And while it’s incredibly satisfying to have all the blocks perfectly align, don’t fall apart if a seam here or there isn’t perfect.
The imperfect simply means you’re a human being, and there’s nothing wrong with that. Handmade is glorious in those imperfections which show a human element unlike a perfectly cut and sewn piece done by a robot in a factory.
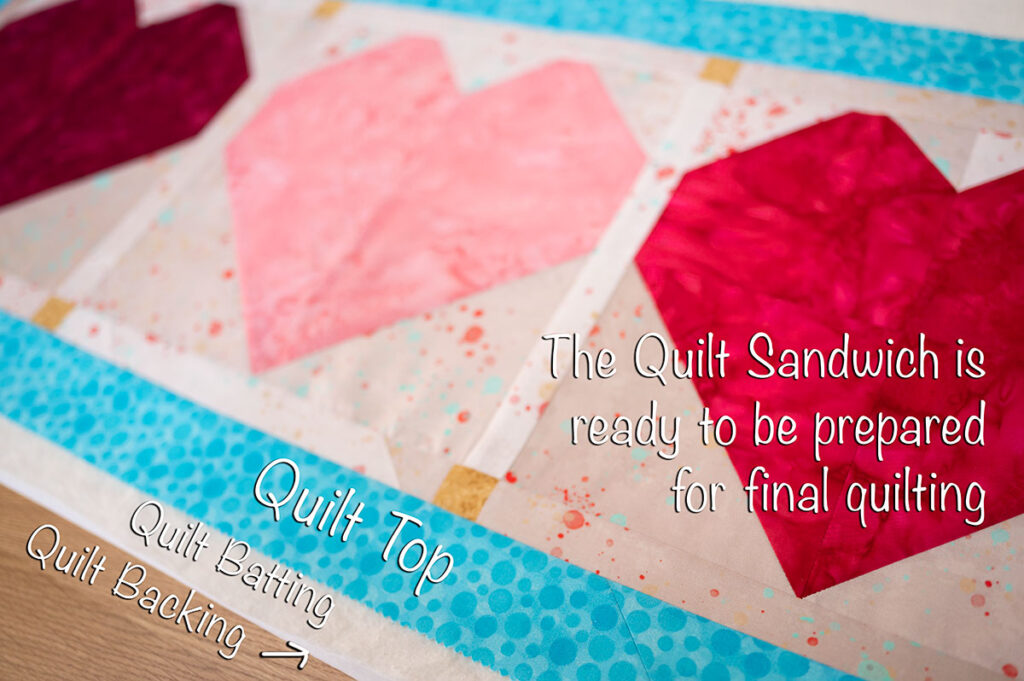
Sixth: time to prepare the quilt sandwich.
The quilt sandwich consists of the quilt top, the batting and the backing fabric. You should prepare your quilt sandwich the way you prefer. I follow the pinning method which uses bent safety pins.
Now let’s quilt our Joyful Hearts table runner
Step 7 is to Quilt as Desired
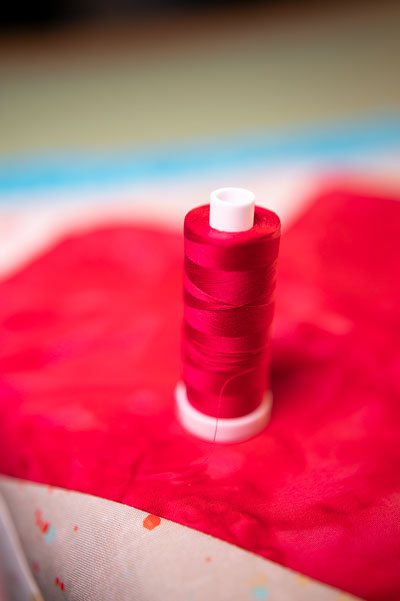
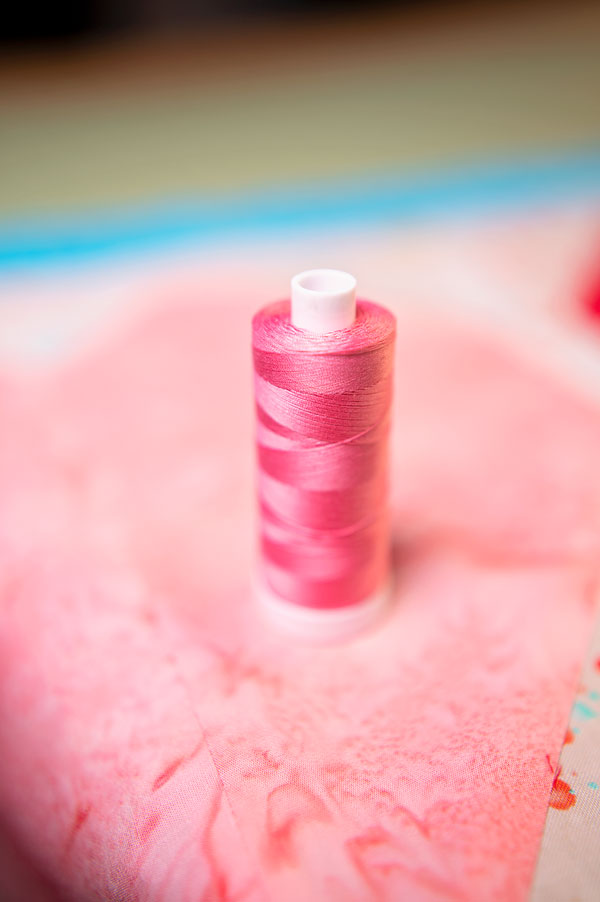
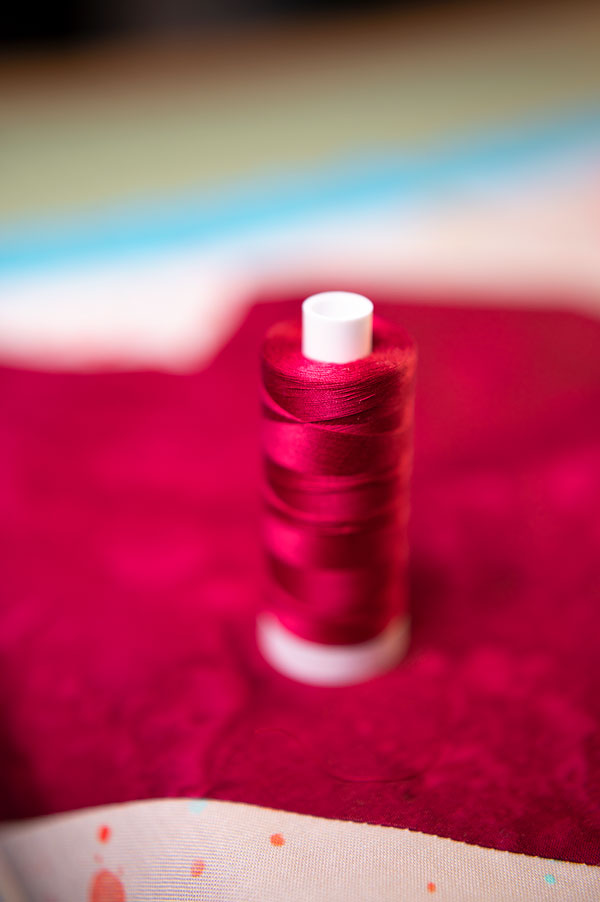
There are as many ways to quilt a project as there are choices of thread and fabric combinations. Find your style, and have fun! And if you have the budget, sending a project out to a long arm quilter is an incredibly wonderful indulgence. I tend to stick with the simple version of stitch-in-the-ditch for quilting my smaller projects and straight line quilting for larger ones. For this table runner, I discovered I had thread that perfectly matched my fabrics (affiliate link) and that’s what I used.
Our very last step in finishing the Joyful Hearts quilted table runner is to trim it square and put the binding on.
For my binding, I used colors that were in an opened jelly roll. I used 3 full strips and one half strip to construct my quilt binding. I used two different colors because I didn’t have enough of one to do the the whole thing. This is not the first time I’ve made a scrappy binding, and I’m sure it’s not the last time. The main thing is that the color worked and I thought using the pink to pick up the heart motif worked the best.
Final Details for the Joyful Hearts Quilted Table Runner:
- Finished size of table runner: 18″ x 44″
- Backing fabric will take about a 1.5 yard cut of material
- Quilt backing will take about 1.5 yard cut
- 3 jelly roll strips to construct the border
- 3.5 jelly roll strips to construct the binding
- 3 fat quarters to make the hearts
- 1/2 yard of background fabric
That’s all this week, makers! I hope you enjoy the project and that you are inspired to make your very own Joyful Hearts Table Runner.