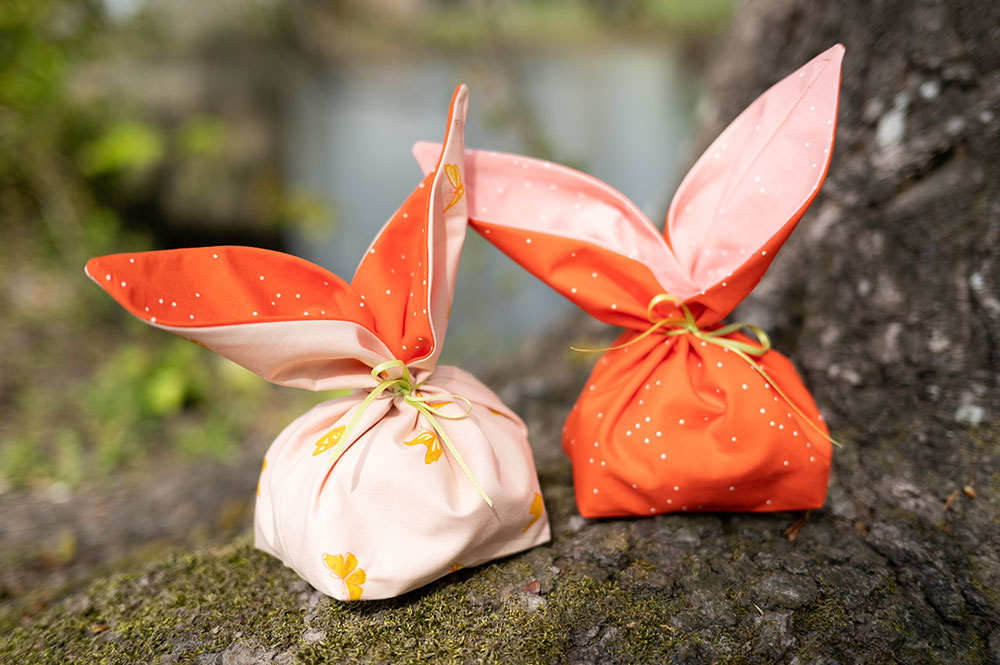
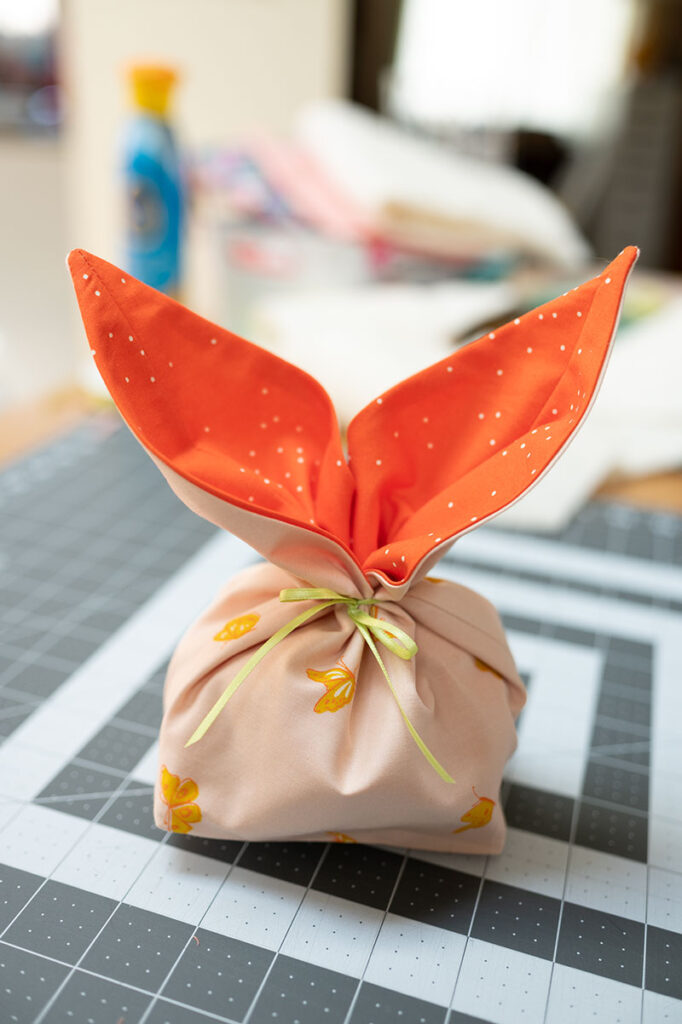
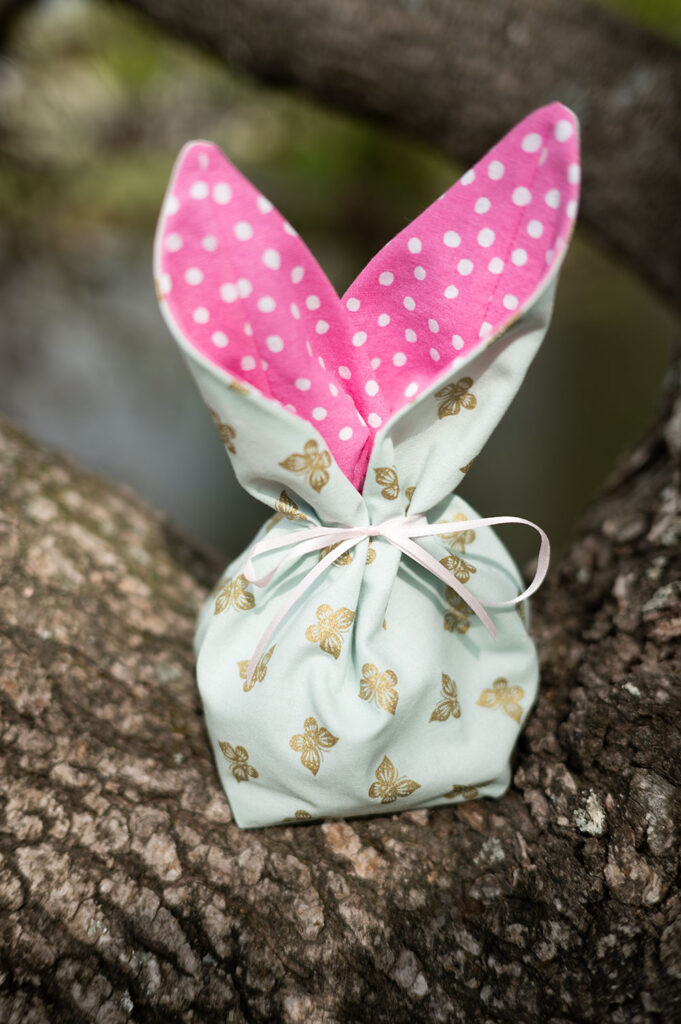
Bunny Ear Bag
You’ve seen those darling little treat bags all over Pinterest. Now let’s learn how to make one using today’s Bunny Ear Bag tutorial.
Bunnies are everywhere in spring which is why my garden is set up in containers well off the ground. The bunnies in today’s tutorial are all of the cute and none of the damage….unless you fill them with chocolate treats and wreck your diet. Dieting aside, let me show you how easy it is to sew a darling Bunny Ear Bag.
Materials
- 2 pieces of fabric cut 8″ x 24″. Quilting cottons work best (affiliate link) for this project.
- Coordinating Thread
- Ribbon to tie the base of the ears to give the Bunny Treat Bag its shape. I used 1/8″ ribbon, because it’s what I had on hand, but I’ve seen very wide ribbons used as well.
Tools
- Rotary cutter (affiliate link)
- Cutting Mat
- Scissors
- Point turner
- Sewing Machine
- Pins or clips
- Marking tool
- Iron
- Sleeve board (affiliate link)
Steps to sew a bunny ear bag:
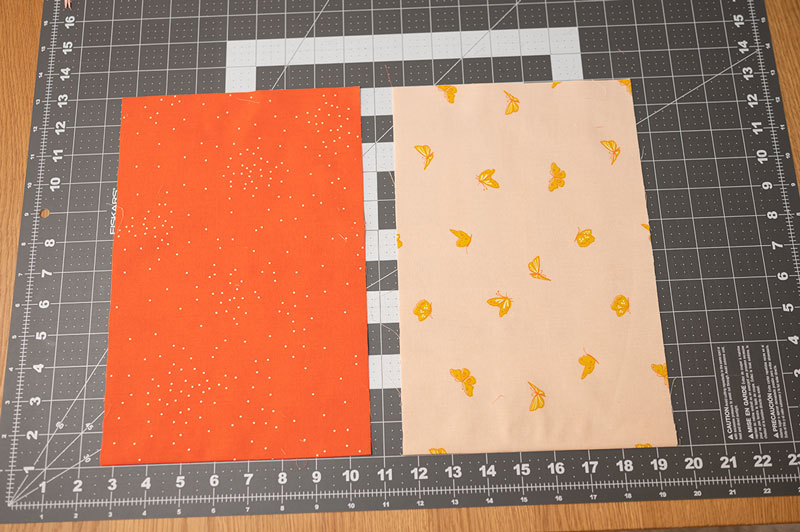
Cut TWO pieces of quilting cotton to the size 8″ x 24″ and fold in half on the longer side so your piece appears to be 8″ x 12″.
One fabric is the outer shell and the other is the lining.
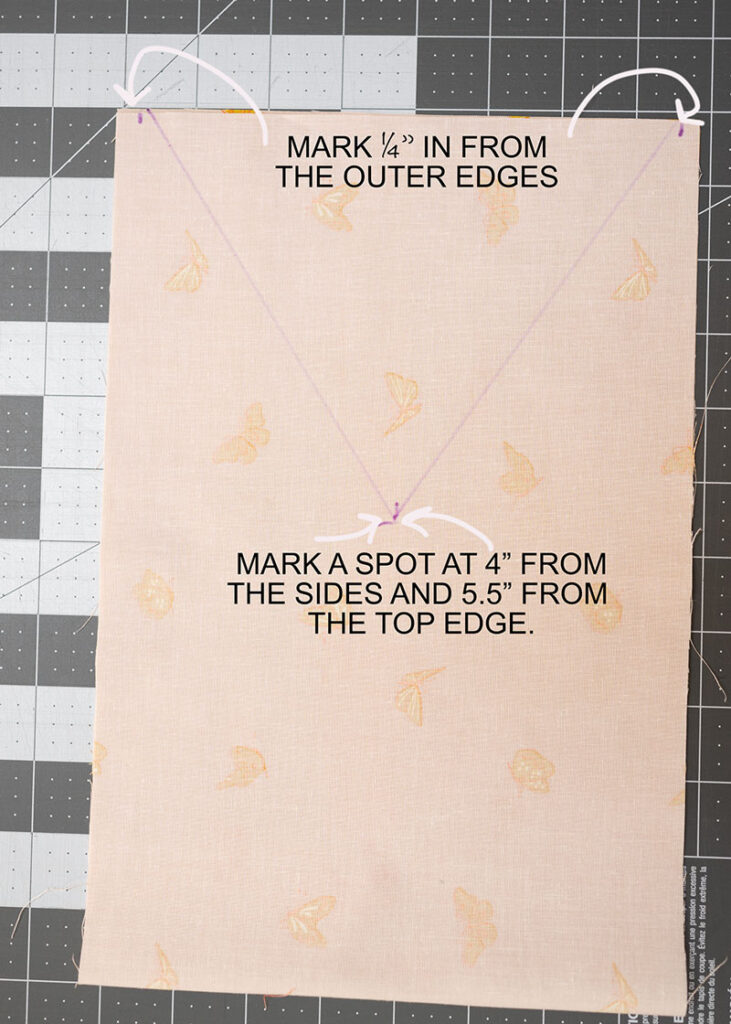
Mark the cut lines
Turn the fabric right sides facing and fold in half. The piece will measure 8″ wide and 12″ long. Do this to BOTH pieces. Complete the following instructions for BOTH pieces.
- Mark a spot 4″ in from either side and 5.5″ from the top edge.
- Make small marks on each corner at the top of the fabric 1/4″ in.
- Using a straight edge, draw a line connecting the center point to the 1/4″ marks. Draw the line on both sides to make a V looking shape.
- This is the cut line.
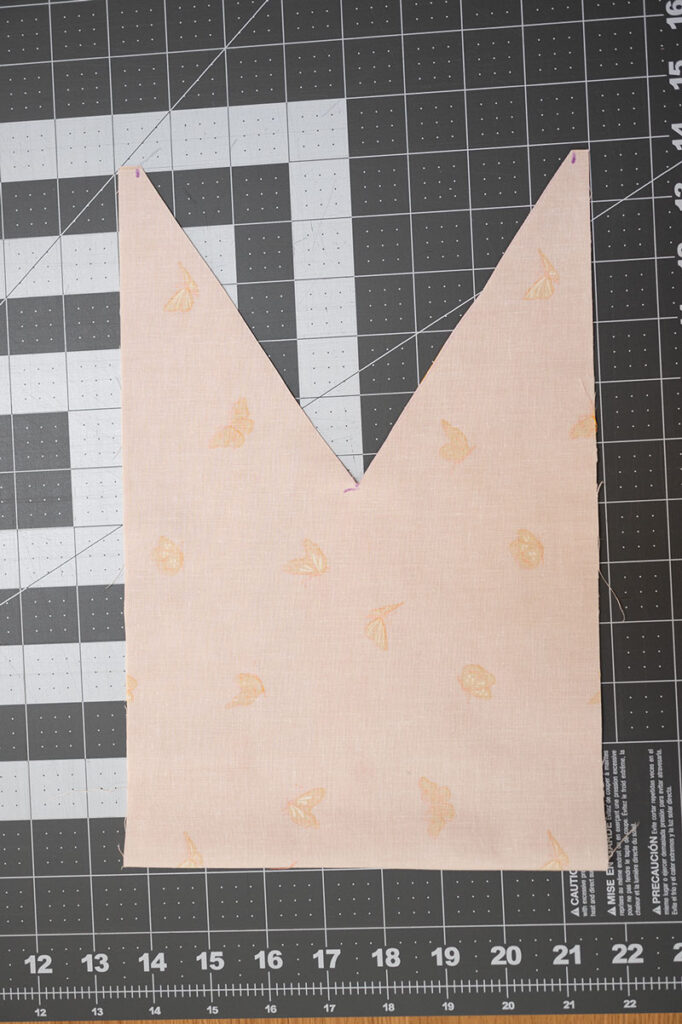
Using fabric scissors, carefully cut the fabric following the lines.
Be sure to do this set of marking and cutting instructions for BOTH pieces of fabric.
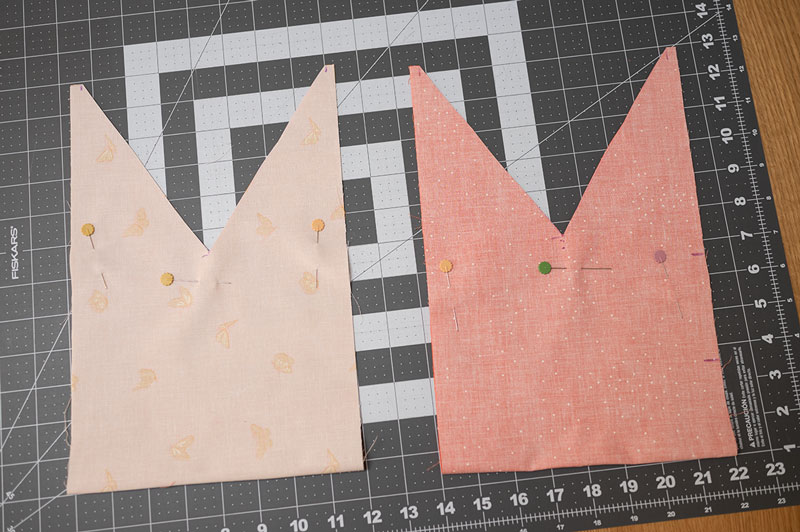
Secure the cut pieces and sew 1/4″ seams on the outer sides of the fabric. Leave the V shape OPEN.
Remember to leave about 3″ open on the lining piece for turning the bag. Notice the opening is marked on the darker piece of fabric.
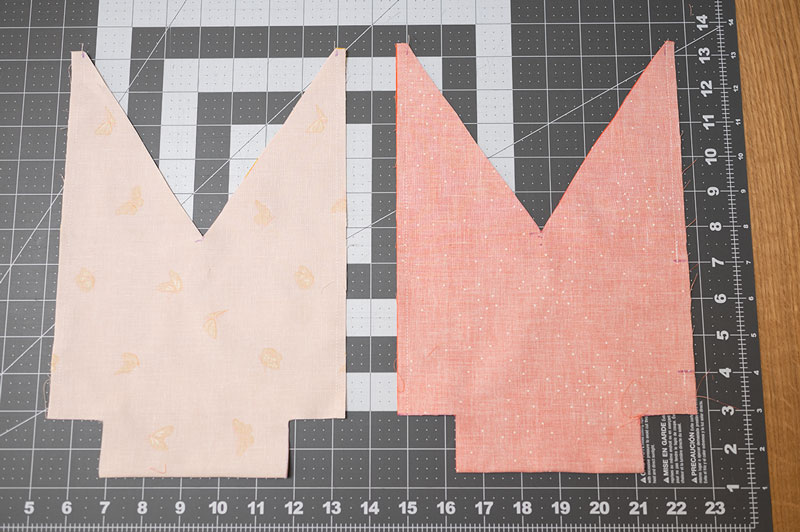
Once the outer edges are seamed, cut 1.5″ squares out from the bottom edges to prepare for boxing the corners.
Secure the cut openings and sew to create the boxed bottom. If you need more detail on making boxed bottoms please visit this tutorial.

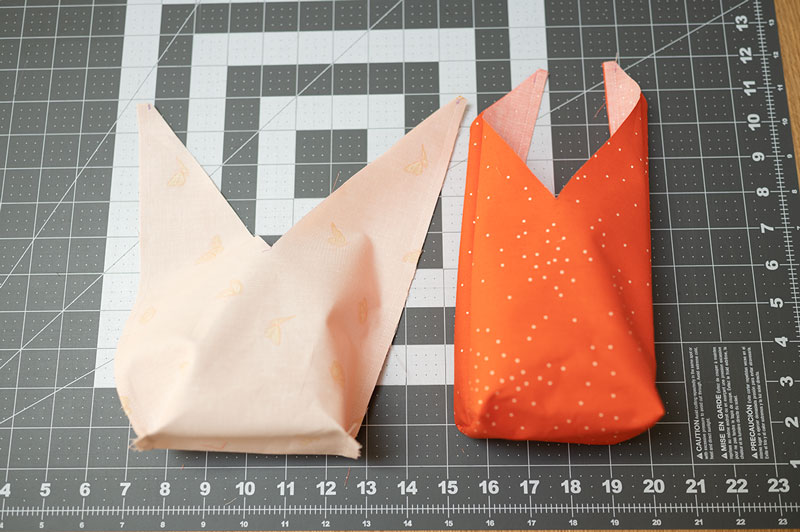
Turn the inner lining right sides out. Gently shape the boxed bottom.
Here’s where it gets a little bit tricky.
- Tuck the LINING turned right sides out into the outer shell which is wrong sides out.
- Line the bottom corners up as much as possible so the two pieces sit neatly together.
- It will feel a little strange, but keep going. Make sure the right sides are facing each other inside the bag.
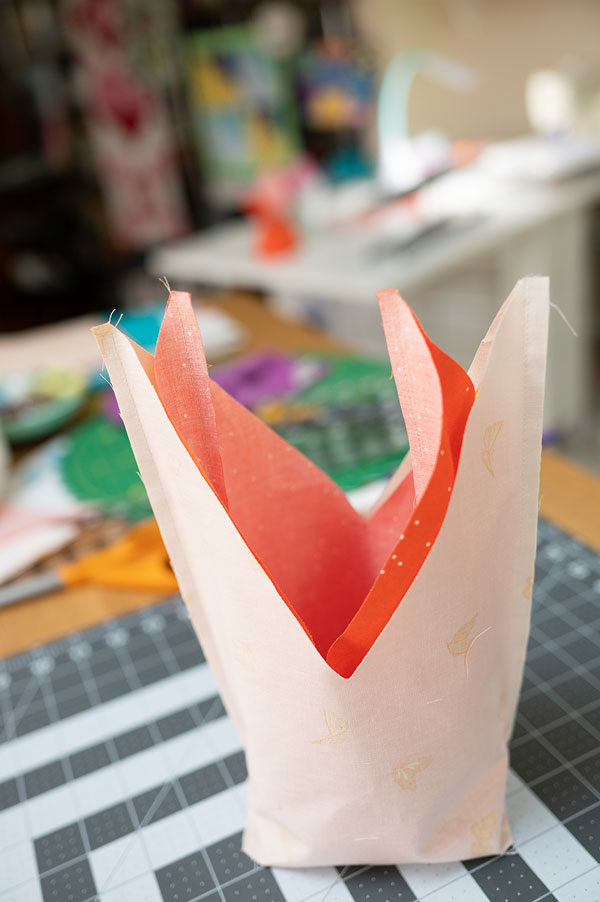

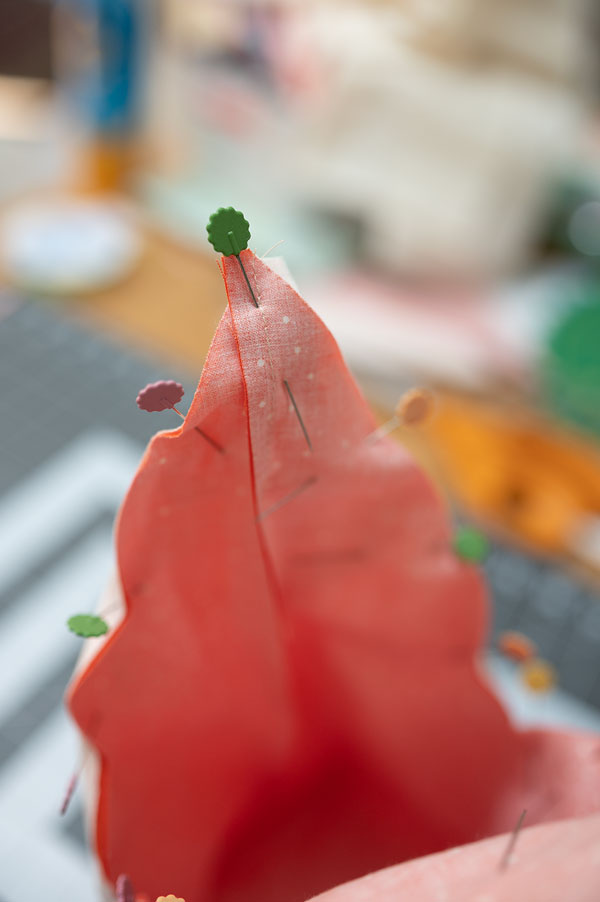
Bring the edges of your bunny ear bag together and secure with pins.
Secure the fabrics all the way around so nothing moves.
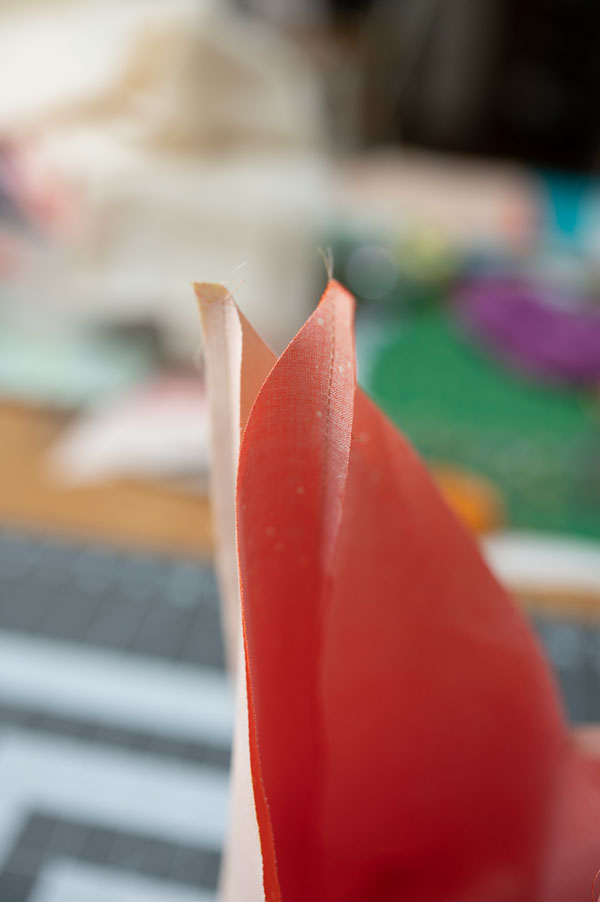
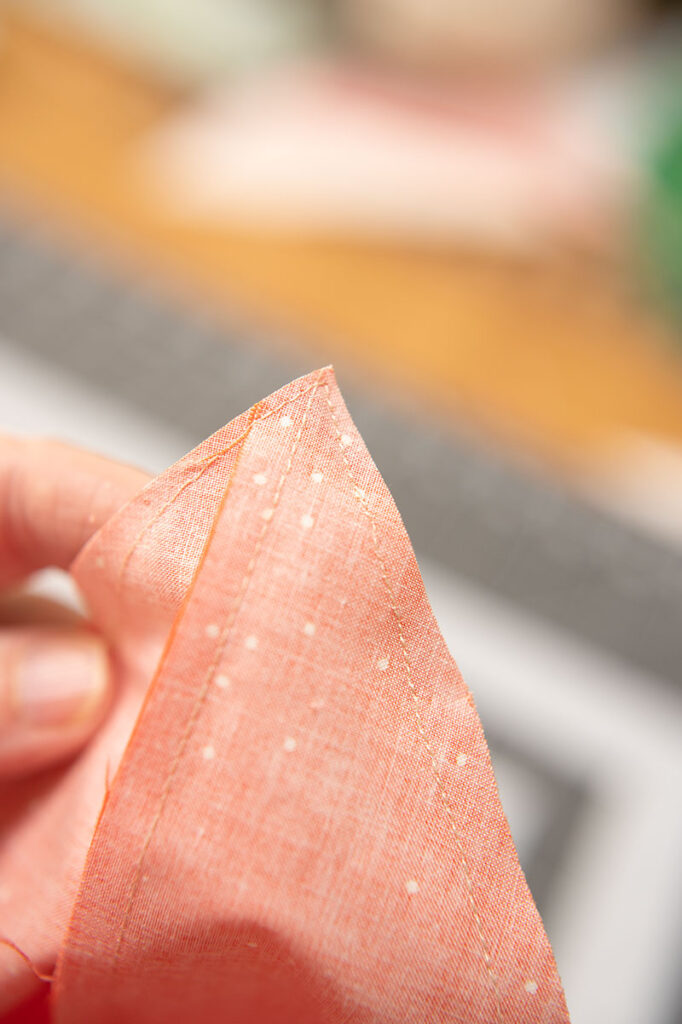
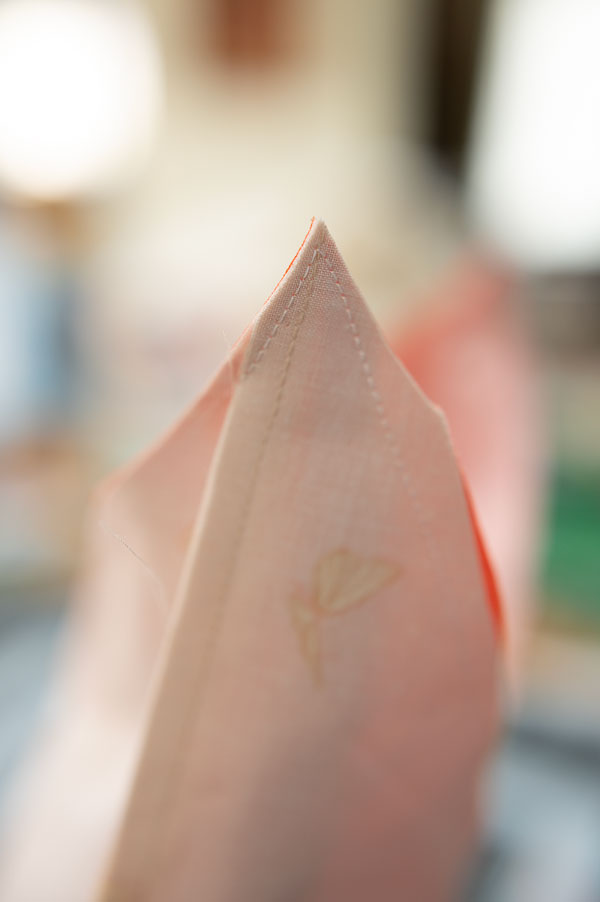
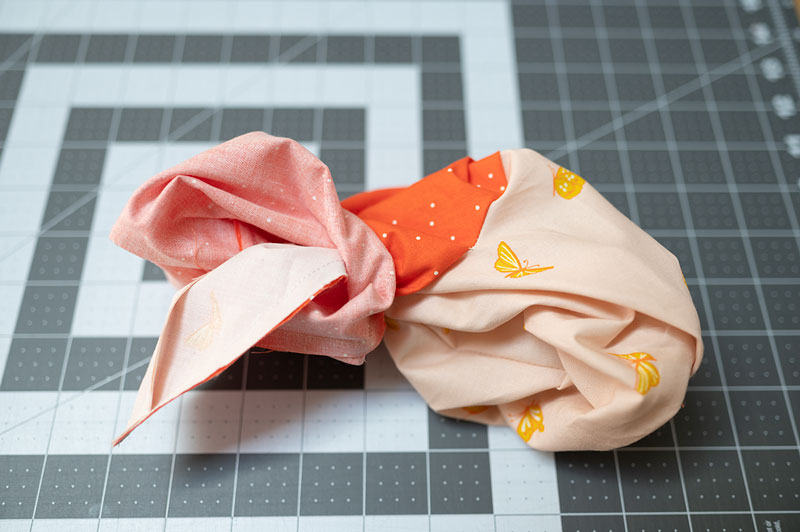
You’ll want to begin in the top points bringing the stitch lines together and turning the seam allowances opposite one another so the seams nest. This is the top of your bunny ears and this should be done as neatly as possible.

Bring the tops together matching the seams. Turn the seam allowances opposite one another. Turning seam allowances opposite one another will nest the seams and yield a neater point. Pin securely
Time to sew the bunny ear bag.
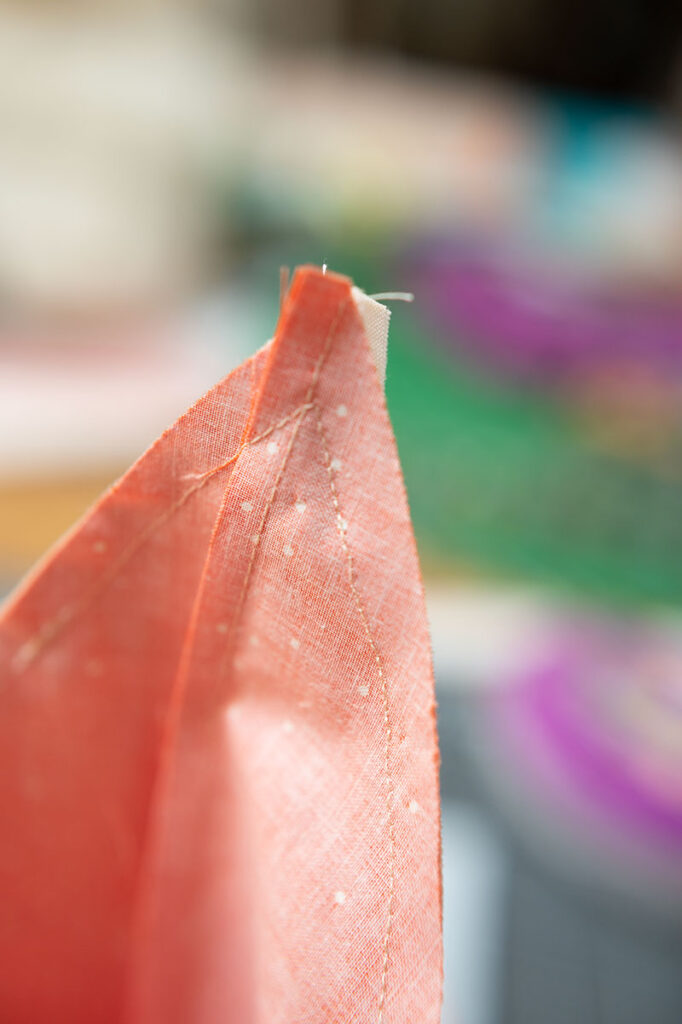
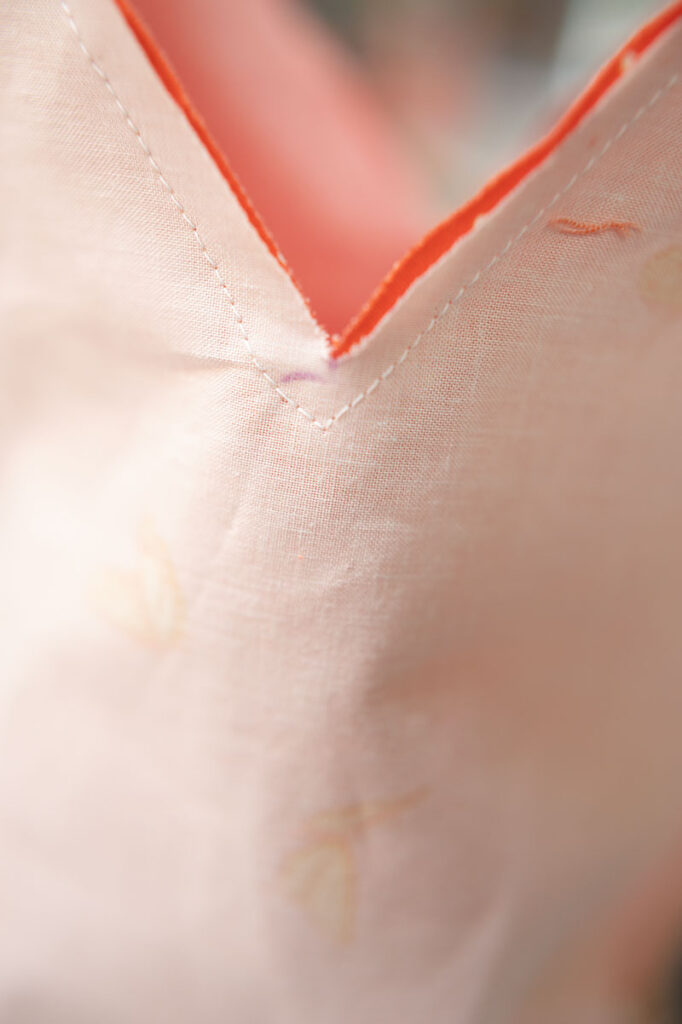
- Sew all the way around the project with a 1/4″ seam allowance.
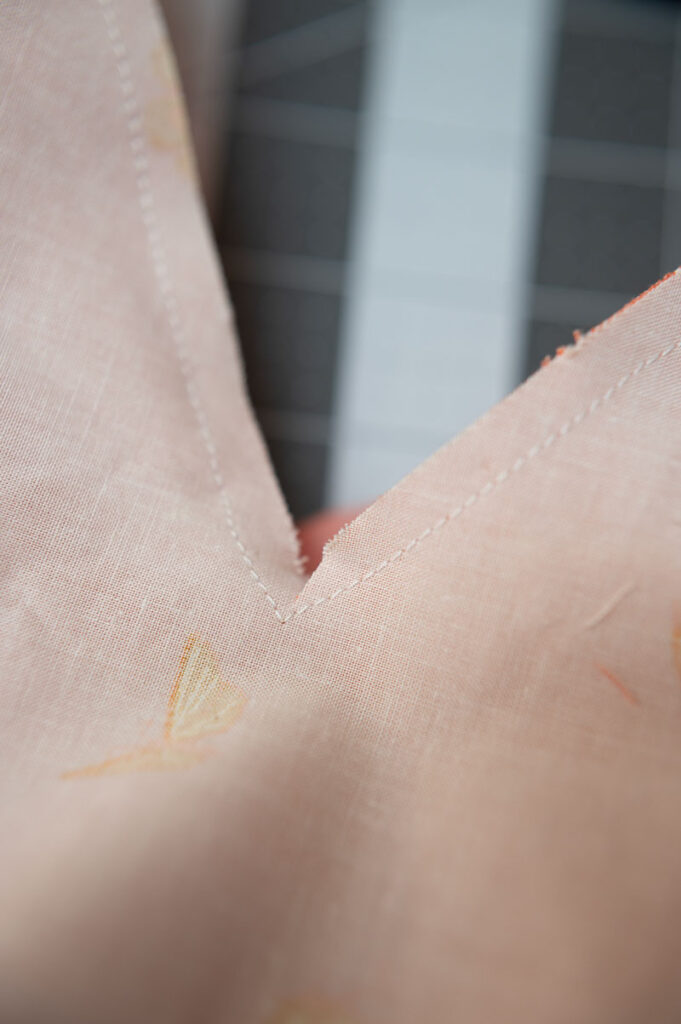
- Pivot in the bottom of the V shape 1/4″ below the bottom of the V. Do this on both sides.
- Sew up the side of the ears and pivot with the needle in the previous seam.
- Once you’ve sewn all the way around, trim excess fabric away from the ear points so they turn more easily.
- Clip the V so the fabric doesn’t pucker once you turn the project.
🥕

Untrimmed Trimmed Trimmed Untrimmed

Unclipped 
Clipped
Finishing steps:
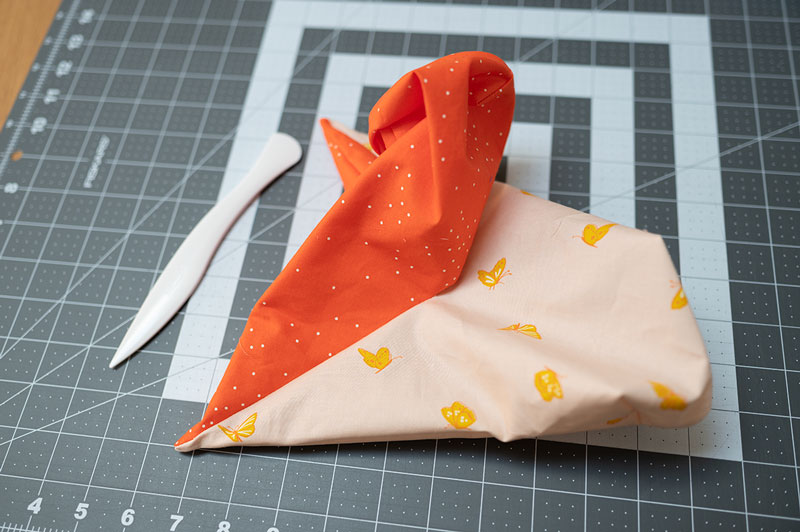
- Now that we’ve sewn all the way around and clipped and trimmed in the right spots, time to turn the bag through the opening left in the lining.
- Gently poke out the ears and the corners using the point turner tool. Be careful so you don’t poke holes in the sewing.
- Open the seams with the flat edge of the point turner for a more finished looking project.
- Sew the hole in the lining closed.
- Gently tuck the lining down into the bag.
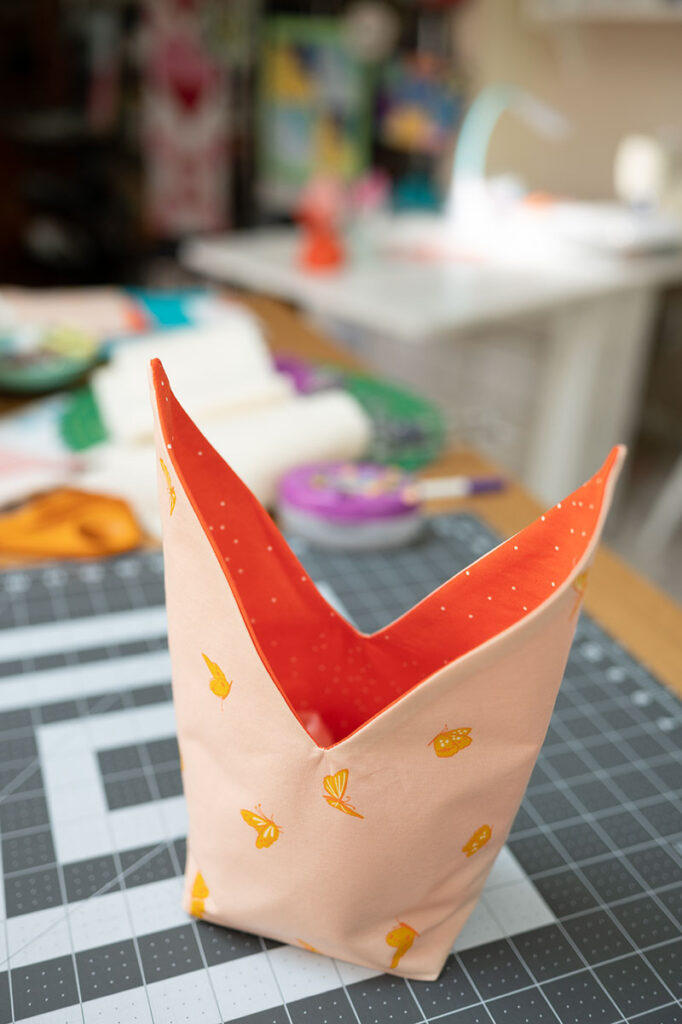
- Give the bag a really good steam press.

Turning the bag through the opening in the lining. Using the point turner to poke out the ears and corners.
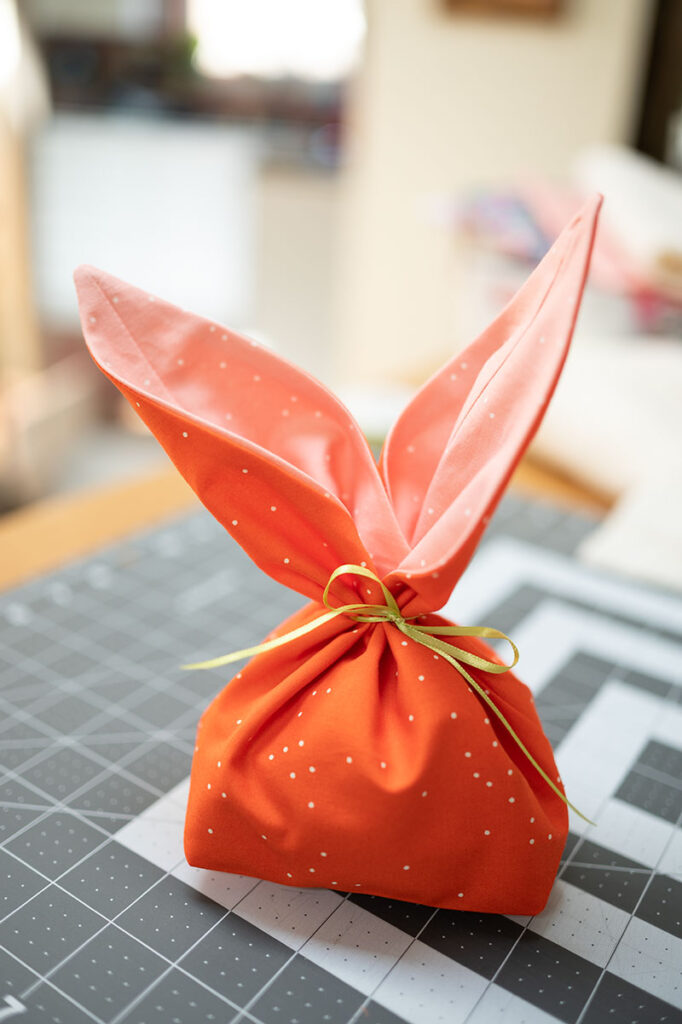
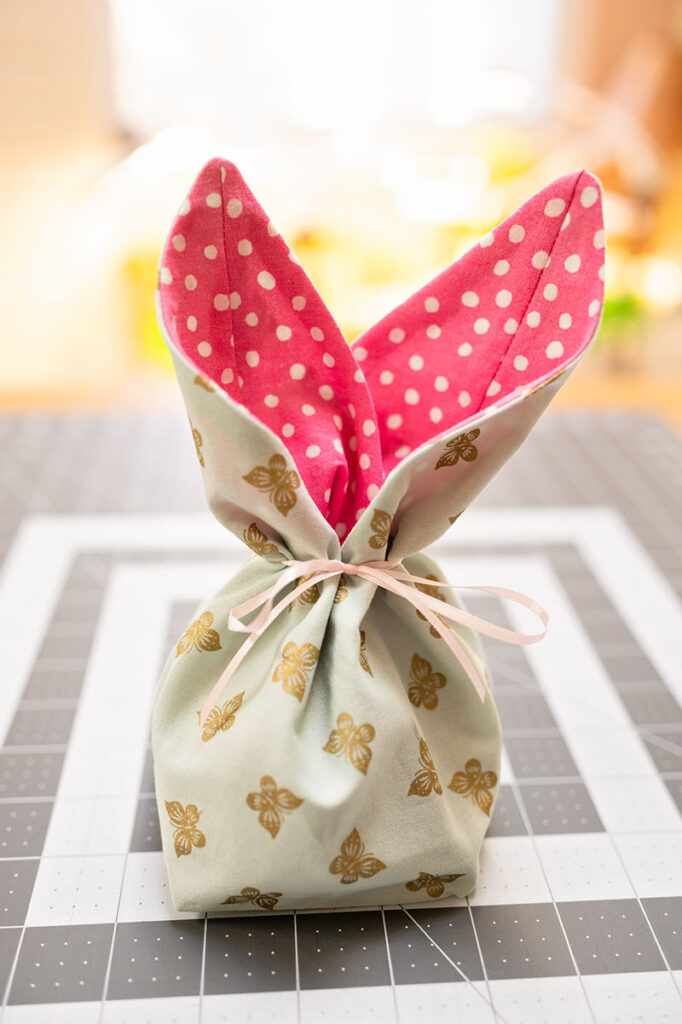
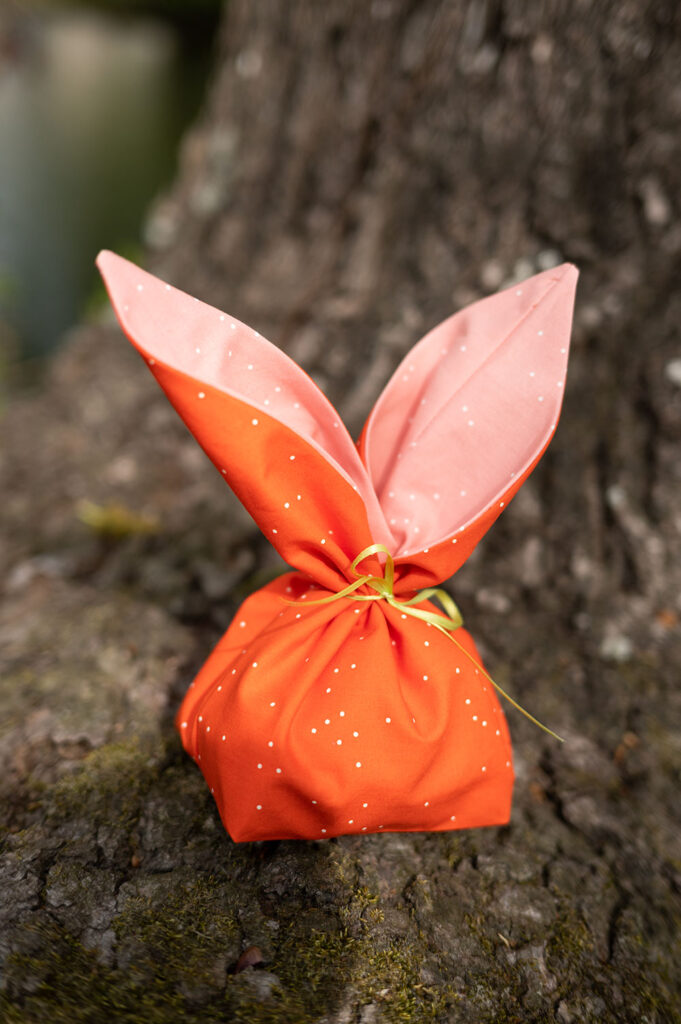
Pressed bag ready to be filled with treats and tied with a ribbon
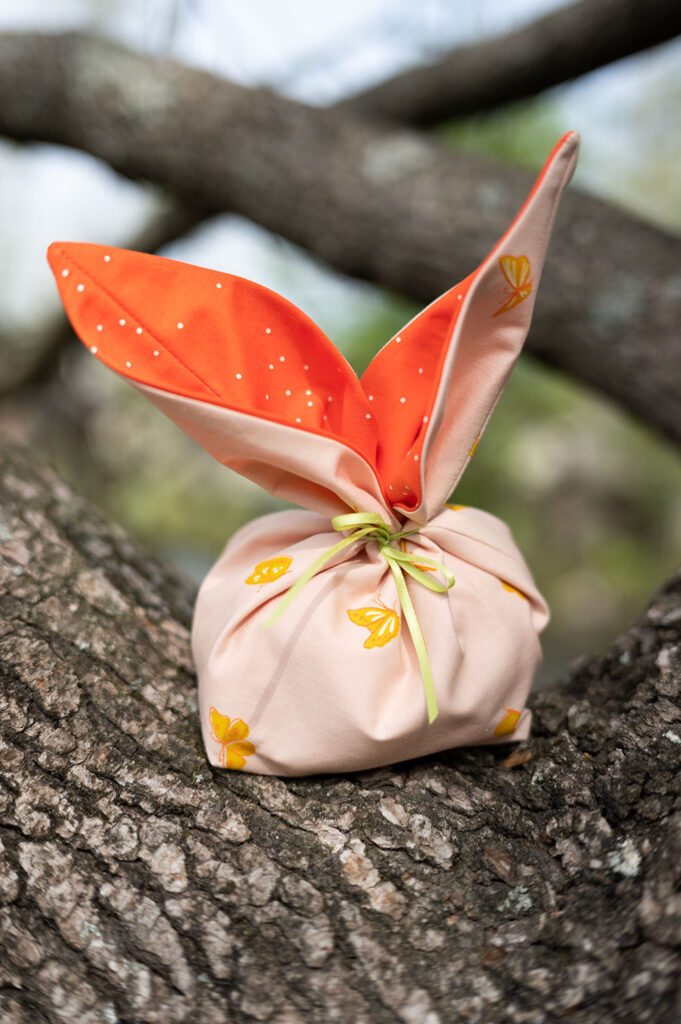
Final Steps!
- Place the treats in the bag.
- Take a 24″ length of ribbon and tie it at the base of the ears to cinch the bag and give it the look of rabbit ears. Trim the ribbon as desired once in place.
- Enjoy!!
🐰
Hi! I’m Pattymac
s
I love figuring out new ways to use pom poms, where I can stash more fabric, and I’m always wondering what to bake next…chocolate or lemon? When not dreaming up new things to make (or bake), I love riding my beach cruiser on the Boardwalk, escaping to mid week movie matinees, and planting new things in my tiny but mighty container garden.