Vintage Chocolate Chip Cookies

Do you find yourself lamenting for the good ole days? For the times when things were a bit slower paced and somewhat less isolated? Me, too! Today let’s revisit those days gone by with a fresh recipe for vintage chocolate chip cookies.
Since I dabble in all sorts of crafts and sewing and baking, I definitely gravitate to anything that reminds me of growing up back in the 70s. And a soft baked cookie that can be mixed and baked straight away really takes me back to the days of roller disco and Pet Rocks.
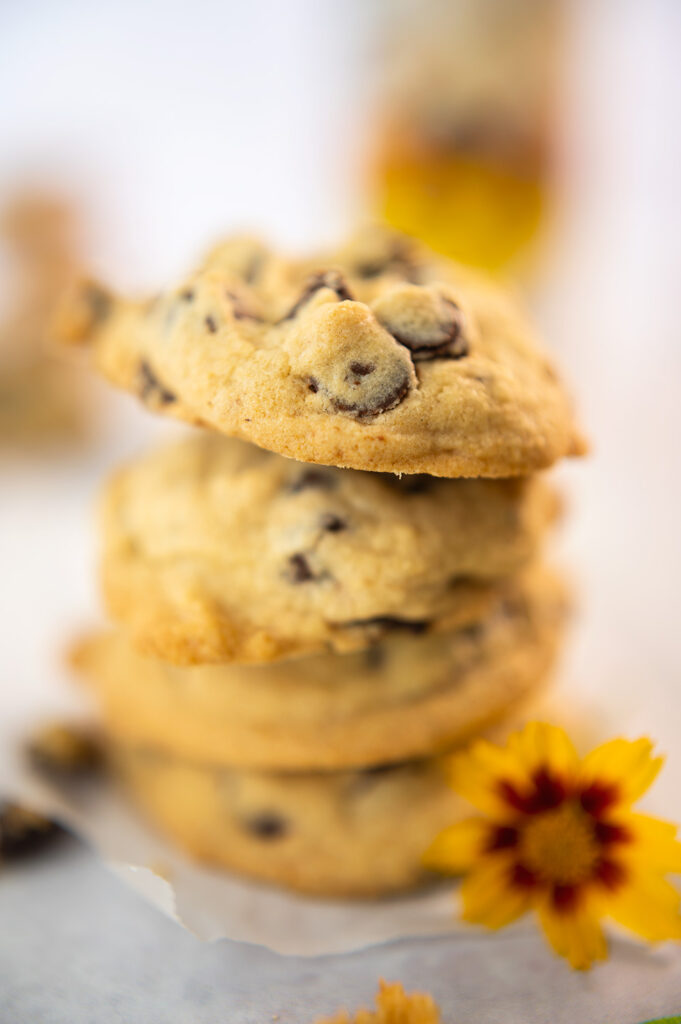
I was inspired by the recipe for Vintage Cookies on the BBC Good Food website. It was intriguing to see a British recipe for an American cookie. The recipe described the cookie as having a Squidgy middle and who can resist that?
I love that word Squidgy.
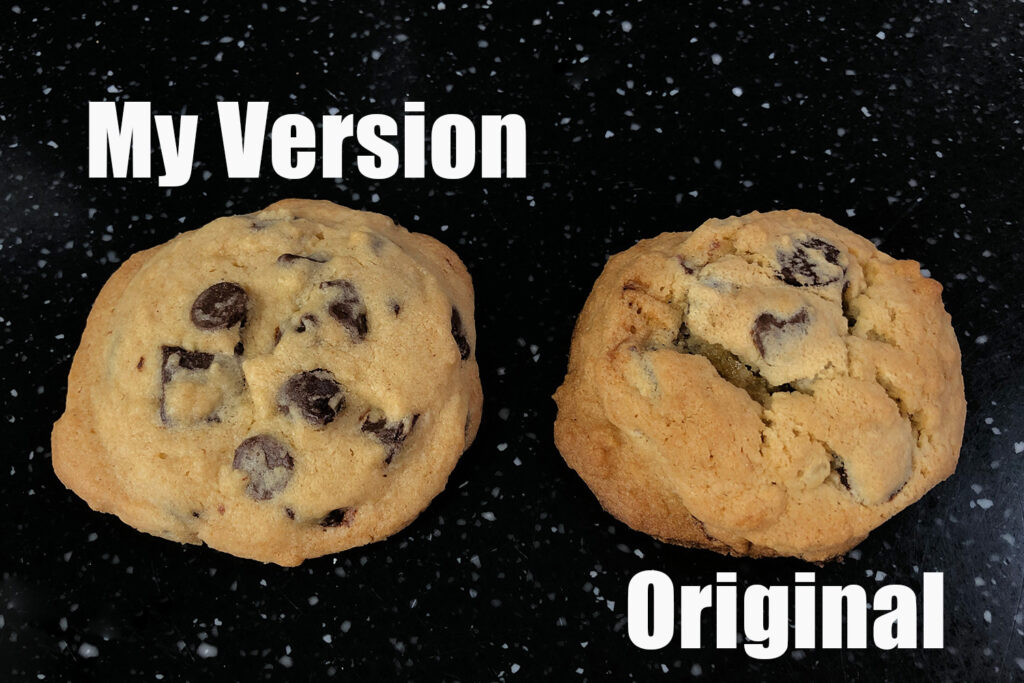
So while I was inspired by them, I didn’t feel like they were quite right. I adore my British neighbors, but I’m not convinced they truly understand our American Cookie.
I suppose it could be compared to Americans making Victoria Sandwiches and putting American Buttercream frosting on them. (guilty as charged) It’s good, but it’s not quite right.
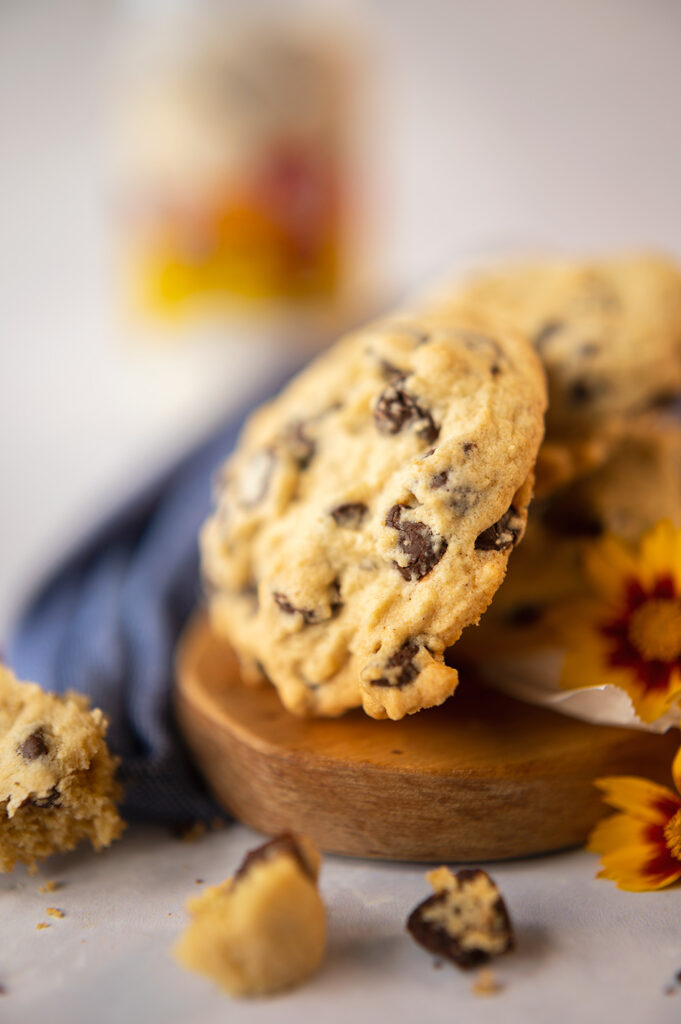
What’s in the Vintage Chocolate Chip Cookies?
- Salted butter: salted butter in baking is delicious. It balances sugar and the saltiness with the sweet is a great combination of flavor
- Light brown sugar: light color and textured cookies
- Super fine sugar: gives a more tender bake
- Vanilla extract
- 1 large egg
- All Purpose flour: heartier flour which is always so good in cookies
- Baking soda: for lift
- Salt: YES a tad more salt
- Chocolate chips or chunks
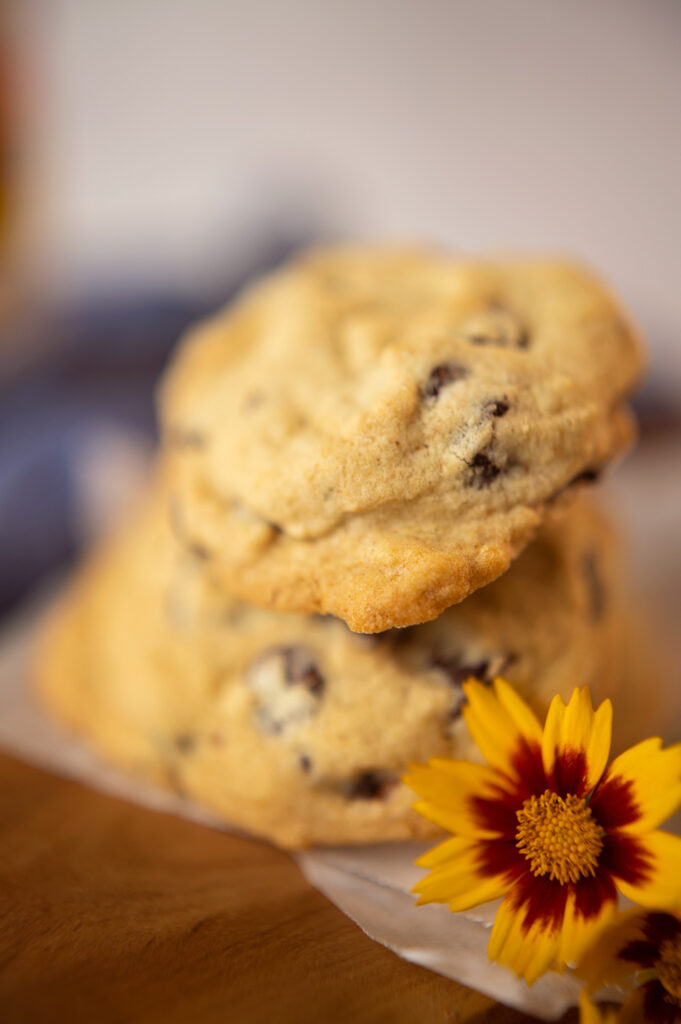
How to mix the Vintage Chocolate Chip Cookies:
All cookies are mixed kind of the same way. So once you understand how a cookie dough is constructed, you can mix pretty much any cookie. Unless you bake something from Christina Tosi, in which case throw everything out the window you think you know about baking.
- Cream the butter and sugar until fluffy and well combined.
- Add the vanilla during creaming. The fat from the butter holds flavor, so add flavorings during the creaming process and not later.
- Add the egg and paddle on medium low until completely incorporated. If it looks broken, keep mixing and it will come back together.
- Turn mixer off, add dry ingredients and mix on low until flour is just combined.
- Turn off mixer and add Chocolate mixing on low until just mixed.
- Scoop with 1 tbsp cookie scoop onto a specially line baking tray.
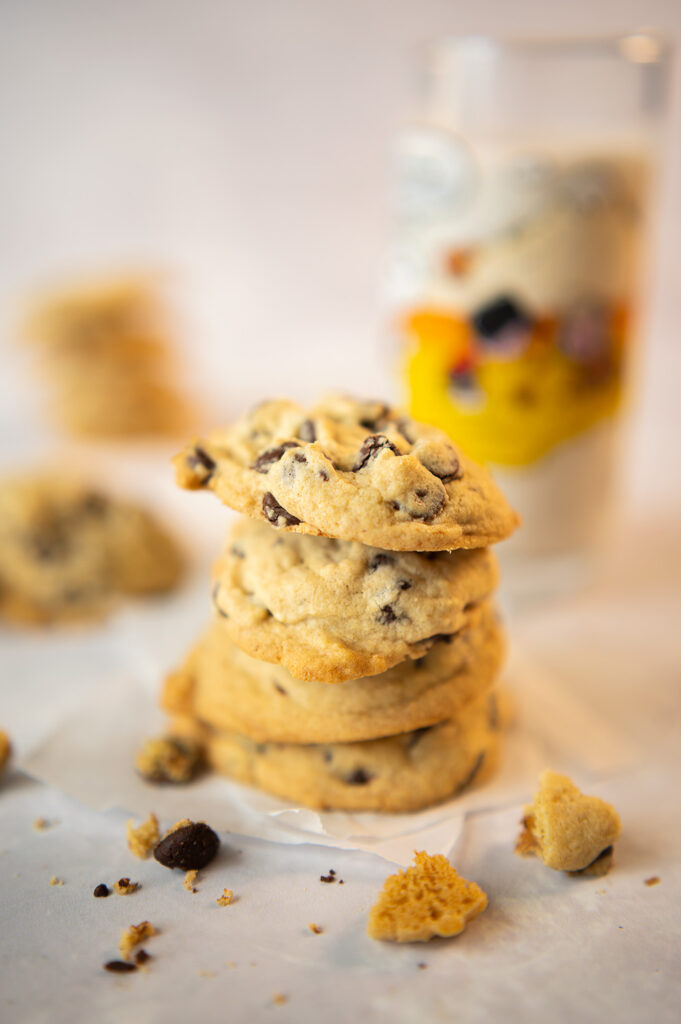
If you read that last bit closely you see I dropped a nugget about having a specially lined baking tray. And I’m here to tell you, if you don’t do this, I can’t guarantee the cookies will come out as perfectly blonde and tender as you see pictured.
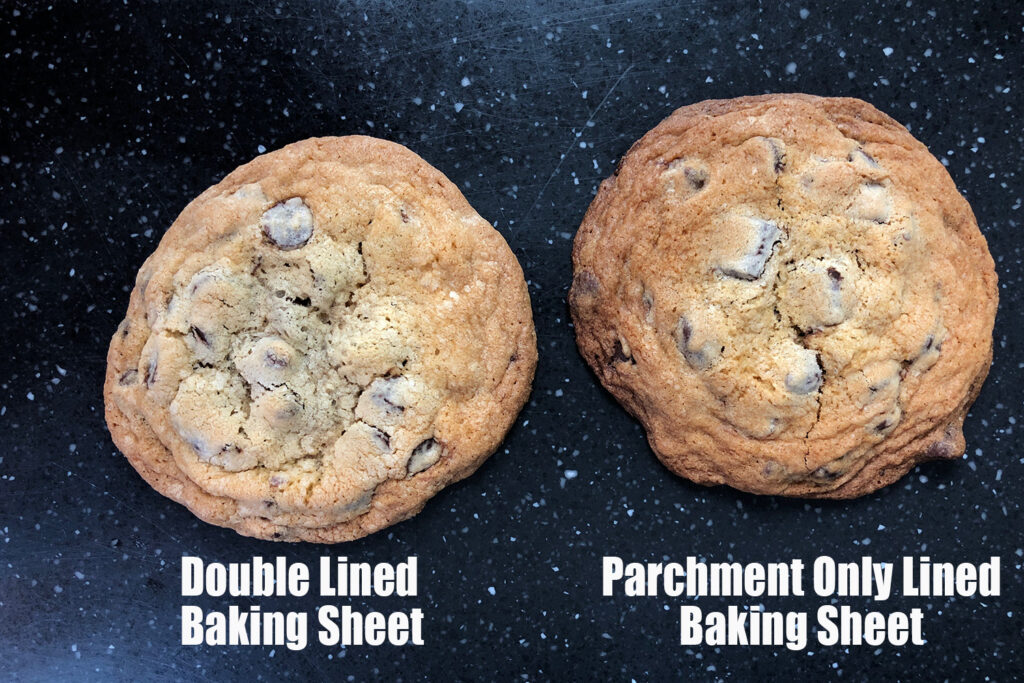
To get the perfect Vintage Chocolate Chip Cookie you will need a double lined heavy duty cookie sheet.
First line the cookie sheet with a silicone mat, and then place parchment on the mat. Yes I know it’s weird, but you will have to trust me on this one. According to Alton Brown, silicone mats are the worst thing you can do in cookie baking. I’m just a home baker, so I’m not taking on Serious Eats or Alton Brown. But….I can tell you that in repeated tests, the best cookies from this recipe came when I put the parchment over the silicone and baked that way. If I baked with parchment on the cookie sheet they would spread and over brown.
Much as Shakira says her hips don’t lie, I’m sharing this cookie photo of both versions to say my cookies don’t lie, either.
So trust me when I share this kind of tidbit with you. I don’t have a culinary degree and I’ve never worked in a professional kitchen, and I don’t have any kind of scientific explanation for this. Sometimes in life, you just do what your momma told you to do. At least that’s how we roll in the south.
If you want my soft baked vintage chocolate chip cookies to work in your kitchen, then make them the way I’ve written the directions.
And if you ask me why, I’m just gonna say, “Cause I said so.” ‘Cause sometimes that’s a mom’s final answer. 😉
You might also like:
Print
Vintage Chocolate Chip Cookies
- Total Time: 33 minutes
- Yield: 30 1x
Description
Let’s revisit those days gone by with a fresh recipe for vintage chocolate chip cookies. Ready to be baked right away. No chilling required.
Ingredients
- 3/4 cup (150 grams) salted butter
- 1/2 cup (100 grams) light brown sugar
- 1/2 cup (80 grams) super fine sugar
- 2 tsp vanilla
- 1 large egg, room temperature
- 1 3/4 cup (225 grams) all purpose flour
- 2 tbsp corn starch
- 1/2 tsp baking soda
- dash of cinnamon
- 1 1/2 cups (250 grams) chocolate chips
- **1 tbsp coffee liquor which is optional
Instructions
- Preheat oven to 325
- Cream room temperature butter and both sugars on medium in a mixer fitted with the paddle attachment. Paddle until light and fluffy. About 2 minutes
- While creaming butter and sugar, add in the vanilla and coffee liquor, if using.
- Beat in the egg. If mixture breaks, keep mixing on medium low until egg incorporates.
- Whisk dry ingredients together.
- Turn off mixer and add dry ingredients. Run mixer on low until flour incorporates.
- Turn off mixer and add chocolate. Mix on low until incorporated.
- Using the 1 tbsp cookie scoop, drop dough onto a heavy baking sheet lined with silicone AND parchment.
- Bake 14 to 18 minutes. Keep an eye on them!
- Allow cookies to rest on cookie sheet for 10 minutes after baking and then put on a rack to finish cooling.
- Store in a covered container.
Notes
- As mentioned in the post, the double lined cookie sheet seemed to be what really made this cookie recipe work. I know it seems strange, but trust me. If you don’t believe me, conduct your own experiment and bake a batch like I recommend and bake a batch how you normally do them. I think you’re going to find out that momma is right about this one. Momma is always right. 🙂
- Notice this is a lower baking temperature. I found that the cookies browned too quickly at 350 so I cut back to 325 and baked them a bit longer.
- Generally, cookies have to have a chill time before you can bake them. I think every other cookie recipe so far on my site is like that. Yes, I know that is truly annoying, but it is the usual way. This recipe, you can scoop and bake as soon as they are mixed. In fact, I thought they were better with no chilling.
- This is a light color of cookie, so don’t think they are not fully baked. The light color is a by product of the softer texture we are going for in this cookie.
- Prep Time: 15
- Cook Time: 18
- Category: Cookies
- Method: Baking
- Cuisine: American


Hi! I’m Patty
Sewist, Baker, Maker
I love figuring out new ways to use pom poms, where I can stash more fabric, and I’m always wondering what to bake next…chocolate or lemon? When not dreaming up new things to make (or bake), I love riding my beach cruiser on the Boardwalk, enjoying classic movies, and planting new things in my tiny but mighty container garden.


