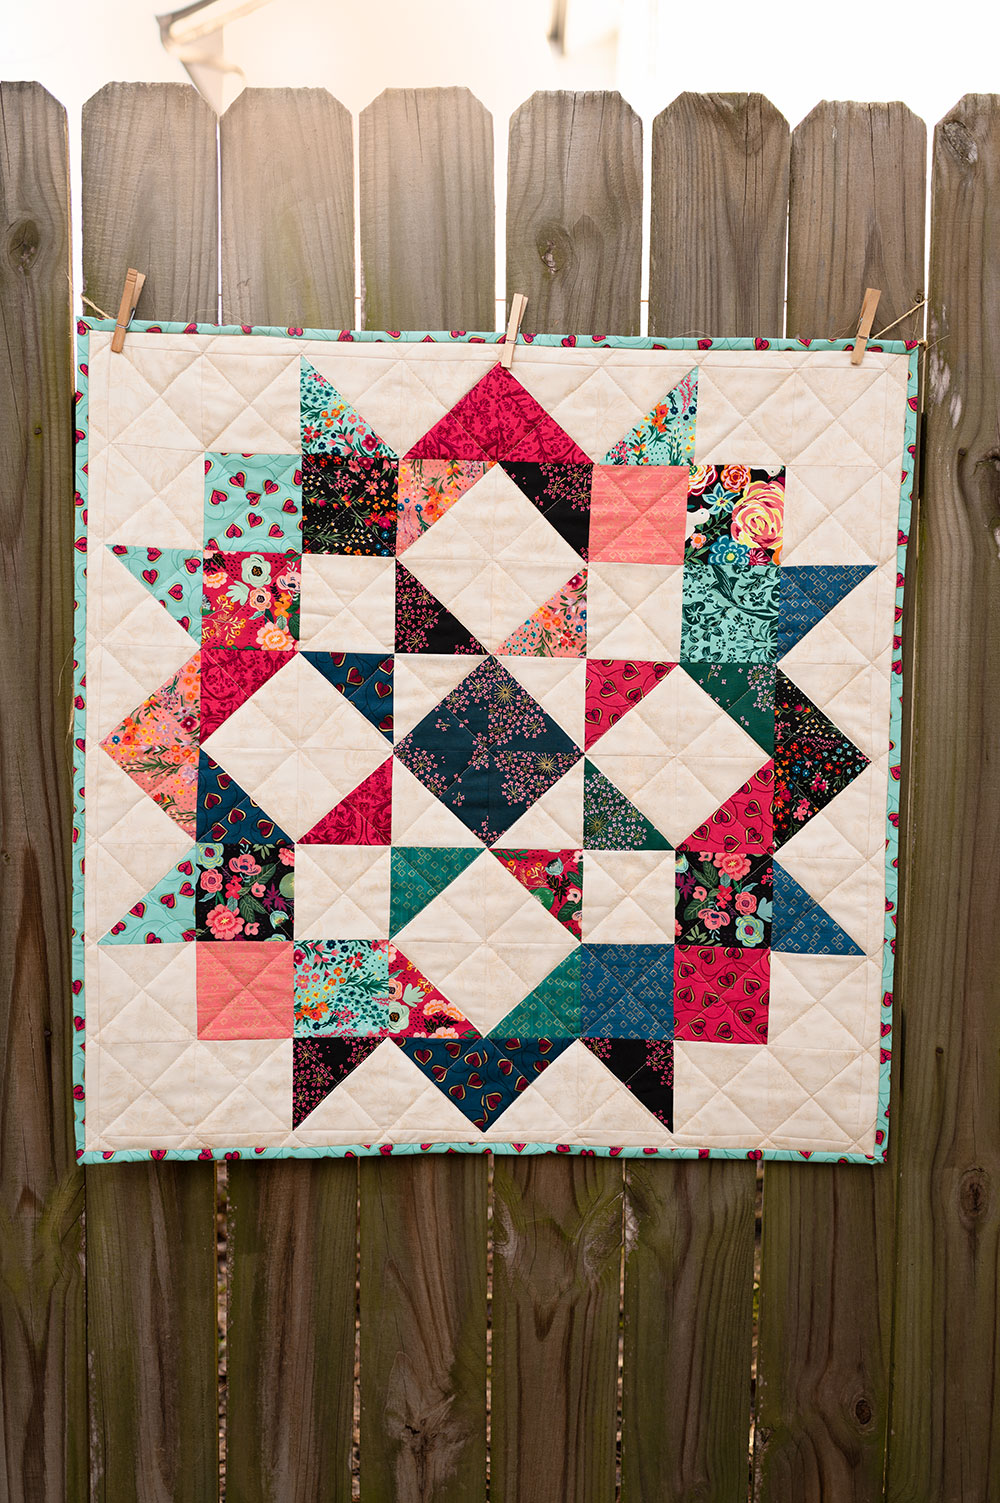
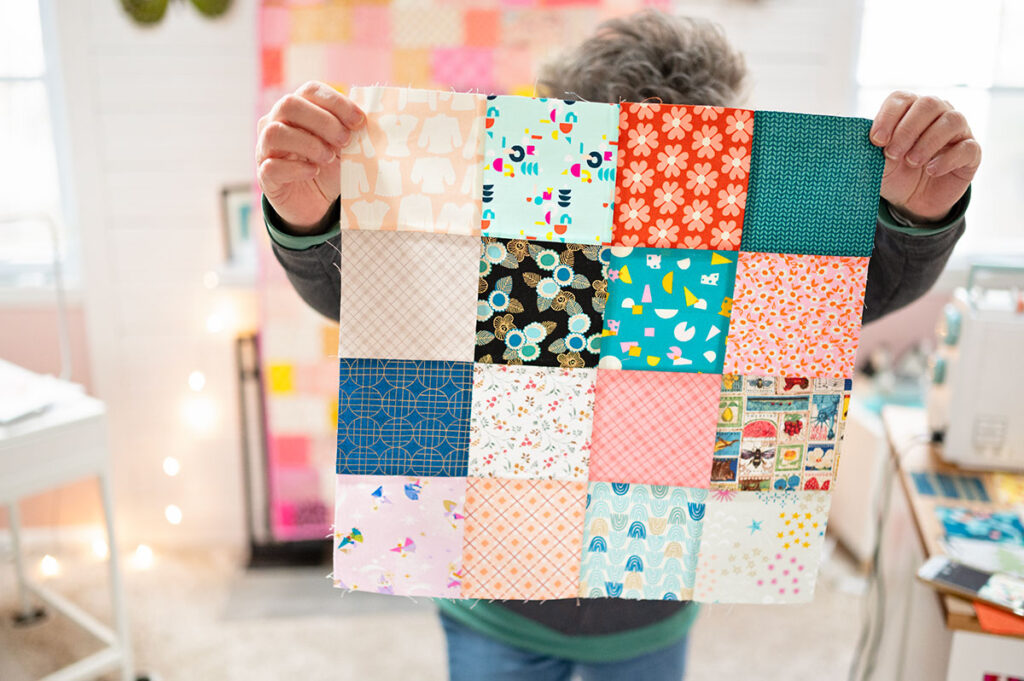
16 Patch Quilt Block
Let’s make a fun 16 patch quilt block designed around scrap fabric.
If you’ve been sewing and quilting for a couple of years, chances are you have a bit of a scrap collection. Most of the content I see around scraps involves saving and managing them. But not as much about USING the scrap fabric. Let’s turn that pile of leftovers into a 16 patch quilt block to use in larger projects.
First off, let’s talk about those SCRAPS. Leftover bits of fabric have a tendency to pile up and over time can really take up space. I’ve seen people talk about their scrap collections filling bins upon bins of large stacked containers. One viewer on my youtube channel confessed she’s got a collection she’s been adding to for thirty years! 😳 It gets to a point where going through them becomes so daunting we just keep adding to the piles and never actually use any of the scraps we’ve so dutifully saved.
How to save scrap fabrics
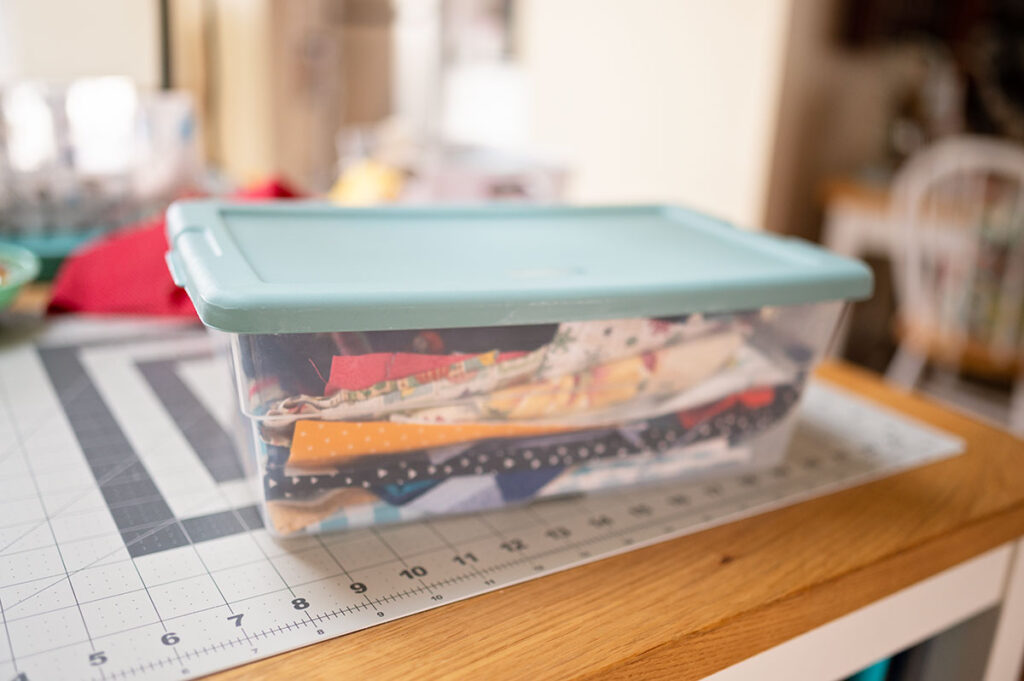
I saved some of my scraps in Containers purchased inexpensively at Home Depot, and I had 3 of these filled with leftovers from the past 3 or 4 years. It didn’t seem like I had all that much to work with, until I started cutting and sewing.
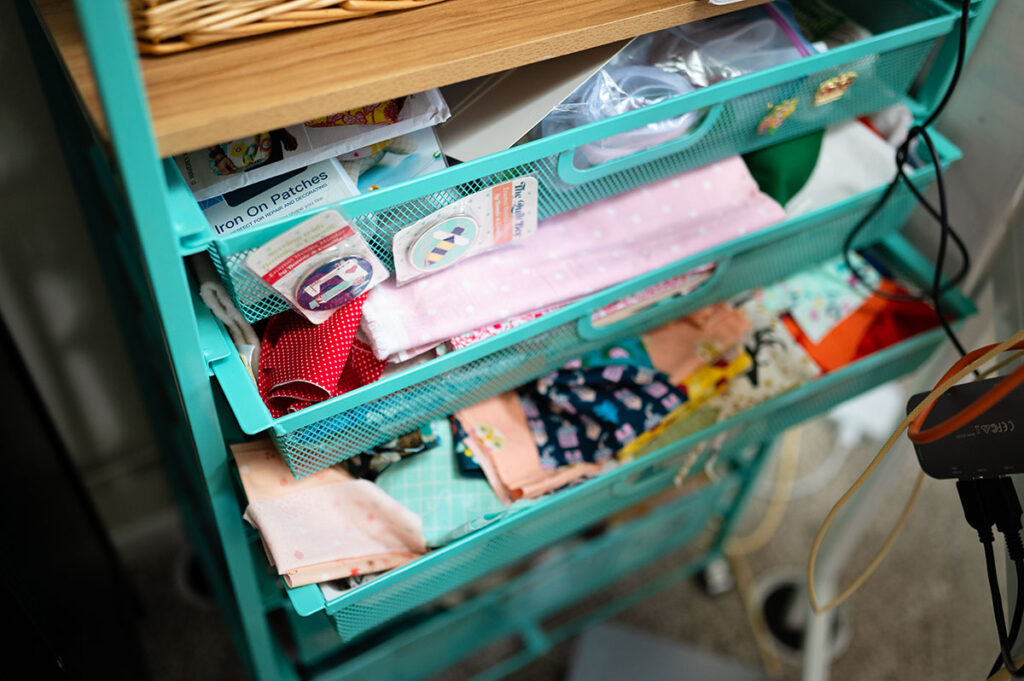
I also have a couple of drawers in my Origami craft cart stuffed with scraps of various sizes and shapes. Unfortunately my exact model is no longer available.
People get remarkably detailed in cutting scraps into often used sizes.
The most popular sizes to cut and save are:
- 2.5″ squares
- 5″ squares
- 2.5″ strips
- 1.5″ strips
The issue I see is that there’s a ton of information surrounding the cutting and storing and organizing of scraps, but not many people are actually USING them. Let’s fix that!
I wanted something fast, easy and fun to make with my leftovers so I decided to cut 4.5″ squares to piece into 16 patch blocks.
What’s a 16 patch quilt block?
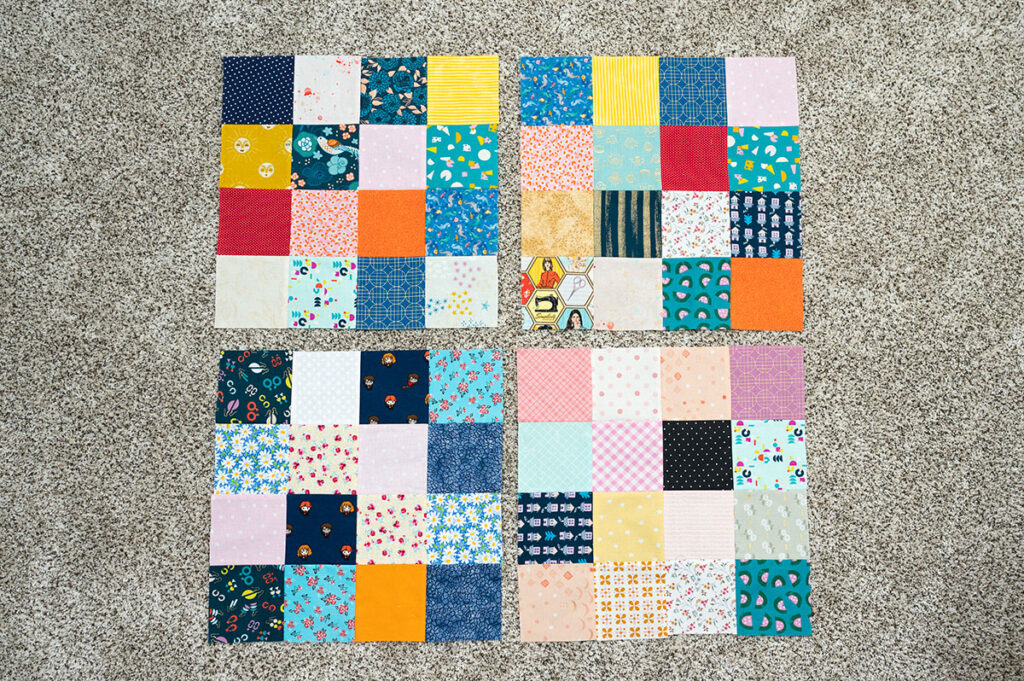
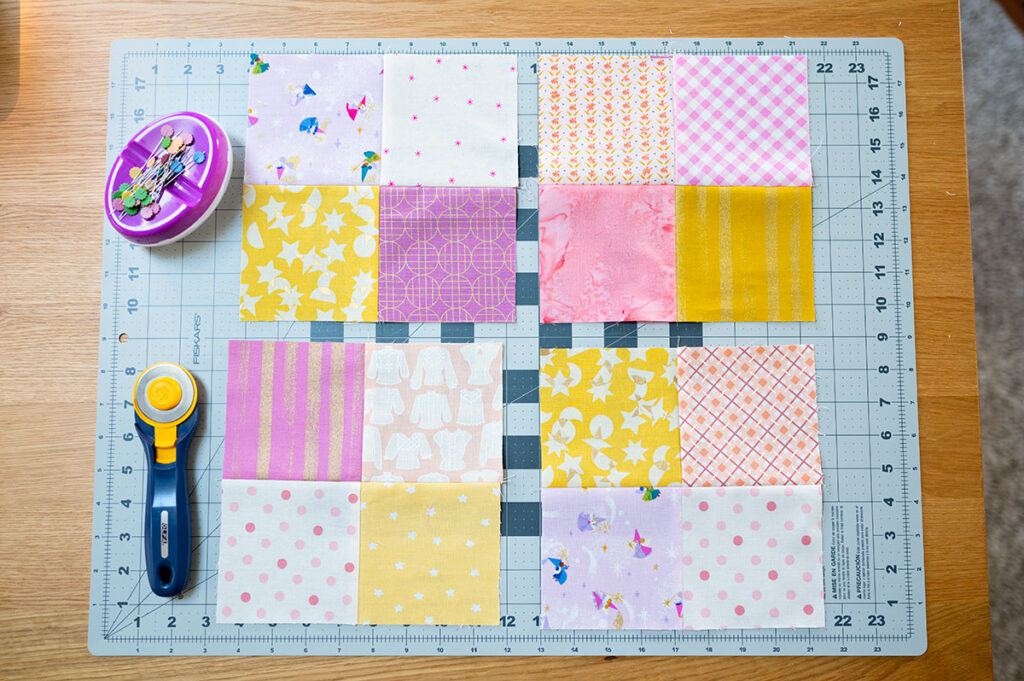
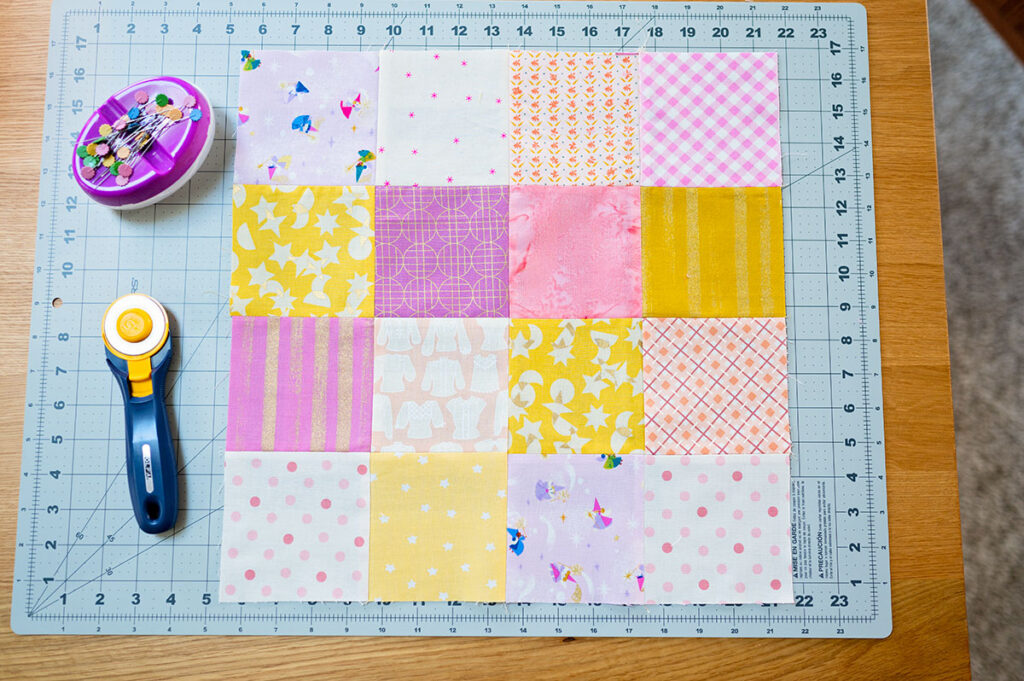
It’s a quilt block with 16 individual blocks made from piecing 4 blocks across and 4 rows down. Four times four equals 16. So there’s your 16 patch block.
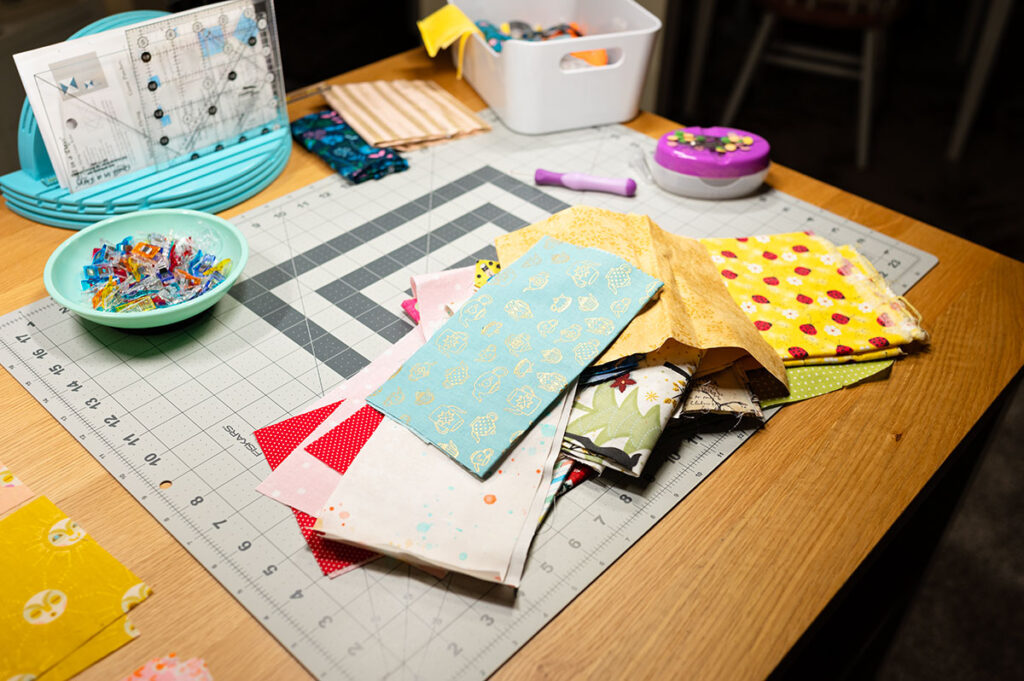
To start, I simply grabbed a container like the one I showed you in the first picture, and pulled out a selection of fabrics and then started working. I didn’t have much rhyme or reason, because I wanted scrappy.
And I wanted to use the fabrics and free up space in my storage.
I was at the point where the bins saving the scraps were over flowing.
It was time to either get more bins for storage, get rid of the fabrics, or use them somehow. I decided to start cutting and sewing to see how much I could get from what I thought was a relatively modest scrap collection. Because I live in a small house and my storage space is limited, I did not want to tie up any more space storing leftovers. Reducing clutter was the motivating factor behind this project.

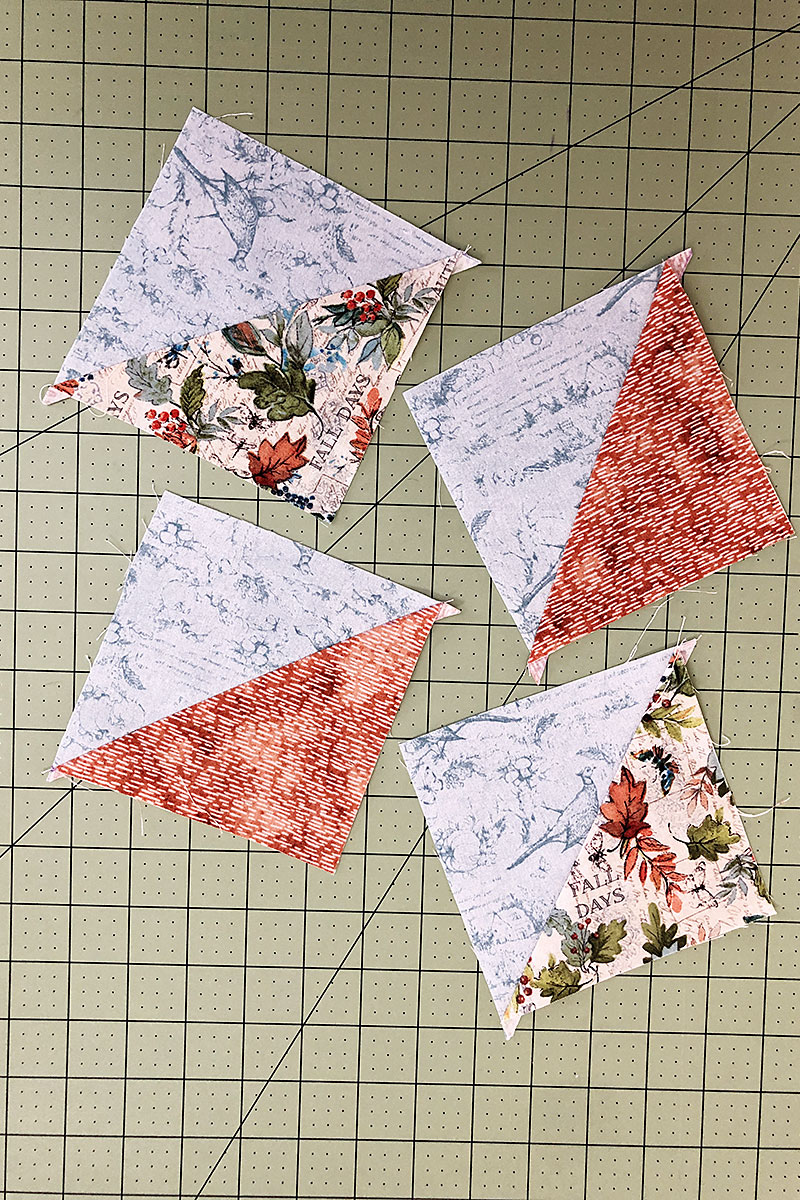
A pile of random fabrics on the cutting table and ready for pressing, cutting and sewing
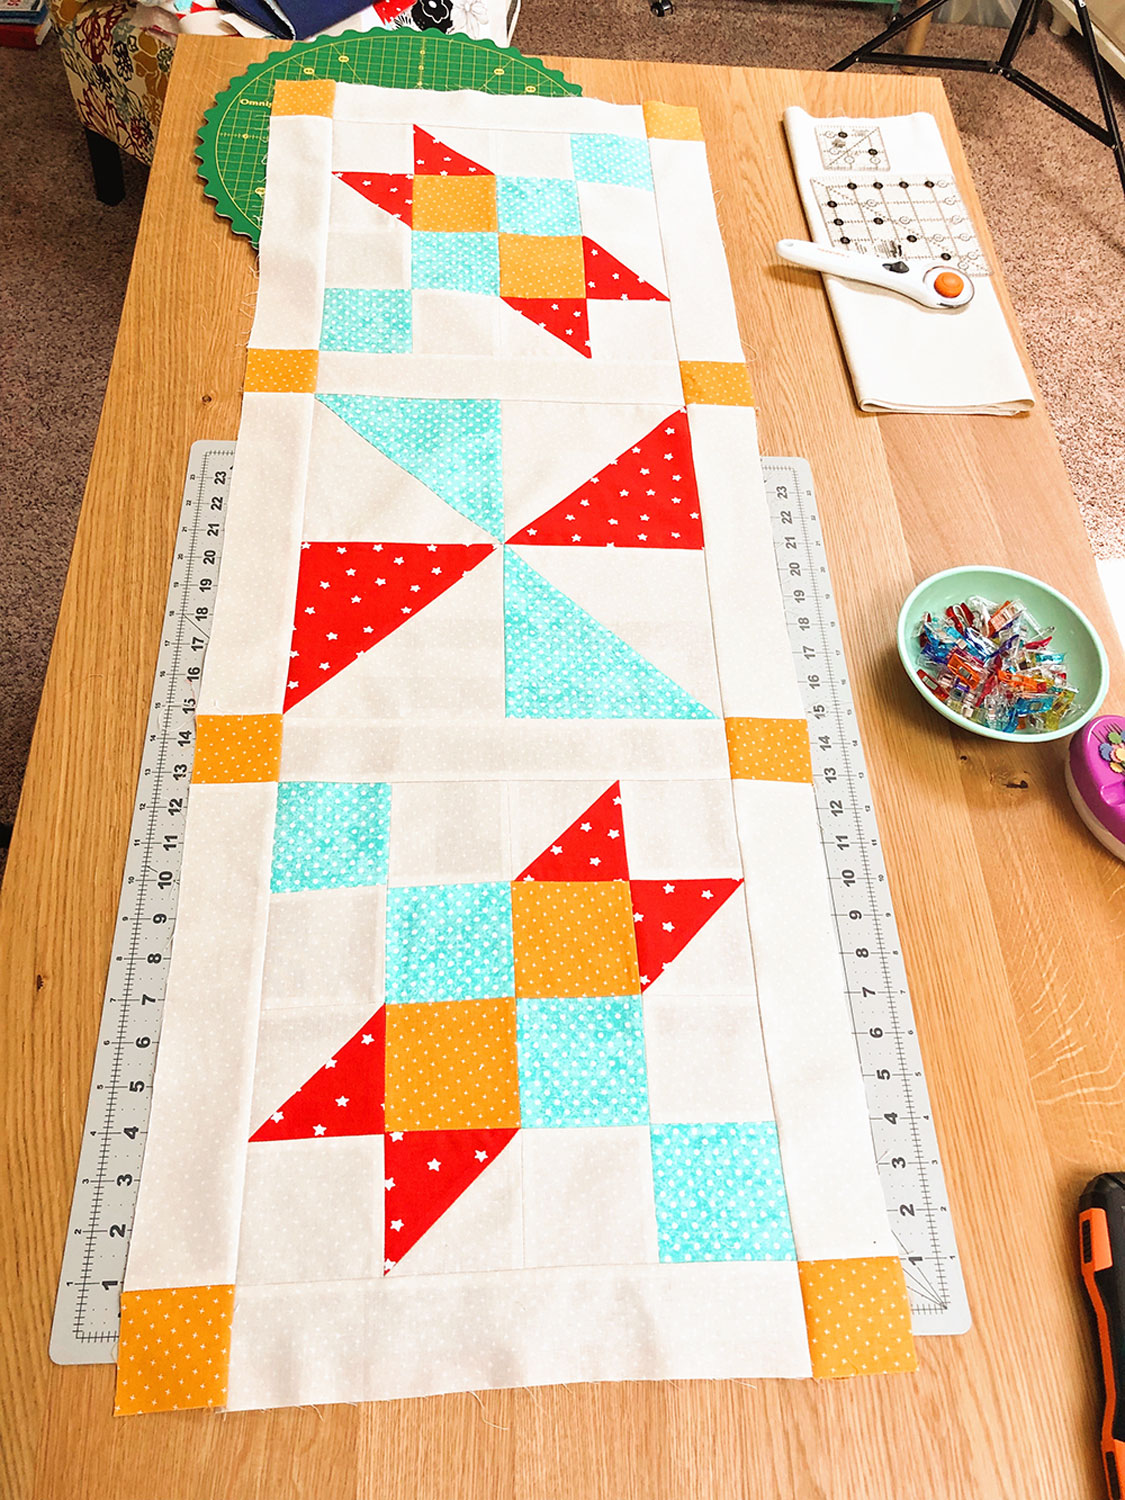
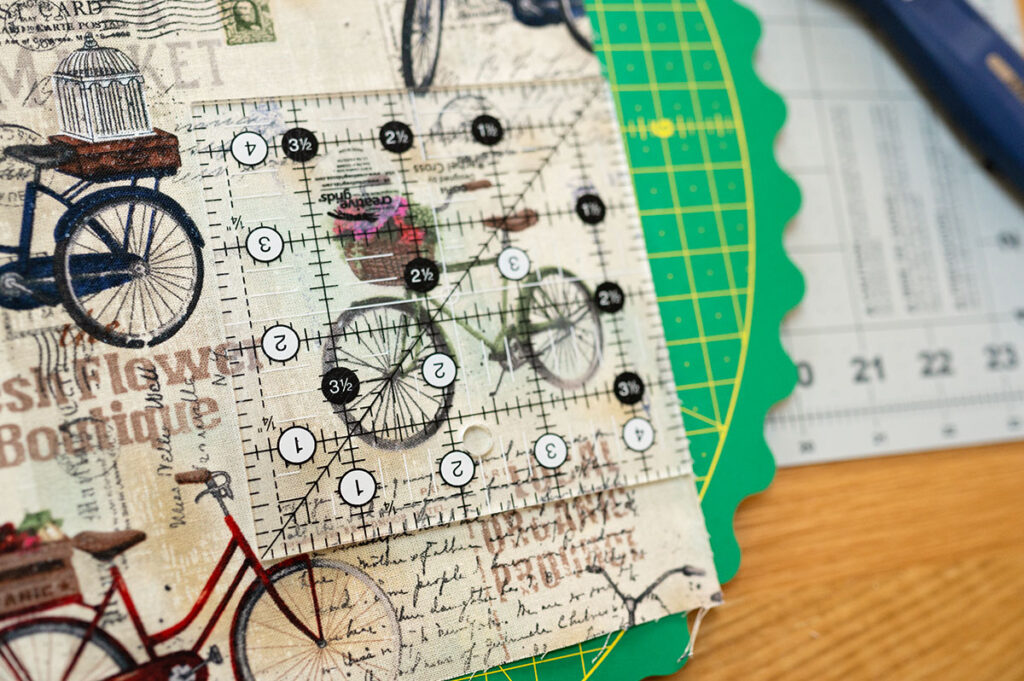
You may ask what size is a 16 patch quilt block? Well that depends entirely on how big or small you want your finished block. Any number divisible by 4 will tell you what size to cut the squares. I wanted 16.5″ blocks so I needed 4.5″ squares. Remember that the half inch measurement is eaten up as seam allowances so your finished block becomes 16″. If you want 12″ blocks then cut your squares at 3.5″. An 8″ block is created with 2.5″ squares and a 4″ block with 1.5″ squares. I wanted fast and easy, so I opted for a larger 4.5″ square.
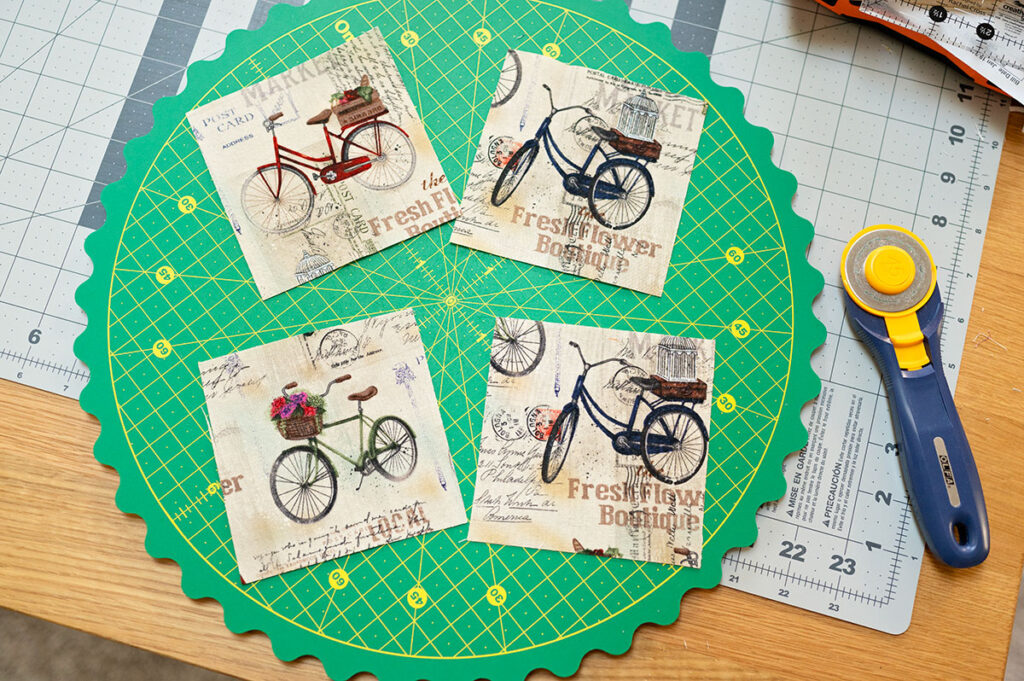
I also find that a 4.5″ square is a great size for fussy cutting. It gives you plenty of room to isolate a special motif in the cut.
Let’s look at what goes into constructing a 16 Patch Quilt block.
Essentially, you need 16 squares, all the same size which you will lay out however you like and then sew said 16 squares, or patches, together. The squares can be whatever size you like just as long as they are all the SAME size square. Here are some tips for making your best looking 16 patch quilt block.
- The best scrappy quilt blocks happen when each square is a different fabric. So that means you need to pull from 16 different fabrics for each block you want to make.
- Try to keep the same colors and motifs from touching if possible. In other words, don’t put a red right next to another red. Try to mix it up if possible. Don’t put a bird print right next to another bird print.
- Remember to include some neutrals in there as a visual break from all the color and patterns.
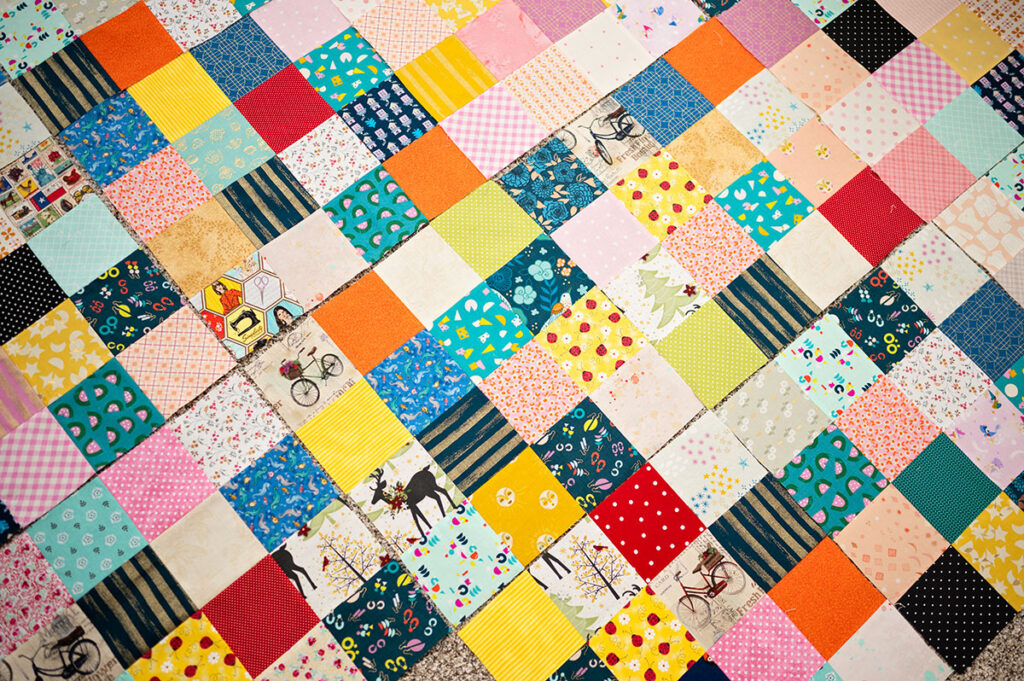
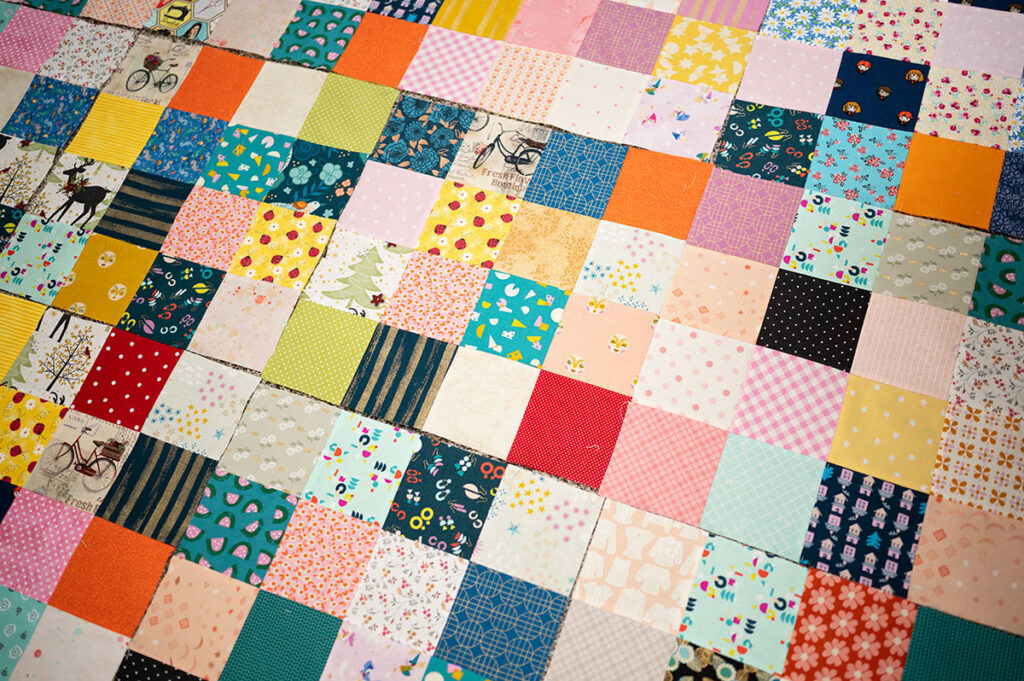
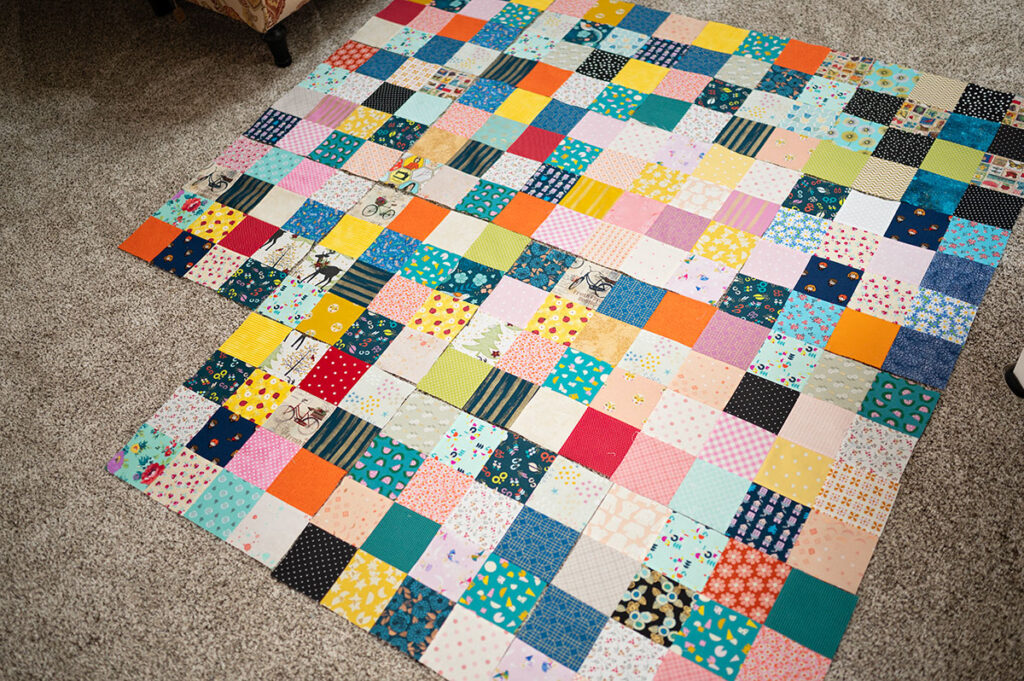
- Have a consistent plan for construction and pressing. Remember, the goal is to sew all these scrappy blocks together eventually to create a large project (or two or three), so we want it to be as easy as possible to combine them at some point.
Let’s look at how I put mine together, and you can decide if you like this method.
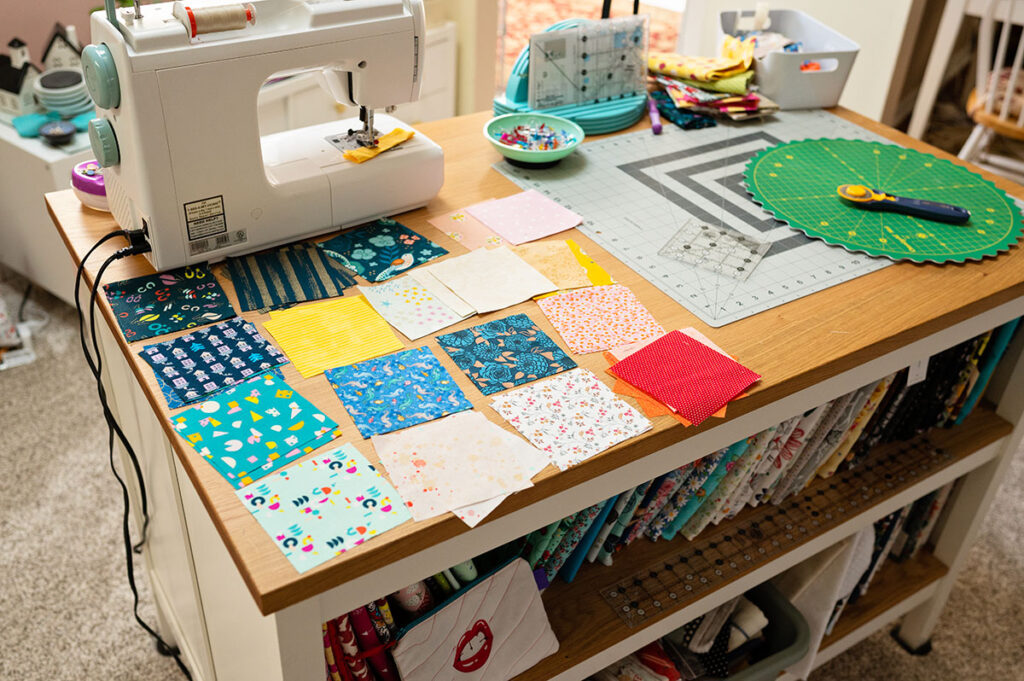
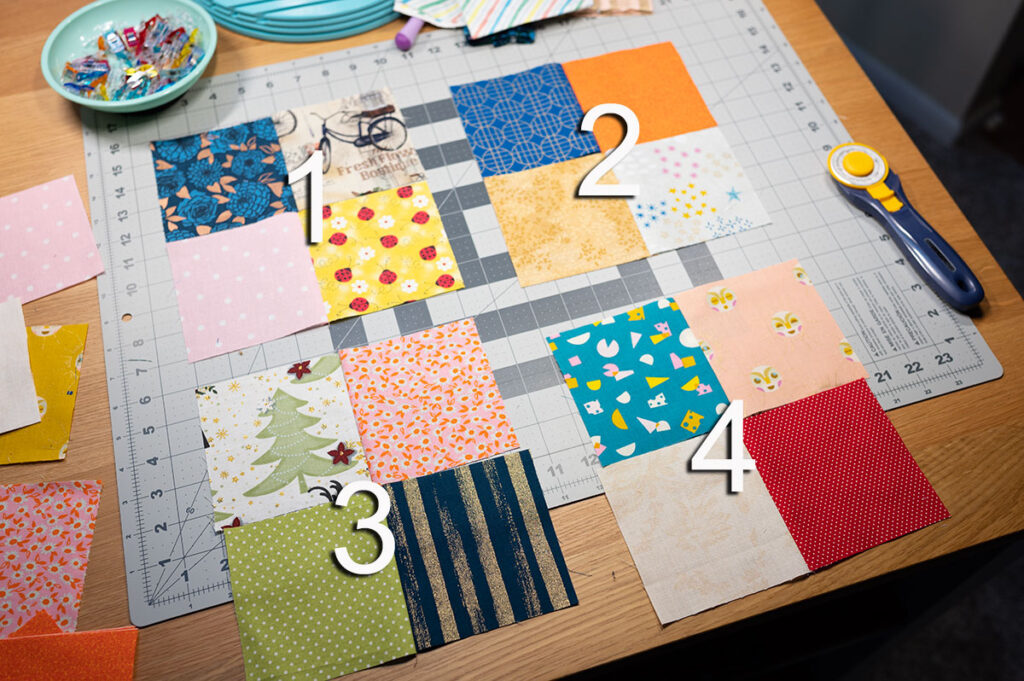
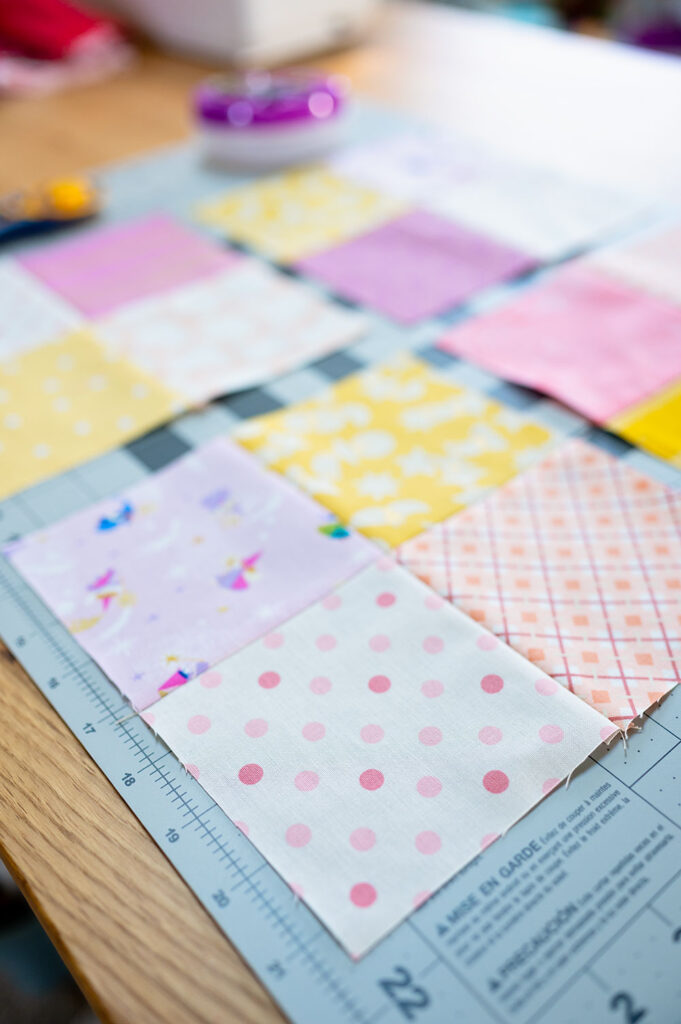
1. Have plenty of squares cut and ready for piecing.
I cut fabrics a few at a time and made piles to choose from, because I wanted it to be random and fun. I didn’t stress over what I picked when, and I just cut some stuff and made piles with 16 different fabrics.
2. Make construction easier.
Next, I made a series of 4 four patch blocks with the center seams pressed opposite of each other. This creates nested seams which make flat center joins. Then I pressed the midline seam open.
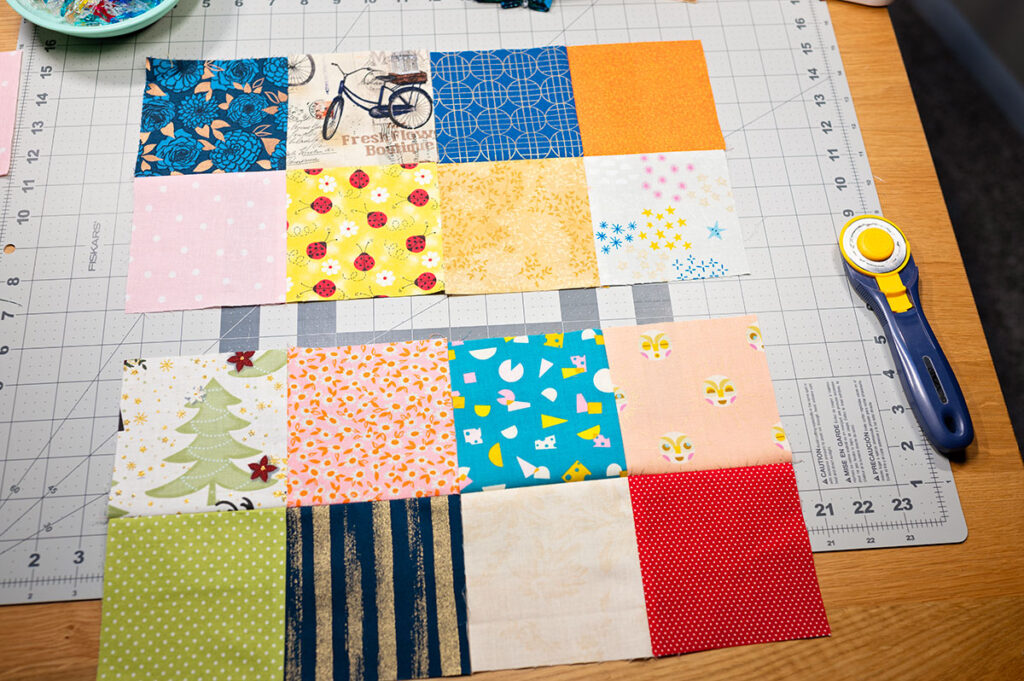
3. Start sewing the 4 patches together
I chose to sew my block together by first combining the top two 4 patches and then the bottom 2. Then the top and bottom halves were joined at the midline. I used pins to secure the seams together keeping the joins square.
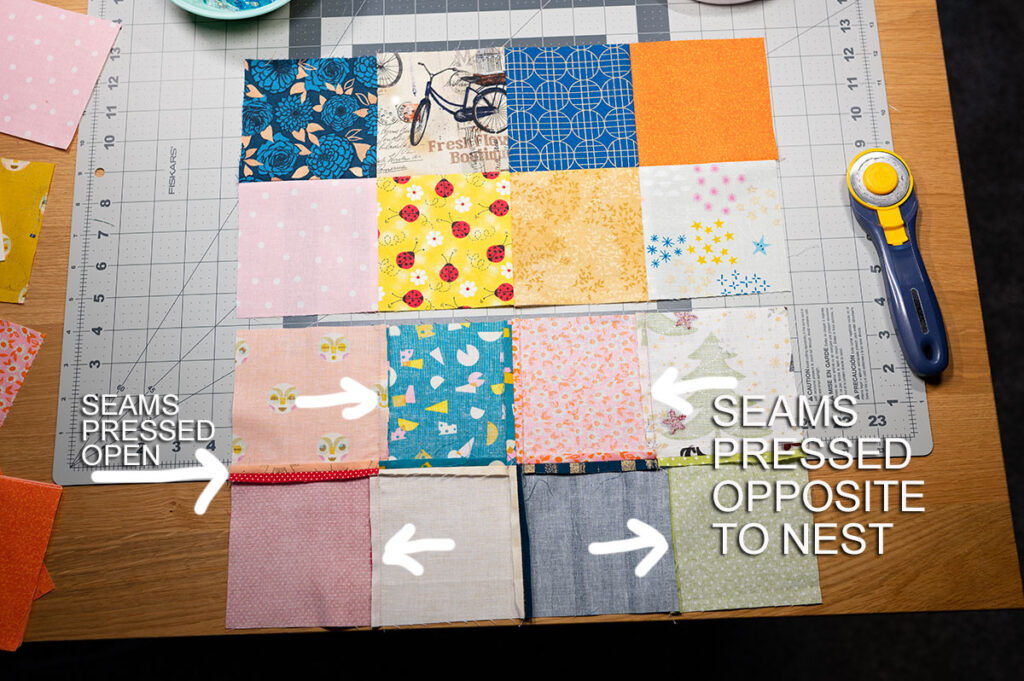
4. Have a consistent plan for pressing.
Here you can see the nested seams and how they worked with the open seams. Put a little planning into seam directions and your blocks will combine more easily in the end.
5. Remember to have fun with your 16 patch quilt blocks!
Time to quell the inner critic! This project is designed to be fun and provide an enjoyable way to use up some of your scraps in a productive way. Don’t flip if some blocks are a little repetitive. Before I realized that featuring 16 different prints in one block was the best approach, I had some repeats in a block.
Even if some of your blocks are a little repetitive, or joins are less that perfect, don’t lose sight on the overall project.
Once 16 or 20 (or however many you want to use in a single project) are together, no one is going to notice that two of the same prints are close together. And besides, anyone that would be critical of such a small thing is neither quilt worthy OR your real friend.
🧵
Remember we are making this 16 Patch Quilt Block project for fun.
Personally, I have a pretty stressful real life right now, so this project has been an escape for me. I have found sewing 4 patches and then combining them to be incredibly relaxing, and that’s what I need right now. Taking an hour or two at the end of a busy day to create a few fun blocks to add to my collection has been enormously therapeutic.
The idea for this project originally came about as I wanted a 16″ block to use as a central block in a larger design. I used scrap fabric left over from my Mismatch Patchwork quilt, and loved the over all look and process of construction of the block that I wanted to keep going.
That’s when I decided it was time to start using the scraps I’ve been saving the past few years.
As I shared with you at the beginning of the story, I keep a pretty small collection of leftovers. But even my small collection was starting to feel cluttered, and I was out of room to store more. I did not want to buy more containers to store even more scraps. And I didn’t want to follow the exercises I see so many people doing of dutifully cutting everything down to certain sizes and storing by size and color.
First of all, who has time to do all of that? I certainly do not, and I know most of you don’t either. Between family responsibilities and household chores and yard and garden, my time is limited for sewing. Very limited! Plus it feels like “rearranging the deck chairs on the Titanic” to just cut and sort and store again. If you’re Lori Holt, then yes you use all those scraps. But the rest of us mere mortals just wind up saving stuff for years and years.

Perhaps the biggest surprise that’s come out of constructing all these scrappy 16 Patch Quilt blocks is that what seems like even a small collection of scraps will go a long way towards making new projects. Honestly, I’m shocked by how much I’ve made so far just pulling a little here and a little there from small bins and drawers. I have 20 finished blocks made already, and I’m going for 32. At that point, I’ll have enough to construct two good sized throw quilts made with 16 blocks each.
Why I recommend making scrappy 16 patch blocks from fabric scraps:
- Enjoy your time in the sewing room more by making fun and easy quilt blocks. Intricate designs are gorgeous, but sometimes we need to simply enjoy the actual sewing process.
- By cutting a bit larger square as the base unit, finished blocks are larger in size and sew into larger finished projects that much faster.
- Free up not only physical space by using scrap fabric, but reduce the mental clutter created from dealing constantly with an ever growing collection of leftovers. Don’t underestimate the mental stress that comes with facing mountains of clutter. Face it head on by actually sewing those pieces into a finished project instead of cutting everything down only to store the same piles of clutter all over again.
- Revisit old favorites and use them all over again in something new and exciting. We all have those small cuts left over from something special made years ago. Why not find a little joy in repurposing them into something brand new?
- Sewing with scraps is a marvelous way to make many new projects WITHOUT shopping for new fabric, or dealing with the mental tension of cutting into “special fabrics.” I’m personally on a no spend for 6 months concerning fabric purchases, so it feels amazing to be making new projects without more shopping OR using uncut yardage and fat quarters. It’s almost like finding $500 in an old jar you had completely forgotten about.
I do hope this provides you with both inspiration and motivation to attack those leftovers stacked away in a closet or a spare room. Reclaim that space and feel good about USING your scraps instead of simply re organizing them for the 20th time.
🪡

Hi! I’m Pattymac
Quilt maker, sewist, baker