Half Square Triangles
This post has affiliate links to products I use and love. If you buy something I can make a small commission, so thanks in advance. 🙂
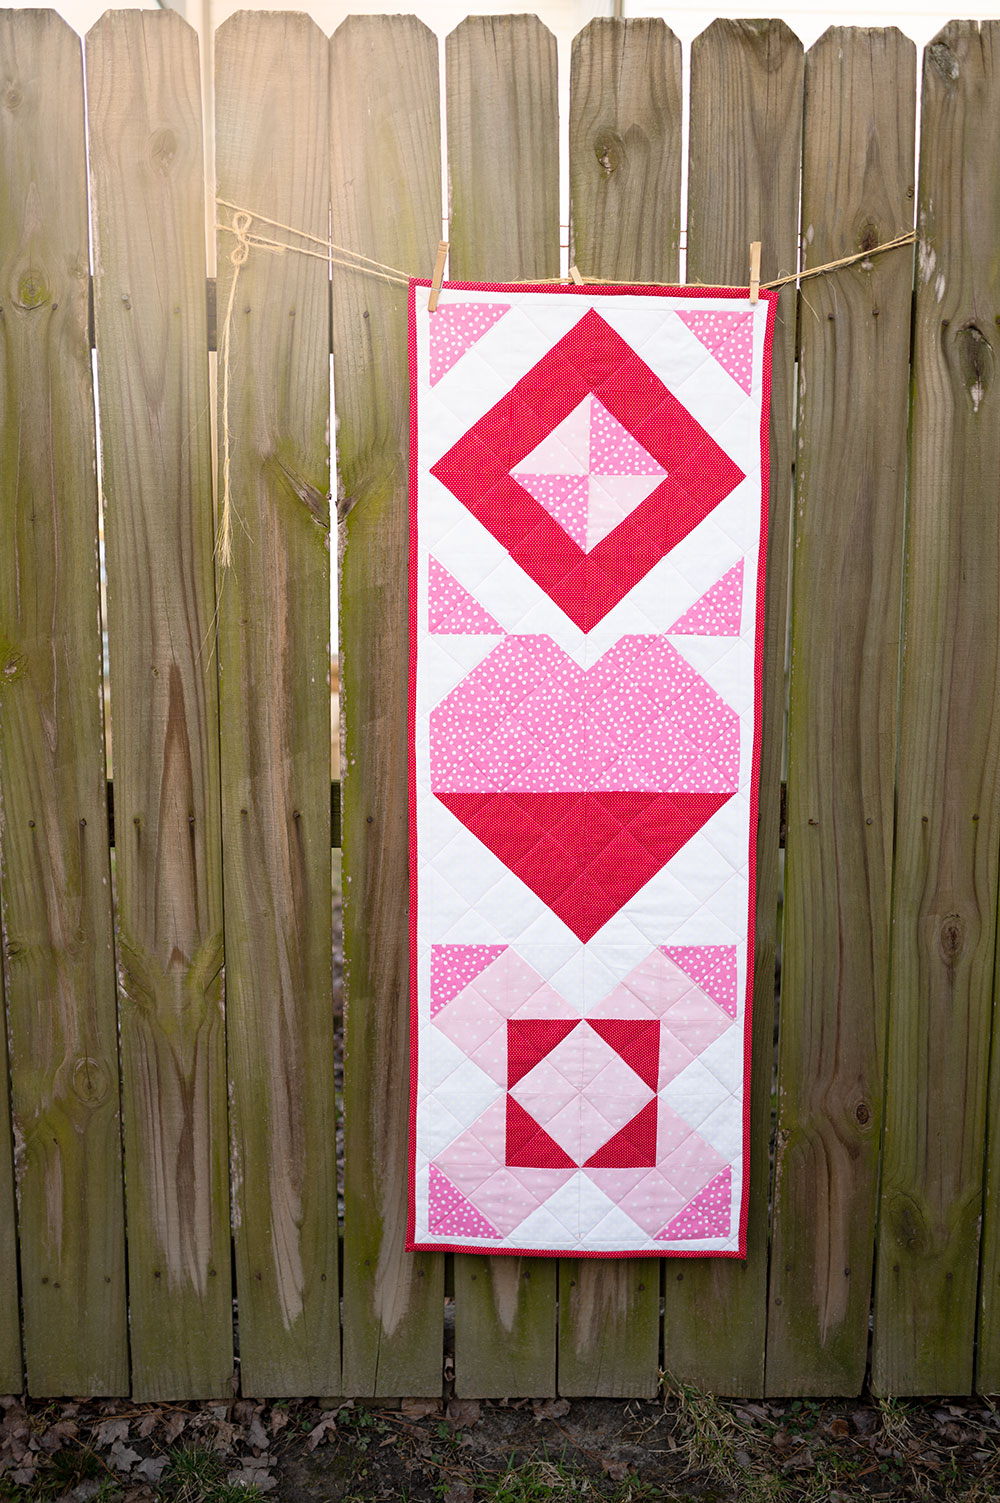
Quilts are constructed from multiple blocks and each block is comprised of several units, carefully cut, and sewn together. A basic building block in quilt construction is today’s topic at hand, Half Square Triangles. If you want to get anywhere in quilting, it’s pretty important you master this basic unit.
The thing about half square triangles is that the devil is in the details. It’s very important that your finished size block is the exact size it should be, and that your diagonal line, the central seam, runs perfectly from corner to corner. Let’s break it down.
Todays’s tutorial will show you a method for making 2 at a time HST blocks. Start with this simple method and go from here.
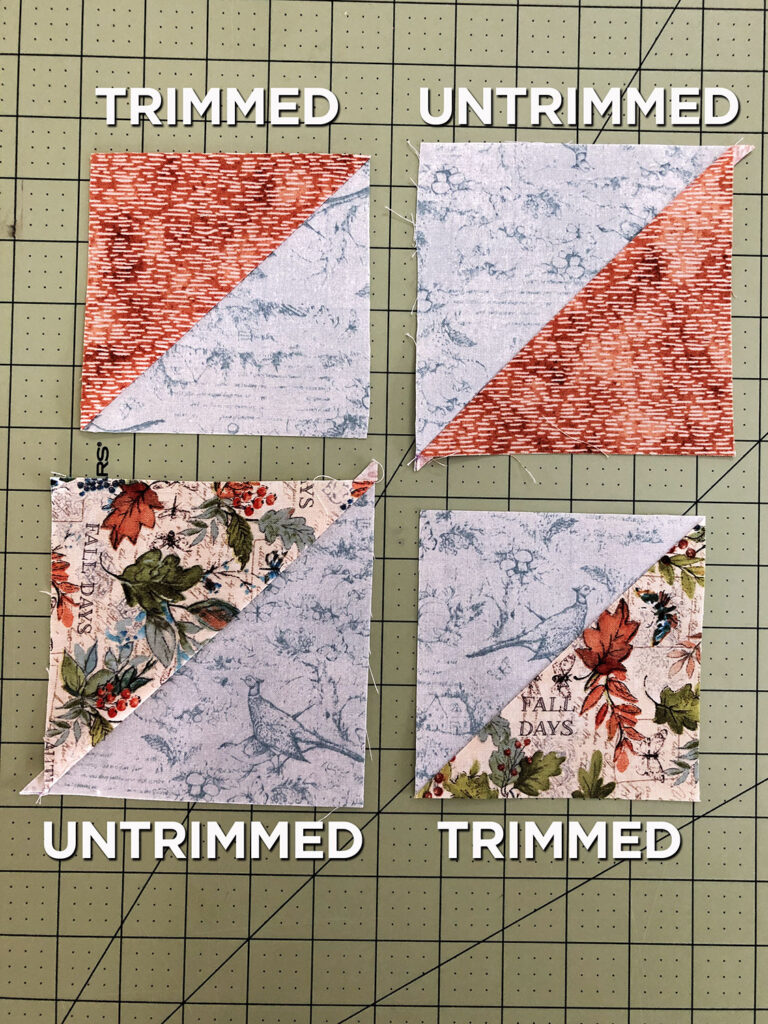
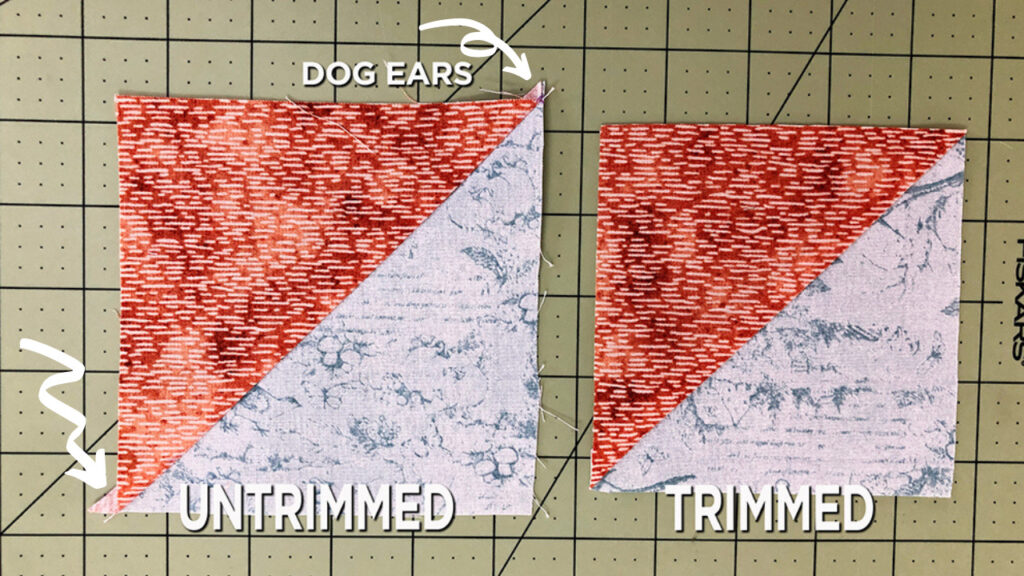
Notice the size difference between the untrimmed and the trimmed blocks. It is critical you trim the sewn block to the proper size to get a truly square block with a precision seam. For today’s example, let’s make HSTs with a finished size of 4.5″ square. Using my method, you will easily be able to put together any 2 at a time HST to meet your pattern requirements.
Steps to Making the perfect Half Square Triangles:
- Pair two fabrics with high contrast. If the contrast is not high enough between the light and dark values, your HST will lack the design punch you want in your block.
- Cut your fabrics into squares a full 1″ larger than what’s needed for the finished HST. If your HST finished size is supposed to be 4.5″, then cut your squares at 5.5″.
- Pair a light and dark fabric together. Place the cut squares right sides together.
- Using a pen or chalk or a disappearing ink pen (my favorite) you will make three markings on the fabric wrong side. Here is what that will look like.
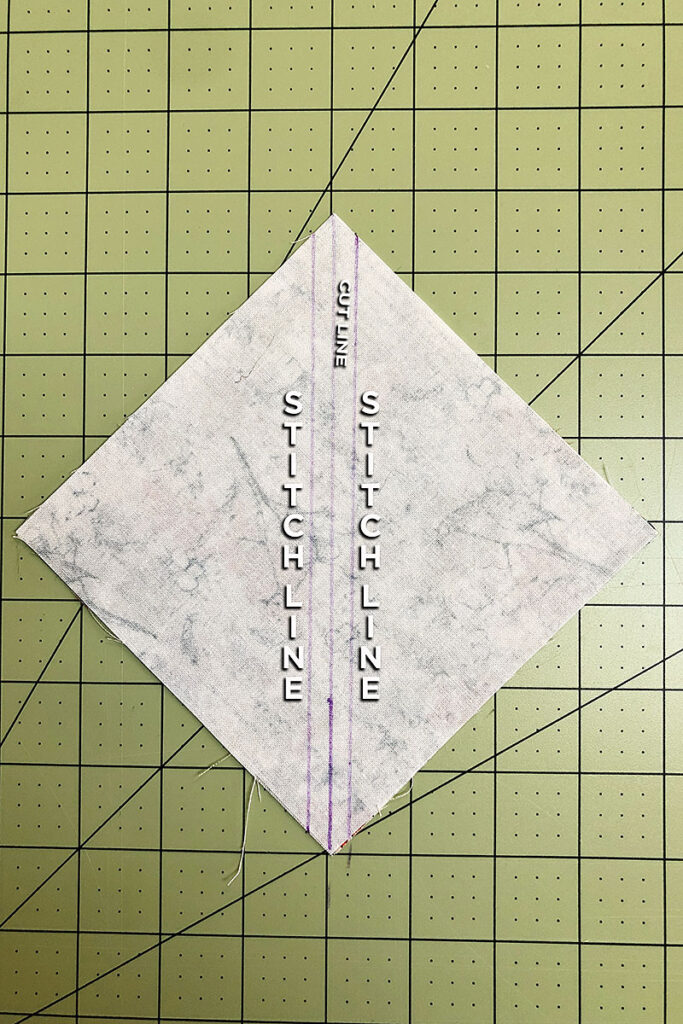
How to mark your fabric for sewing and cutting 2 at a time half square triangles:
- First draw a line that goes in a diagonal from one point to another.
- Secondly, draw a line that is 1/4″ to the right of the center line.
- Thirdly, draw a line that is 1/4″ to the left of the center line.
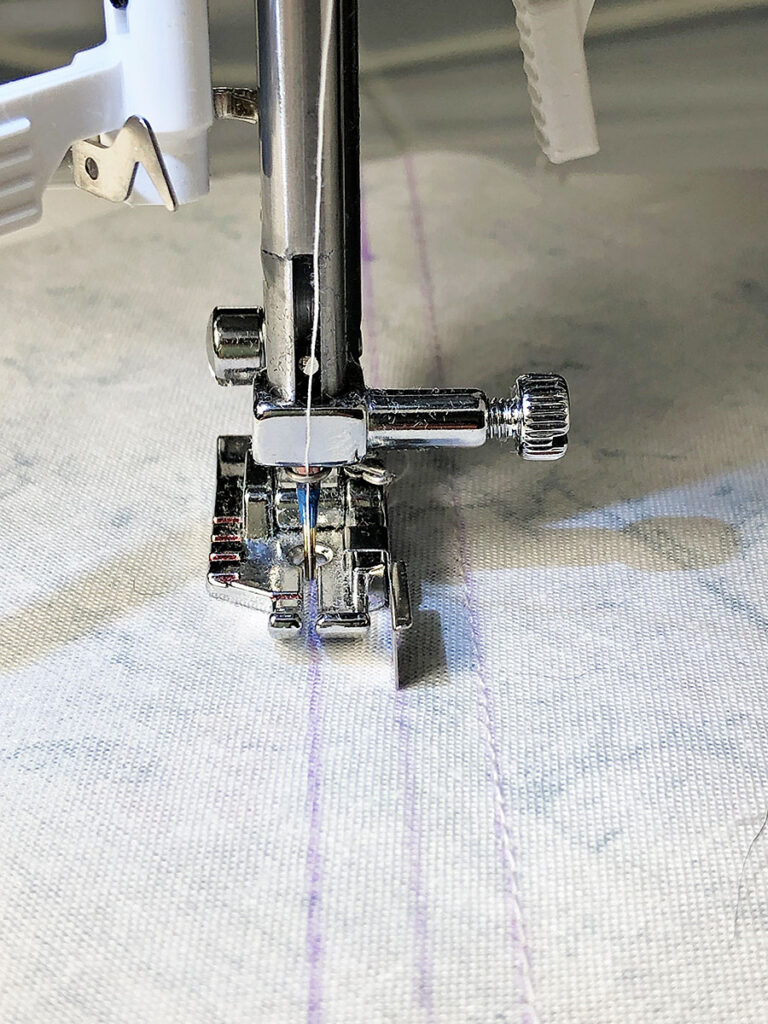
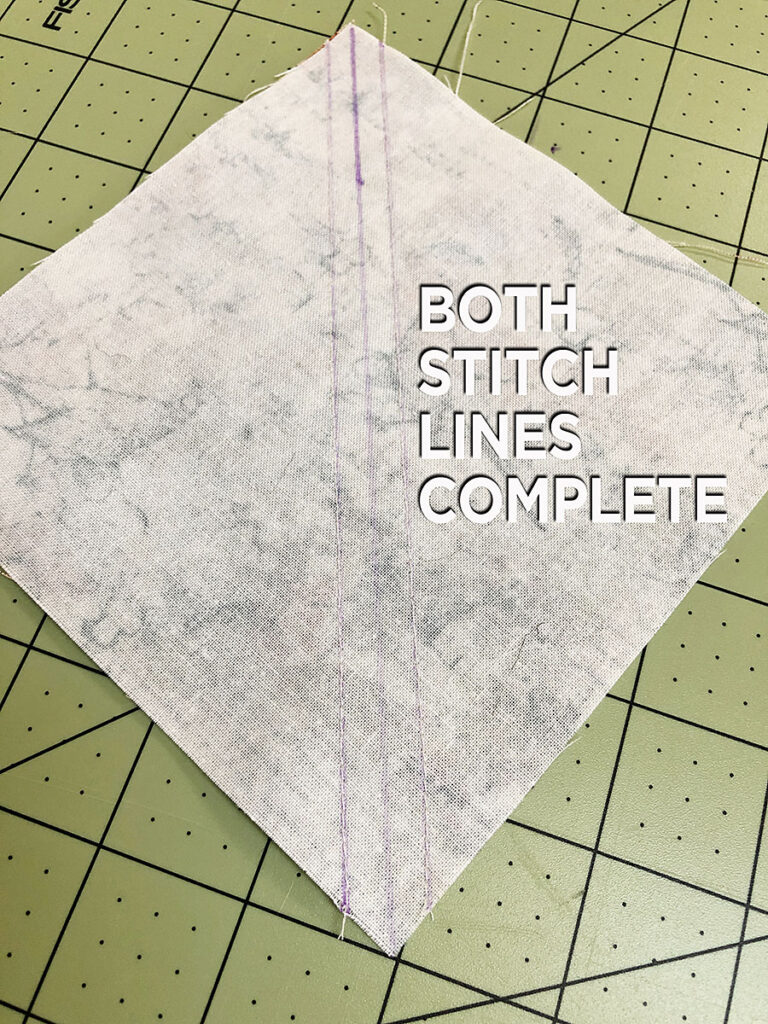
You will sew two stitch lines directly on the the outer lines you’ve just drawn. Use the split in your presser foot to perfectly line up the needle with the stitching line.

First stitch on one line. Turn the work and stitch the second line.

Once the stitch lines are made, you have a square with 2 diagonal stitched lines and that line drawn through the center. Here’s what your stitched half square triangle will look like.
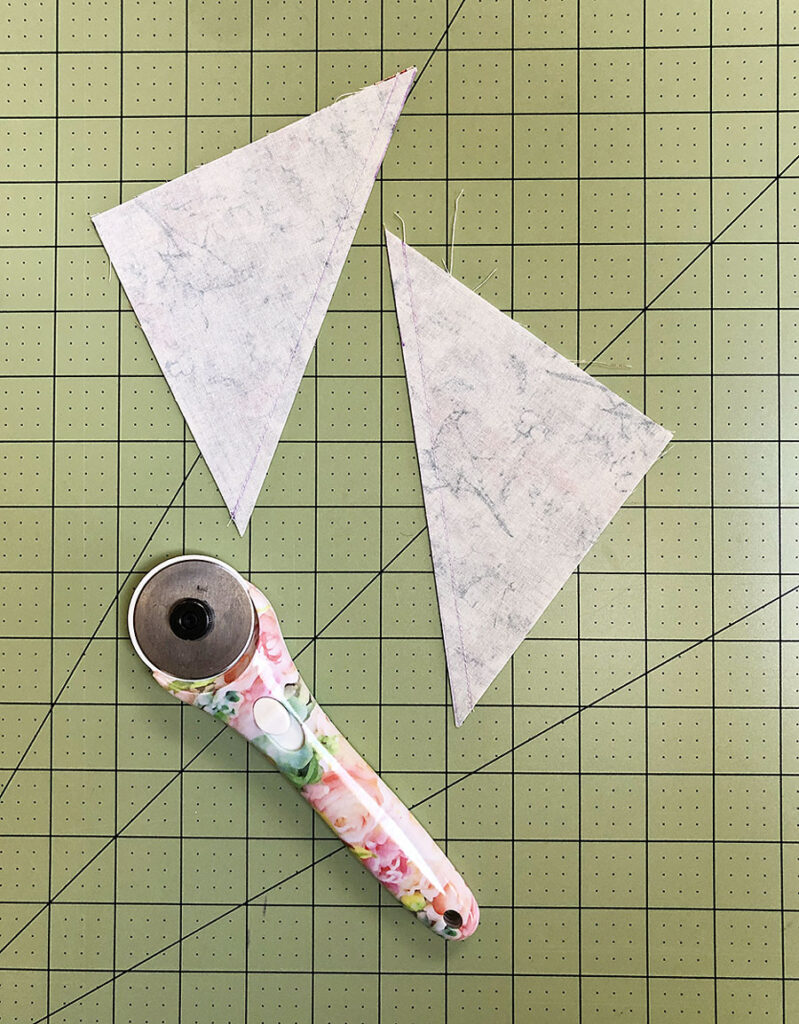
Now is the time to reveal your HST block. Using a rotary cutter or scissors, simply cut along the middle line. Cutting the middle line will yield two perfect half square triangles with 1/4 seam allowances.

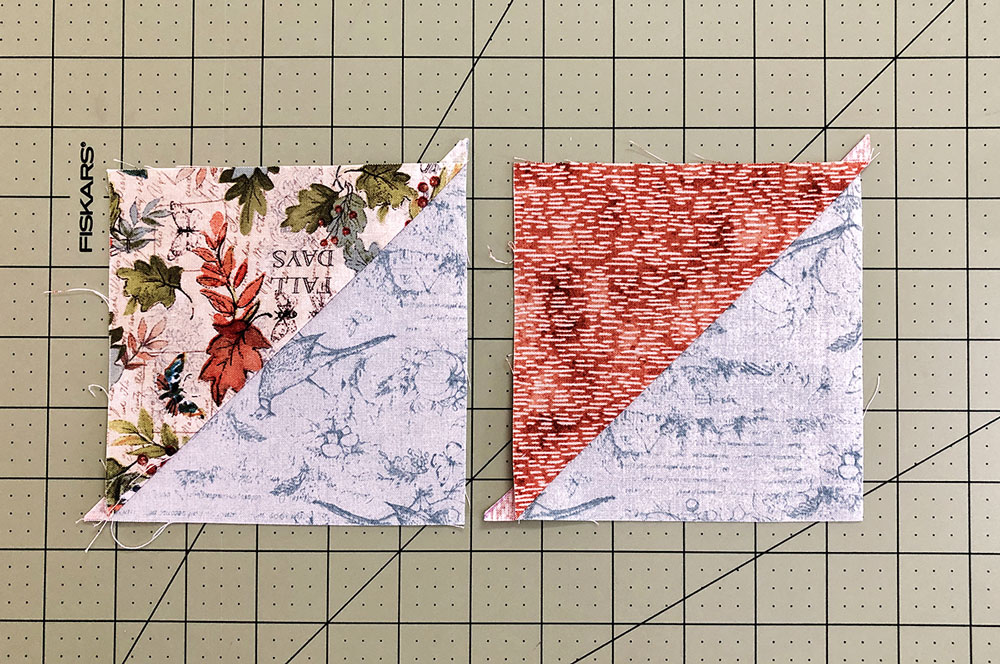
Trimmed HSTs 
Lining up along the midline to cut the block

Pressing instructions for the perfect half square triangle block:
- Lay your newly trimmed HST on the ironing board with the dark side UP.
- Apply a hot iron to the blocks along the stitch line. The application of heat to a freshly sewn block helps to set the thread in the seam.
- Open your block and finger press along the diagonal seam line to open the block.
- Using the nose of the iron, open the block gently and press it flat. Make sure your block is fully opened.
As a word of caution here: don’t over stretch or pull on the seam. You have sewn on the bias which is prone to stretching, and we don’t want to stretch out our precise block. You do want the seam flat but be careful doing it.
Our half square triangles are cut, sewn, cut again and pressed. The last step is to trim the blocks to the correct size required in the pattern. To be honest, there are several ways to do this. I’m going to give you the way I do it, and the way that I think is the best for beginners and will give you a perfect HST for building out your block.
The truth is, you need your HST to be perfectly trimmed so when you start putting them together, the seams align and give you the seam allowance you need in order to create perfect points on stars or any block with points.
A reader wrote and asked me how to get points on stars, and it boils down to seam allowances which boils down to perfect sewing and trimming.
The way I do this is to have a square quilting ruler in the size I need for my finished block and then I trim around that block. That way I KNOW I have a perfect block. Here’s what that looks like.
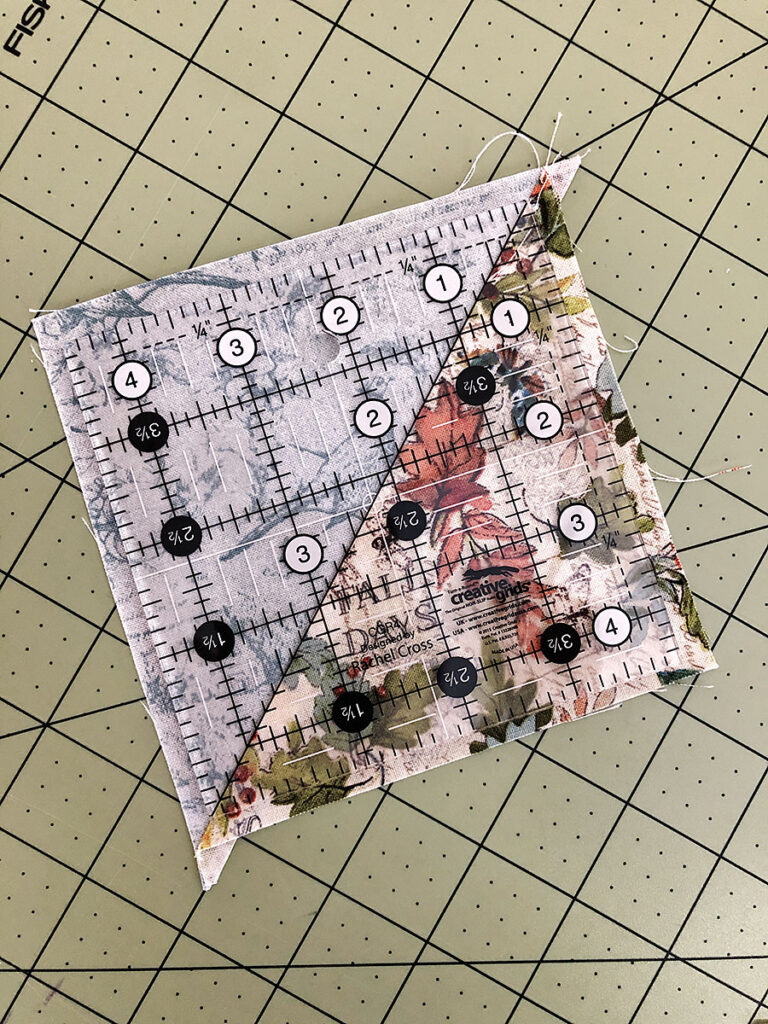
How to Trim a half square triangle to the perfect finished size:
- I use a square quilting ruler from Creative Grids in the exact size I need. To be honest, I have some challenges with all the measurements and lines and so having the ruler in the size I need helps me to be precise. I don’t have to worry if I make mistakes and don’t trim exactly. The ruler is the size I need, so I only need to properly trim down the block to size. The ruler pretty much does the hard work of measuring for me.
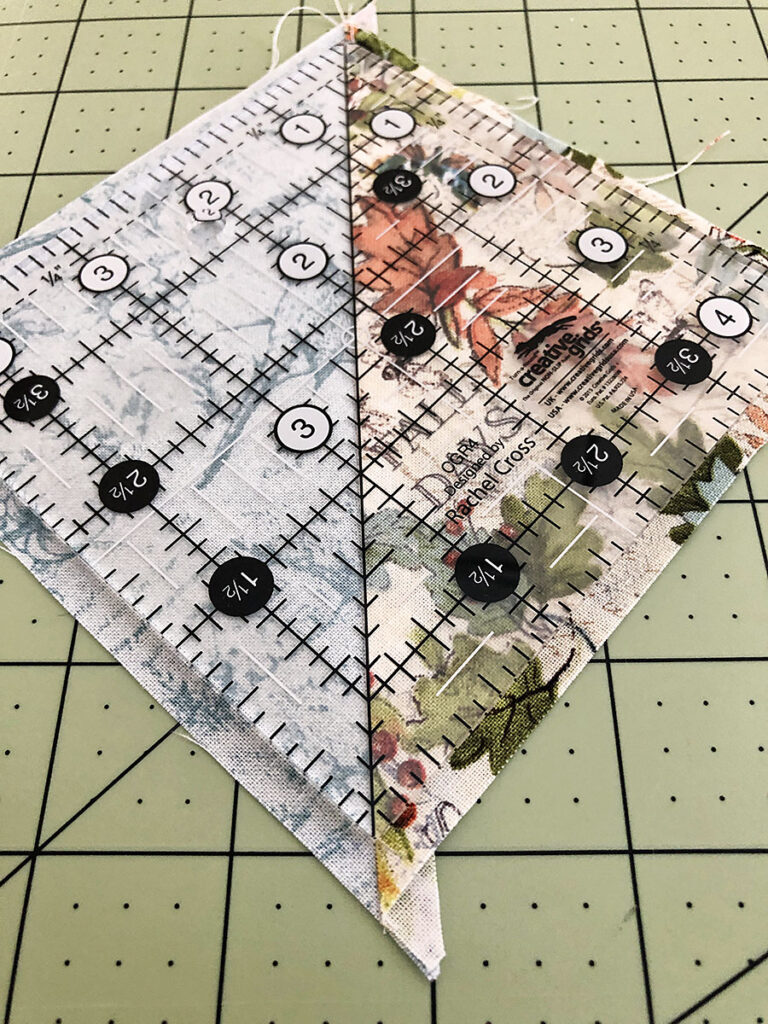
- I lay the ruler on top of the block and align the diagonal mark with the diagonal seam. You want the opposite ends of that marking to sit exactly in the seam.
- Using a rotary cutter, trim away excess on all four sides.
- Remove the ruler to reveal a perfect HST!
Tips for success when make half square triangles:
- Make your half square triangles as a batch. In other words, however many HSTs you need for a design, make them all at once so they are ready to go.
- This is going to sound like a line from one of those 1950s home keeping manuals, but it really is true. Be fresh and rested before you tackle this. There are a few sequential steps in creating beautiful finished hsts, so be in the right mental space to make them.
- Have plenty of light. Seeing what you’re doing is really important in something as precise as this operation. So I recommend doing this in the daytime so you can really see what you’re doing.
- Read your cutting instructions and double check them twice. Quilting is precision so having pieces in the correct size is critical.
- Remember to enjoy the process. Taking the ruler up to reveal that perfect Half Square Triangle is super rewarding, so keep in mind it all leads up to that!
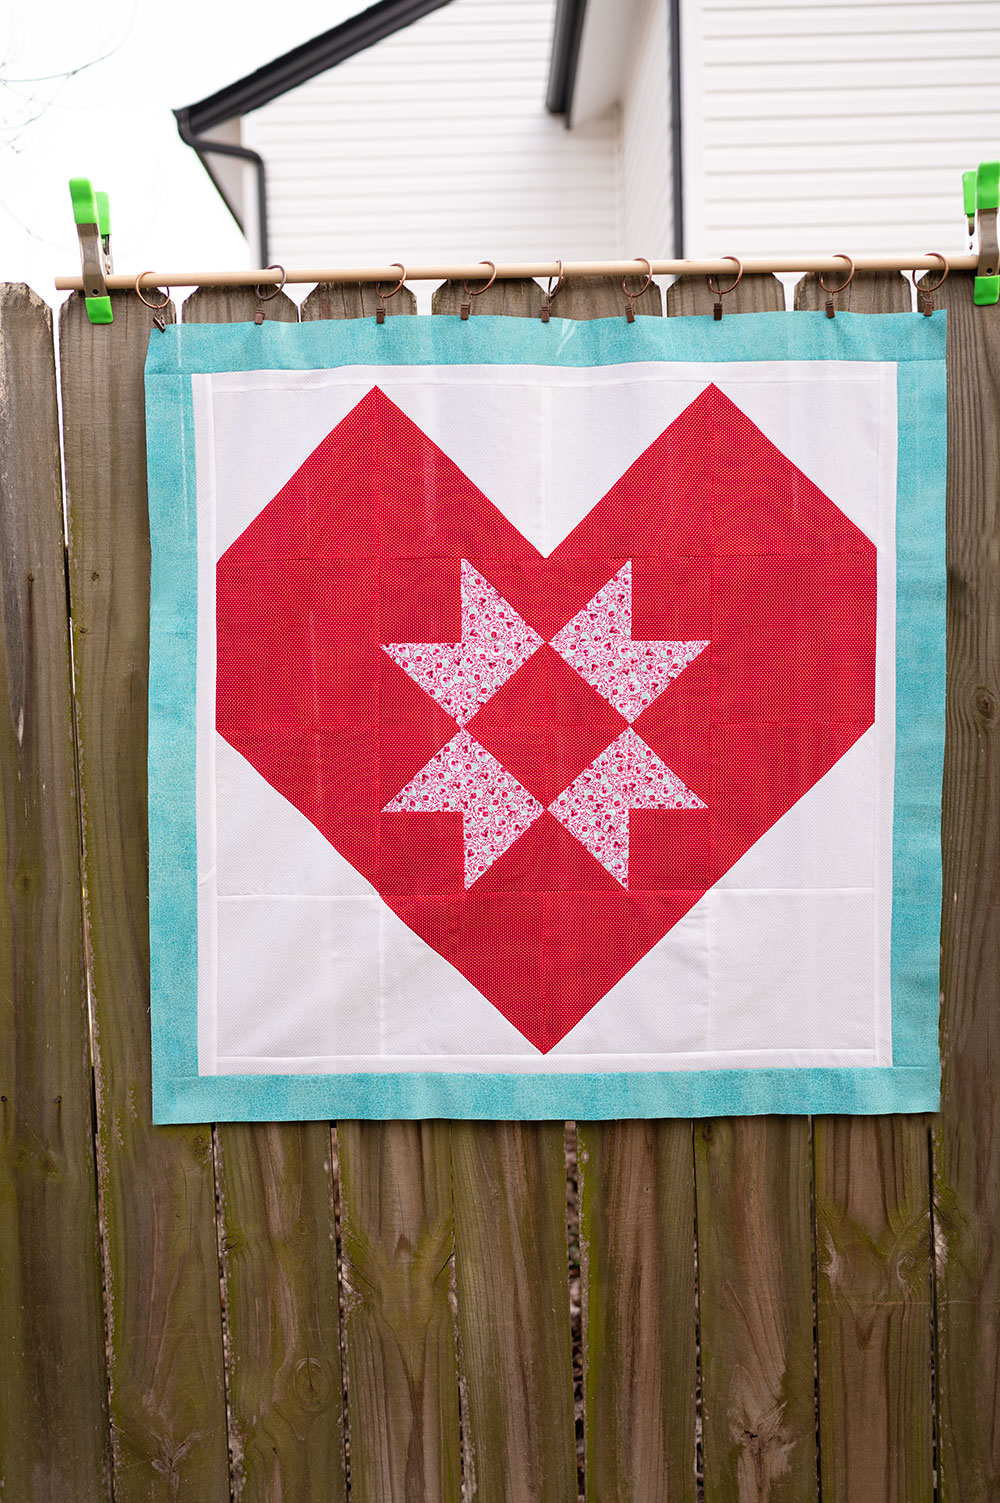
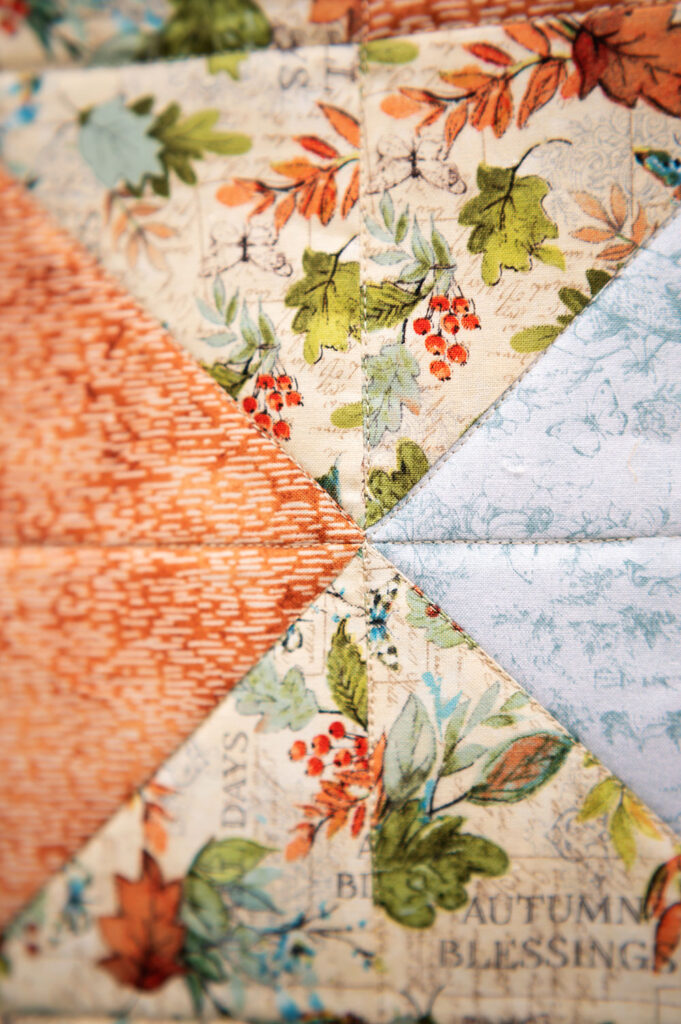
And when your half square triangles are all done and you are ready to piece your quilt block, you can look forward to perfect points.
Items for making perfect Half Square Triangles:
- Contrasting cotton woven fabric. Light and dark is the easiest way to approach this.
- Large quilting ruler to cut initial strips. I like a 6.5″ x 24.5″ ruler for this.
- Square quilting ruler in the finished size of your HST block. In my example, I made 4.5″ HSTs.
- Rotary cutter
- Cutting mat
- Disappearing ink pen
- Sewing machine
- Cotton thread
- Good iron
- Ironing board
- Task Light
- Plenty of patience
Lastly, people ask me if they can trim down multiple blocks at once. And while you certainly can, you will not get the accuracy you need. So take your time, plan ahead and trim each block one at a time. It’s worth it in the end!
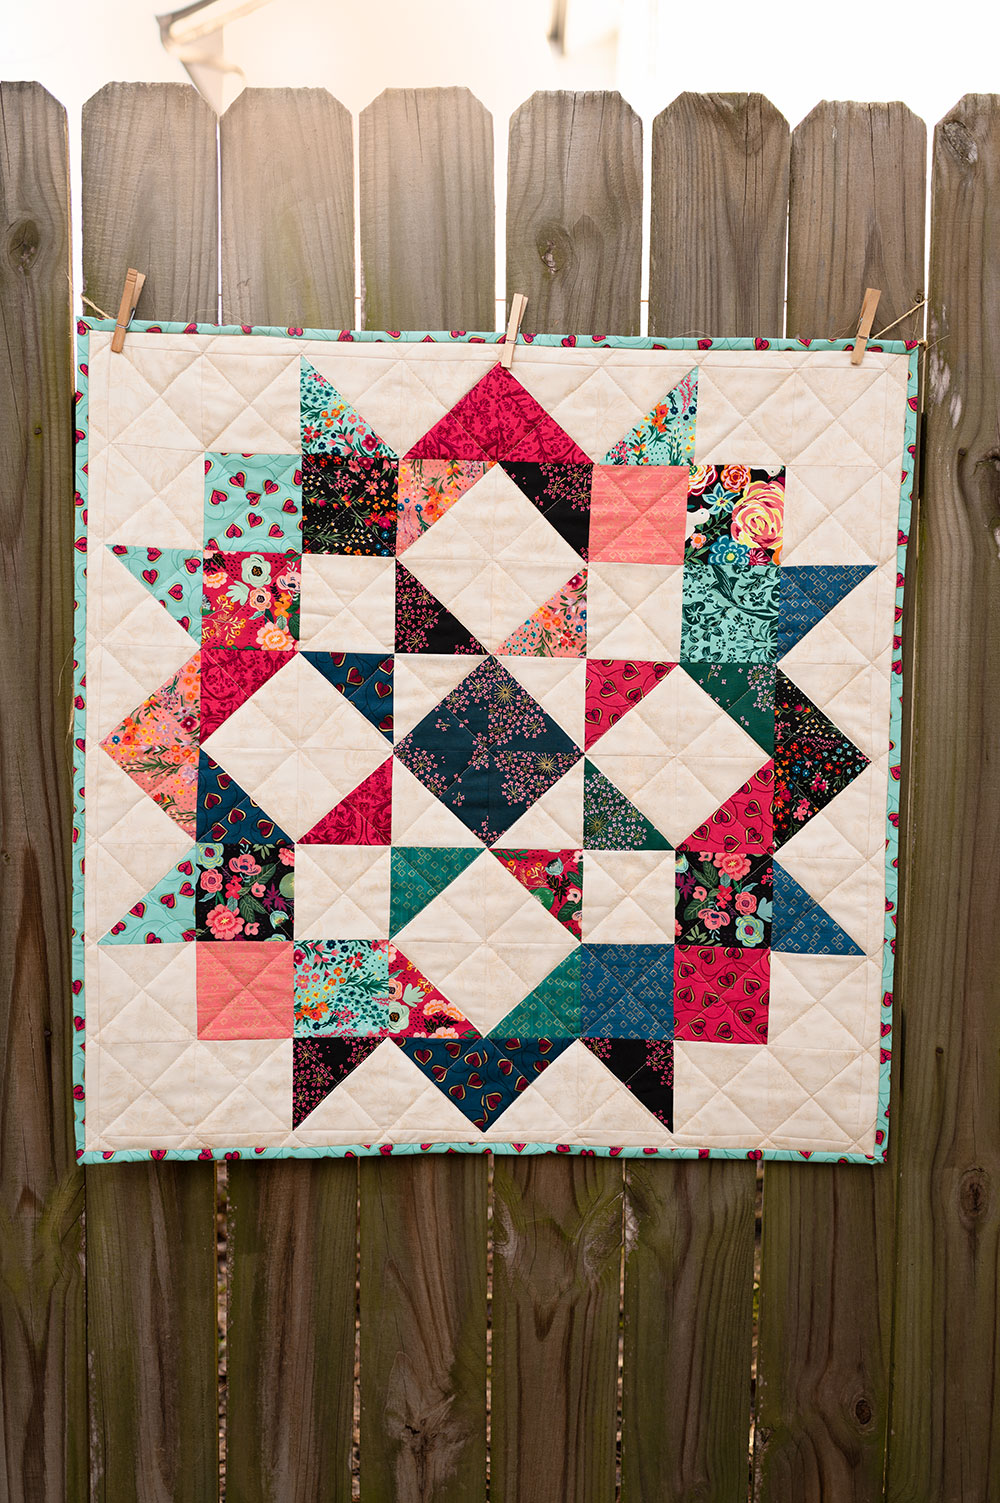
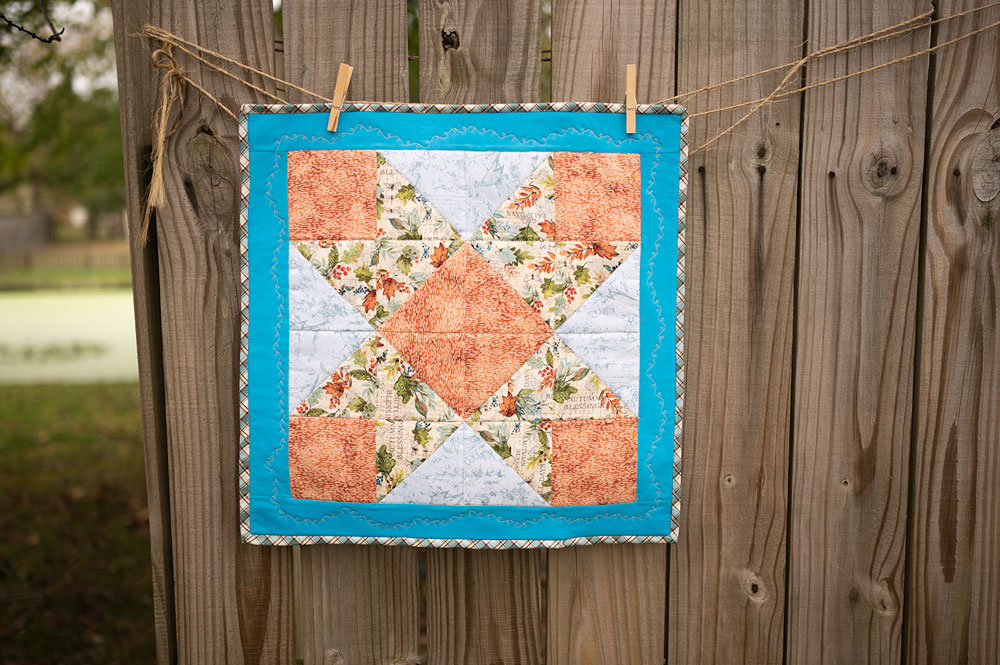
A wonderful small project that utilizes the HST and is designed for the 4.5″ square ruler is the Ribbon Star Block. It’s a mini quilt and beautiful block to practice your HST skills. There are some other tips and tricks on getting that seam allowance just right so be sure to stick around for that tutorial. I will link it here when it’s published. Make sure you are on my email list so I can share the post with you when it’s live. You will be ready to piece that beautiful Ribbon Star Block like the quilting champion your are!
You might also like:

Hi! I’m Pattymac
Sewist, Baker, Maker
I’m a creative lifestyle blogger living and working in Coastal Virginia. When I’m not mixing or stitching or taking pictures, I’m out exploring the cook book section of my favorite library or munching my own home baked cookies at a mid week movie matinee.