Fabric Christmas Tree
A great joy of the holiday season is opening treasured boxes of decorations and ornaments. Few things are better than unwrapping last year’s holiday cheer. How about adding your own family heirloom this year by sewing a Fabric Christmas Tree?
It doesn’t get more vintage than a stuffed and sewn fabric Christmas Tree. This design was everywhere in the 70s and 80s. Somewhere around the turn of the new century, they all wound up in spring yard sales next to the unused small kitchen appliances or were seen gathering dust on shelves in antique malls and thrift shops.
Which is sad, because someone’s grandma made those trees, and they were a much loved part of her holiday table. Along with the lime green jello molds filled with olives and aspic.
Ok, ok, so tastes and preferences change over the decades. Thankfully. With an updated fabric, a vintage classic takes on a whole new life.
I sewed this fabric Christmas tree using a vintage pattern to celebrate Christmas in July this year.
We bought the pattern back in the 1980s when it was new, and mom and I sewed several trees which were given as gifts.
Back then, we used a crazy, bright, you needed sunglasses, red and green combination. Not exactly something I would display these days.
But this updated version sewn with the vintage inspired fabric printed to look like old postage stamps is absolutely something I will keep on display.
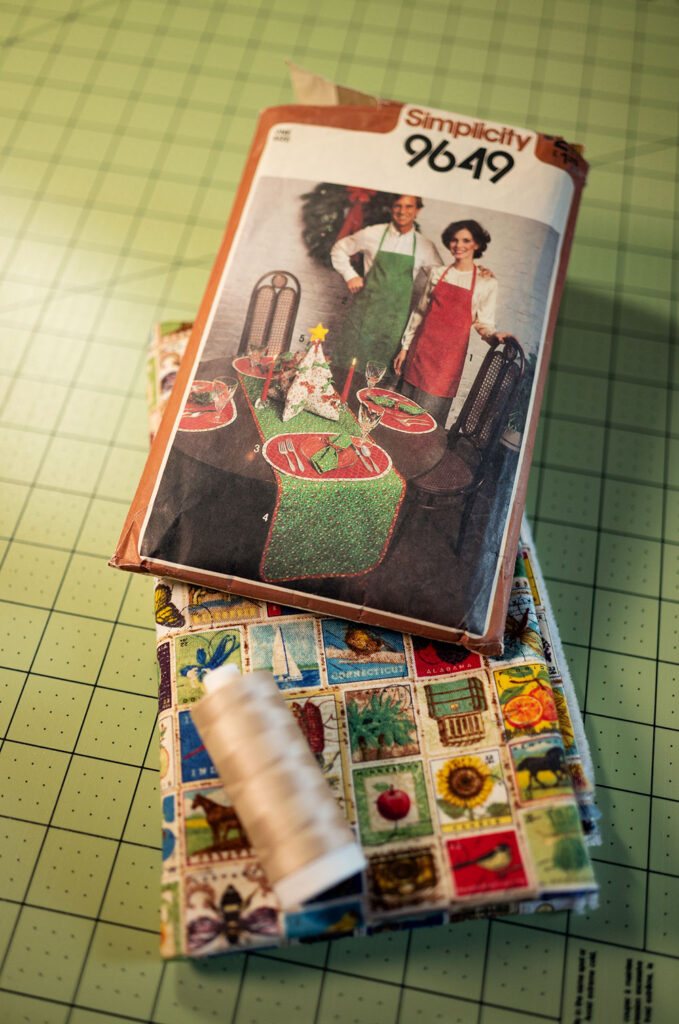
The pattern is Simplicity 9649. It can still be found on etsy and ebay, and they are likely stowed away with a relative’s ancient sewing stash. So you can still find this version if you look around a little. The pattern also includes placemats, a table runner, aprons and napkins. But the tree centerpiece is the real star of this show.

Front of the pattern jacket with my fabric selection 
Back of the pattern jacket
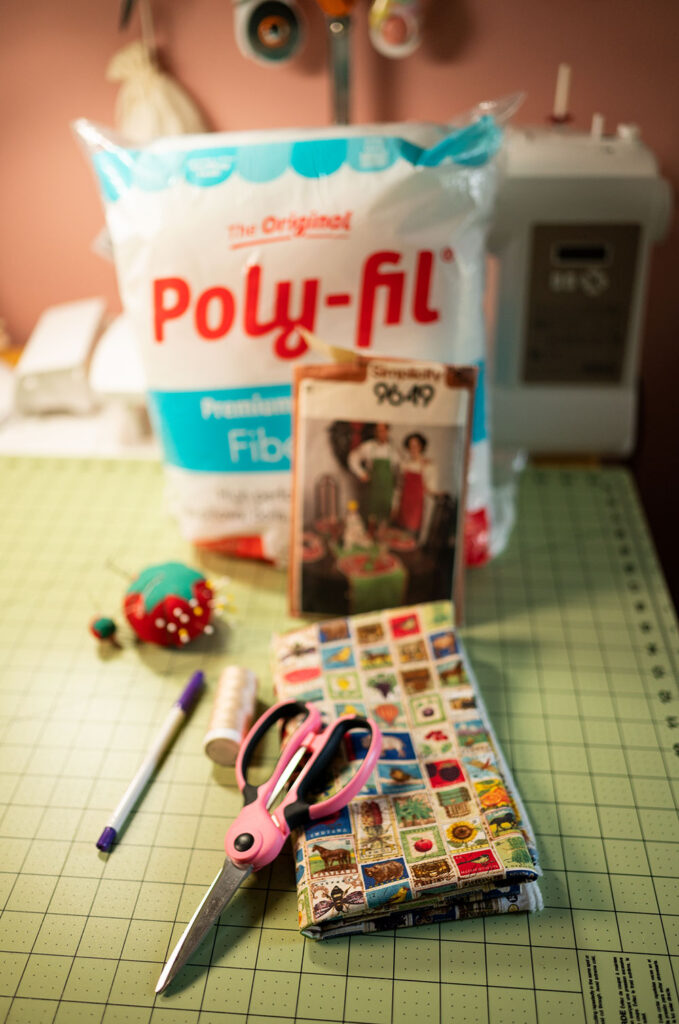
Materials list to sew the Fabric Christmas Tree:
- 7/8 yard of cotton quilting fabric
- Cotton Thread
- PolyFil stuffing
- Felt
- Embroidery Floss
Tools need to sew the Fabric Christmas Tree:
- Christmas Tree Pattern
- Fabric Scissors
- Straight Pins
- Disappearing Ink Pen
- Hand Sewing Needle
- Sewing Machine
Steps to Sewing the Tree Pattern:
- Starch and Press Fabric.
- Fold in half, selvage to selvage.
- Lay out pattern piece following grainline.
- Cut out two tree patterns with each pattern on two thicknesses of fabric. In other words, cutting one tree on the folded fabric yields two tree shapes.
- Using the disappearing ink pen, or chalk or some other pen mark the openings along the bottom of the trees and mark the apex of the stitch lines around the tree shape.
- Sew each tree for a total of 2 trees.
- Clip corners and curves.
- Turn trees and press flat.
- Place trees, right sides out on top of each other, lining up the tip top and the bottom edge. Sew a straight seam from the top to the bottom. This secures to the two tree shapes together and creates 4 compartments.
- Stuff the compartments.
- Hand sew the openings closed using ladder stitch.
- To make the star:
- Cut two star shapes from felt.
- Using running stitch, stitch the star shape together, leaving an opening at the bottom.
- Place on top of finished tree.
The fabric Christmas Tree with its hand stitched felt topper 
The 4 compartments stitched together on the bottom of the tree.

This pattern is the perfect balance of machine and hand sewing. There is a little bit of each, and I always find that kind of project to be the most satisfying.
If you are unable to obtain your own copy of Simplicity 9649, do not worry, because closer to Christmas we will be sewing McCalls 5778. It is a Christmas craft pattern with two sizes of Fabric Christmas trees as well as Christmas stockings. It is also readily available online and in fabric stores with McCalls patterns. I do like this pattern, but I love my vintage pattern best. Probably because it transports me back to 1982 every time I use it.
Even though the cover photography is definitely from another era, I think the pattern itself is just as adorable sewn in modern fabrics.
I made this one last year, and sewed on mini ornaments for extra holiday bling.
Enjoy this video about the sewing process of this year’s tree. It should answer a lot of your questions on sewing one of these for yourself. If you can’t get the vintage version, they all sew about the same way, so follow these instructions. You can make any similar version you might come across.
Thanks for dropping by today! Today’s project is part of a 3 part Christmas in July series. All 3 projects are fun to make and easy to set aside for Christmas gift giving.
You might also like:


Hi! I’m Pattymac
Sewist, baker, maker
I love figuring out new ways to use pom poms, where I can stash more fabric, and I’m always wondering what to bake next…chocolate or lemon? When not dreaming up new things to make (or bake), I love riding my beach cruiser on the Boardwalk, enjoying classic movies, and planting new things in my tiny but mighty container garden.