Heart Quilt Block
Around Valentine’s Day, the Heart quilt Block makes a predictable return. But truthfully, I think heart blocks are perfect all year long. They can be any color you like and are easily sized up or down.
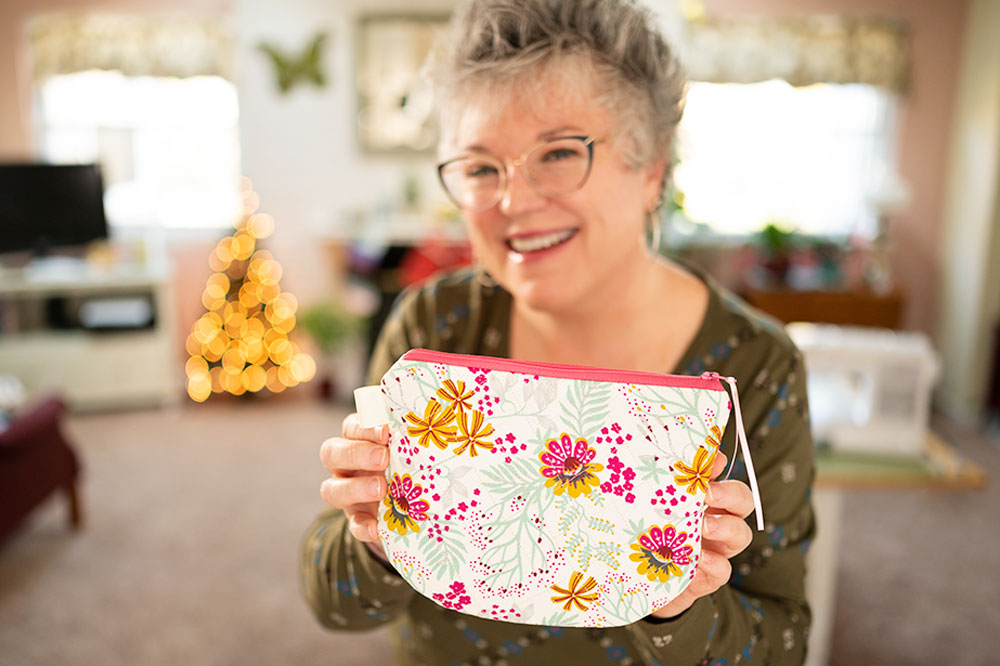
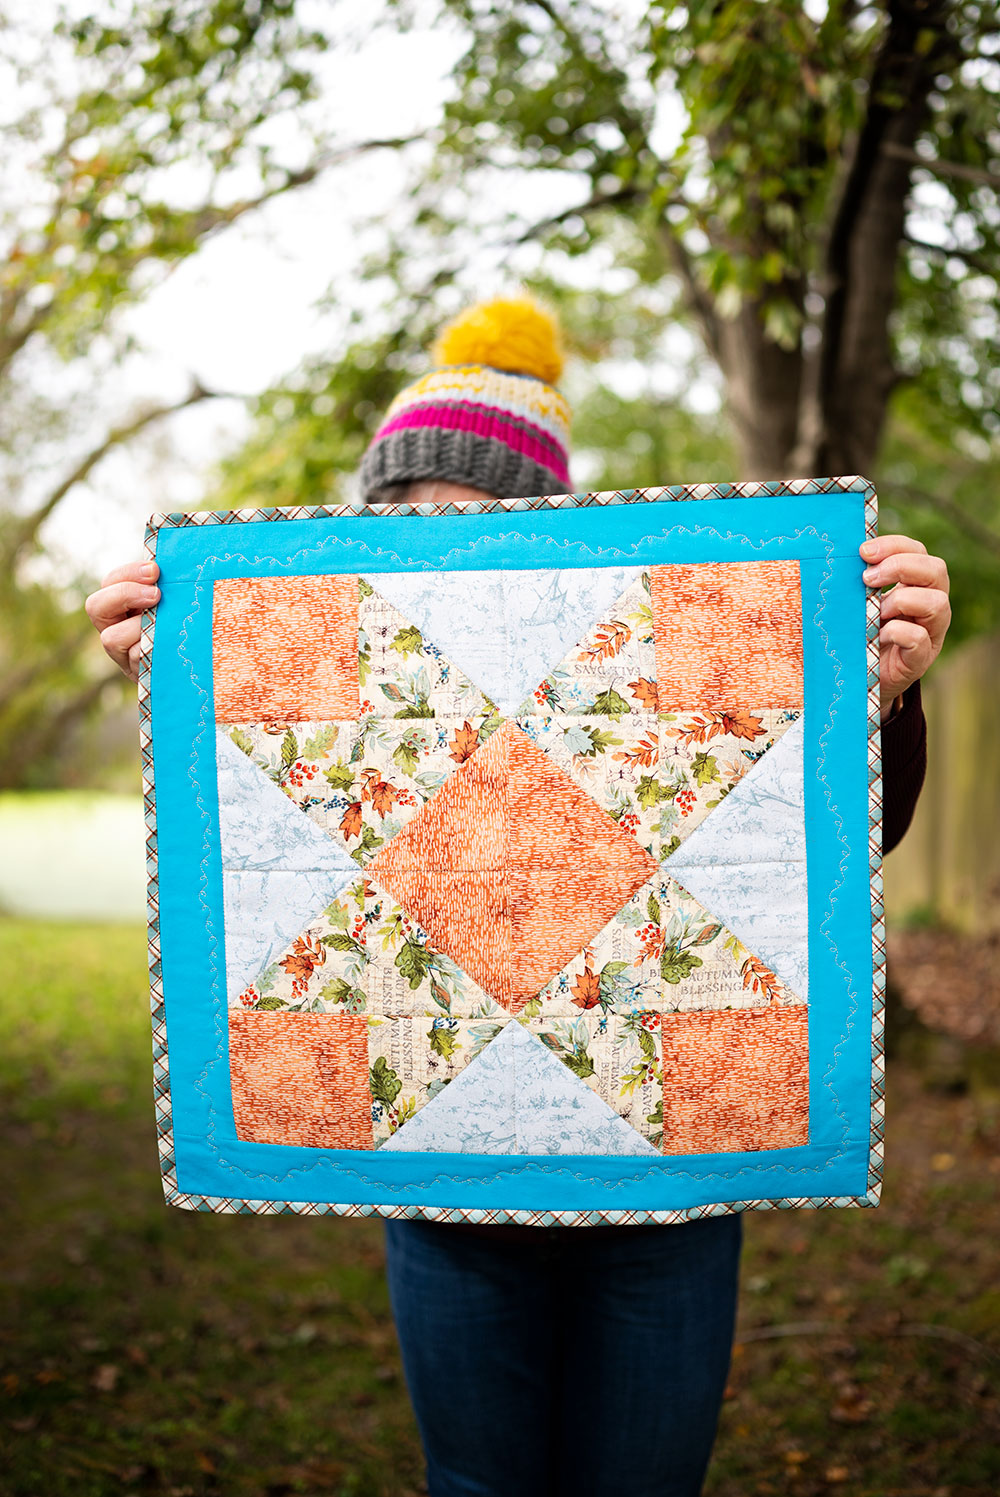
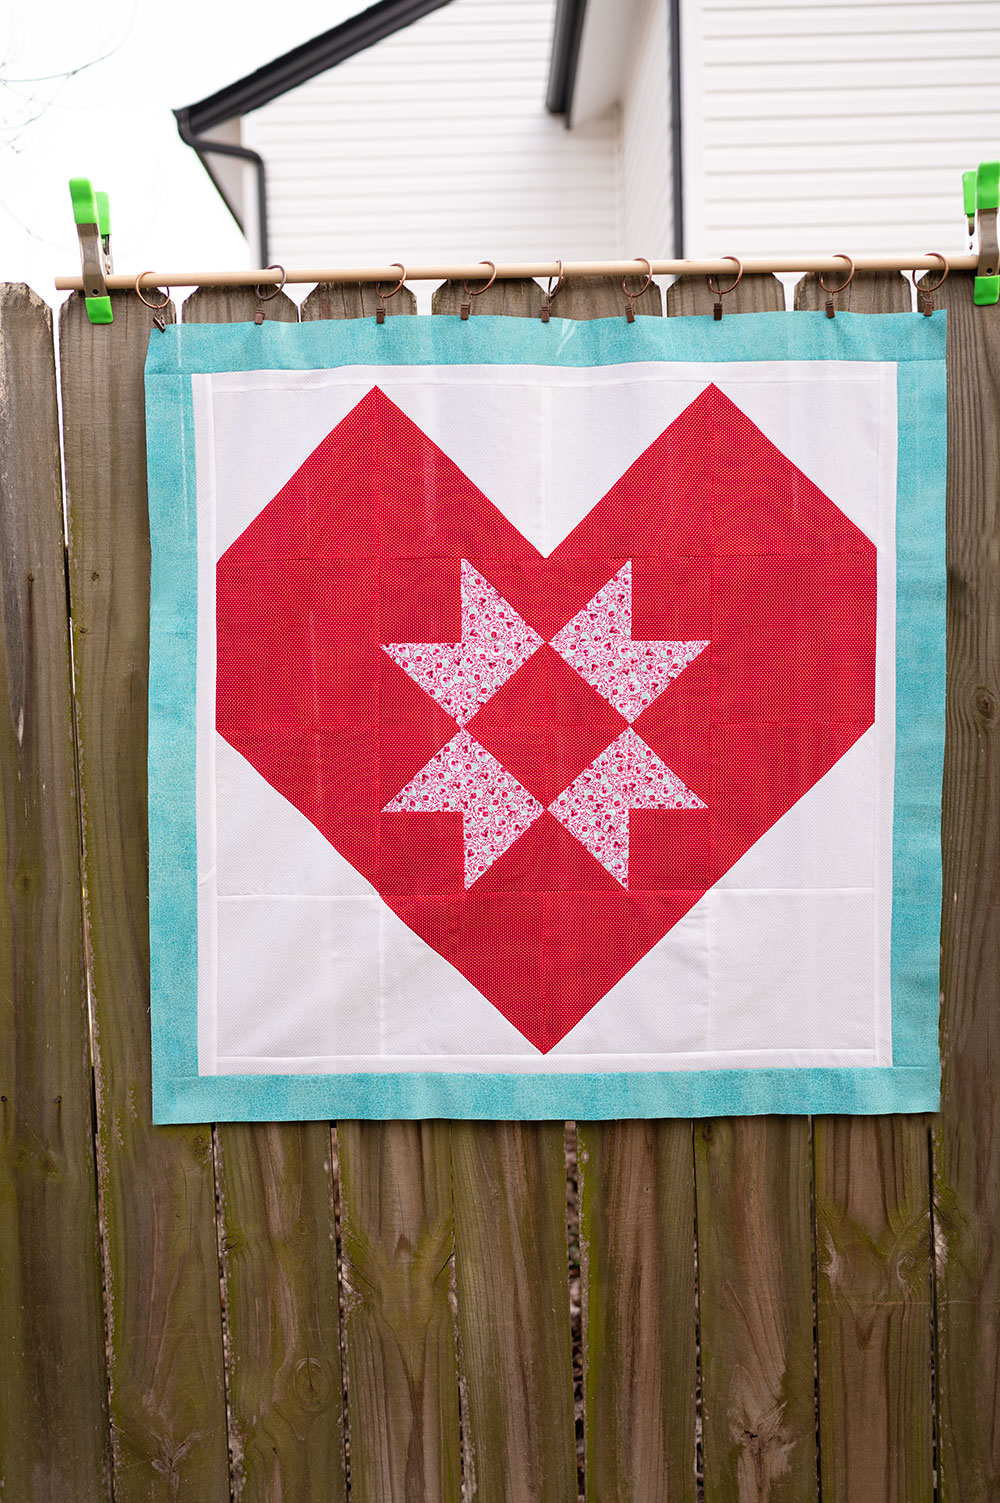
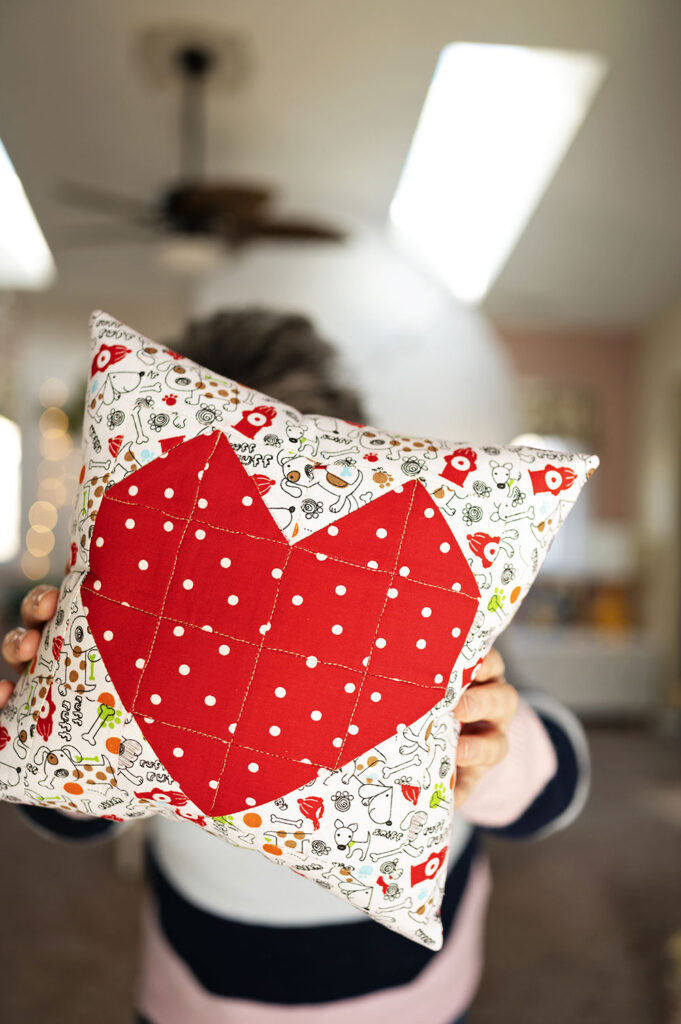
What does the finished heart quilt block look like in a project? What if i told you, it can be used in something other than a bed quilt?
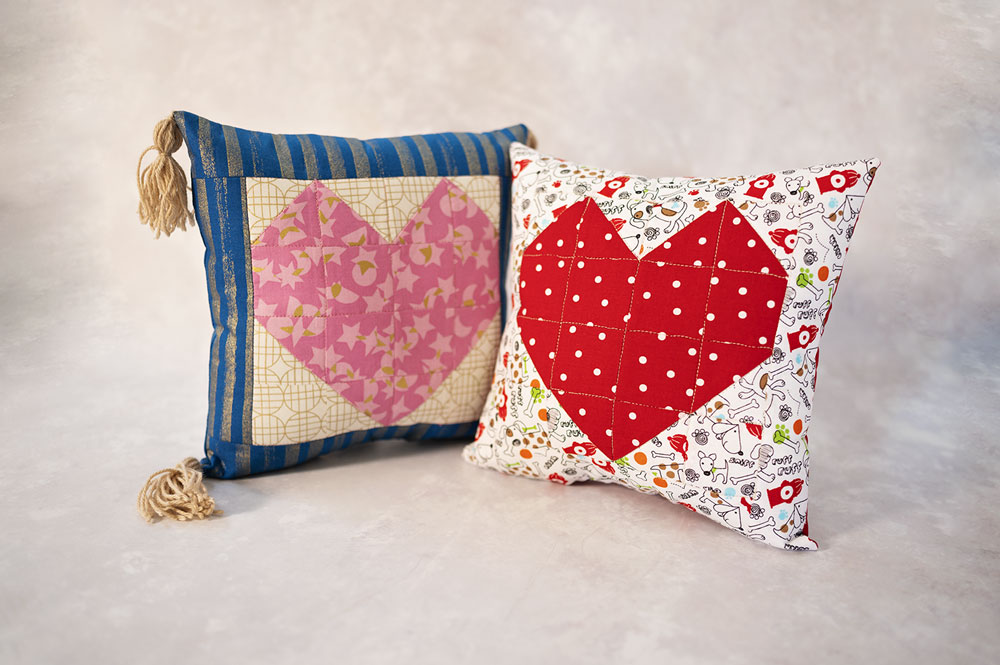
See what I mean? The heart quilt block looks great in all sorts of configurations and projects. Please note that in order to enjoy quilting, one can make small designs. Quilting does not mean you must put together full sized bed quilts for every project.
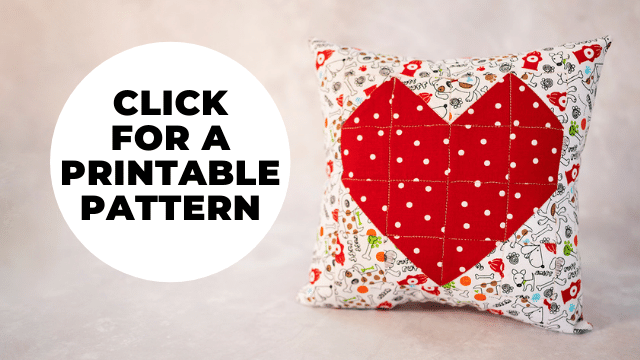
Not putting the cart before the horse, this post will show you how to construct the Heart Quilt Block. It includes a free printable pattern below. The next post will detail how to construct the finished block into the pillow.
The important thing is to lay out the pieces correctly so the shape appears.

What is needed to construct the Heart Block?
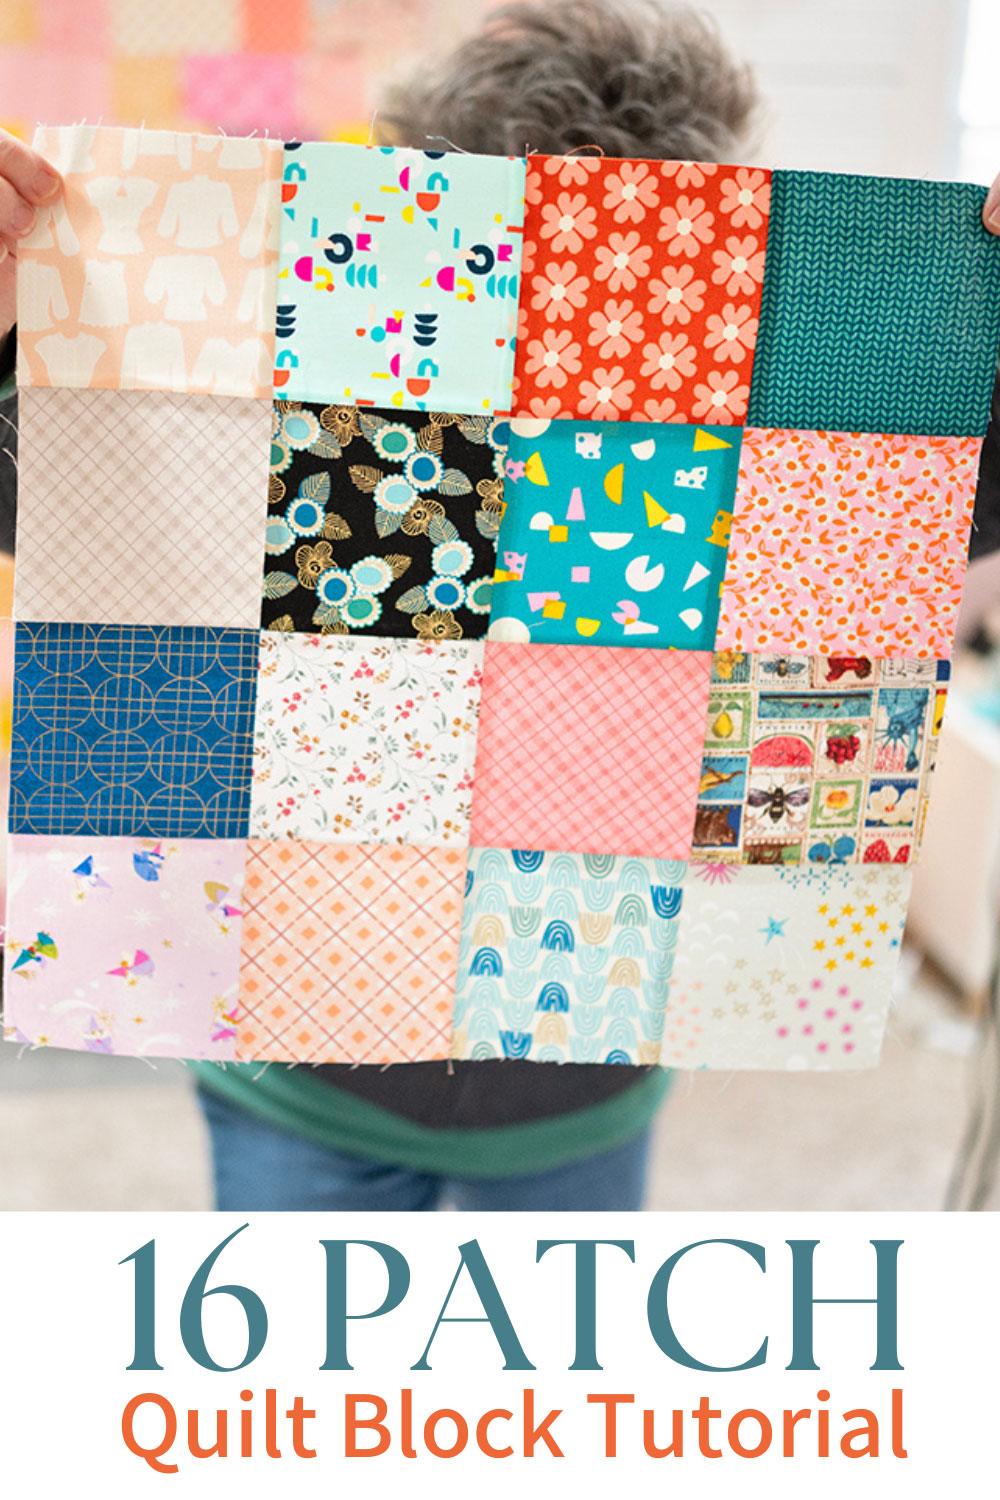
- This is a 16 block square, laid out 4 across and 4 down.
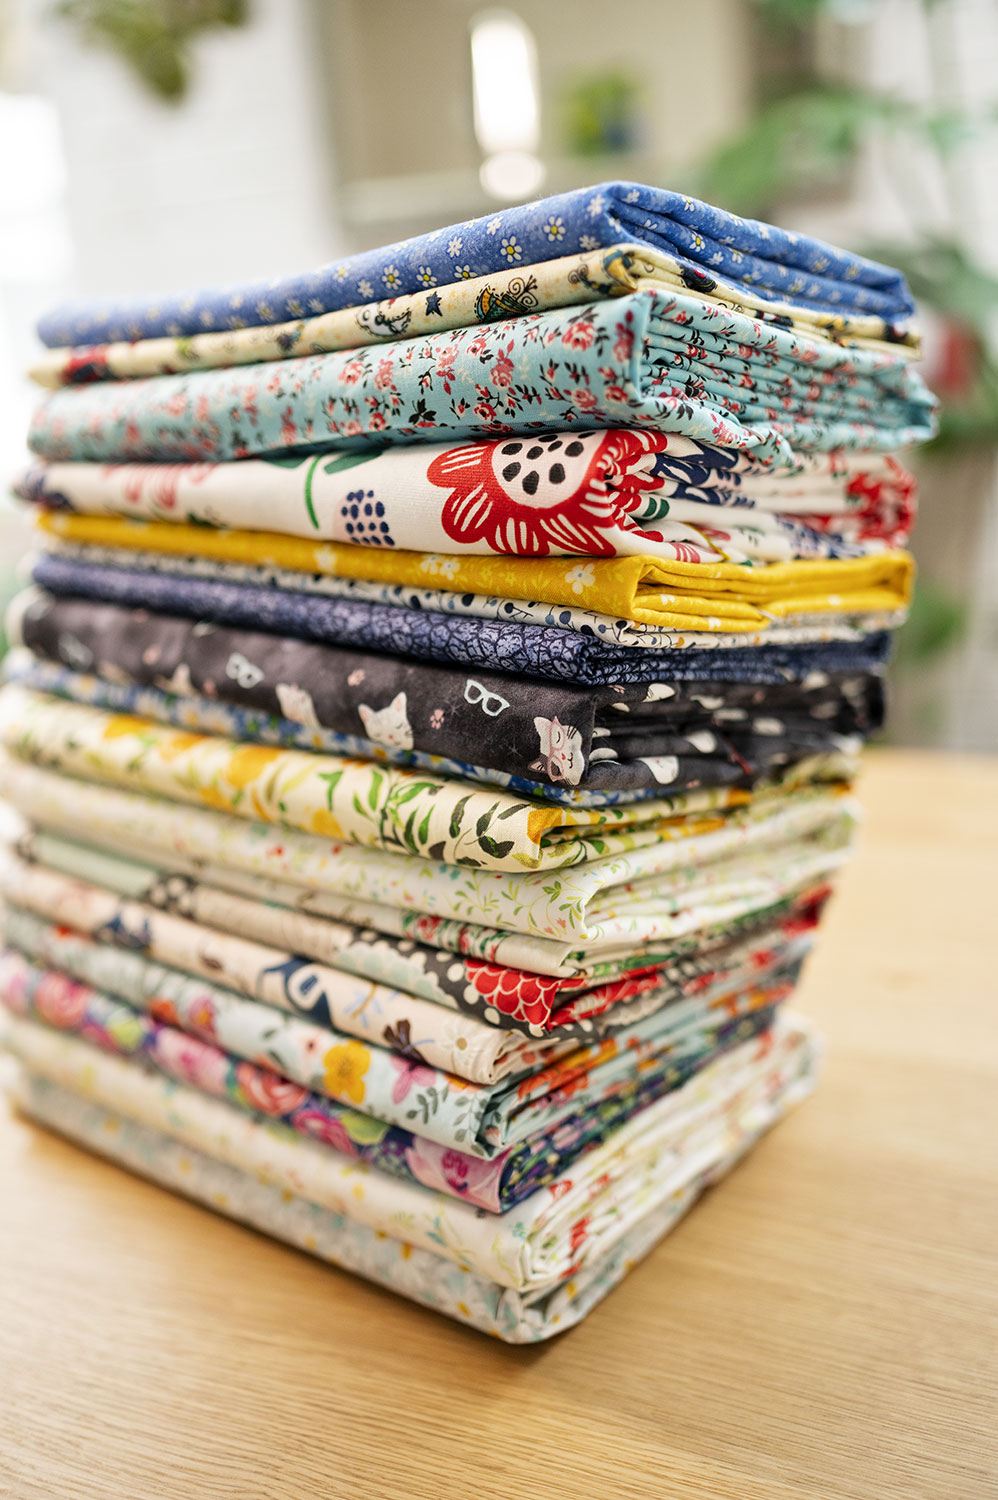
- The block is made using 2 distinct fabrics.
- Select your fabrics so they have a great deal of contrast. The heart shape will show better if there is a wide range in value, i.e. light and dark tones.
- All squares are to be cut in the identical size.
Block Instructions:
- 2 blocks in Fabric One (the doggies) Cut in the finished size.
- 6 blocks in Fabric Two (the red polka dot) Cut in the finished size.
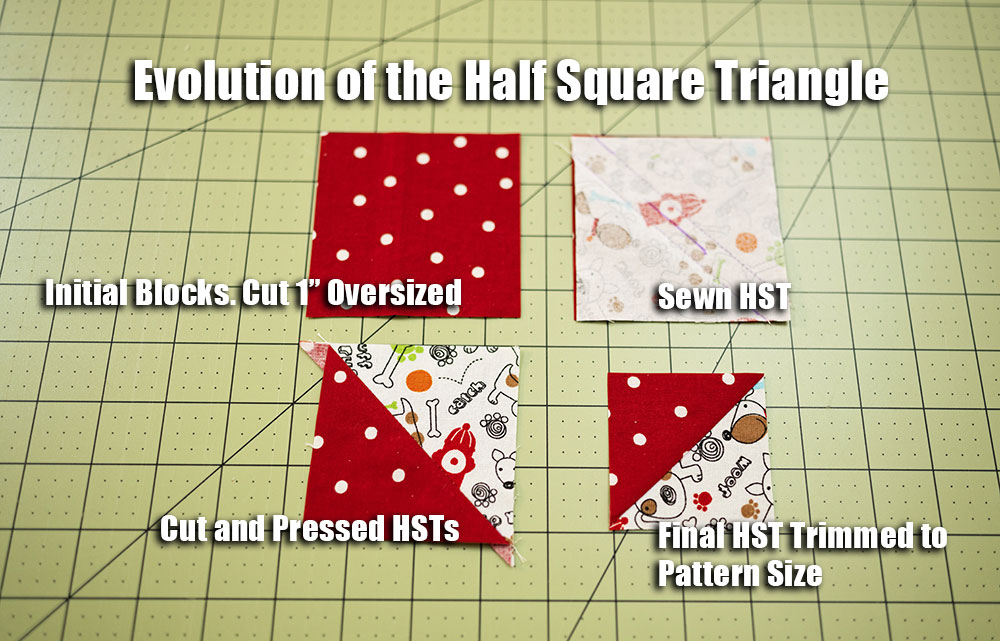
- 8 HST Blocks made from both. Which means four squares of each color. These blocks are cut initially 1″ larger than finished size but trimmed down to the finished size once hst blocks are constructed and pressed.
Why am I not giving you exact cutting instructions? Because as long as your squares are all the same size, the block can be ANY size you like! As large or as small as you desire. Want a huge heart? Use 8.5″ blocks. What a small design (like my pillow?) Use 2.5″ blocks.
Let’s have a chat about how HST blocks make our initial cutting a little bit “funny.” Can somebody queue up the Elton John?
Why does it get tricky when constructing this Heart Block?
Because half square triangles are sewn and then cut and then trimmed, the final HST block is quite a bit smaller than the original blocks that constructed it. You’ve heard of “quilting math?” Yeah. It’s a thing. It’s real. And I struggle with it. Anything with fractions and lots of addition and subtraction thereof is very hard for my brain to process. So I need to make this easier for me to decipher and construct.
I know I’m not the only one in the room who has some trouble reading long lists of numbers and measurements and fractions. At the end of the day, some of that is necessary. We are piecing a puzzle so the bits have to be cut right in order that our puzzle goes together.
But for goodness sakes, we can make it a little easier. I had to ditch that instruction to add 7/8″ and round up to a full inch.
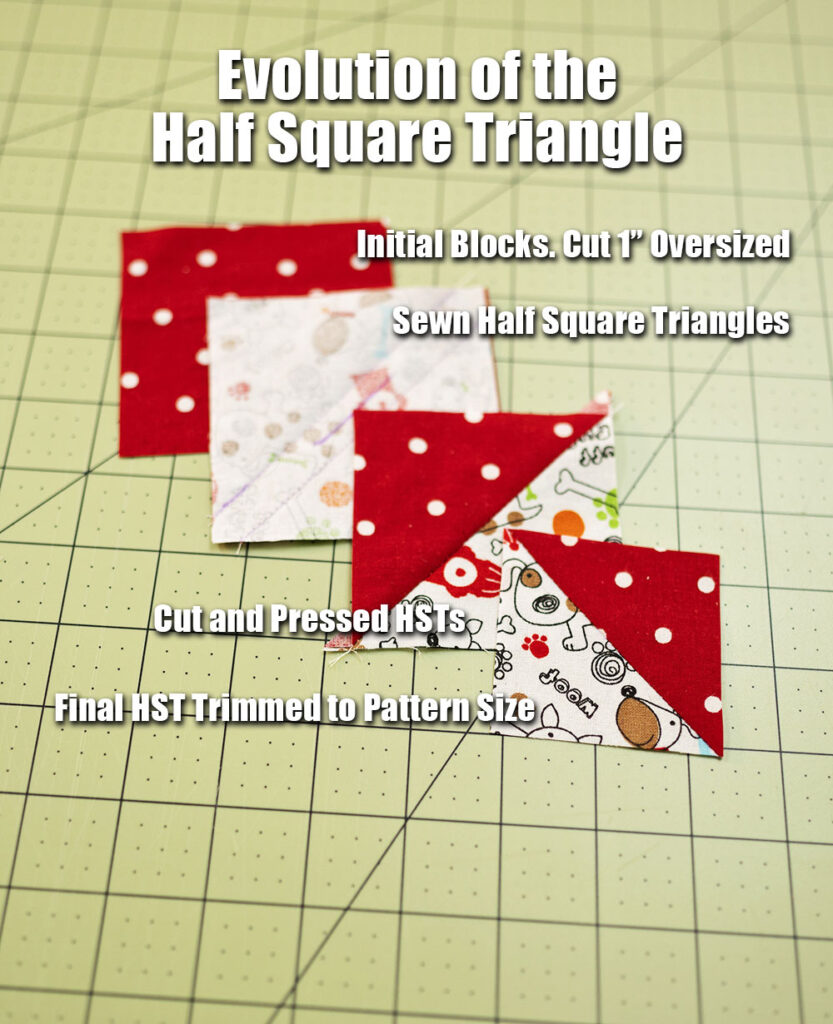
To simplify HST construction, cut your block a full 1″ larger than needed for the FINISHED measurement.
Piece the oversized blocks into your HST, cut them apart and press, and then use a square quilting ruler to trim the pressed HST to the finished size.
While it uses a little extra fabric, you are pretty much guaranteed a perfect finished block for your project. If you need a little more information, please see my full instructions on making half square triangles.
Steps to construct the Heart Quilt Block:
- Prepare the blocks (meaning make your hst blocks first), and cut them all to the same size. Be sure to include the 1/2″ seam allowance. The heart pillows shown in this blog post are all cut to 2.5″ squares.
- Lay out the blocks, row by row in the proper sequence.
- Begin piecing by sewing each row completely and then combine the rows.
- Be mindful with pressing and matching seams.
- Remember that in quilting, maintaining an accurate 1/4″ seam is critically important.

Don’t you love how the finished project looks? Check out the companion post for complete instructions. Until then, have fun constructing this sweet block.
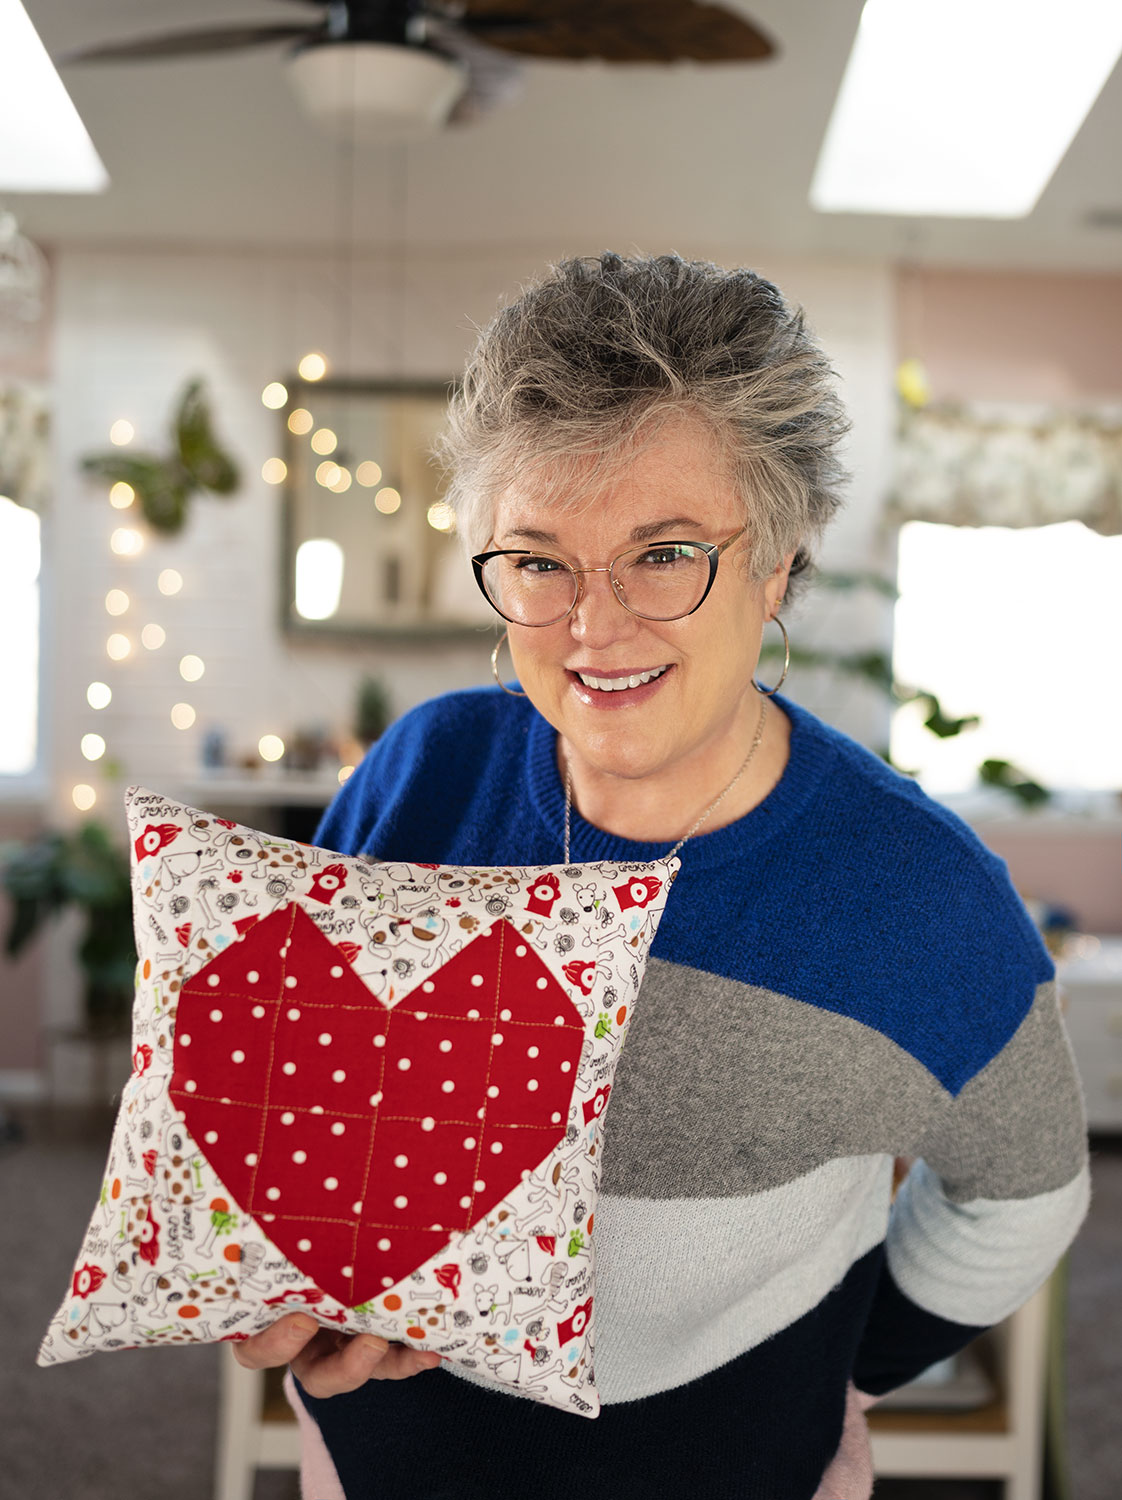
Hi! I’m Pattymac
Sewist, baker, maker
I’m a creative lifestyle blogger living and working in Coastal Virginia. When I’m not mixing or stitching or taking pictures, I’m out exploring the cook book section of my favorite library or munching my own home baked cookies at a mid week movie matinee.