How to Box Corners
If you found your way here, then no doubt you’ve embarked on the fun journey known as bag making. And you’ve hit a wall. The question is, “How to box corners in a bag project?”
Beyond just asking how to box corners, you are probably wondering why do I care about doing this? I’m so glad you asked!
Learning how to box corners on a bag offers a couple of things:
- The bag becomes dimensional.
- The bag will stand up on it’s own.
- Boxing the bottom opens up space INSIDE the bag.
- It looks fantastic!
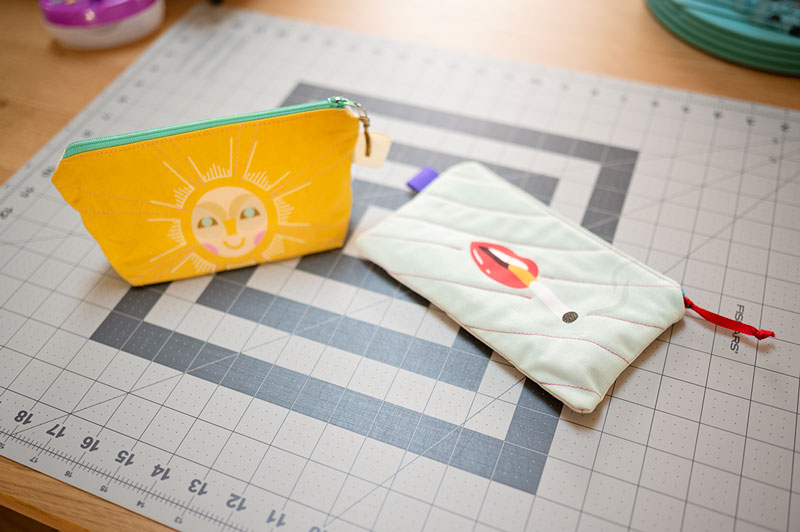
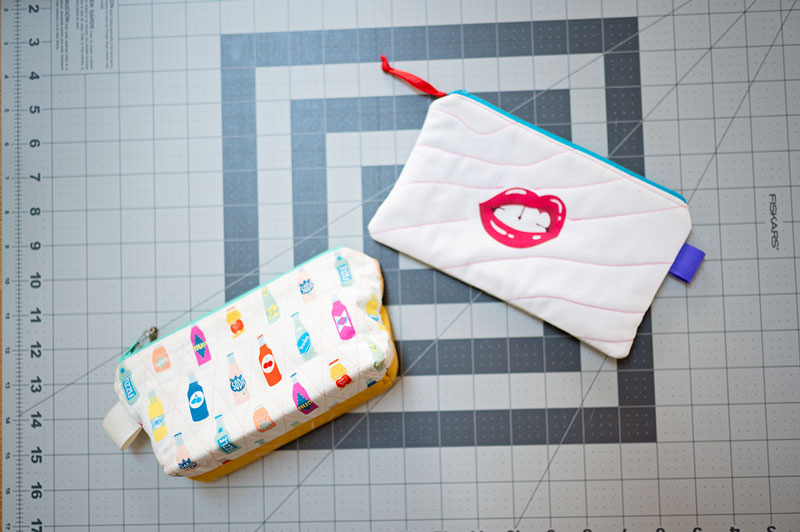
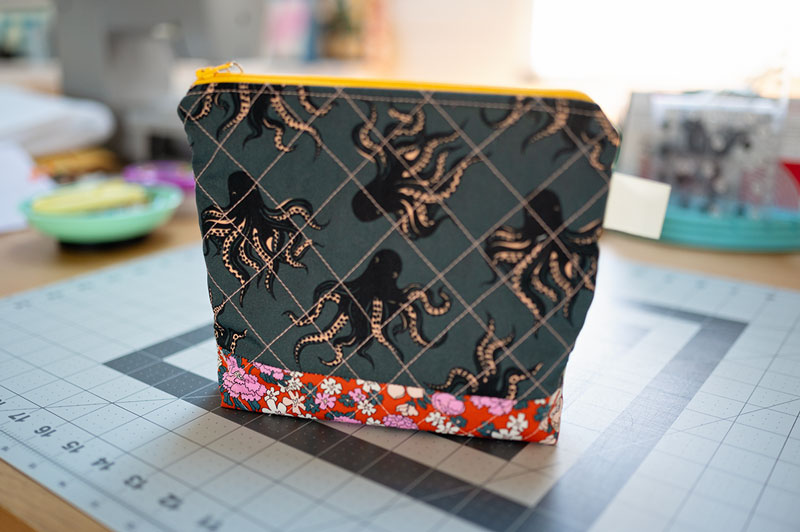
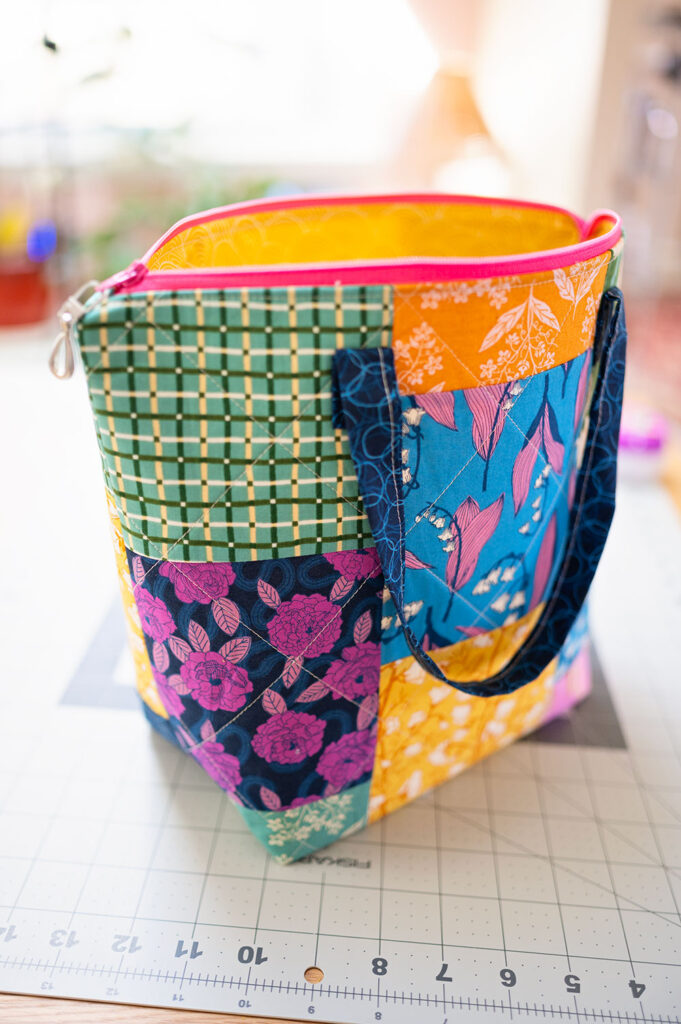
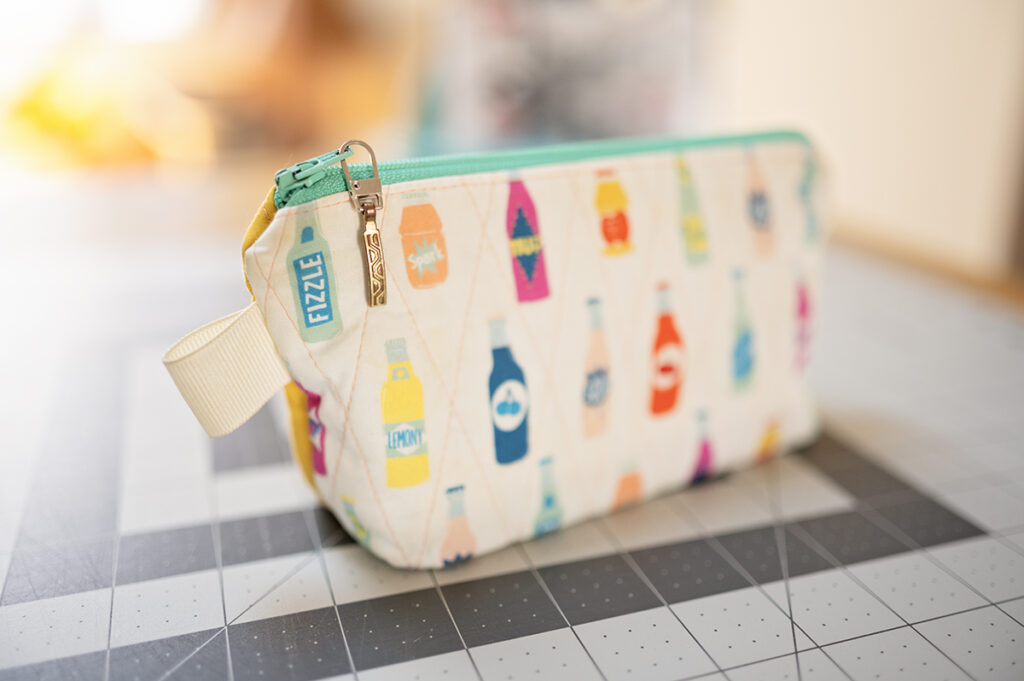
Would you believe these two bag projects are sewn with the same fabric panels?
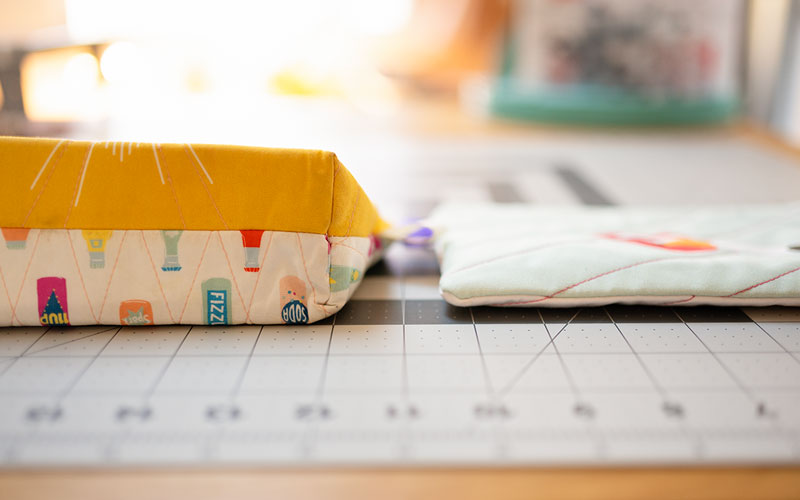
They are essentially the same project, but one has boxed corners and the other is a simple zipper pouch. Elevate just about any zipper pouch project with a boxed corner. Sometimes you want a flat pouch, but sometimes you want the added dimension boxing provides.
Boxing corners gives a bag dimension
Now that you see WHAT boxing does, let’s talk about HOW to box corners.
We are going to use a pretend project for this example. Assume the two rectangles of fabric I’m going to show you are a bag project, and we are ready to sew it together. You have RS, or right sides, facing, we are clipped in place and ready to sew. But not so fast! We need to do something else first!
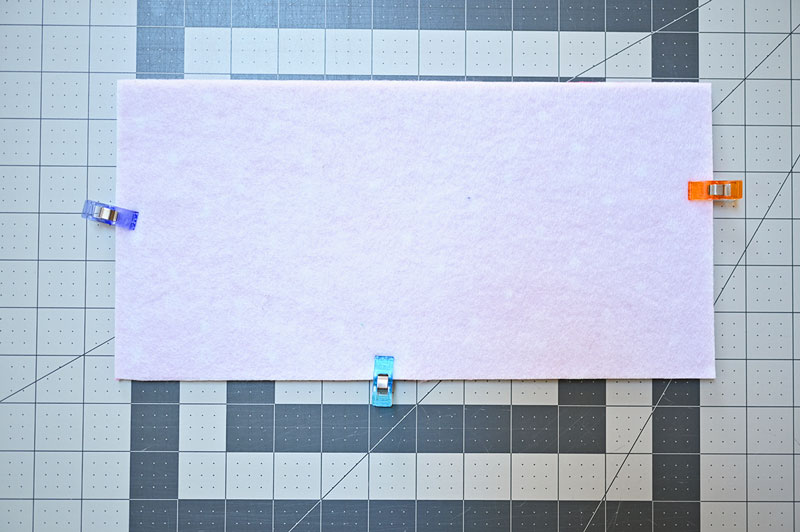
Project sample with fusible quilt batting applied is clipped together and ready for sewing. Assume the top is left open as it would be the bag opening.
First thing is to prepare the corners. We measure out a square in the lower, opposing corners.
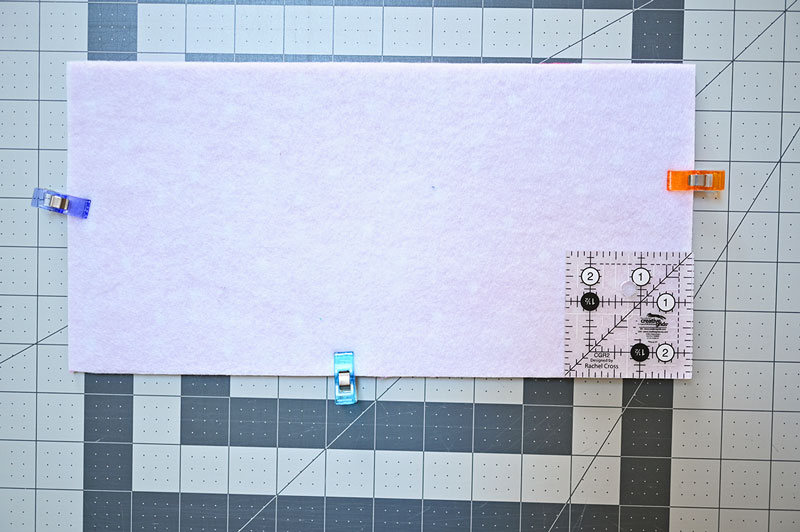
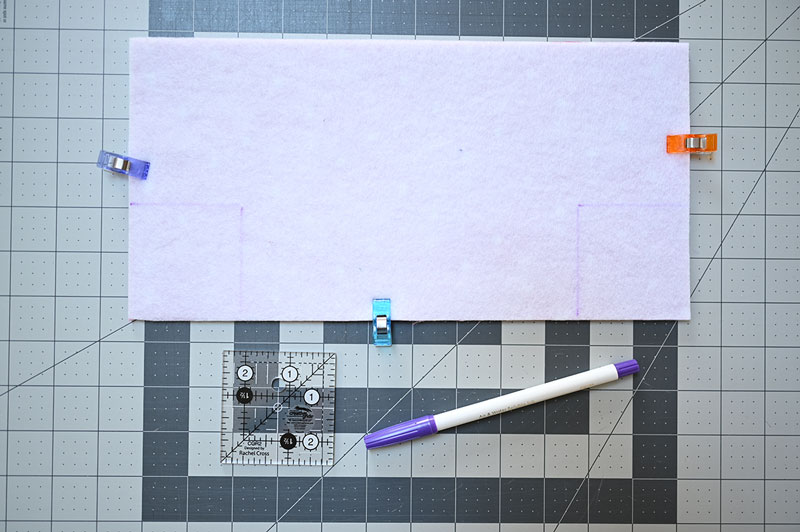
Draw on your measurements for cutting.
Cut out the corners following the lines. Machine sew on the sides with the clips. Leave the corners OPEN.
😳
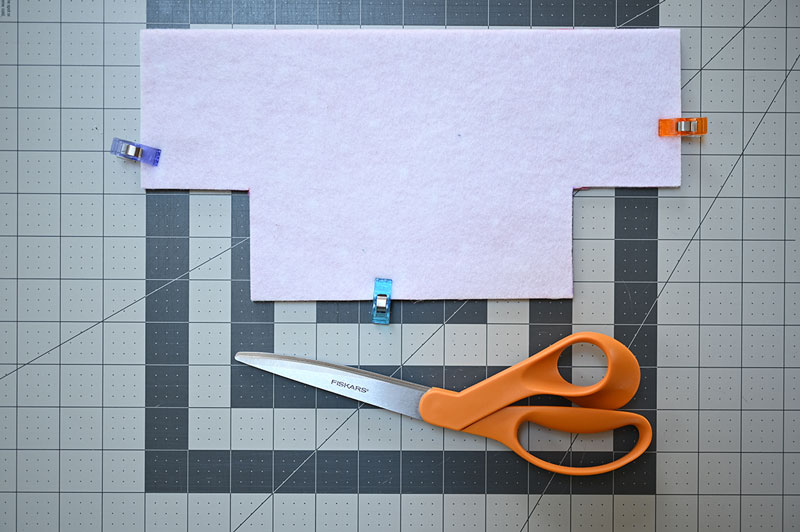
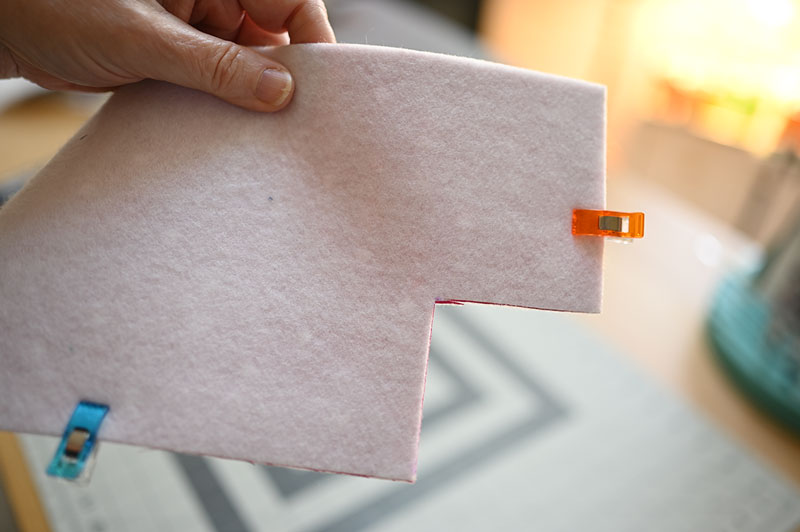
It feels very off to only sew on those 3 areas of your bag, but trust the process. You leave the cutouts open.
Once the sample is sewn you can see you now have huge gaping holes in the bag. So what next?
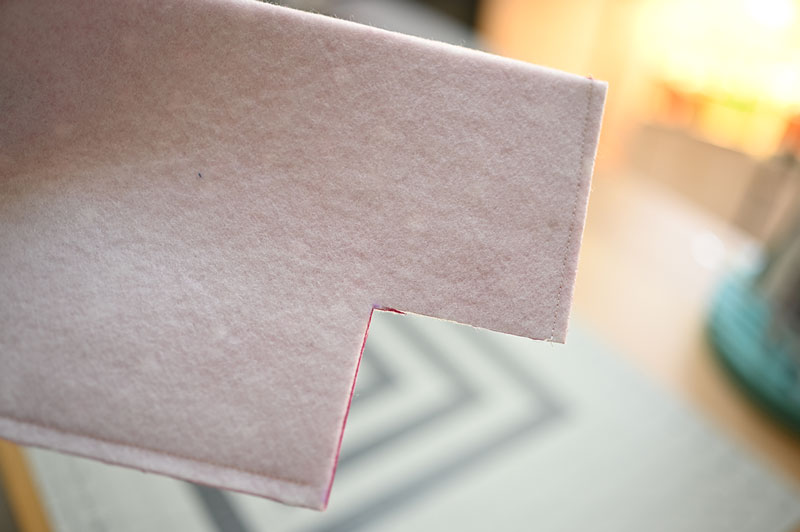
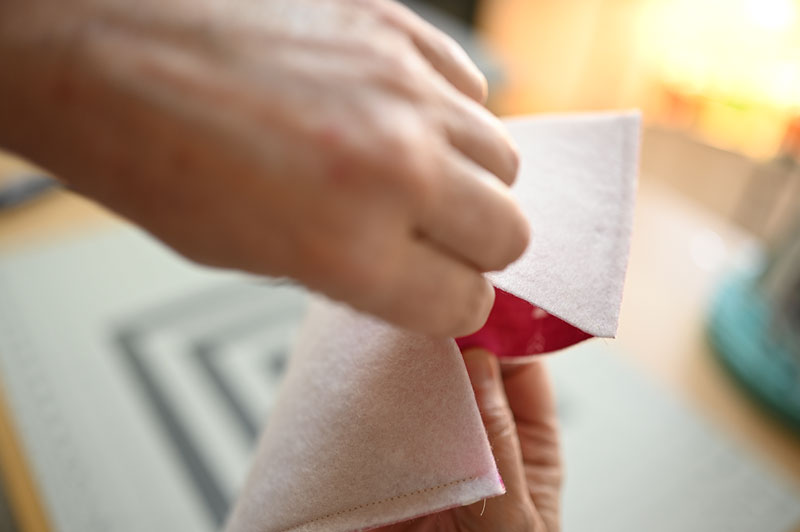
Reach inside those holes, and pull the corners flat meeting the sewn seams together in the center.
The corners look kind of like a little mouth, so we are going to close that mouth.
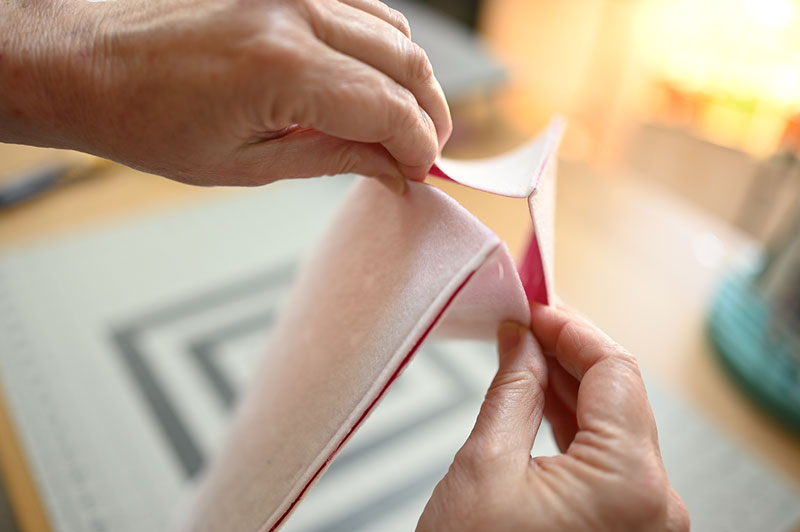
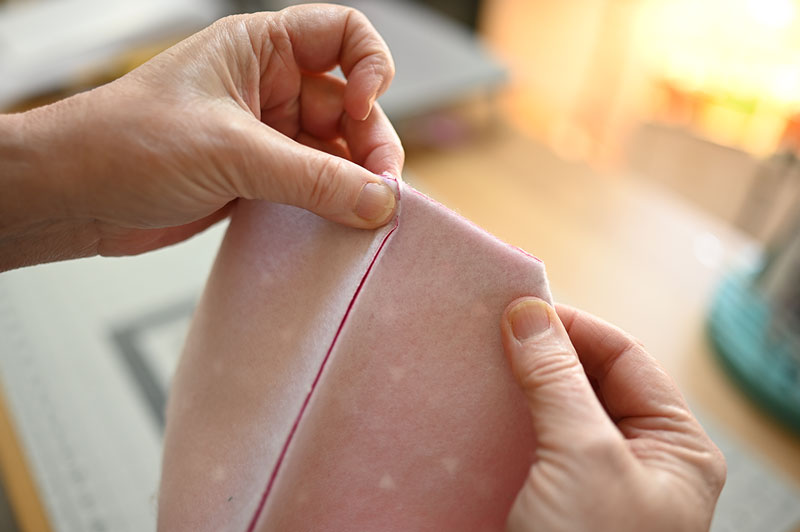
Meet the seams together turning the seam allowances opposite of each other. We call this nesting seams in quilting. Make your cut edges come together as flatly as possible.
Secure project with pins and a clip to hold seams together and seam allowances in place. Take it to the machine and sew where I’ve marked the line.
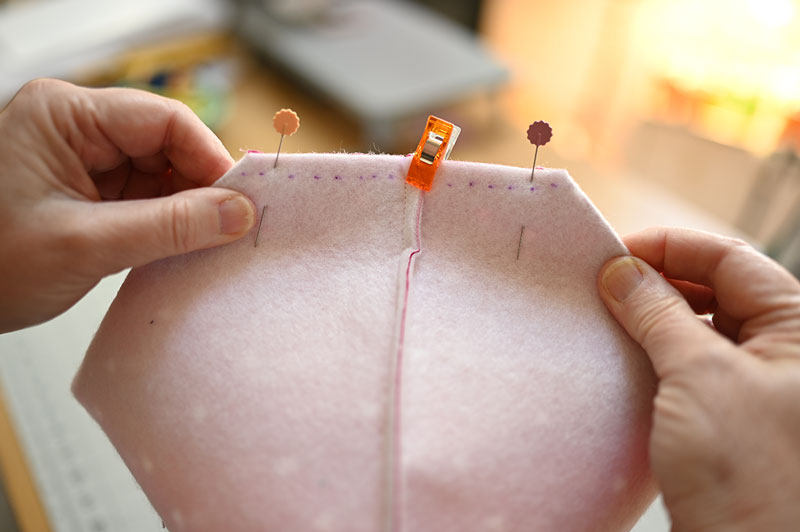
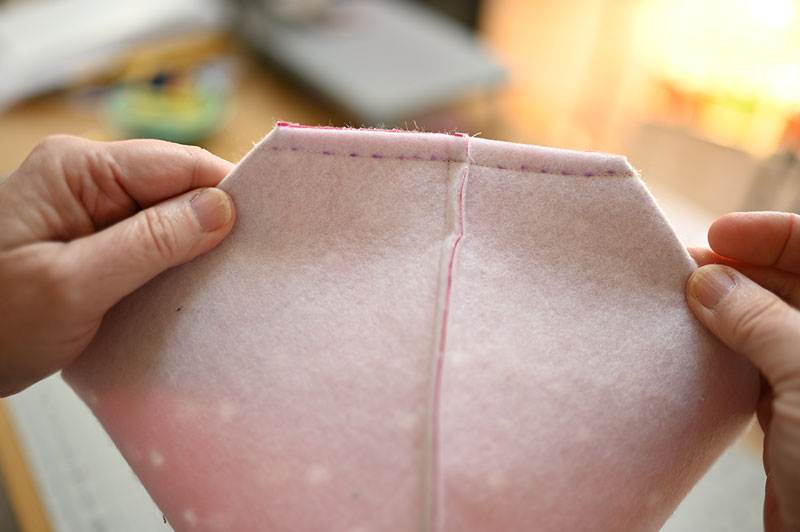
Backstitch at both the start and stop of sewing to provide extra strength. Also reducing stitch length to 2mm can prove a little extra strength.
This is how it looks when the seam is sewn, and the project is pulled into a 3 dimensional shape.
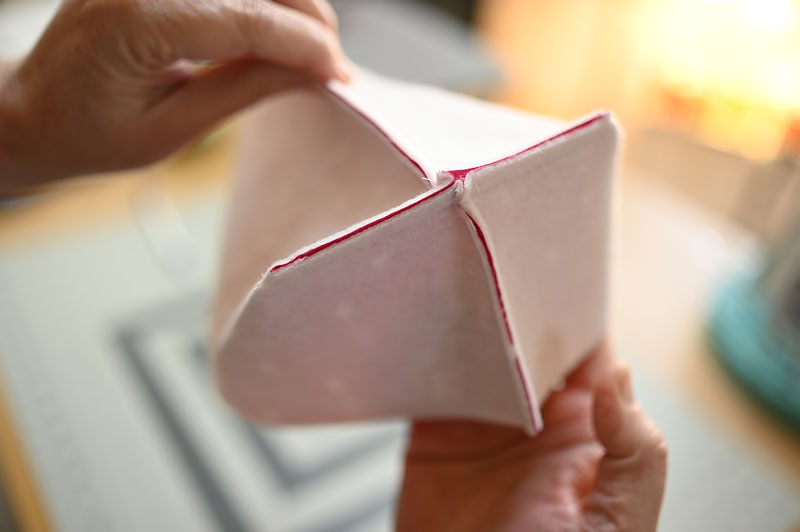
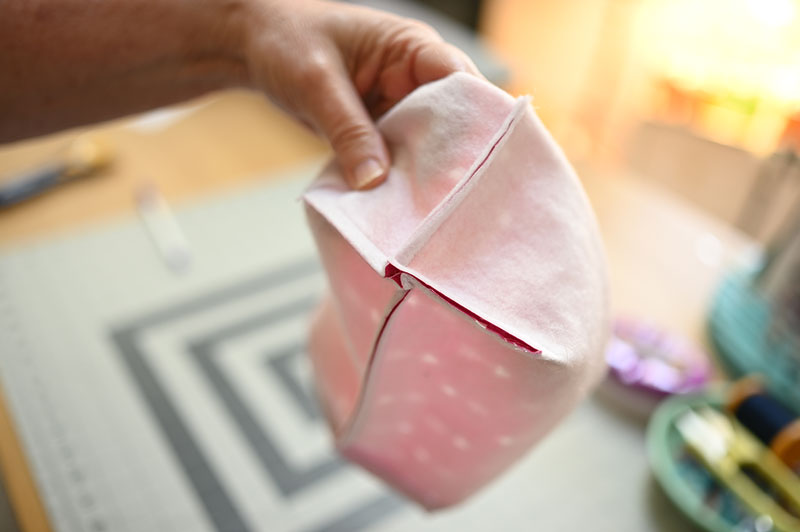
You can already see the boxed corner before we even turn out the pretend bag.
Here’s how it looks when the project is turned out! Ideally, the side seams should meet in the center.
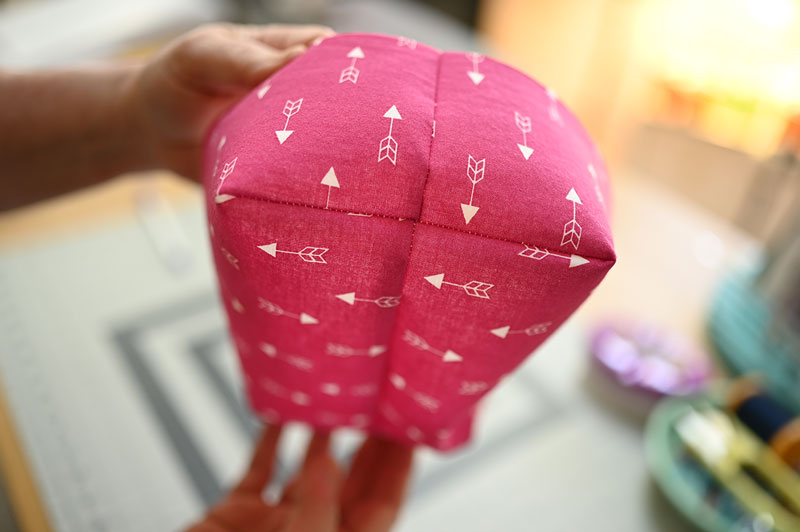
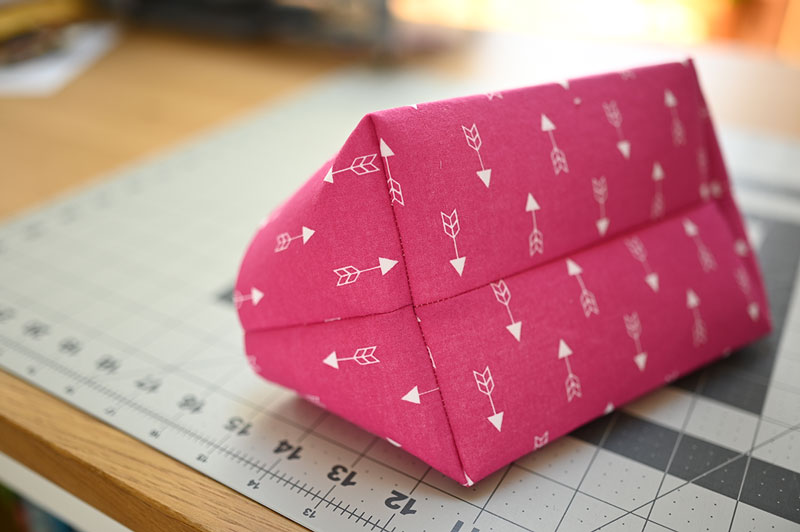
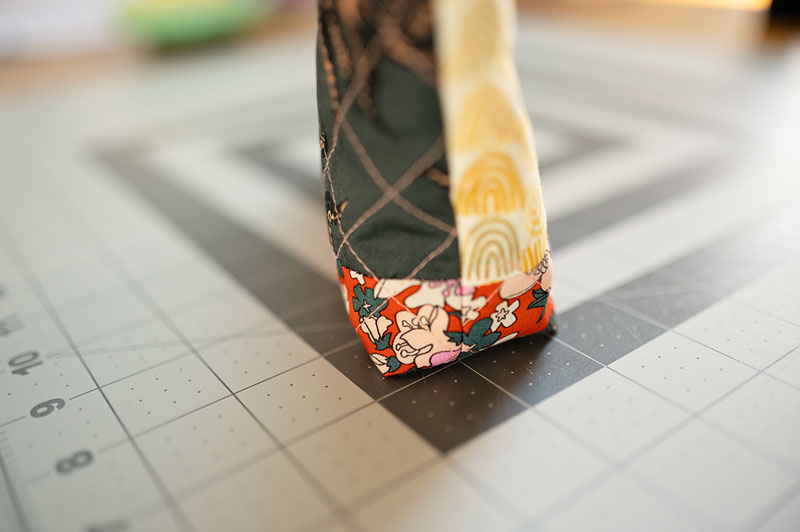
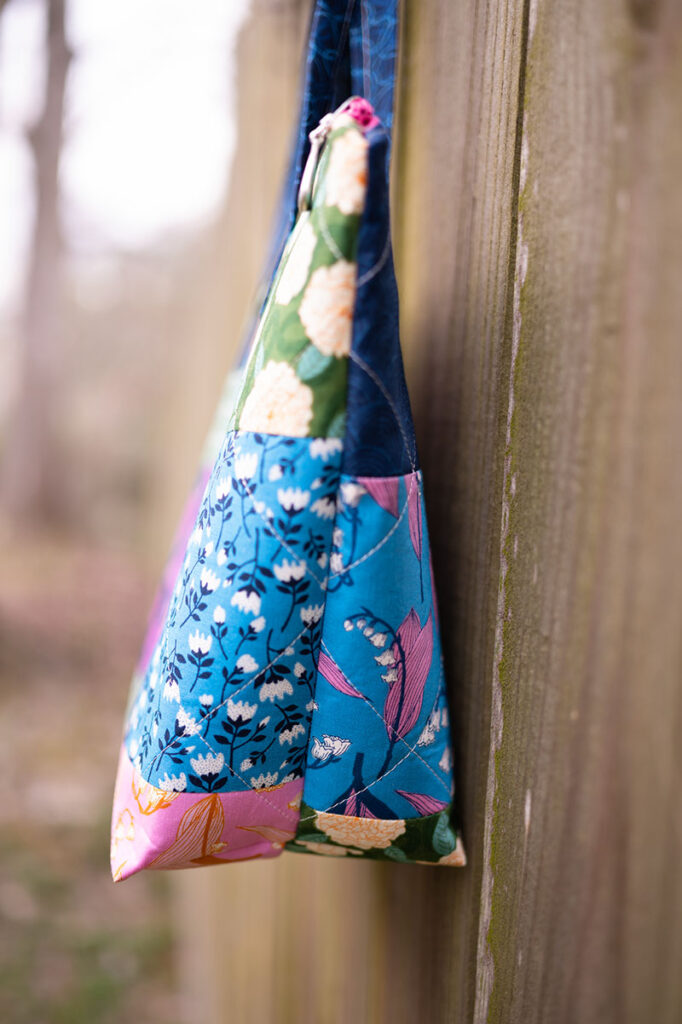
Here’s how a boxed bottom will look from underneath.
This is a dramatic size of boxed corner for a “bag” of this size, but you get the idea of what’s happening this way.
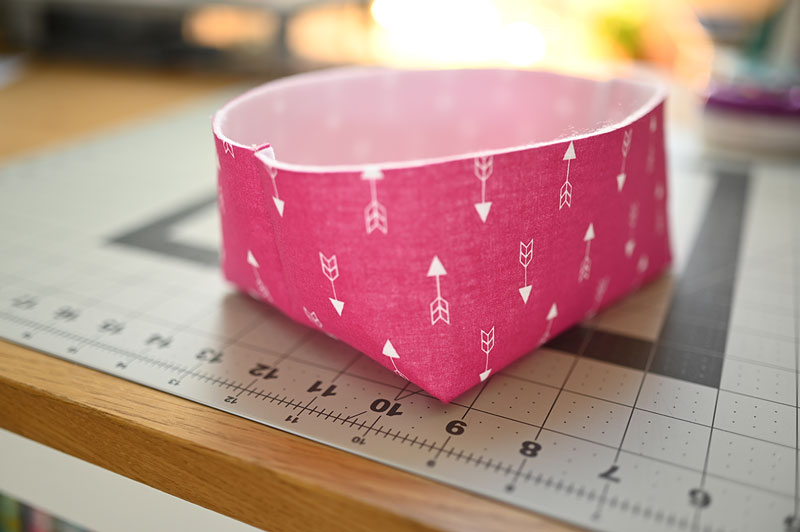
For this example of how to box corners, we have a huge boxed bottom. How did that happen?
- The sample used a 2.5″ cutout. The effect of a 2.5″ hole with create a 5″ boxed corner when put into place.
- Long story short, whatever size hole cut into the corner will create a bottom box TWICE that size.
- Make a 3″ cut in the corner? Make a 6″ boxed bottom.
- Cutting a 1″ corner will generate a 2″ boxed bottom.
A good rule of thumb is the smaller your bag, the smaller the corner cuts should be.
A 2″ boxed bottom created with 1″ cutouts. Still large enough for project to stand up. The smaller boxed bottom fits the scale of this project and provides dimension.
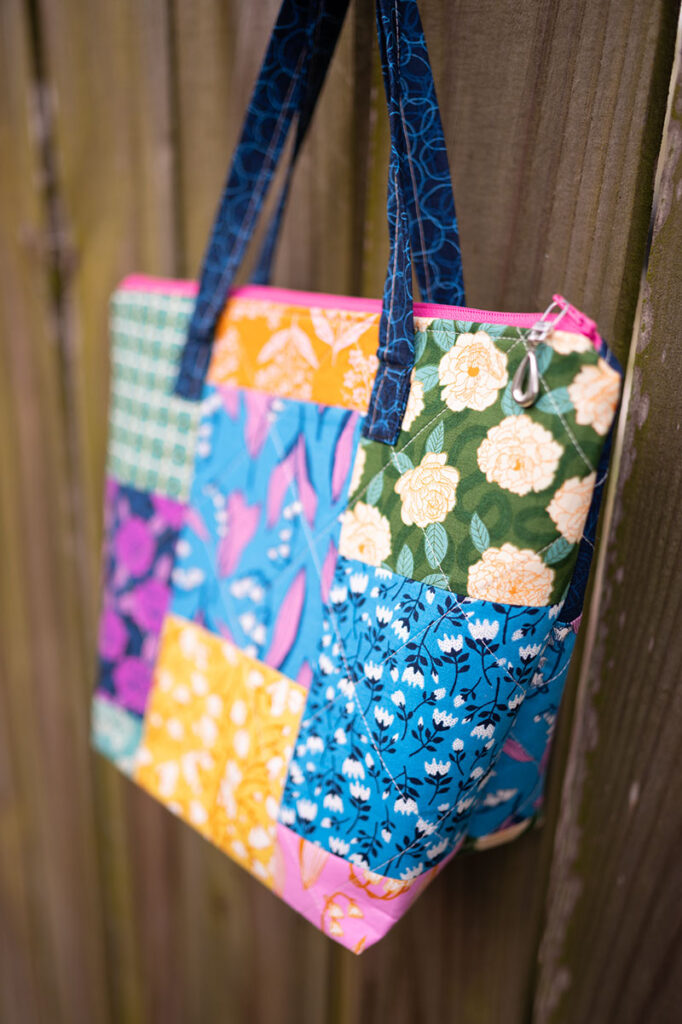
Bag sits up on its own Very dimensional Lovely handbag
A much larger bag project calls for a much larger boxed corner. This bag has a 5″ corner created with the 2.5″ cutouts as shown in the first sample. When you feel comfortable installing zippers and boxing corners, you should try this lovely bag. I call it my Alice Bag, and you can learn to make it right here on the blog!
So what’s your thought now on how to box corners?
I hope you feel much more confident! It’s really not a difficult thing, but you might need to do it a few times to get the hang of it. Make a few samples like I did to practice your technique. It’s a lot of pressure to try something new on a “live project” so feel free to use some of your ugly fabric and practice this technique.
🪡
Hi! I’m Pattymac
Gardener, Baker, Quilt Maker


