Christmas Oreos
Enjoy Christmas Oreos for a holiday treat!
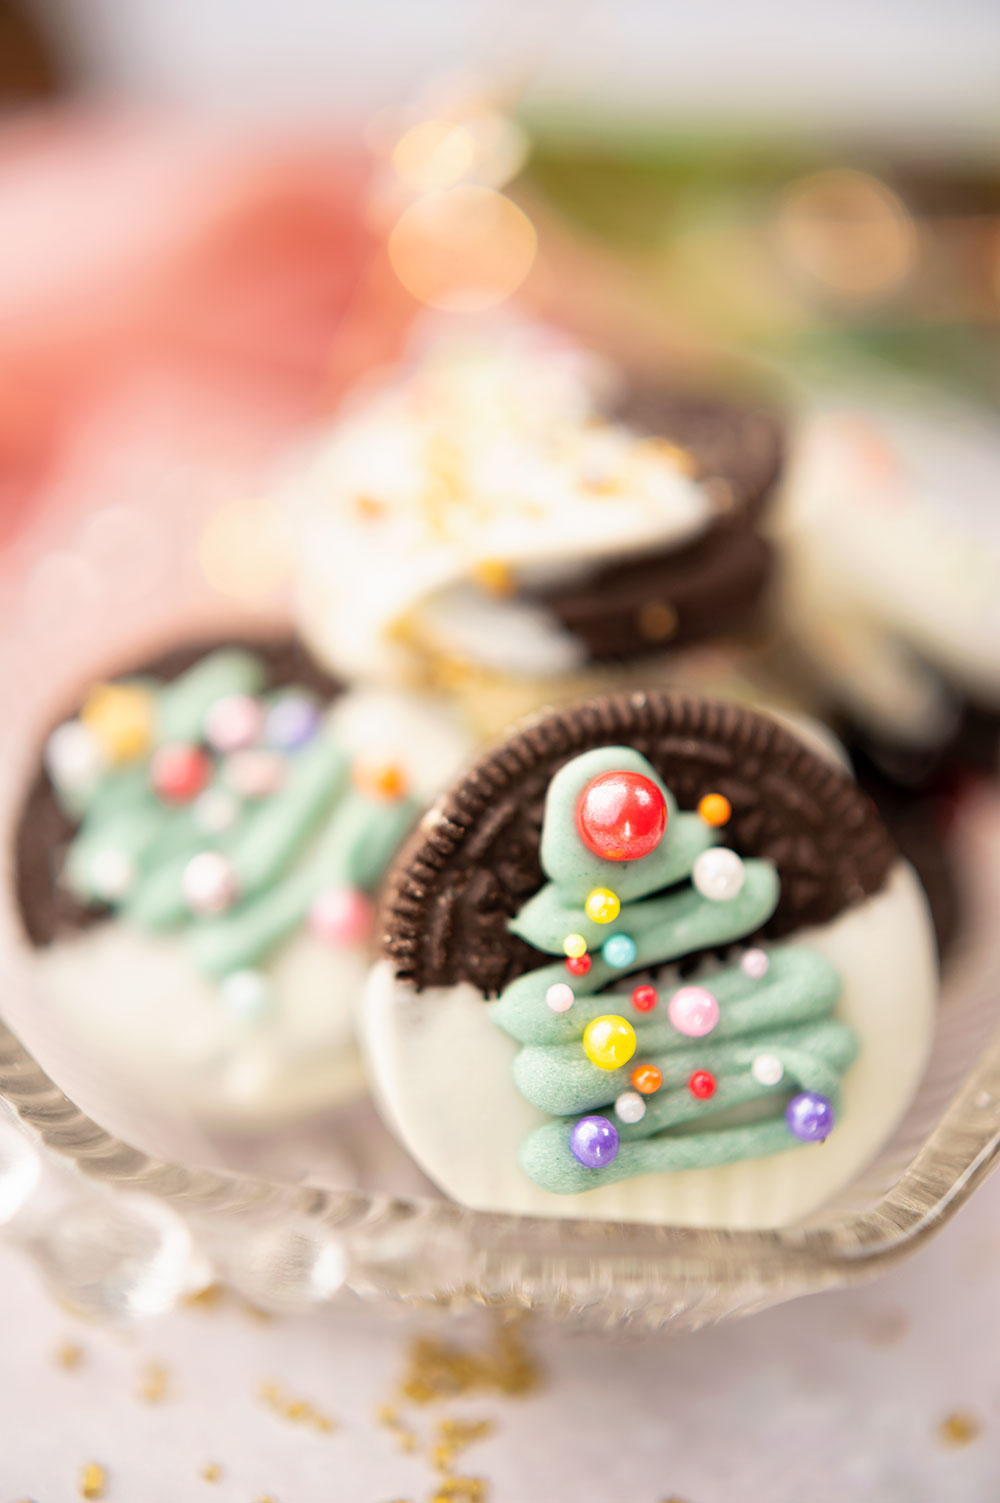
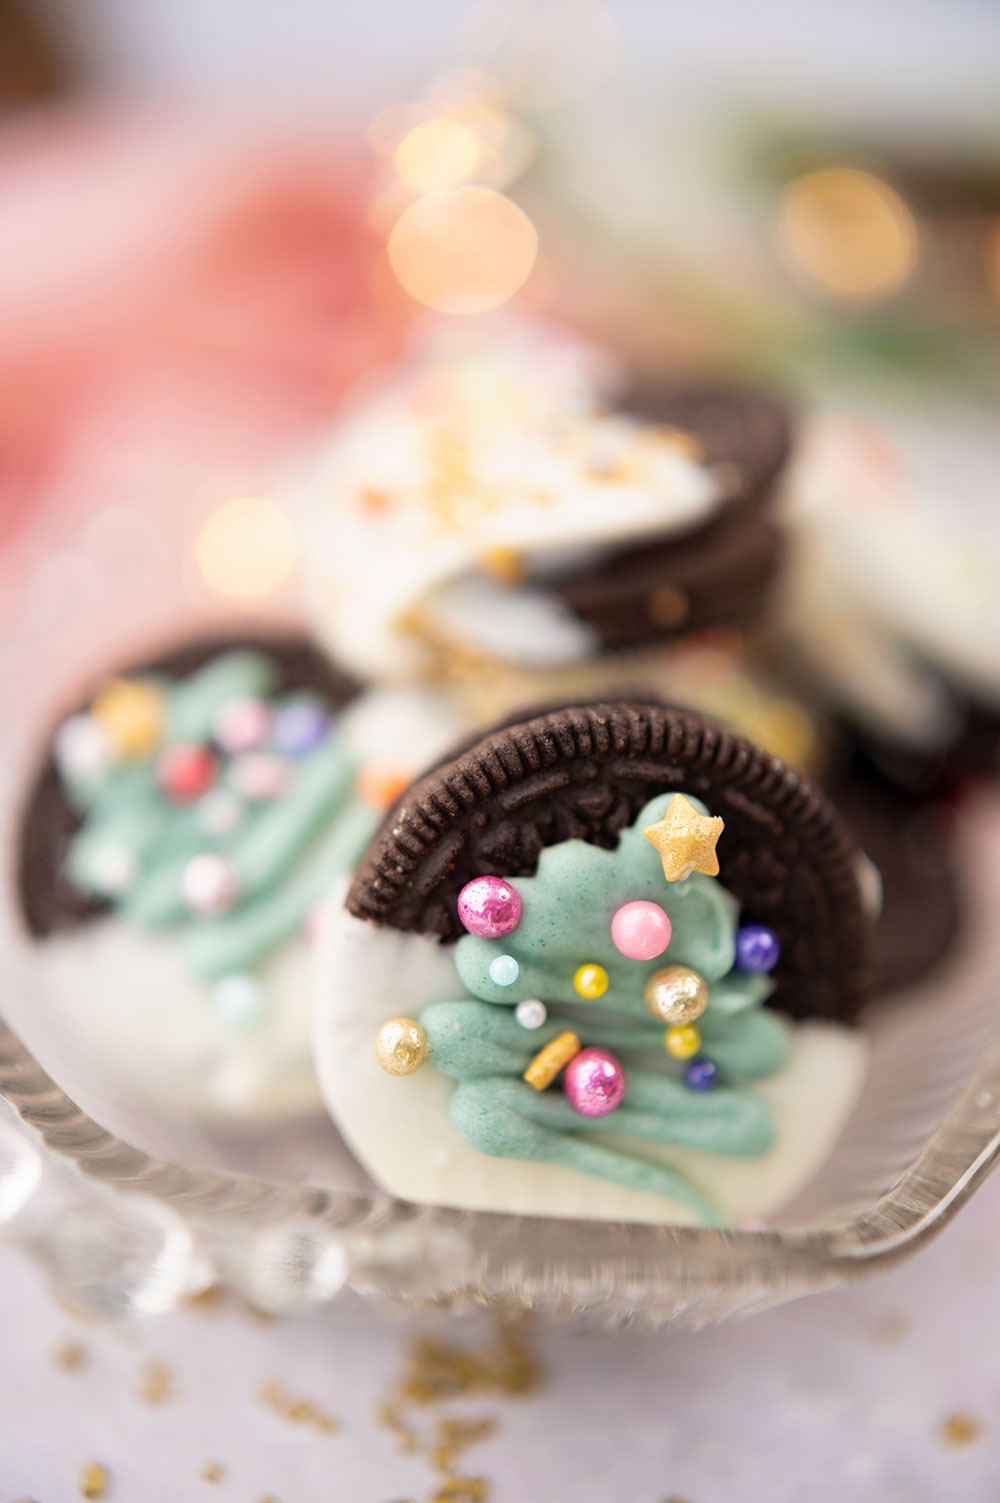
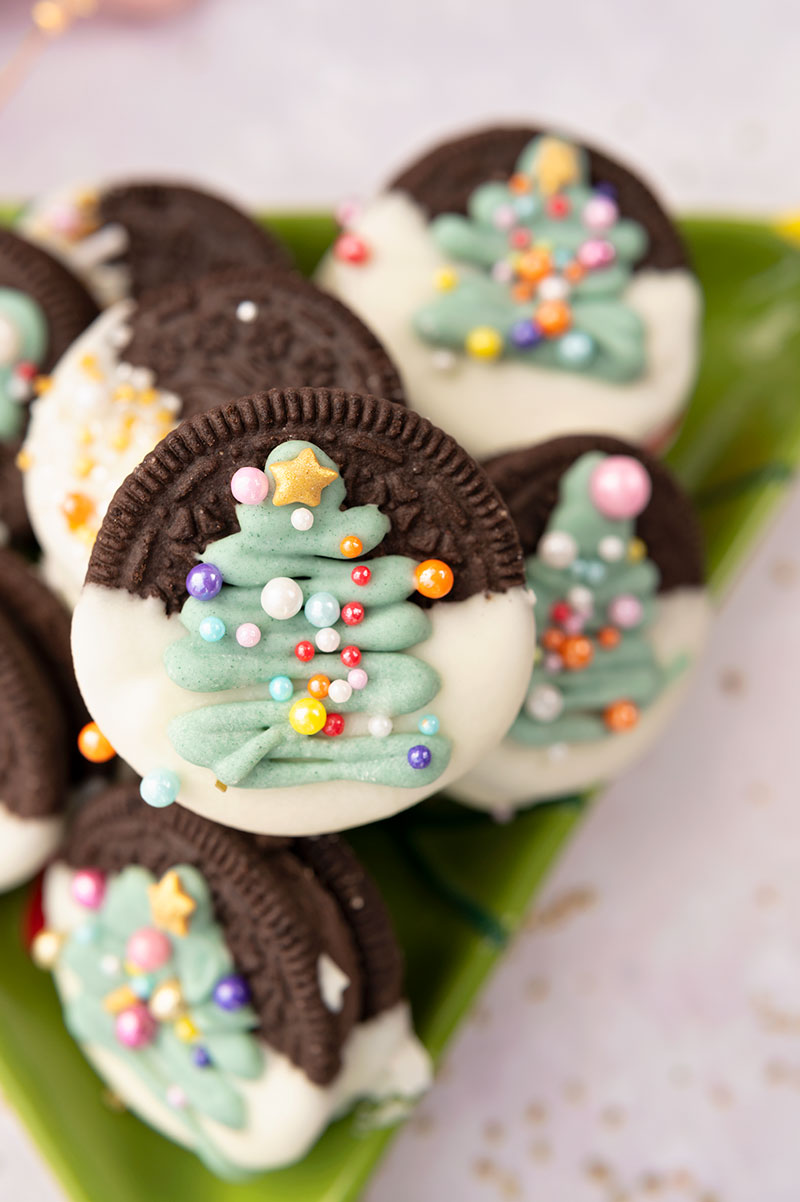
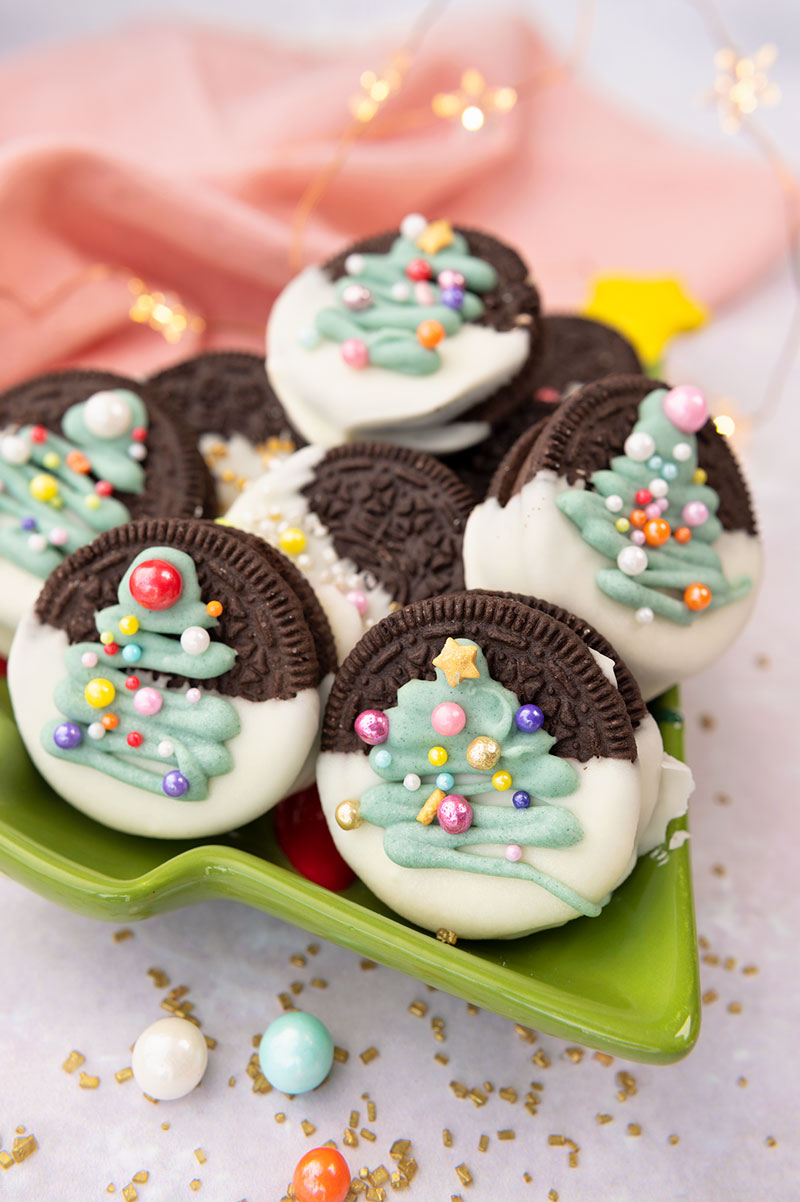
Let’s dip store bought Oreo cookies in white chocolate, then decorate with a little squiggle to represent a Christmas Tree. Finish them off with a selection of colorful sprinkles. It’s fun, it’s easy, and guaranteed to bring about many smiles. How ever you decide to decorate your dipped Oreos, they are sure to be a favorite with all the kids in your life and neighborhood.

Christmas is in full swing. It brings out the need to bake in even the most cooking adverse people. Sometimes though, we want to skip all the drama with measuring and mixing and following recipes and skip right to the good stuff. The decorating. That’s where dipped Oreos come in. This cookie will satisfy the most finicky kid and bring a smile to any grown up. It’s a little bit of the Christmas magic in chocolate dipped delight.
What ingredients are in Christmas Oreos?
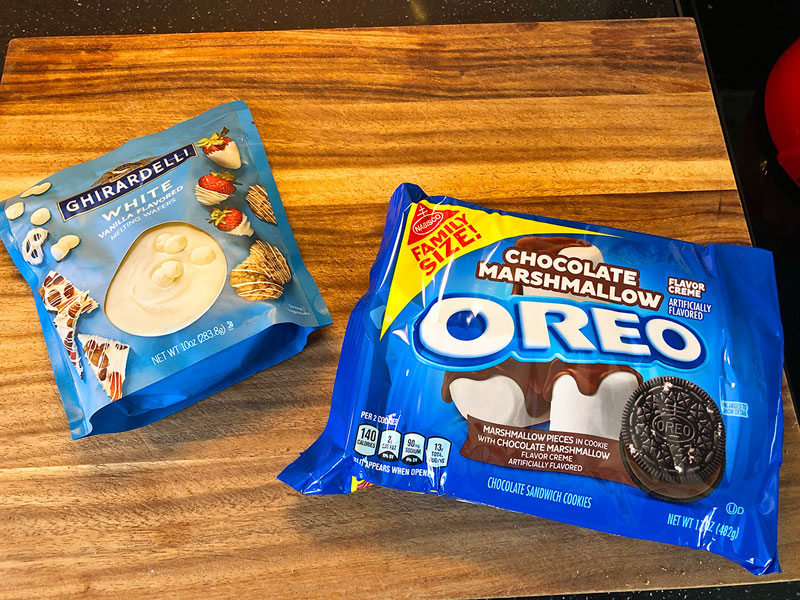
- Oreo cookies: You will need a bag of your favorite Oreo cookie…..or use what you have on hand. I had these. Any kind will work.
- Chocolate Melts: I like the Ghirardelli brand of chocolate melts as opposed to straight up candy melts like you get on the cake aisle. They are smoother and glossier than chips, so use some type of melting wafer and not chocolate chips.
- Sprinkles: I used something called sugar pearls. They were multicolor and came in several sizes in one jar.
- Food Coloring: You’ll need some green food coloring for the trees.
What special tools are needed to make Christmas Oreos?
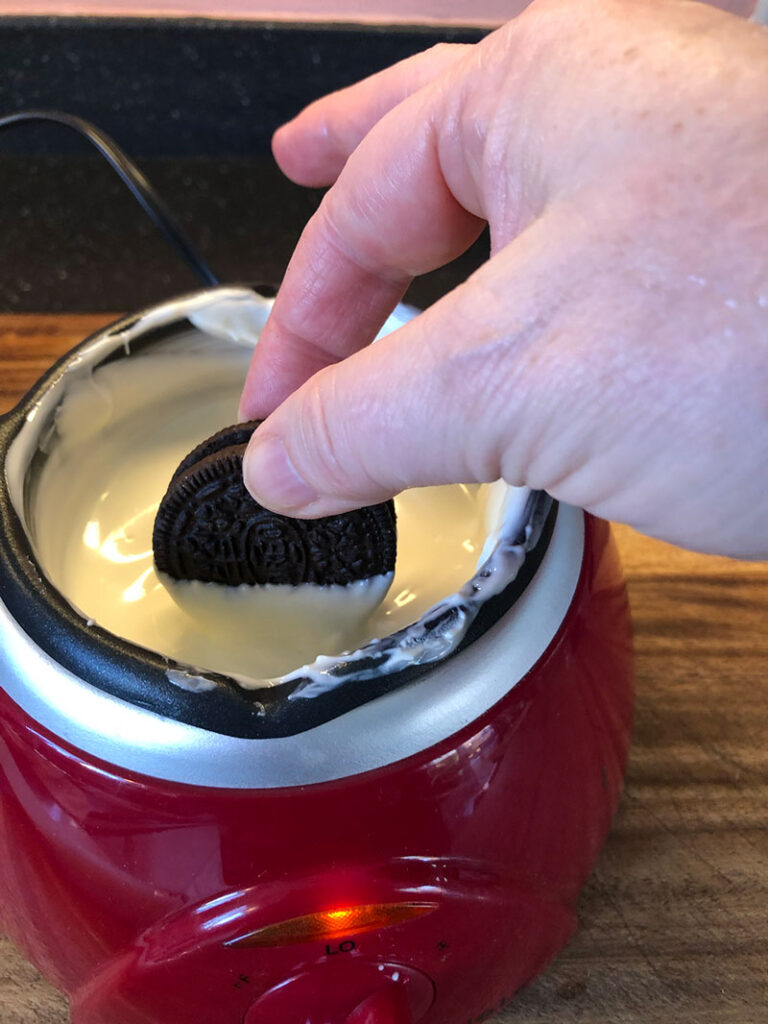
- Chocolate Pot: You have to melt the wafers, and I prefer using something called a chocolate pot. It doesn’t get too hot, so your chocolate melts evenly. If you go too fast and get it too hot, chocolate can seize and that is very sad. Microwaving or a double boiler is always and option for melting chocolate, but I recommend adding a chocolate pot to your baking arsenal.
- Large baking sheet: we need a big cookie sheet lined with parchment paper. Once the cookies are dipped, they need to sit quietly while the chocolate cools. Later we’ll decorate on the same pan.
- Piping bag: piping bags always give the nicest result when doing any sort of decorating. You can use a ziplock bag and nip a little corner to pipe the trees, but consider investing in some piping bags for a prettier result.
- Piping tip: a small piping tip, like a #2 or #3 is best for piping these trees. I only had a #1 and a #5 and used the #5. It was a little too large and the chocolate came out quickly, so I will be adding the smaller tips to my collection.
When I say these are fun and easy to make, I’m not kidding. This is a super fun Saturday afternoon project for the kids. Just have the roomba ready to roll! You’ll need to vacuum after the decorating session to collect all the spilled sprinkles when the fun is done.
Let’s look at the process for Decorating Christmas Oreos
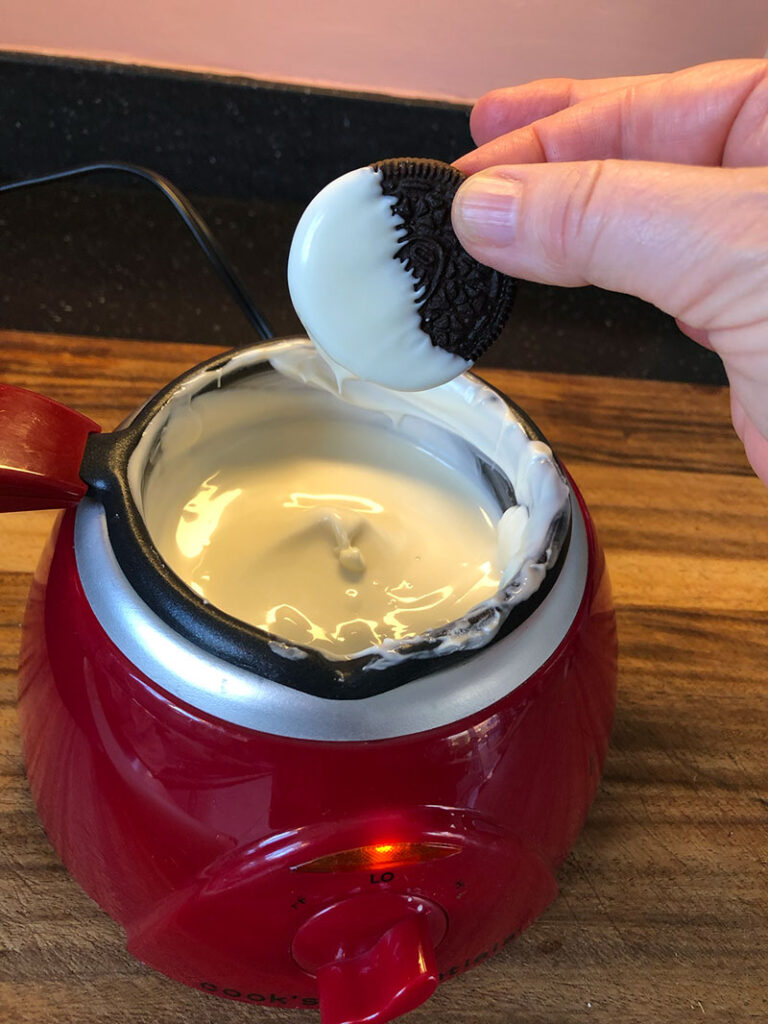
Dip half your cookie into melted white chocolate.
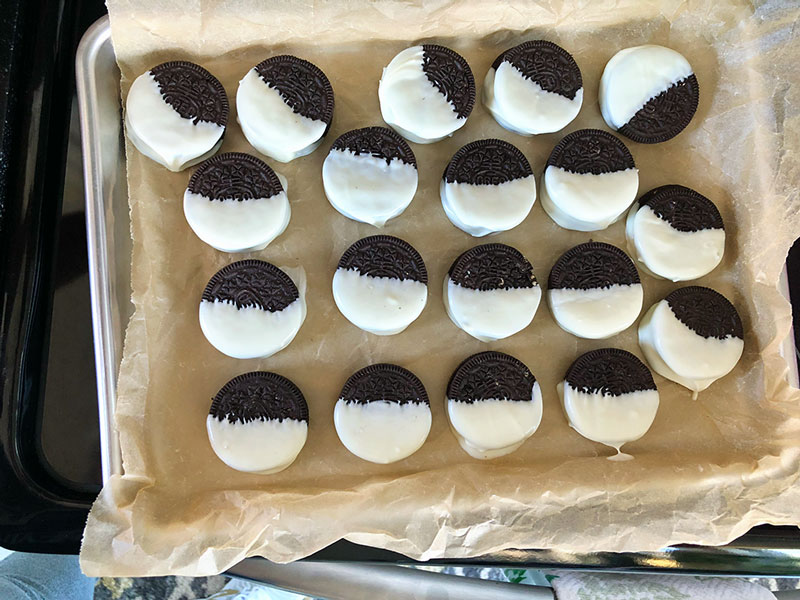
Carefully place the dipped cookies on a sheet pan lined with parchment paper. Don’t worry. The chocolate will harden and NOT stick to the paper.
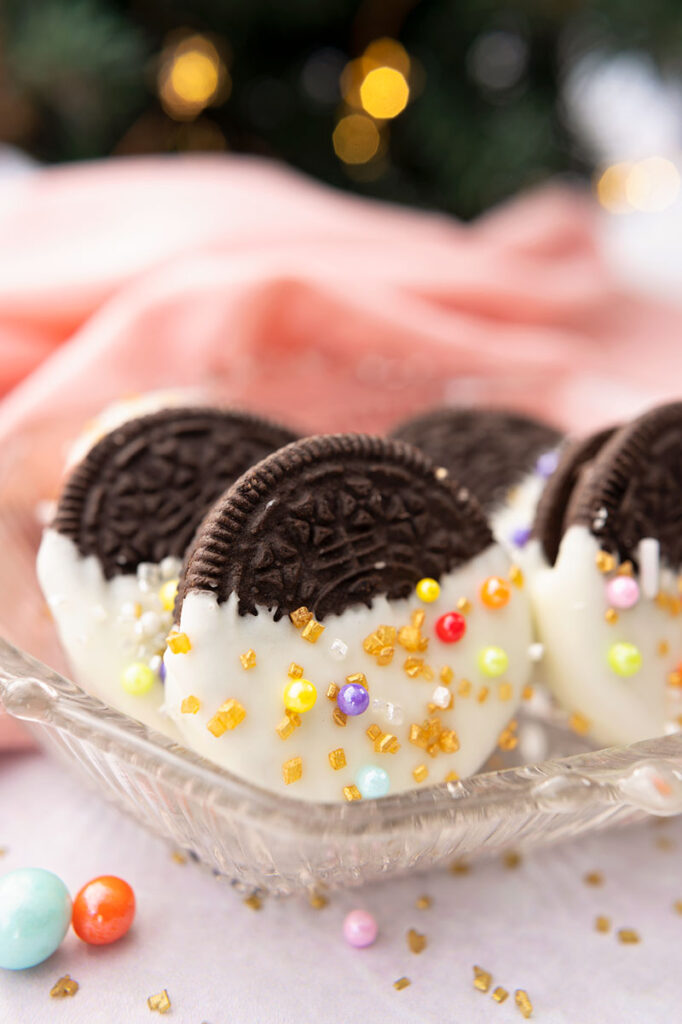
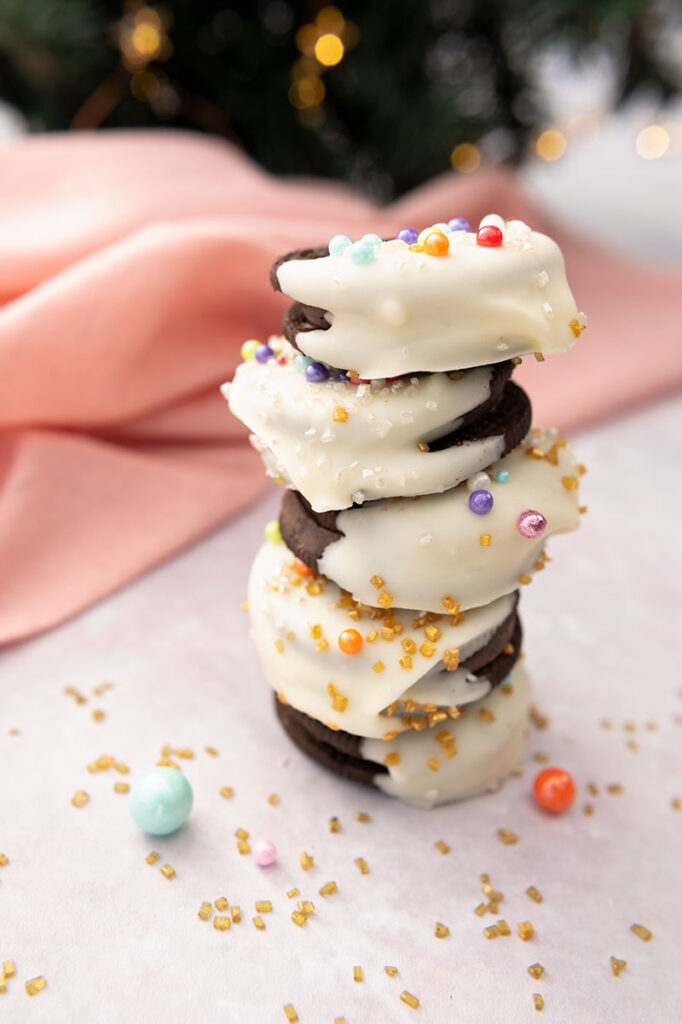
For decorating, you have a couple of options. You can sprinkle the still wet, freshly dipped oreos with sanding sugar and sprinkles. They look beautiful and are quite fancy in a gift box or on the dessert buffet.
You can’t really go wrong with decorating Christmas Oreos.

Sprinkles on the still wet chocolate Dipped oreos with sprinkles
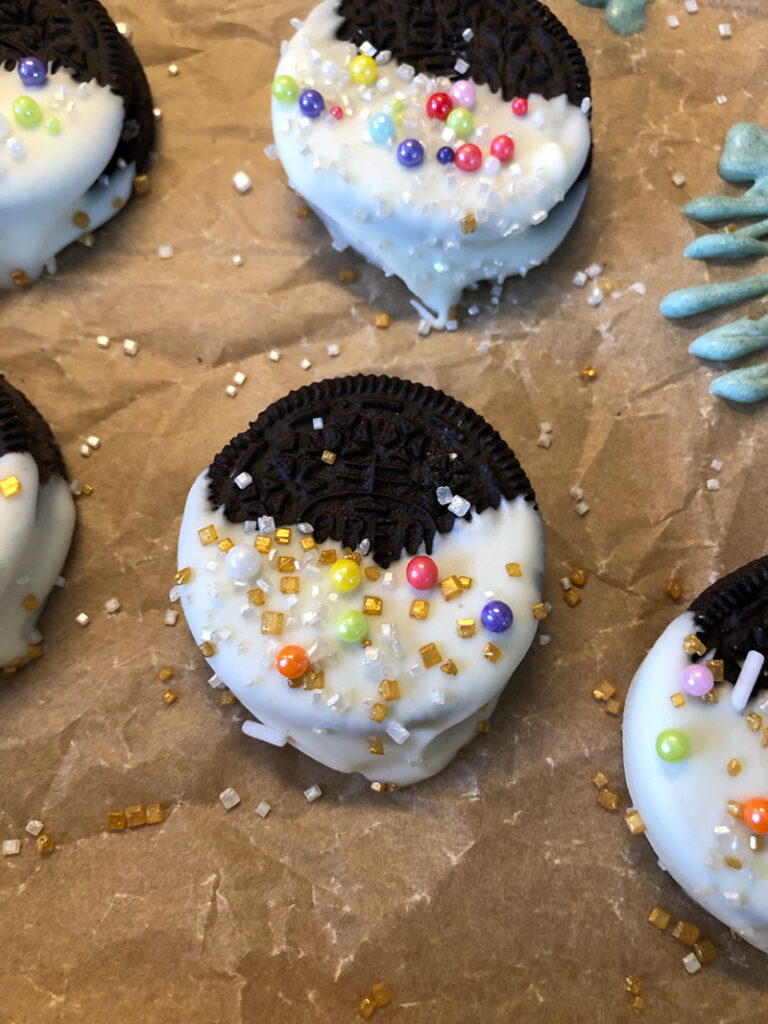
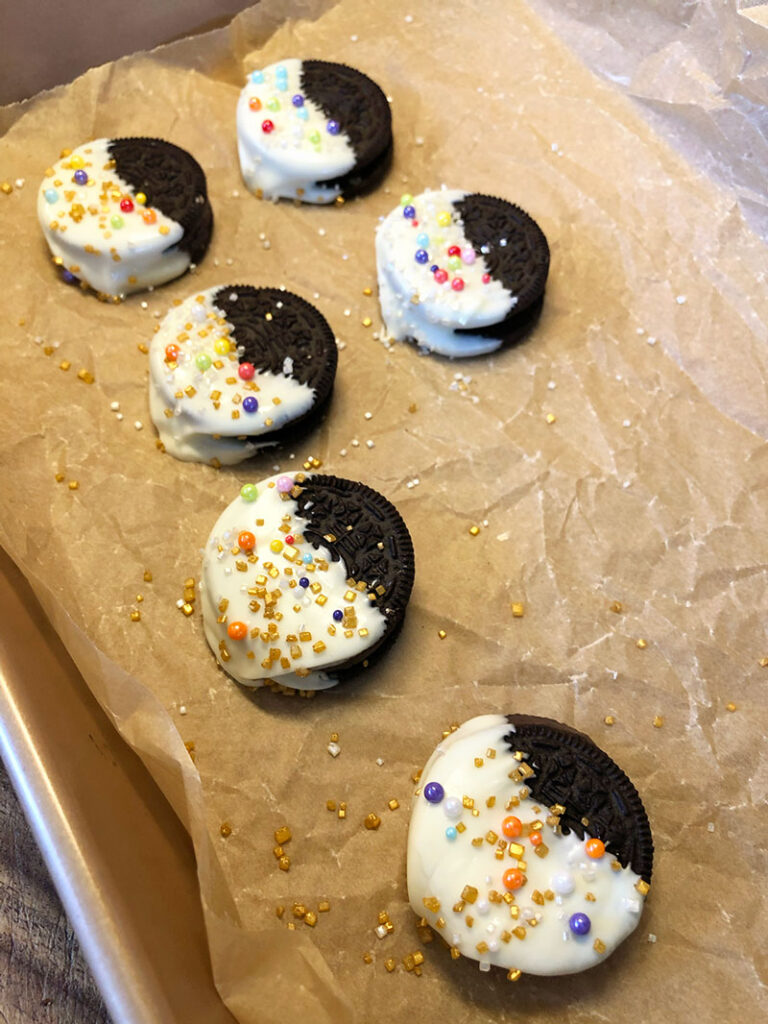
Allow your cookies time to set up, at least 4 hours. I always place mine in the garage where it’s cooler, and give them over night to fully dry. Once that’s done, your sprinkled cookies will look like this:
To create the look of the Christmas tree you will need to do the following:
- Dip the cookies in the melted white chocolate.
- Add a drop or two of gel food dye to the chocolate remaining in the chocolate pot or the bowl you’re using. Stir well and play with the color until it’s what you like. I don’t like a lot of artificial dyes in my food, so I generally opt for a pastel hue. But if you want deep, dark color you’ll need to play with it and probably mix a couple of colors a little to achieve it. I added maybe two drops of Forest Green and stirred well.
- Prep a piping bag and pour the warm chocolate into the bag. To prep, I set mine up with a Wilton #5 tip, but I think a #3 would work better. You can also clip a tiny hole in the end if you choose.
- Once the chocolate is in the bag, allow it to rest for 5 or 10 minutes. This lets the chocolate cool and it’s not so soupy. This means it will hold a piped shape a whole lot better.
- Practice a couple of squiggles on the parchment paper. It’s important to practice a couple of these before you commit to the cookies. They will dry and you can use them as decorations on cupcakes later if you like.
- Once you’re confident in your squiggle technique, pipe your tree design onto the cookie.
- While the chocolate is still wet, drop a few well placed sprinkles on the tree shape. Some people get very precise and use tweezers to perfectly place every sugar pearl. These people must have butlers and a lawn service, because clearly they have a LOT more free time than us normal people. So, sprinkle and let them go where they may. You can pick a special one for the top of the tree and place it which I think is a good compromise.
- Let the cookies set up in a cool place at least 4 hours, but I always recommend over night for best results.


While you can be really focused and a tad obsessive in drawing your Christmas trees, I recommend restraining that perfectionist tendency. Allow yourself to enjoy the process and find your joy in the whimsical, imperfect design element engendered in drawing with melted chocolate. I shared so many photos with you in the previous gallery to demonstrate that none of these are anywhere close to perfect, and it doesn’t matter. They are still adorable, and I literally had kids knocking on my door the next day asking for more!
Remember that unless you have OCD, there is no joy in perfection. Find the fun in the process, and this will become a favorite Christmas cookie for you and all of the children in your life.

Christmas Oreos
- Total Time: 15 minutes
- Yield: 24
Description
Oreo cookies dipped and decorated with white chocolate are the perfect little Christmas cookie
Ingredients
- Oreo cookies: pick your favorite
- White chocolate melts or candy melts
- Green food coloring
- Pretty sprinkles
Instructions
- Line a large cookie sheet with parchment paper. Set aside.
- Melt the white chocolate in your preferred method. I recommend and use a chocolate pot.
- Dip the Oreo cookies in the white chocolate one at a time. Cover one half of the cookie front and back.
- Lay dipped cookies onto the prepared cookie sheet so the cookies can dry.
- Drop 2-3 drops of green gel food coloring in the remaining chocolate and stir well.
- Put the green colored chocolate in a piping bag fitted with a #3 tip.
- Squiggle little trees over the white chocolate and sprinkle the sprinkles onto the still wet chocolate.
- Allow the decorated cookies at least 4 hours, but overnight is best, to set up in a cool spot to dry completely.
Notes
The temptation to put the wet cookies into the fridge or freezer to speed up the drying process is real, but will give disappointing results. Make this cookies a day ahead for best results.
I used something called Sugar Pearls for my sprinkles and unfortunately, the ones I used are out of stock. Here’s something close, but search sugar pearls if you want something else.
- Prep Time: 15 minutes
- Category: dessert
- Method: no bake
- Cuisine: American