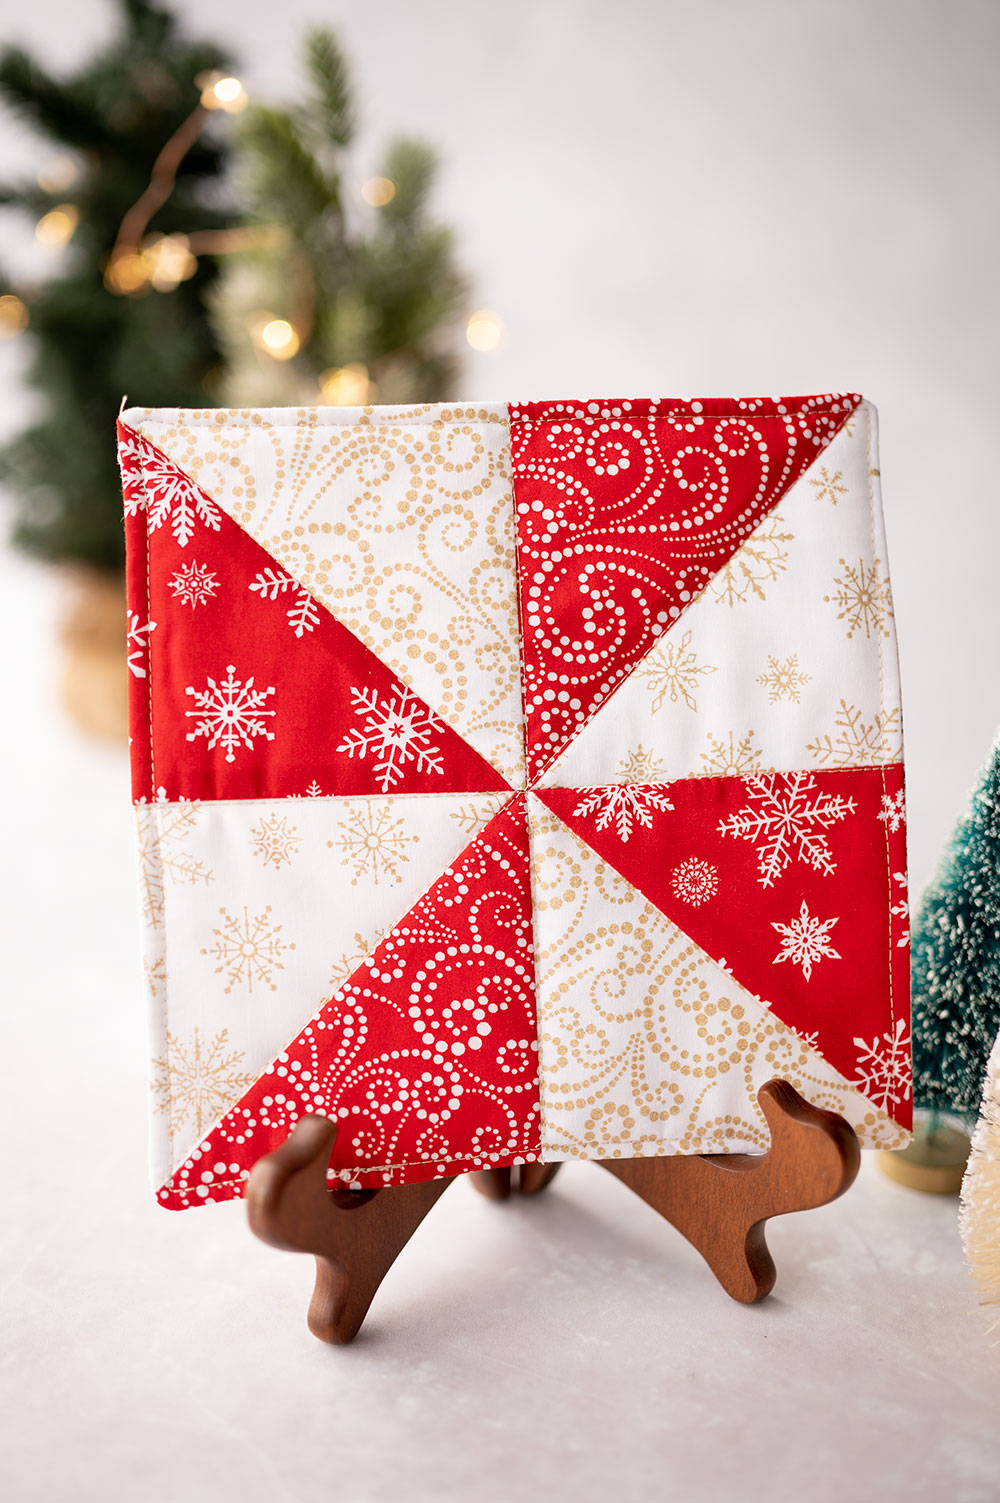
Ribbon Star Quilt Block
This post has affiliate links to products I use and love. If you buy something I can make a small commission, so thanks in advance. 🙂
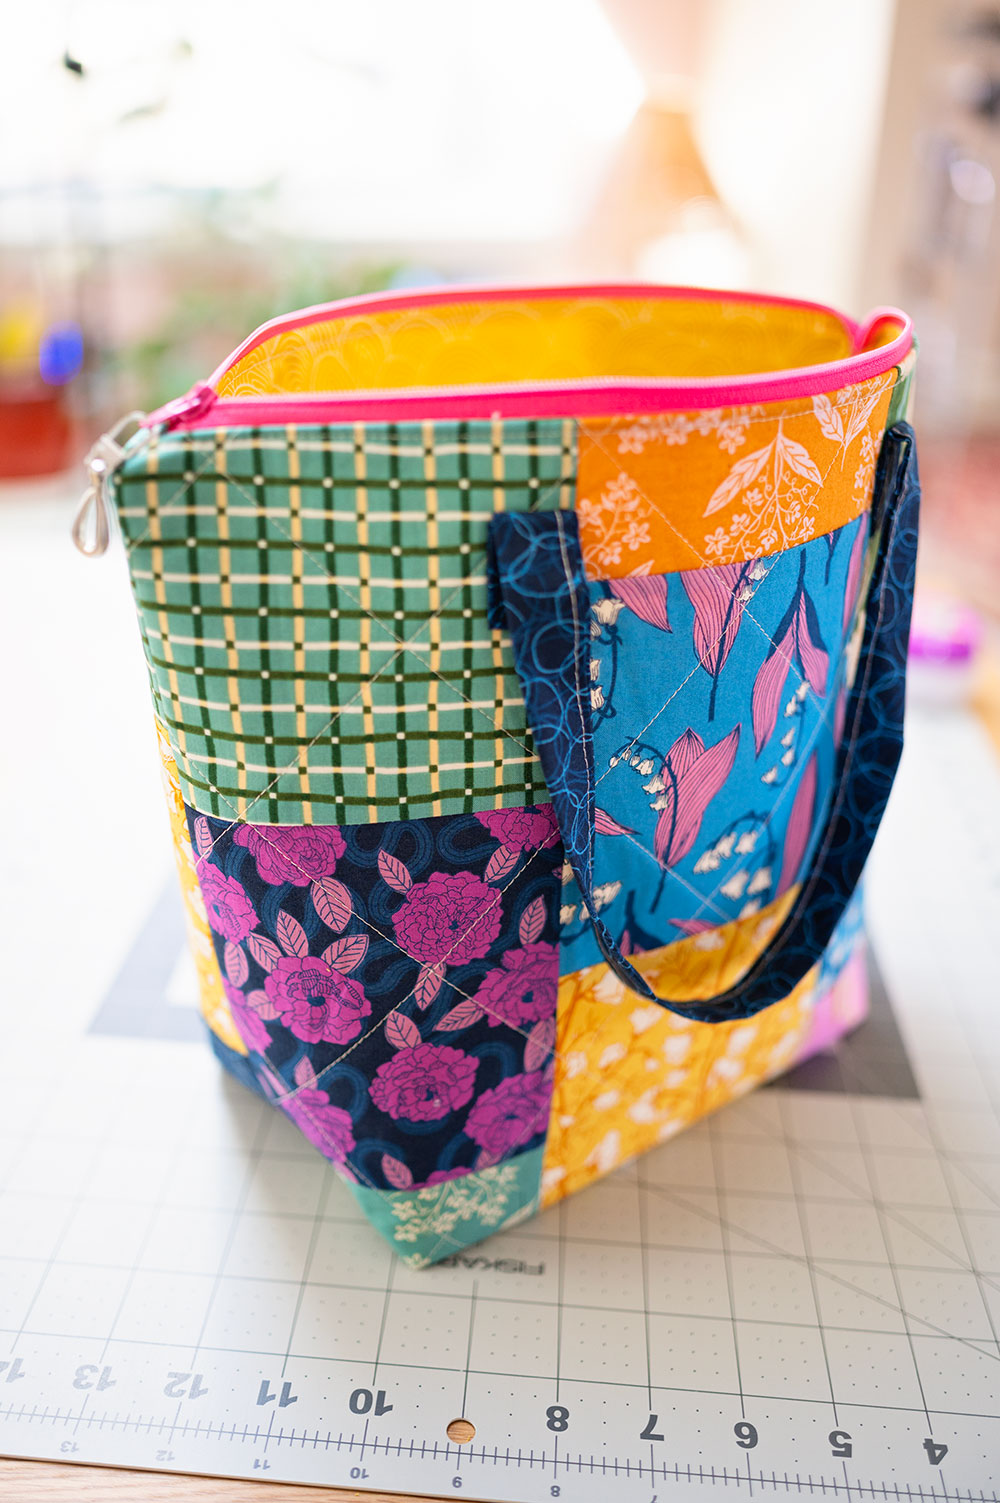
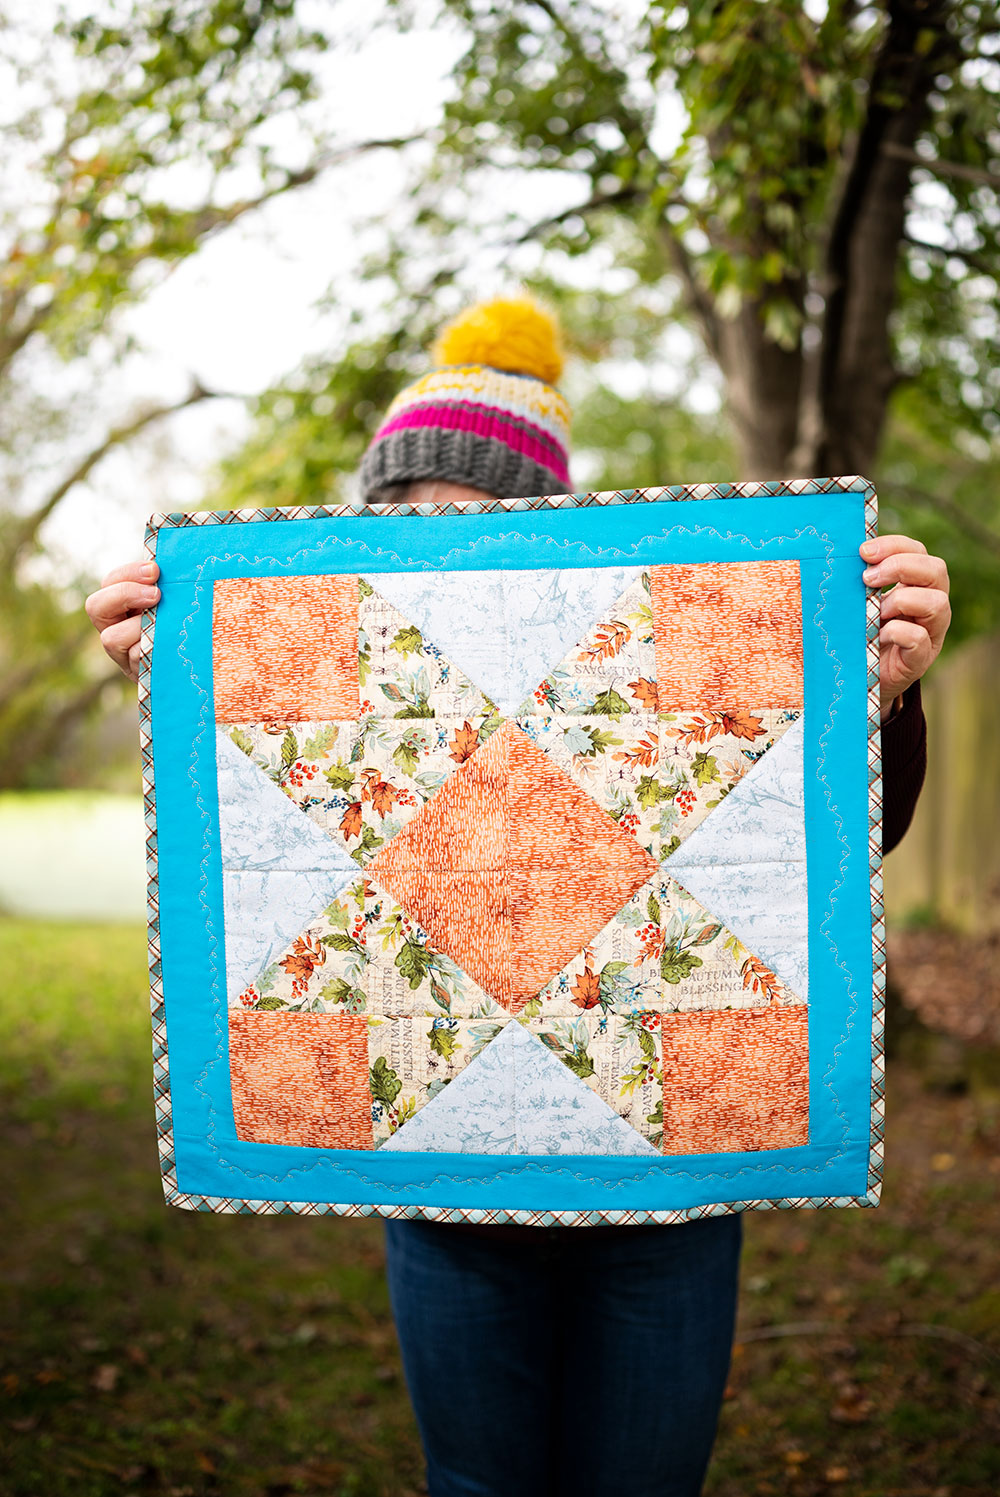
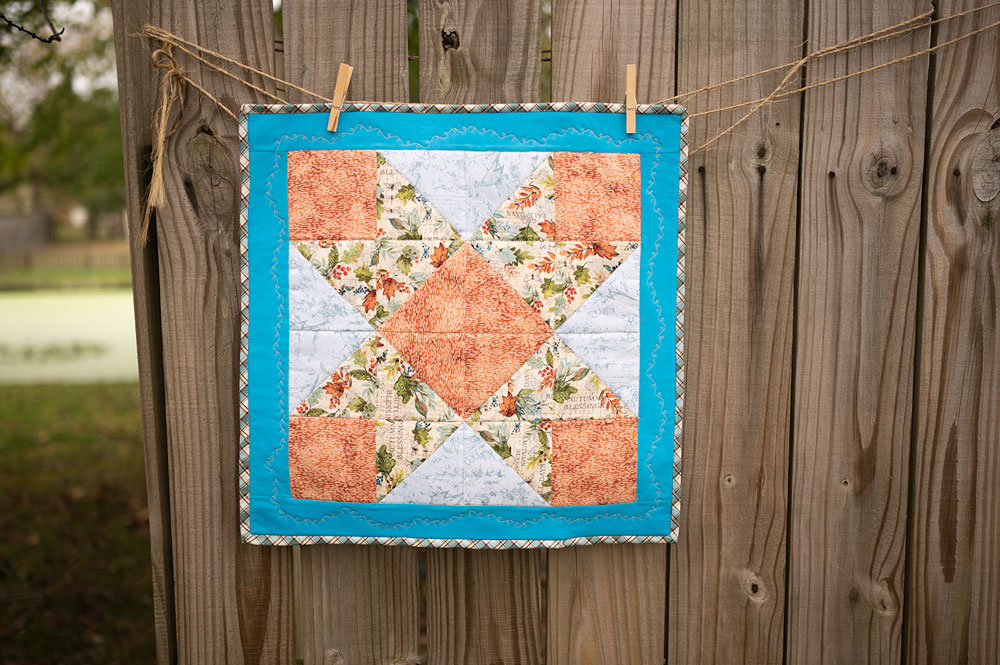
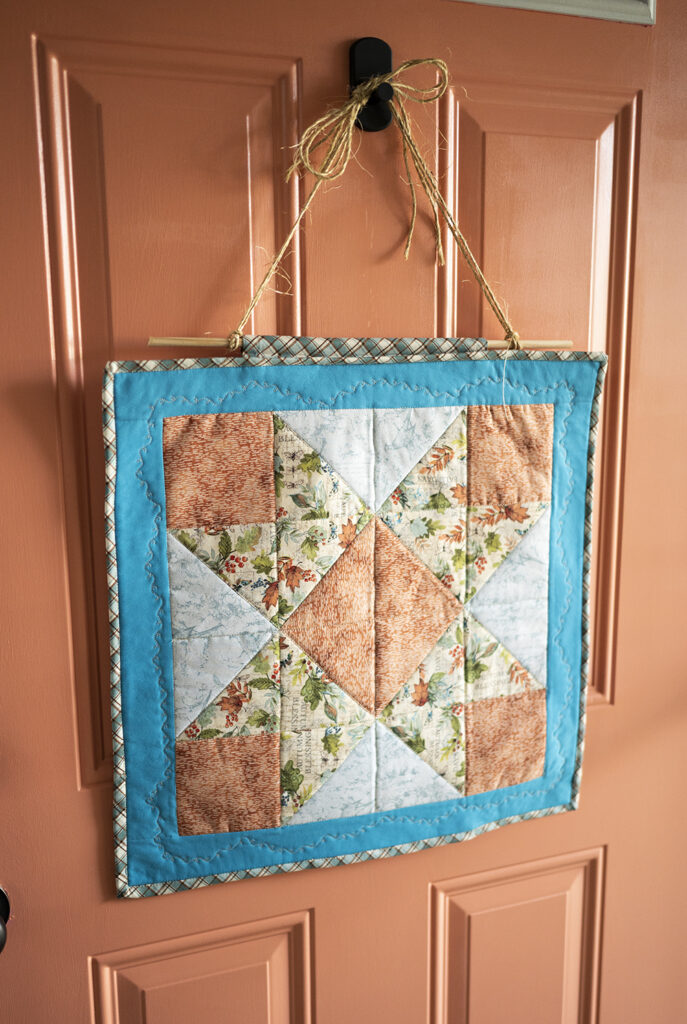
Piece a perfect Ribbon Star Quilt Block suitable on it’s own as a mini hanging quilt, or to use with multiple blocks on a full sized quilt or table runner. For this tutorial, we will make a single block into a small quilt designed to display on your front door.
The Ribbon Star Quilt Block is ideal for beginner quilters. It’s essentially a 4-patch block using half-square triangles. I piece this one row by row, but it could be done in 4 patch pieces as the block is 16 total blocks. You know how I love a good 4 patch!
We don’t know where this block originated but the name comes from the corners that look like cut ends of a ribbon.
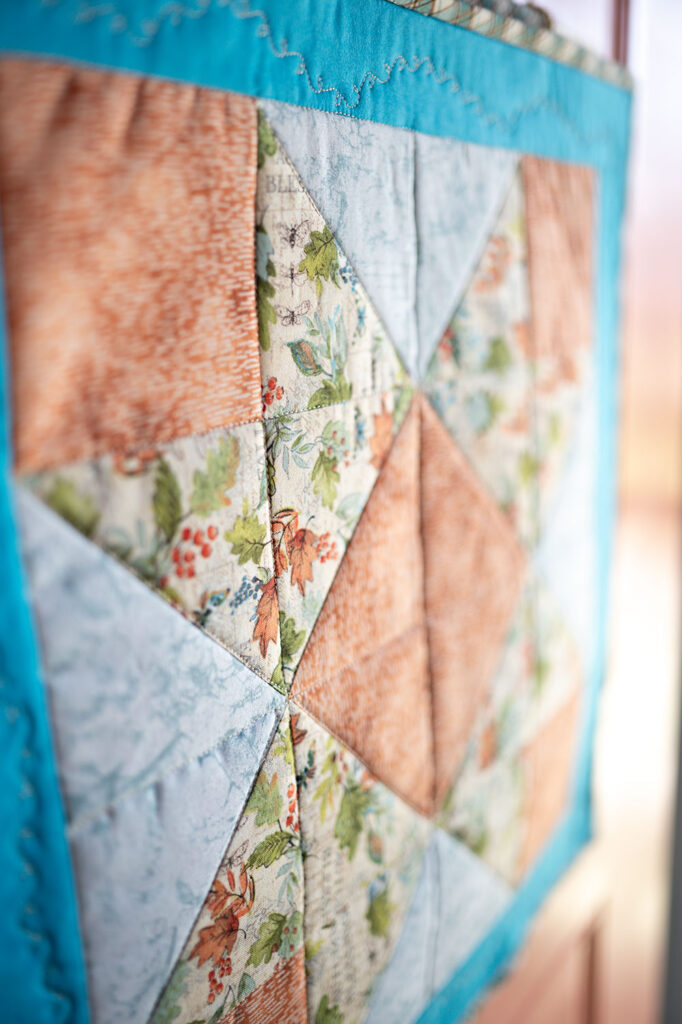
Let’s take a look at the beautiful Ribbon Star Block in today’s finished quilt project. And don’t worry if it seems complicated, because there is a printable pdf with the pattern for you at the end of the post.
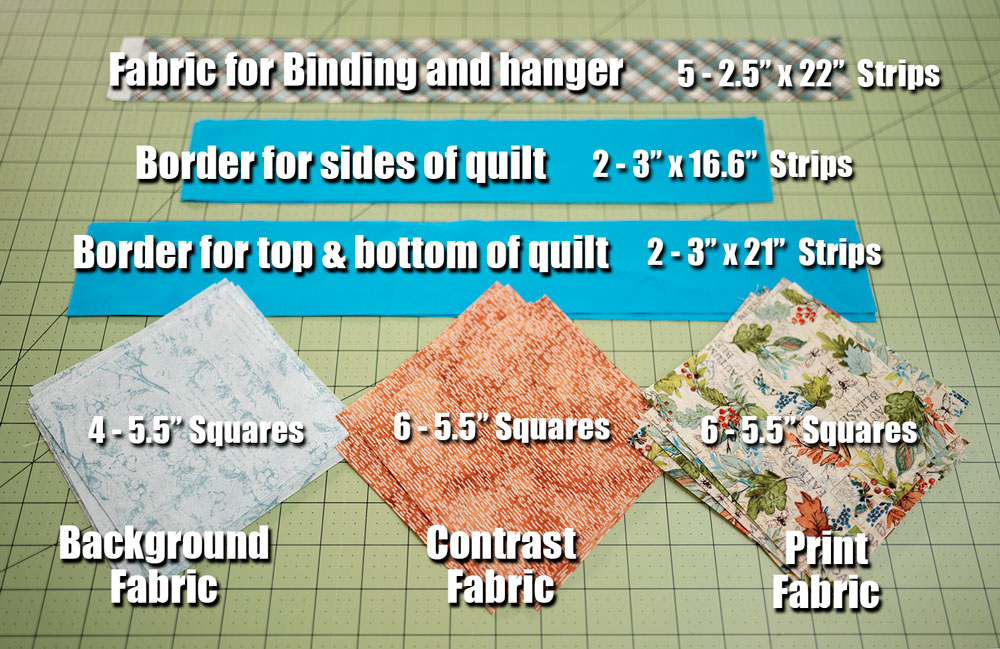
Materials for the Ribbon Star Mini Quilt:
- 4 blocks in a Background Print cut in a 5.5″ squares
- 6 blocks in a Primary Print cut in a 5.5″ squares
- 6 blocks in a Contrast Print cut in a 5.5″ squares
- 2 strips 3″ x 16.5″ for side sashing
- 2 strips 3″ x 21″ for top and bottom sashing
- 2.5″ strips cut and pieced to make a strip for binding measuring about 90″
- 2.5″ strip cut to match binding cut to a 10″ length to make the sleeve for hanging the quilt
- Wooden dowel cut to a 17″ length to make a quilt hanger
- Twine to use as a way to hang the quilt
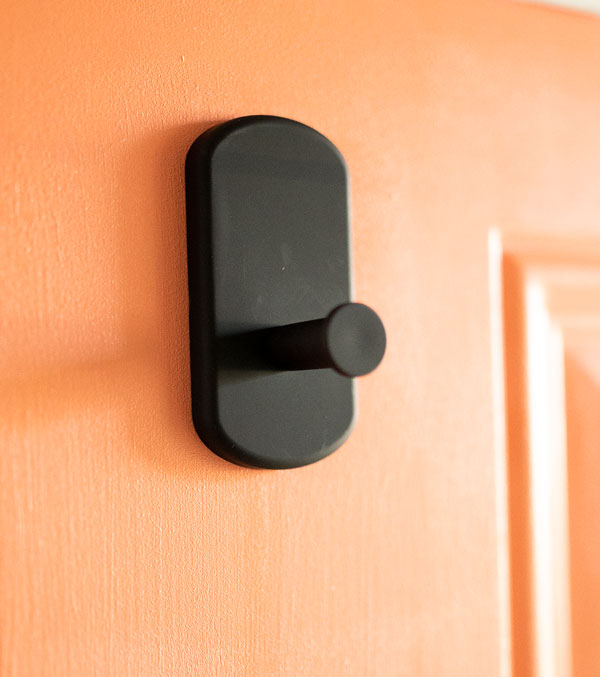
- Super strong magnet to put on the door to hang the quilt on the front door. Optional if you have something else, but I found this worked best for me.
- About a 1/2 yard of fabric to serve as the backing fabric. I used inexpensive cream muslin from stash.
- Quilt batting of your choice. I used fusible batting from stash.
- Thread for piecing and quilting.
Tools to construct the Ribbon Star Mini Quilt:
- Cutting Mat
- Rotary Cutter
- 6.5″ x 24″ quilting ruler
- 4.5″ square quilting ruler
- Triangle quilting ruler
- Disappearing ink pen (or some way to make stitch and cut lines on your HST blocks)
- 1/4″ seam foot (or your setup for achieving and accurate 1/4″ seam
- Walking foot
- Fabric scissors
- Spray starch
- Iron
- Ironing board
- Sewing Machine
Steps to make the Ribbon Star Quilt Mini Quilt:
- Cut your fabrics. I used fat quarters for the star block and the binding. The sash fabric was a solid I had in stash that I thought was a complimentary shade to the star block.
- Piece the HST blocks.
- Place a light and a dark fabric square right sides together.
- Using the disappearing ink pen, draw a diagonal line from one corner to the opposite corner of the squares .
- On either side of this diagonal line, draw another line 1/4″ from that center line. The outer lines are the stitch lines and the central line in the cut line. Sew along both stitch lines on all the marked Half Square Triangle squares.
- Using your quilting ruler and rotary cutter, cut along the central line.
- Press seams to one side, and trim the block down to 4 1/2″ using a square quilting ruler.
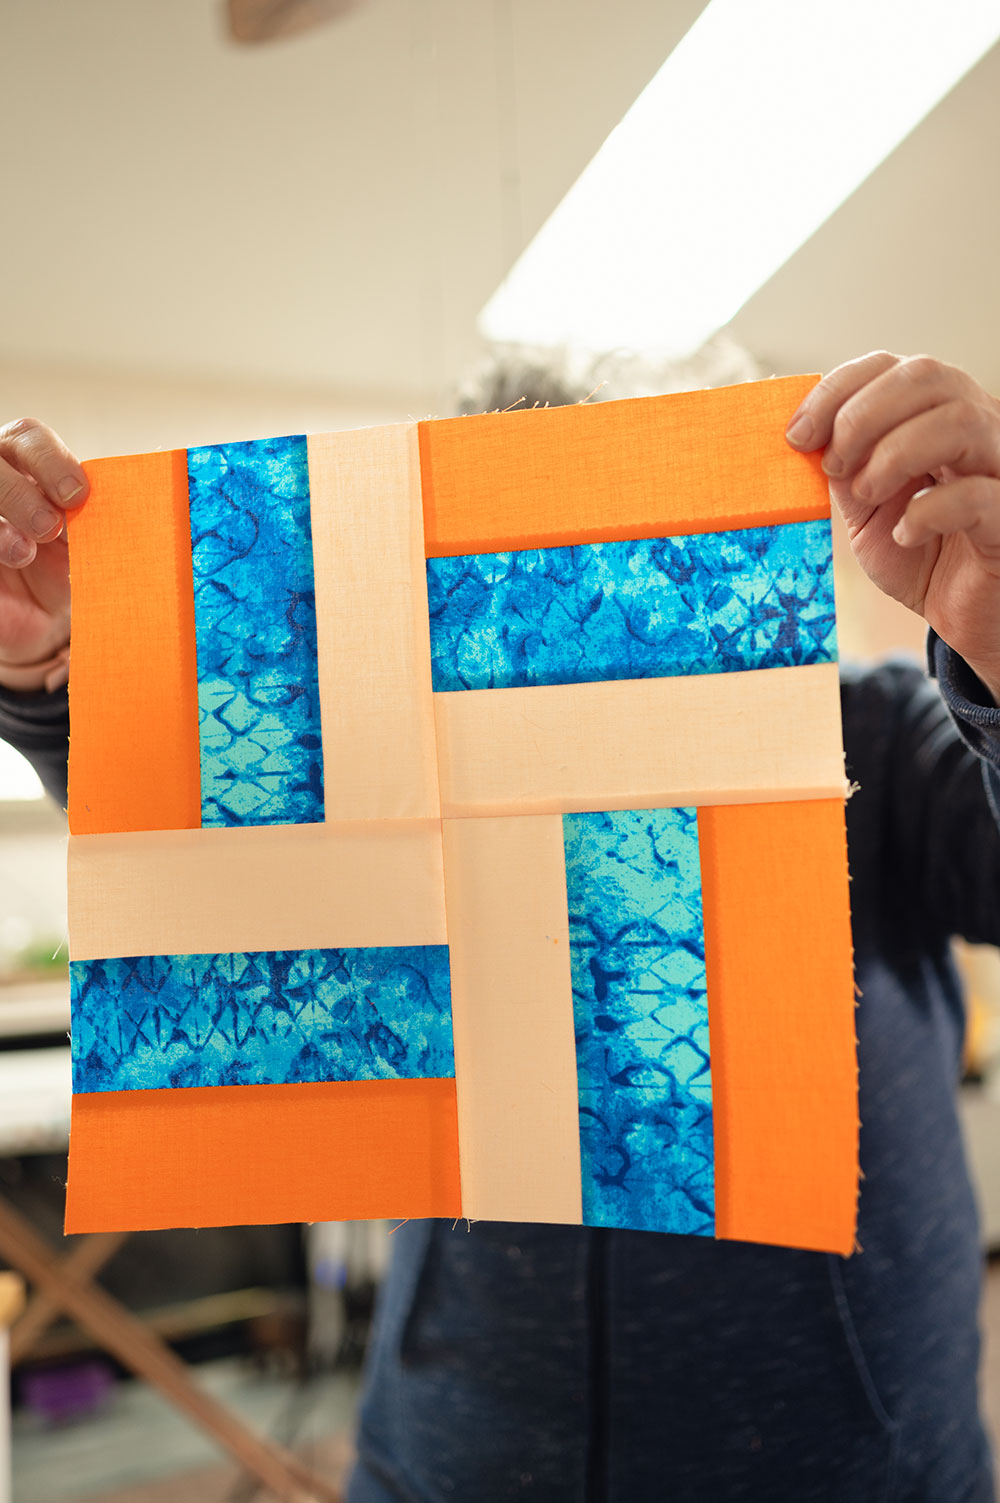
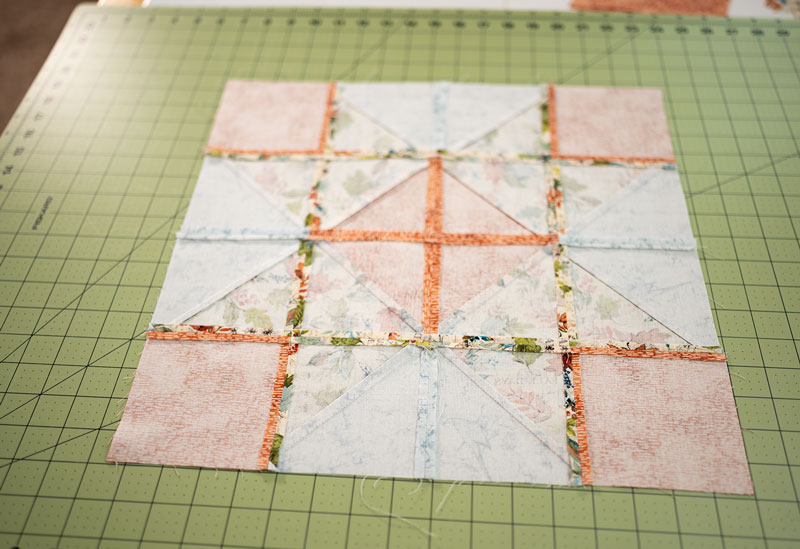
- Arrange your blocks and HSTs (half square triangles) in correct layout (pictured below).
- Using a quarter inch seam allowance, sew together across in rows. You will make 4 rows of four blocks each. Make the 4 rows.
- First join the top and bottom rows lengthwise, using a quarter inch seam allowance, then join the bottom two rows together. Join the two halves along the central seam. Take time to press your seams open along the rows.
- Press the completed block .

I’ve created a block assembly diagram that is available as a FREE downloadable PDF that includes the Ribbon Star Quilt Block Cutting Instructions. I find a diagram is the easiest way to see how to put the blocks together. I am a visual learner, and struggle with instructions given in long lists with lots of numbers. It’s very hard for me to process. But when I have a picture and I keep my cuts to whole or half numbers, I can put the block together.
To complete the project:
- Stitch on the sashing using 1/4″ seam allowances. Attach first the sides and then the top and bottom.
- Apply the quilt batting according to manufacturer’s instructions.
- Make your quilt sandwich and quilt as desired. I used special safety pins to keep the sandwich together. Then followed stitch in the ditch methods for quilting my quilt. I also used a decorative stitch on the sashing to dress up the look a bit more.
- Square up the mini quilt
- Apply quilt binding.
If you need a little more detail on the basic quilting process, you might enjoy the story I wrote about my Charm Square Quilt.
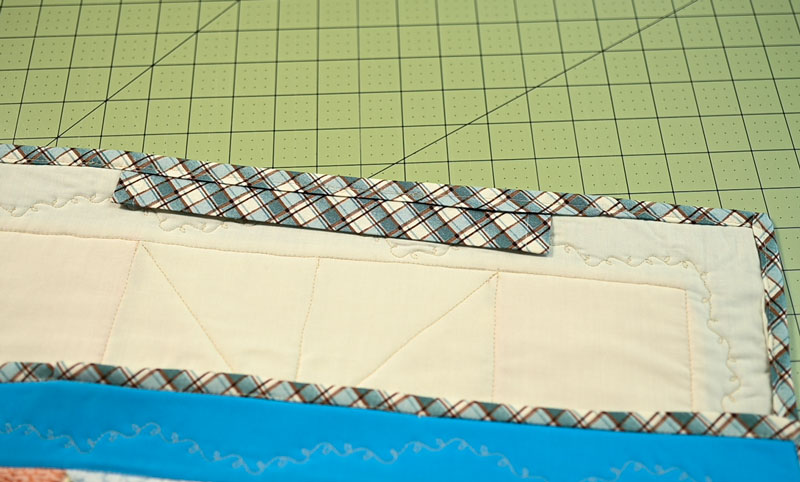
To make the sleeve for hanging:
- Using the same fabric as the binding, cut a strip 10″ by 2.5″.
- Fold 1/4″ and 1/4″ again on both ends to enclose the raw edges on the short sides of the strip.
- Run a stitch line to secure the ends. This is essentially hemming the ends.
- Fold strip long ways with wrong sides together.
- Put it to the side until time to put the binding on the quilt.
- As you stitch the back side of the quilt down, when arriving at the top of the quilt, tuck the sleeve under the backside binding with the raw edge under the binding. The stitching should then catch both the backside of the binding and the sleeve simultaneously.
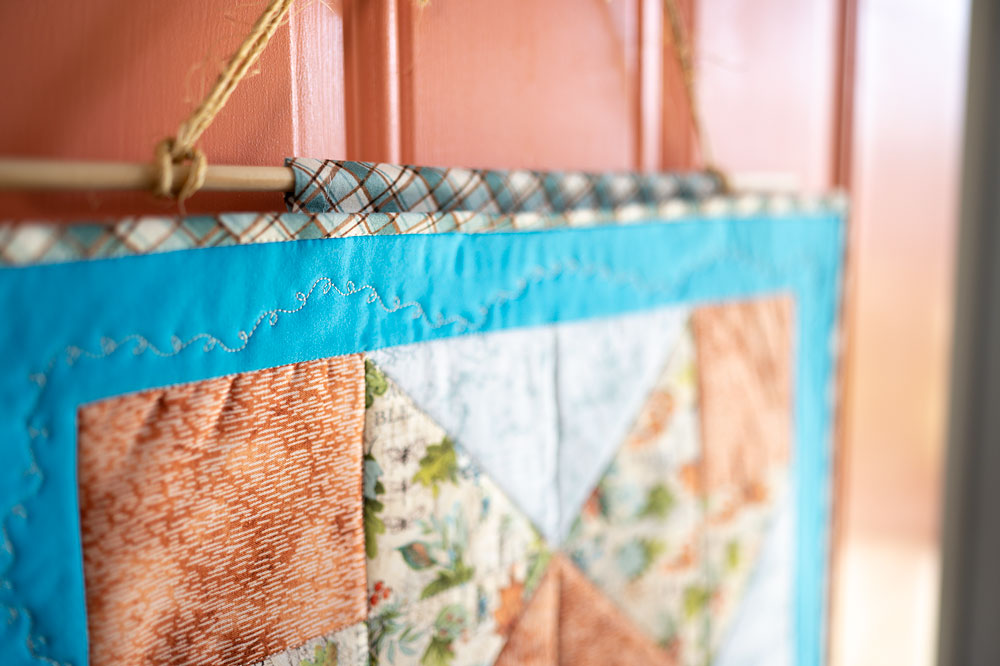
- When the binding is finished, slip the dowel through the sleeve and with a lark’s head knot tie twine to both ends of the dowel and tie those ends in a bow to connect.
- Hang on the front door using the super strong magnet.
- Enjoy!

Close up of the sleeve 
Fall Harvest Door Quilt 
The magnet hanger
Are you ready to cut and quilt this beauty of a project? Simply click the button below for the free pattern.
Please enjoy the video I made for you showing my process for putting this quilting project together as well as a quick over view of how I did the cutting and sewing.
Thanks for dropping by! Please sign up for my email list while you’re here and make sure to subscribe to my youtube channel.

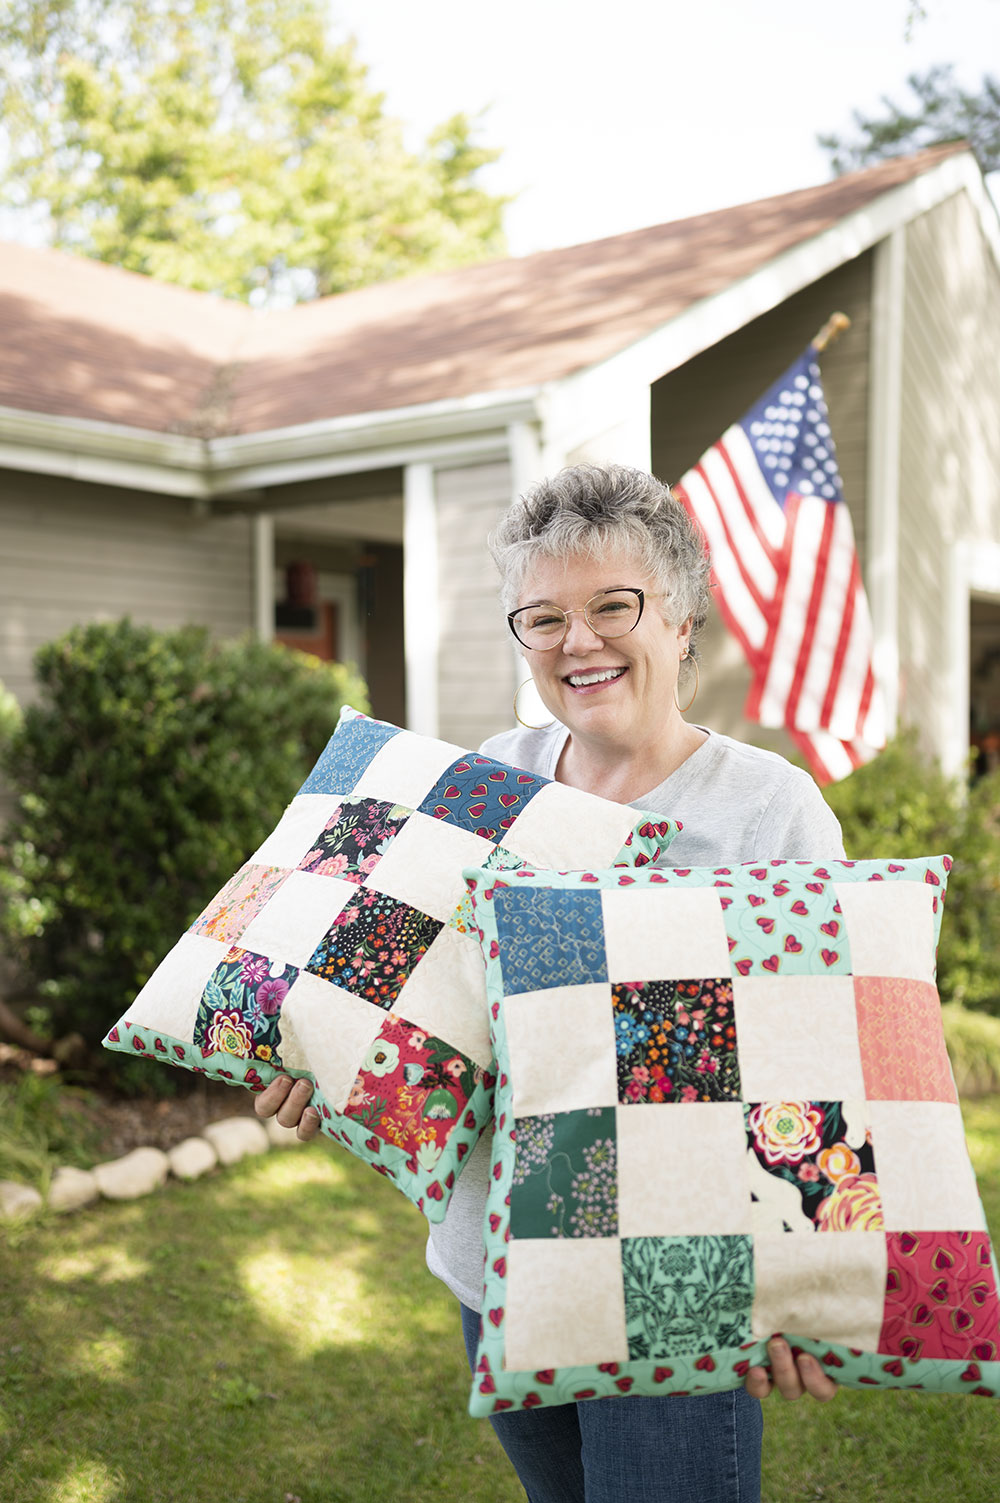
Hi, I’m Pattymac
Sewist, Maker, Baker
I’m a creative lifestyle blogger living and working in Coastal Virginia. When I’m not mixing or stitching or taking pictures, I’m out exploring the cook book section of my favorite library or munching my own home baked cookies at a mid week movie matinee.