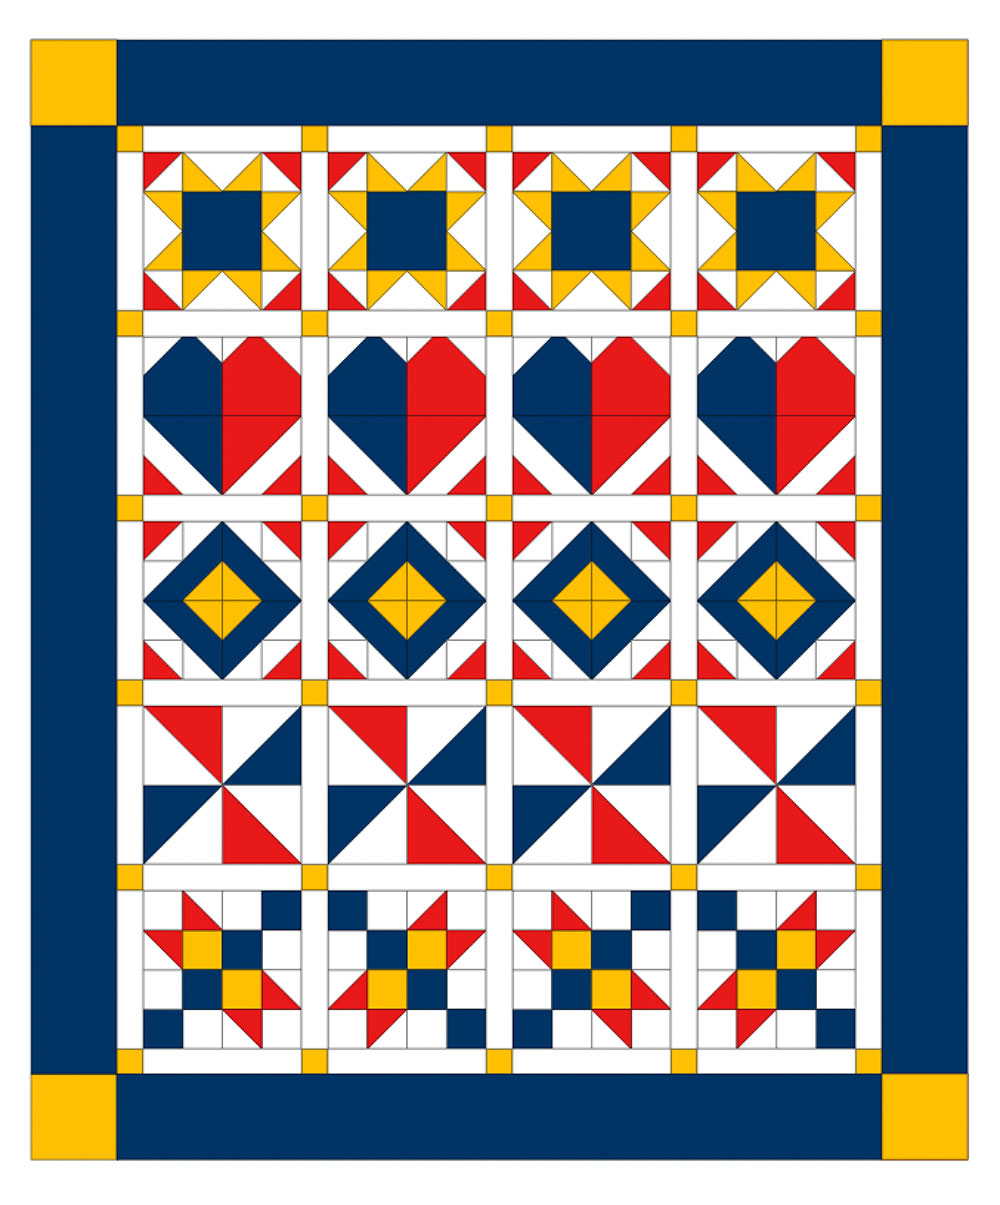
How I sewed my Charm Quilt
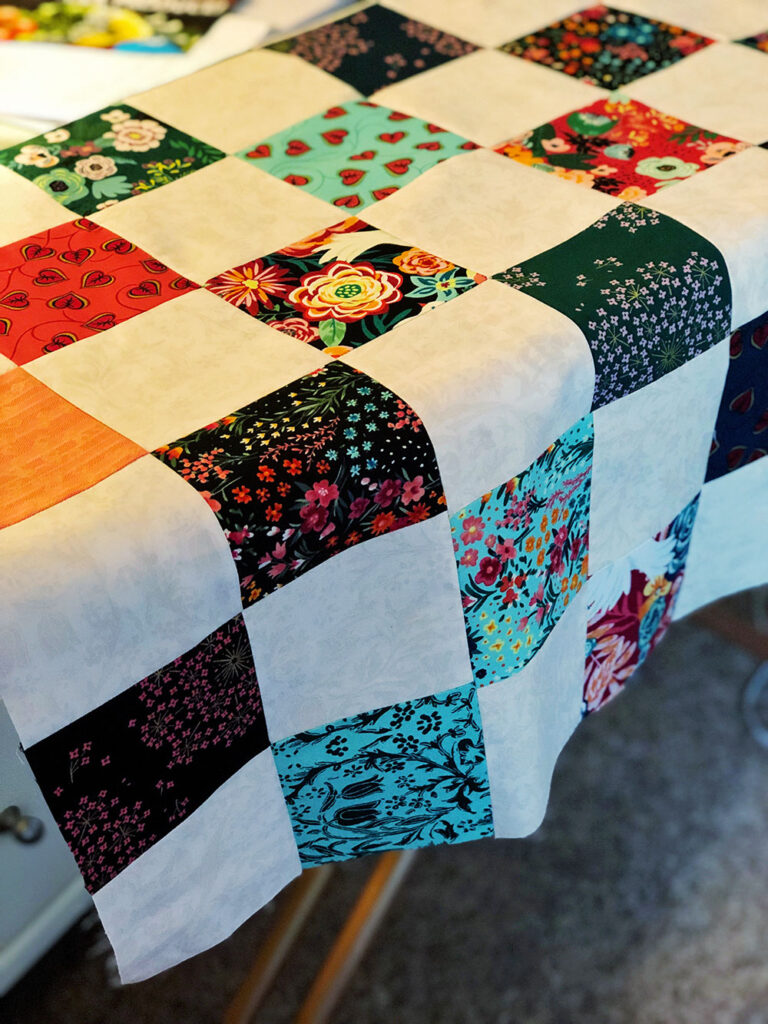
Say hello to my charm quilt. I’ve made smaller projects that incorporate precut fabrics, but this is my first official full sized charm quilt.
What’s not to love about quilting? It draws us in with it’s lure of color and shapes, and it’s infinite ability to be personalized. Simply change the fabric collection, and you’ve got a whole new quilt design using an identical pattern.
When I say this is my first quilt project, I fib just a little. My actual first quilt was a strip quilt with very large blocks. I still think that’s the best first quilt, and truly something that can be cut and sewn in an afternoon. We will be making one in just a bit, so stick around.
But until then….
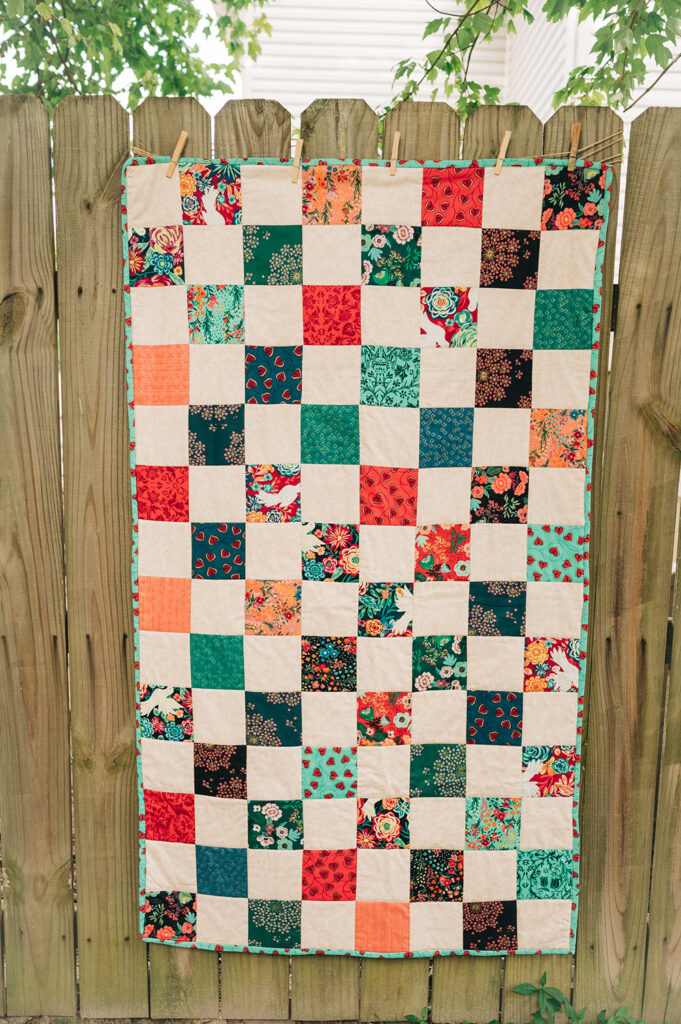
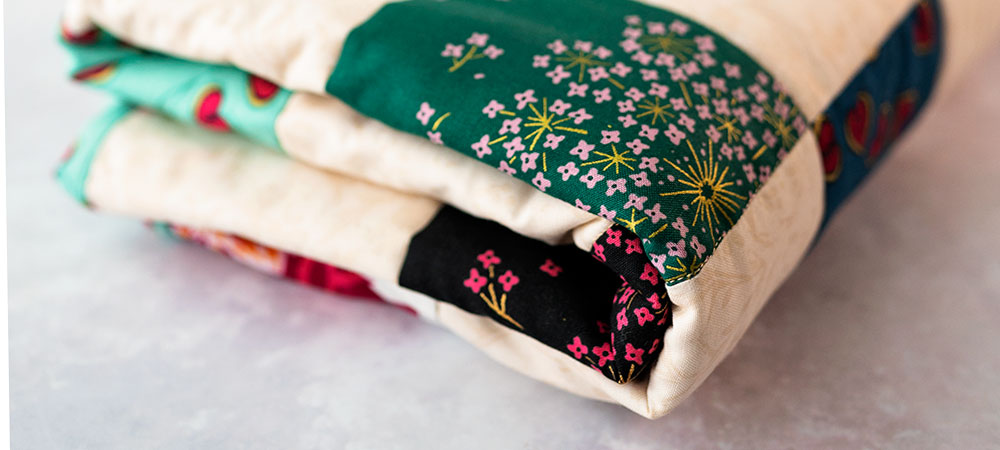
In all her glorious imperfections, I still find this charm quilt to be absolutely beautiful. Sure she’s full of mistakes, and there are places I could have done a better job in placing blocks together.
In spite of the obvious issues, it’s still something I am proud of and I love.
How did I get started?
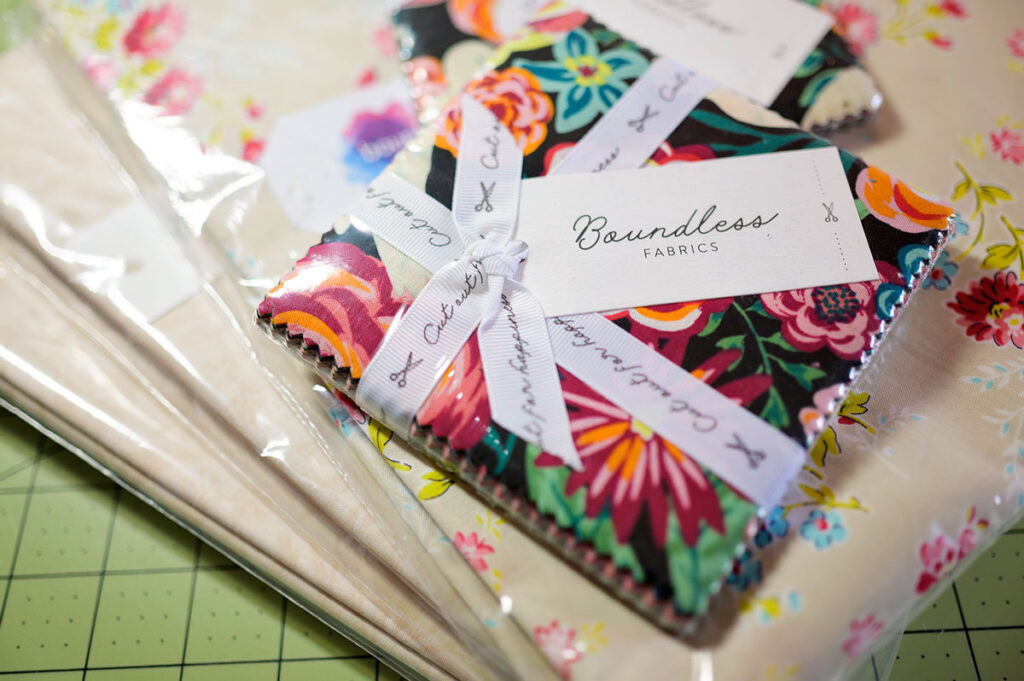
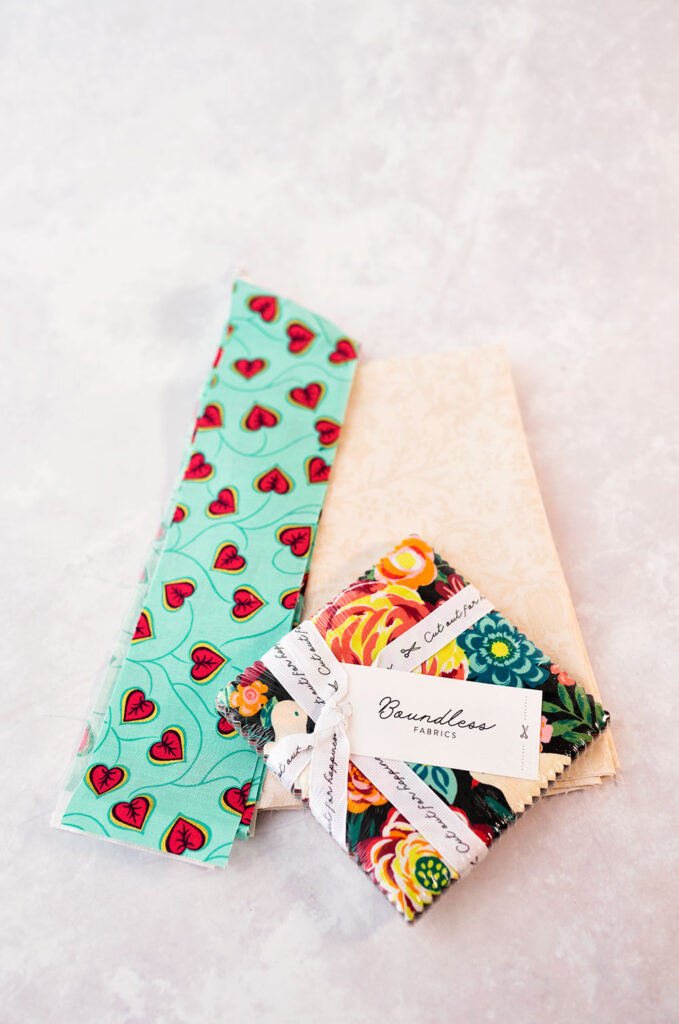
I started with fabric selection. I bought a couple of charm packs, which are 5″ square precuts. I knew I wanted to use that for my starting point. I bought the cream tone on tone print in yardage to go with the precuts, and I also bought some yardage in a couple of other fabrics from this collection.
Some people are vehemently against using precuts. Personally, I love them. Here’s why:
- They are already cut into perfect 5″ squares, so no extra cutting.
- They include a couple of squares from EACH fabric in the collection, so you get lots of prints to play with. Otherwise, you would have to buy small cuts of every single fabric and still cut everything down. This would also leave a lot of smallish scraps that will sit in a scrap stash collection.
- With everything already cut and so many prints included in one package, you can jump right into the process of playing with fabric.
- Placing color and prints together in quilting is a skill that has to be learned and practiced to do it well. A charm pack is cut from one collection, so everything in the pack will go together. No agonizing over fabric choices while staring at a wall of fabric, or a long page of choices on a website. Buy a couple of charm packs and you have the hardest part of getting started done for you.
Here are some tips on piecing the quilt top.
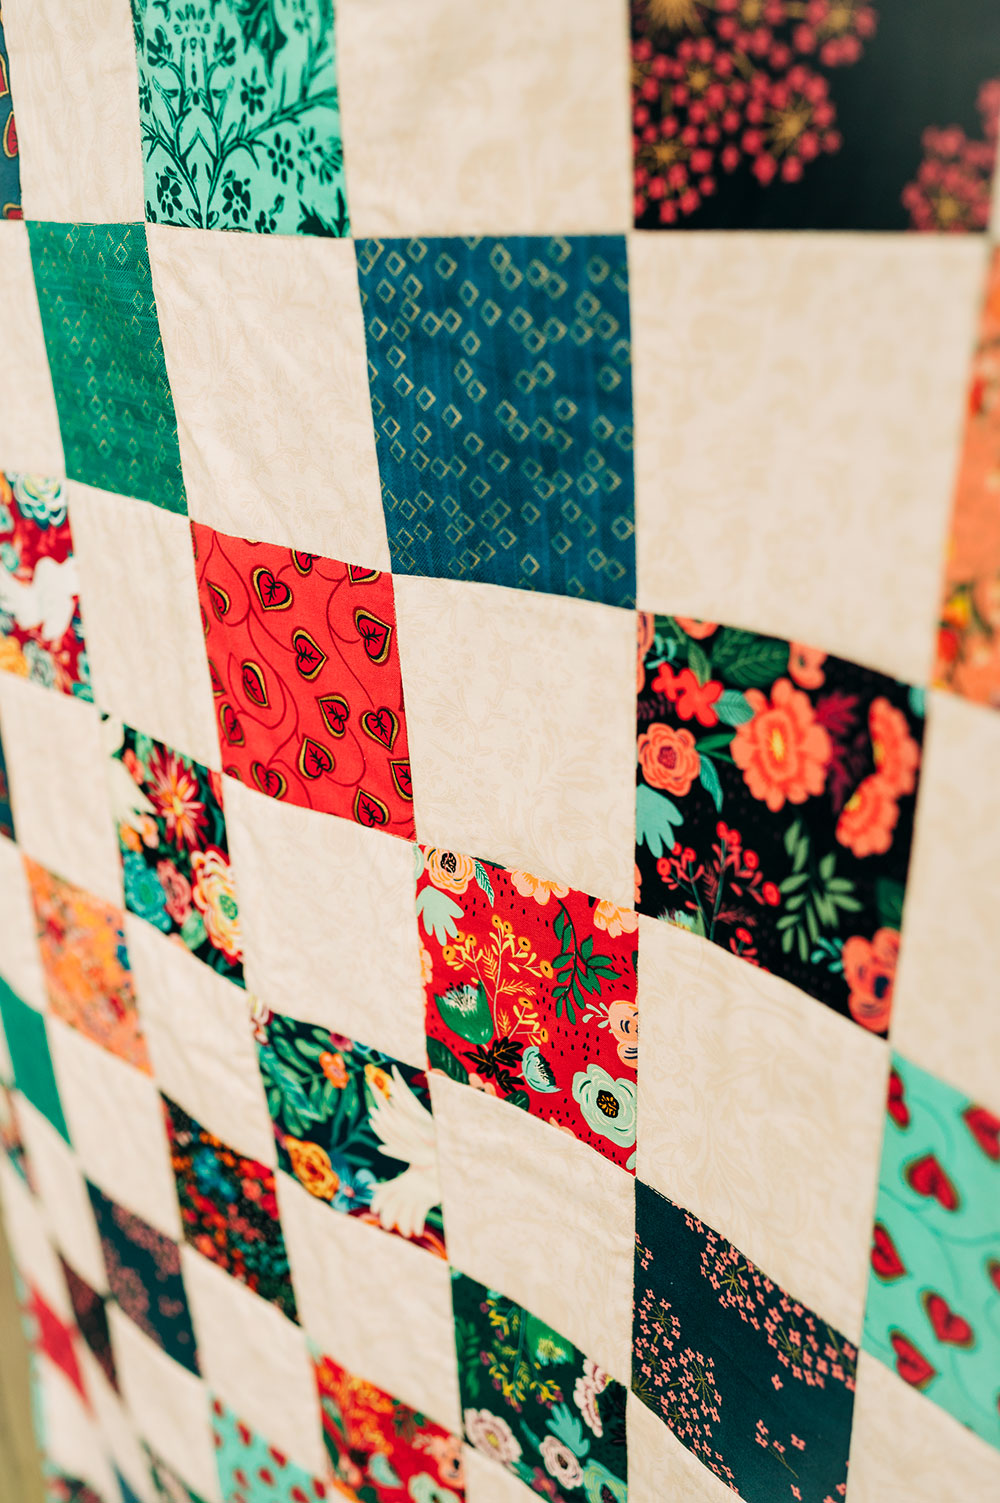
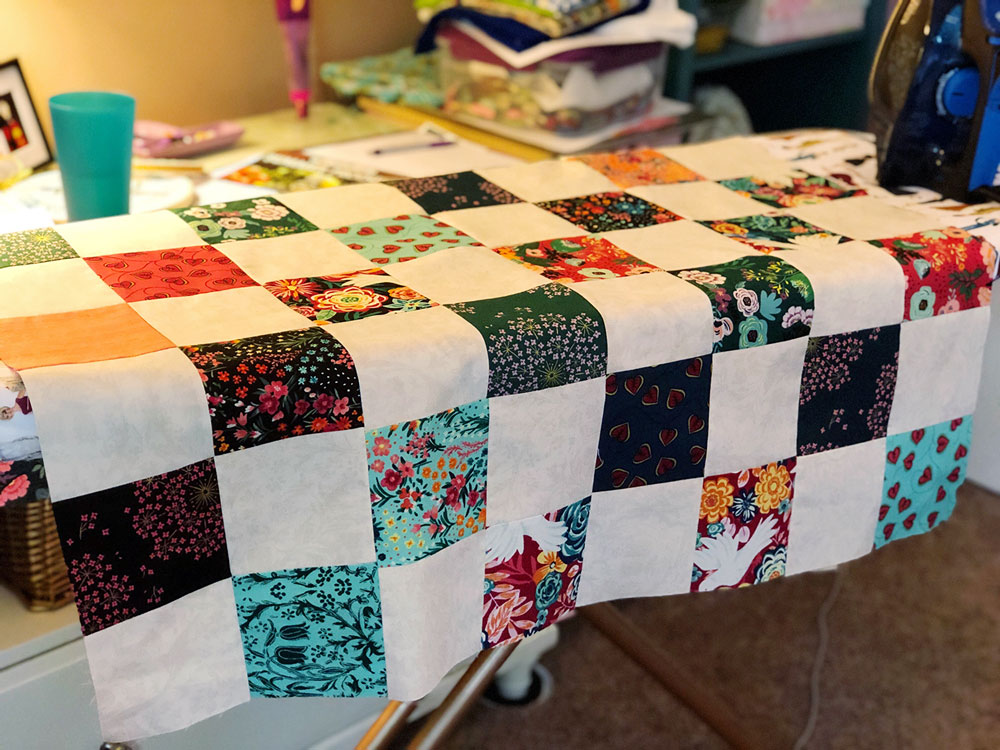
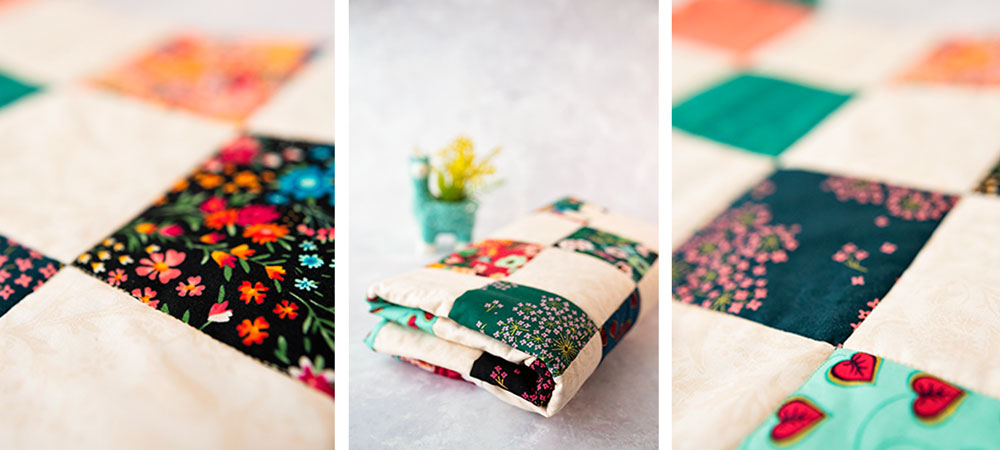
- When I first started piecing, I thought that the colors and prints in this collection were so vibrant that putting them all next to each other was too busy. So I cut 5″ squares from the cream tone on tone yardage I purchased to place in between the color blocks.
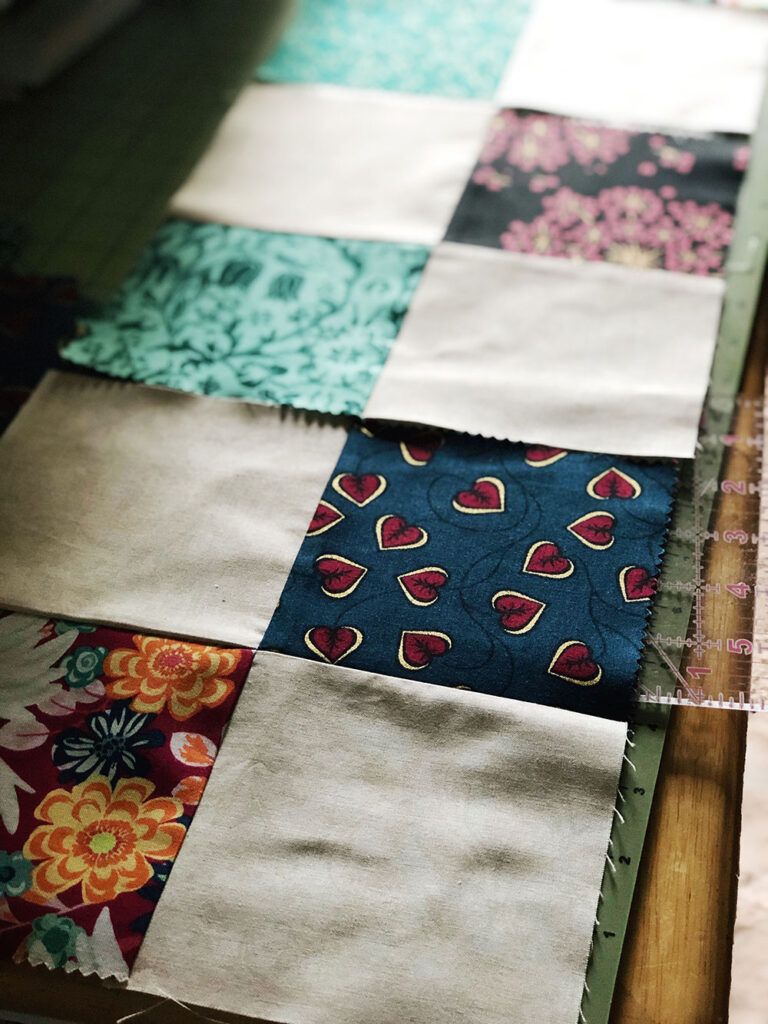
- I do recommend buying a neutral from the collection to use as a ground when placing fabric from the charm pack together. I cut 5″ strips from the width of fabric, and then cut those strips to 5″ blocks.
- I sewed 4 patch blocks consisting of 2 prints and 2 neutrals. Then I trimmed the blocks and sewed those trimmed blocks together to complete a row. This made it easier to keep my corners square, and overall I think it was easier to put a row together from 4 blocks rather than 8 individual blocks.
- Sewing in blocks allowed me to utilize chain piecing which made for more accurate sewing, saved thread, and let me put the quilt top together faster.
I was inspired by a video from Midnight Quilt Show to make a charm quilt. In the video, the daughter makes the project, and they piece and quilt a queen sized project in a night. They sewed long rows of blocks and then sewed the rows together. This was a Bluprint produced class so while it was fun to watch and really beautiful, they left out about 90% of the project, as is usual for anything from Bluprint.
But it did inspire me to get started on my first big quilt project. And half the battle with a project like this, is getting started. The other half is finishing.
Once your quilt top is sewn, you then have to construct the quilt sandwich. Which is
- The completed quilt top.
- The quilt batting.
- The backing fabric.
Some tips on getting your quilt pieces together:
- Make your first quilt a smaller quilt. It’s more manageable. Starting with a California King sized quilt is a sure way to burn yourself out on the whole process. My quilt is approximately a twin size version, so it’s perfect for your lap or to cover up while luxuriating in an afternoon nap.
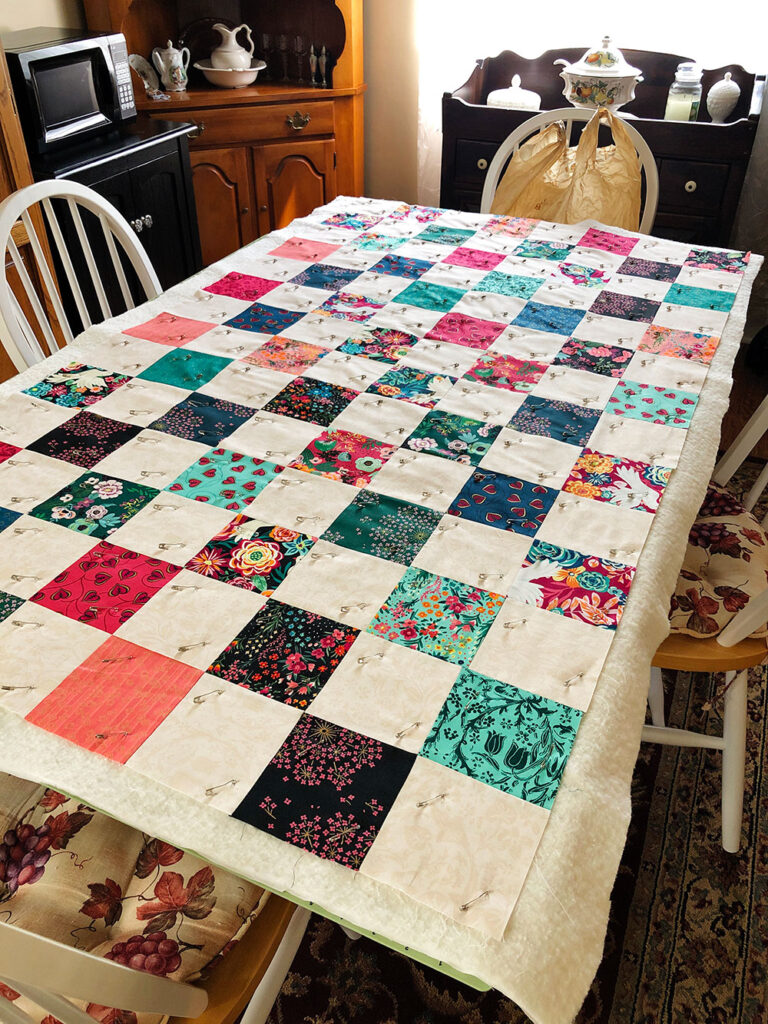
- Find a perfectly flat, clean surface where you can lay out the components and leave them there for a couple of days. I used my dining room table with the extenders pulled out. It’s just under 6′ long so I could get everything laid out neatly.
- To get a neat sandwich, you really want your fabric to be completely flat with all wrinkles and puckers smoothed flat. A good press with a little spray starch is what I recommend here. I also pressed out the batting to make sure there were no wrinkles as it was rolled in a bag and had some crumpled parts.
- To make the sandwich, lay out the backing fabric wrong side up, place the quilt batting, place the quilt top right side up. Carefully smooth each layer before adding the next. Make sure your backing and batting pieces extend at least 2″ beyond the edges of your quilt top all the way around.
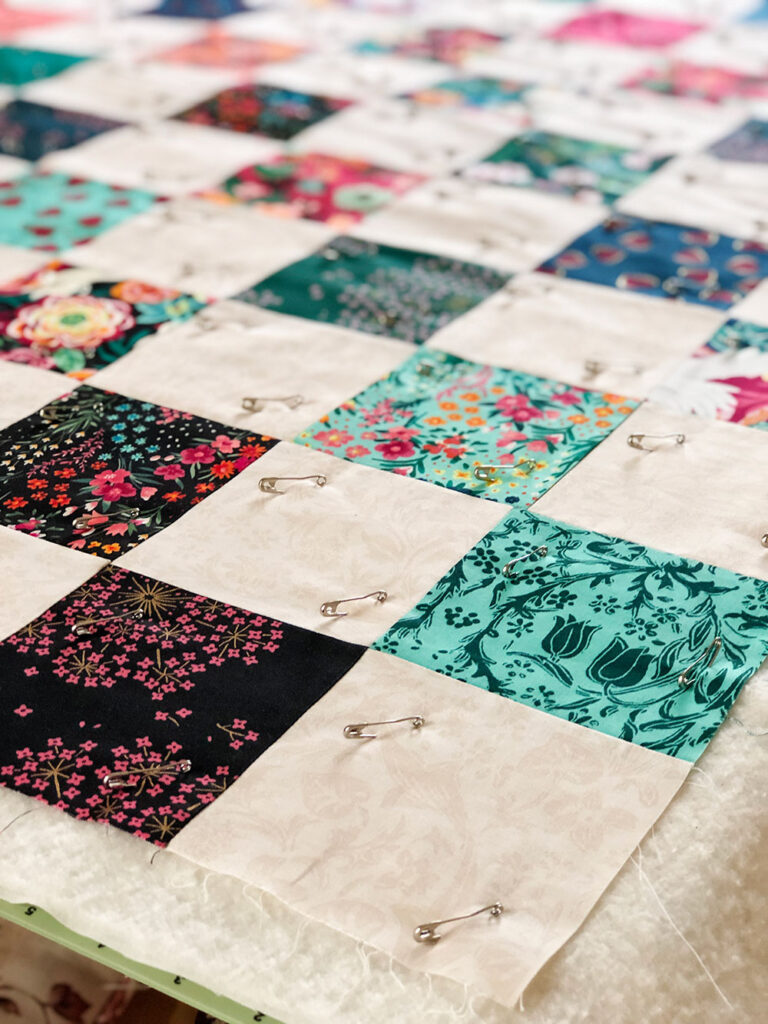
- Baste the quilt the sandwich so it stays in place once you start quilting the layers together. I went with the pin basting method and used 2 pins per block. I made sure to leave enough space between the pin and my stitch lines so I could leave the pins in place until the entire quilt was sewn together. You know, the actual quilting part. Which, by the way, I did all on the sewing machine.
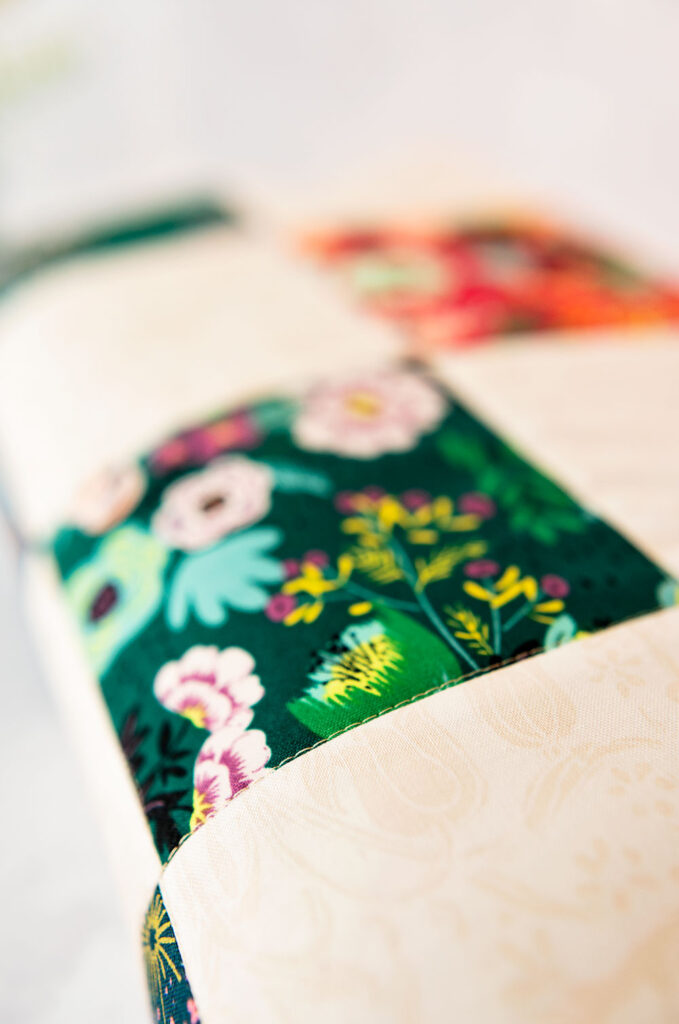
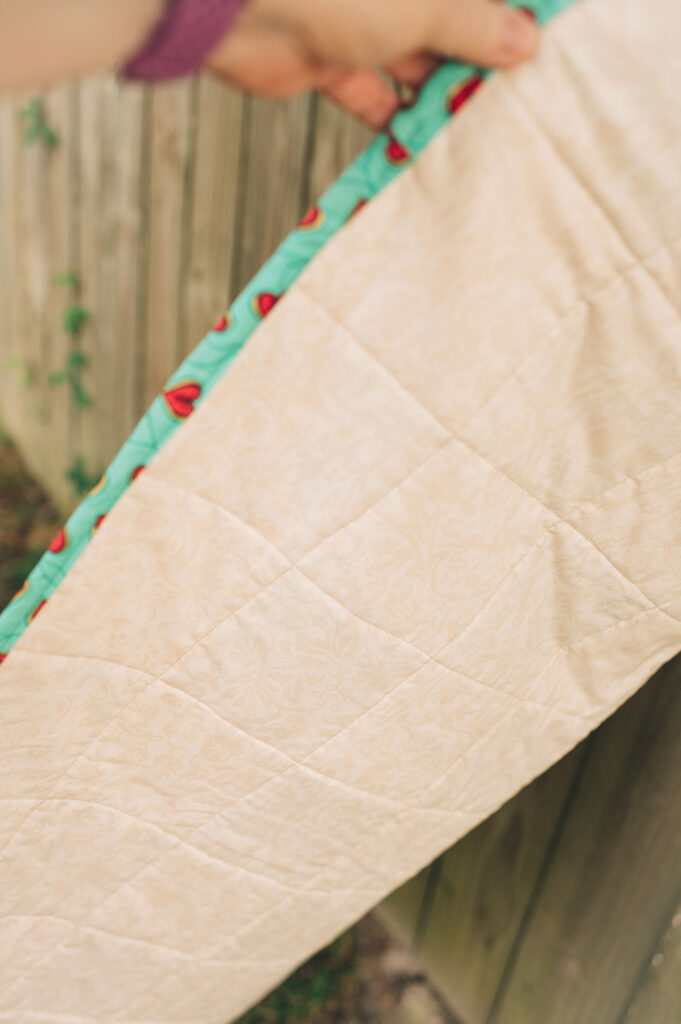
- As far as quilting goes, I did the basic stitch in the ditch technique. The quilt is stitched long ways and horizontal, following the lines of the blocks. I used a walking foot and a 3mm stitch length. I started in the middle and worked my way out. I also stitched the edges down so it would stay together after trimming and make the binding process easier.

How to finish your quilt:
- Once all the layers are quilted together, remove your basting. For me it was safety pins, for someone else it could be stitching. A word on the safety pins…there are special ones designed for quilting and are curved on one side to make it easier to secure the sandwich. Use that type if you are going to pin baste.
- After all the pins were out, I gave my quilted quilt a good press.
- Then it was time to trim down the edges. I used my quilt ruler to be sure my corners were square. It’s important to have good square corners to help the binding go on well.

Some thoughts on quilt binding:
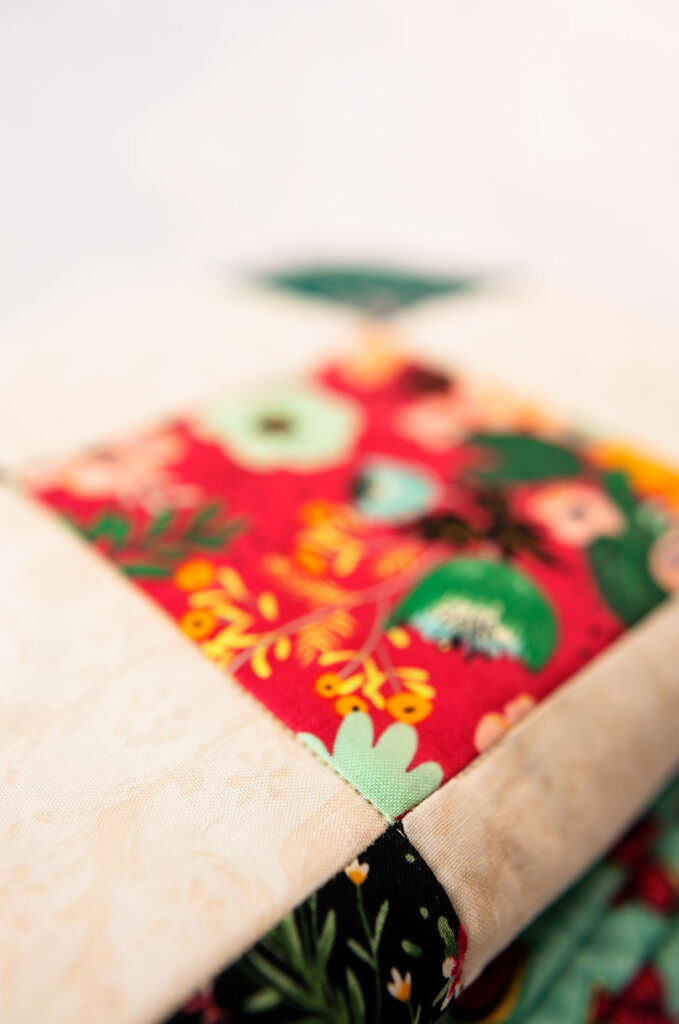
- I sewed my binding from another fabric I acquired in yardage from the same collection. I cut 3″ strips on the width of fabric. I then joined them at 45 degree angles for the best fit. You want one long strip of fabric that will go all the way around your quilt in a single piece. Leave plenty of overlap to aid in joining the two ends.
- I cut my binding strips a little wider than usual to give me a bit more fabric. I’m glad I did it that way. I did not find this to be the easiest part of the process, and I was glad to have a wee bit more fabric width to help me finish the quilt.
- I machine sewed the binding onto the quilt on the front side just like any other quilt tutorial. We will talk more about this in a different blog post. It’s a post all on it’s own, as is each part of this process, so please consider this story an over view of my project and not an end all be all tutorial.
- Once you have the front sewn on, you generally turn the binding, secure it and HAND STITCH the backing. Um yeah. I had already spent about 2 weeks, a little every day, putting this together, and I needed it finished. So I machine sewed the binding on the back….with a caveat.
- To machine sew the second step on your binding, stitch in the ditch on the front side with a thread that matches the binding fabric. By doing that, you catch the back side of the binding and finish the quilt on the machine. I missed catching a couple of spots on the backside of my quilt, and I followed the hand sewing process to secure that part of the backing. My take away is that when I sew smaller quilt projects, I will hand sew the back side. And I definitely need binding clips as straight pins were not the easiest way to do this.
So, yes, there are imperfections, that I’m choosing to live with. In the process of making, there were challenges, there was a lot of seam ripping and a few blocks that were not usable.
But, I finished the quilt, and I love it. I learned SO MUCH.
I do hope you have some good takeaways from this, even though it’s not a project tutorial. Honestly, making a quilt is kind of a long process with a lot of steps. Too much to get it all into one blog post or a short video. Unless you already understand each step. Once it clicks how you assemble the project, then you can look at patterns and pretty quickly understand how to put something new together.
You absolutely must learn this by doing it. And take each step separately. I will share a more complete version of each part over time, but I do hope this has at least inspired you to consider sewing your own quilt or quilt style object at the very least.
Thanks for reading about my first quilt project, and I look forward to showing you how to make and prepare the blocks. Be sure you sign up for my email list while you’re here so you don’t miss any future fun.
You might also like:

Hi, I’m Pattymac
Sewist, Baker, Maker
I love figuring out new ways to use pom poms, where I can stash more fabric, and I’m always wondering what to bake next…chocolate or lemon? When not dreaming up new things to make (or bake), I love riding my beach cruiser on the Boardwalk, enjoying classic movies, and planting new things in my tiny but mighty container garden.