How to make a quilted Mug Rug, NO BINDING
Disclosure: This post may contain affiliate links. As an Amazon Associate, I earn from qualifying purchases. 😊
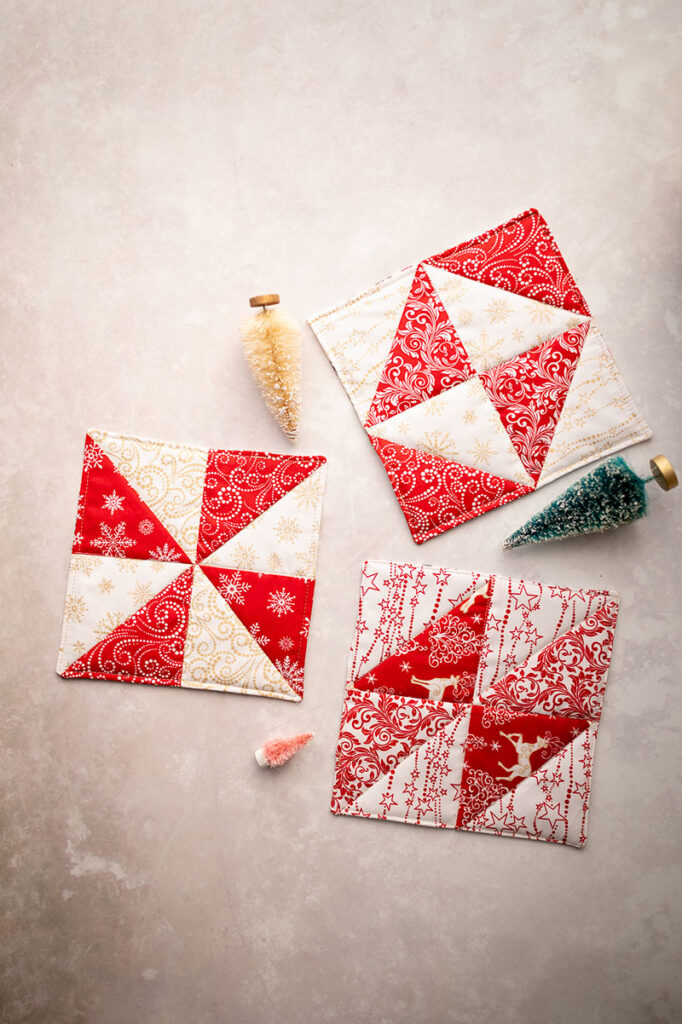
Learn how to make a quilted Mug Rug with no binding!! Several design ideas provided.
In the world of quilting projects, the terms quick and easy are not often used. Typically the projects are large and can span several months from start to finish. And they always include fiddly binding at the very end. Let’s break all those quilting rules and see how to make a quilted mug rug, no binding needed!
What the heck is a mug rug?
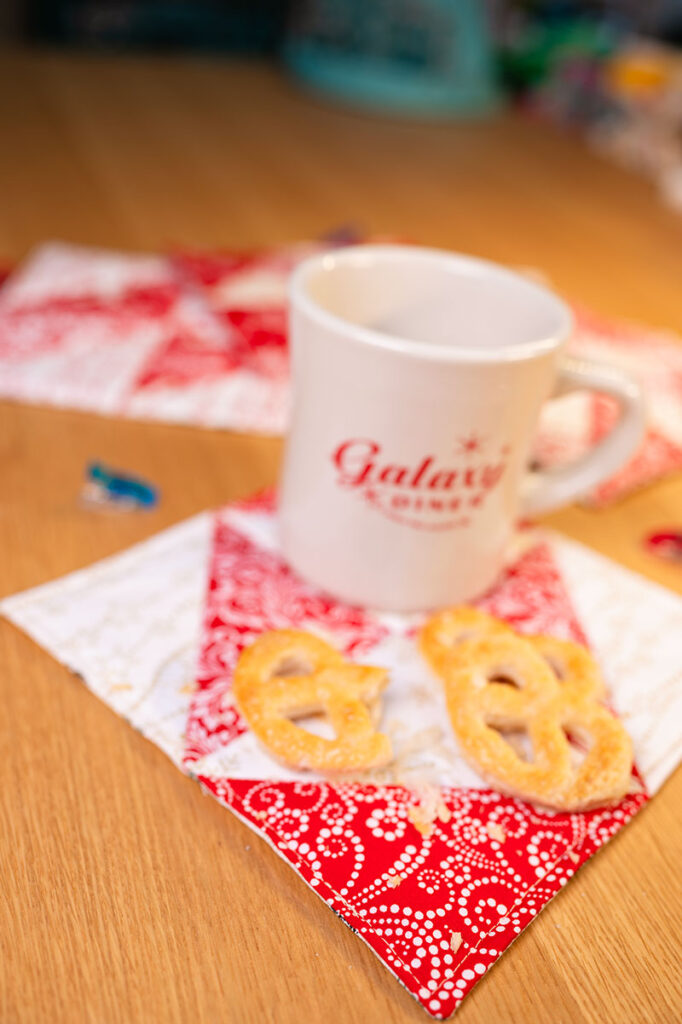
Mug Rugs are basically mini placemats designed to corral your beverage and a snack in a way to minimize mess to your desk or table.
Generally they are used to protect your tables from hot items that may leave marks. So you can savor your hot tea while enjoying youtube videos without damaging your desk.
☕
Making Mug Rugs the easy way
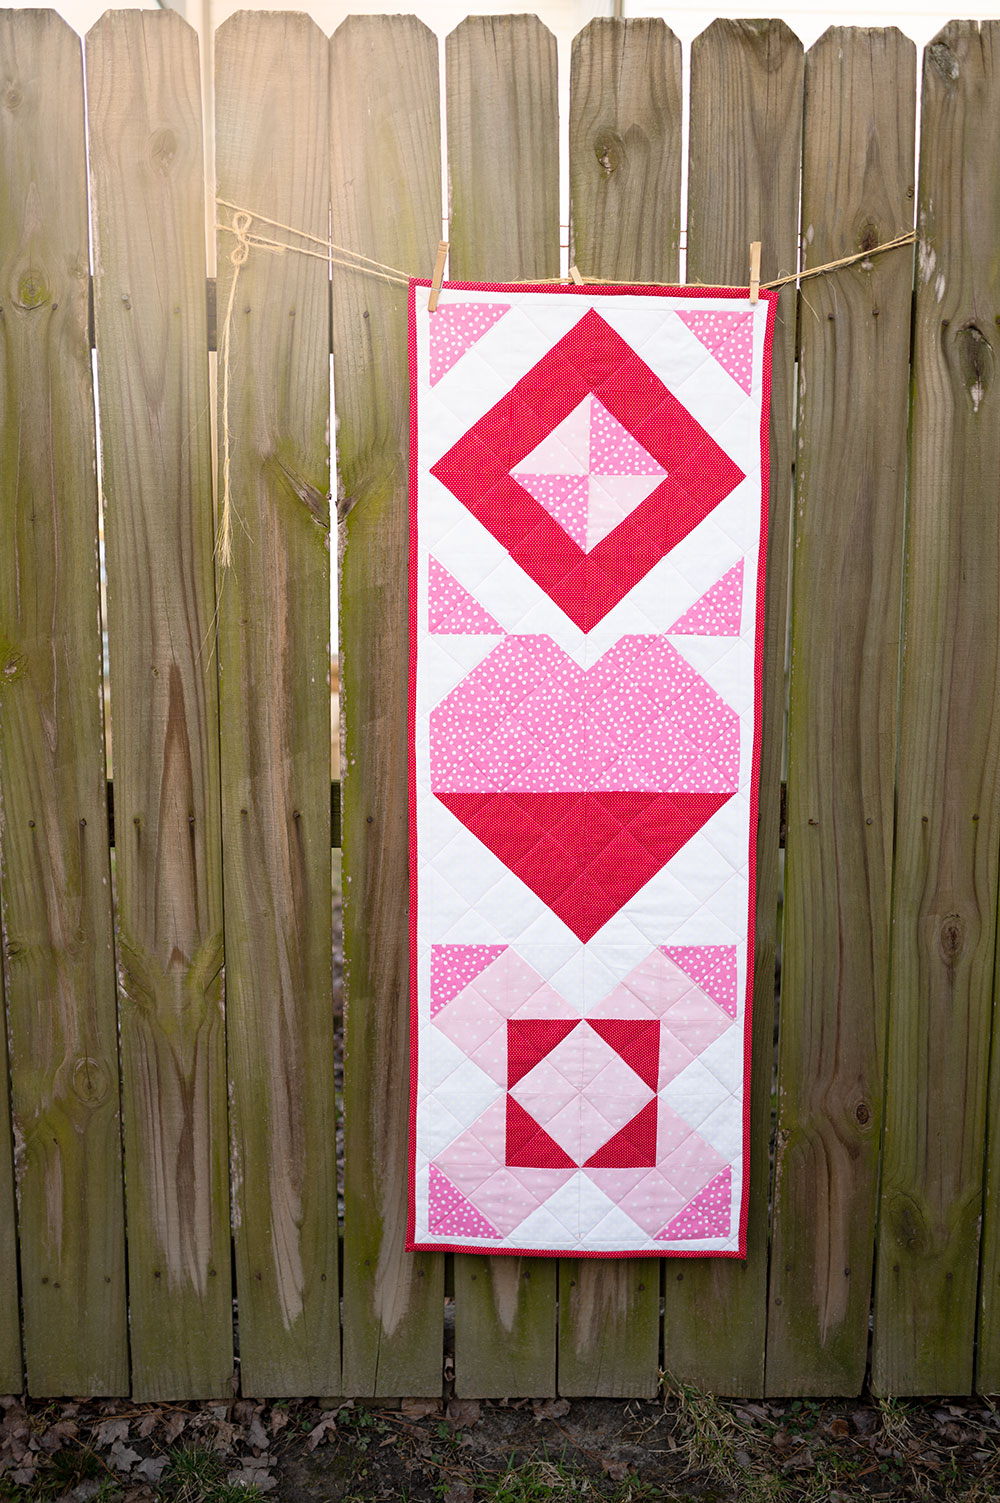
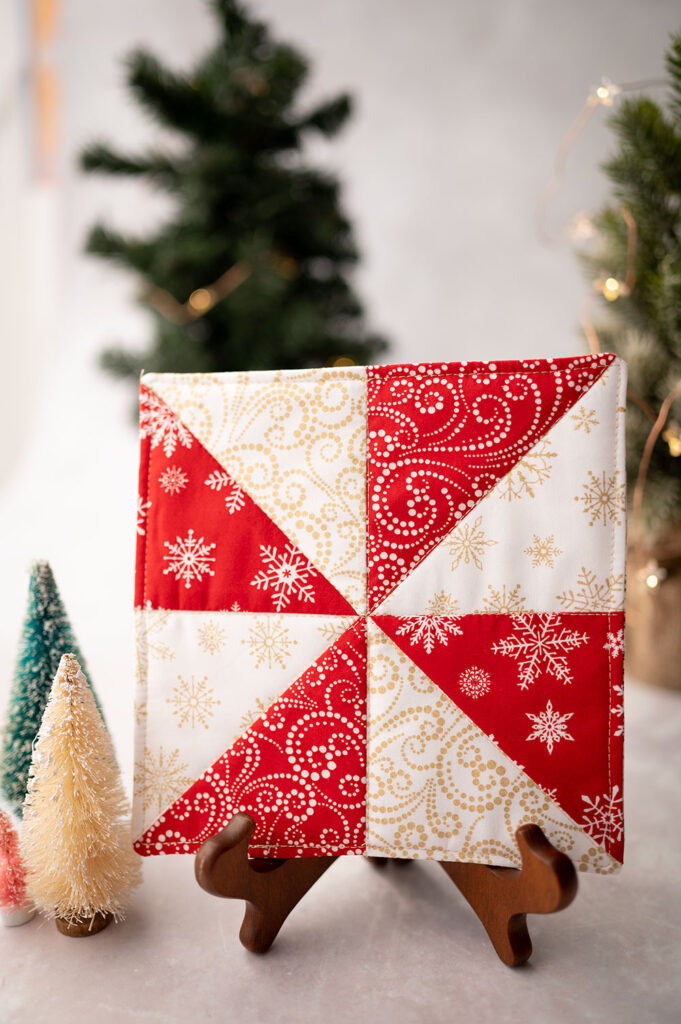
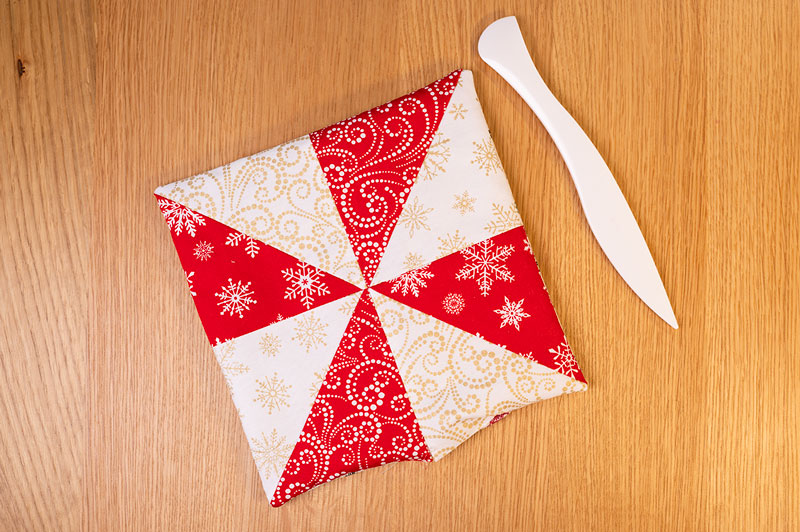
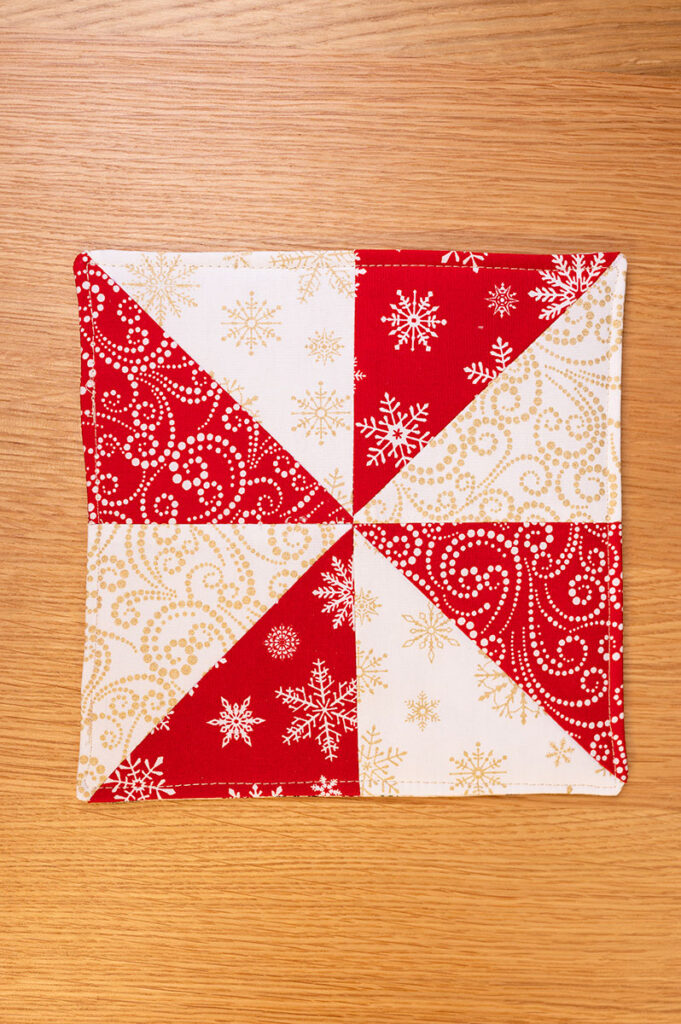
- While there are specific instructions that mug rugs should be sized 6″ x 9″ and up to 8″ x 12″, I thought a square pattern featuring 4 units worked well. You all know I love a good 4 Patch block, and this is essentially a quilted 4 Patch.
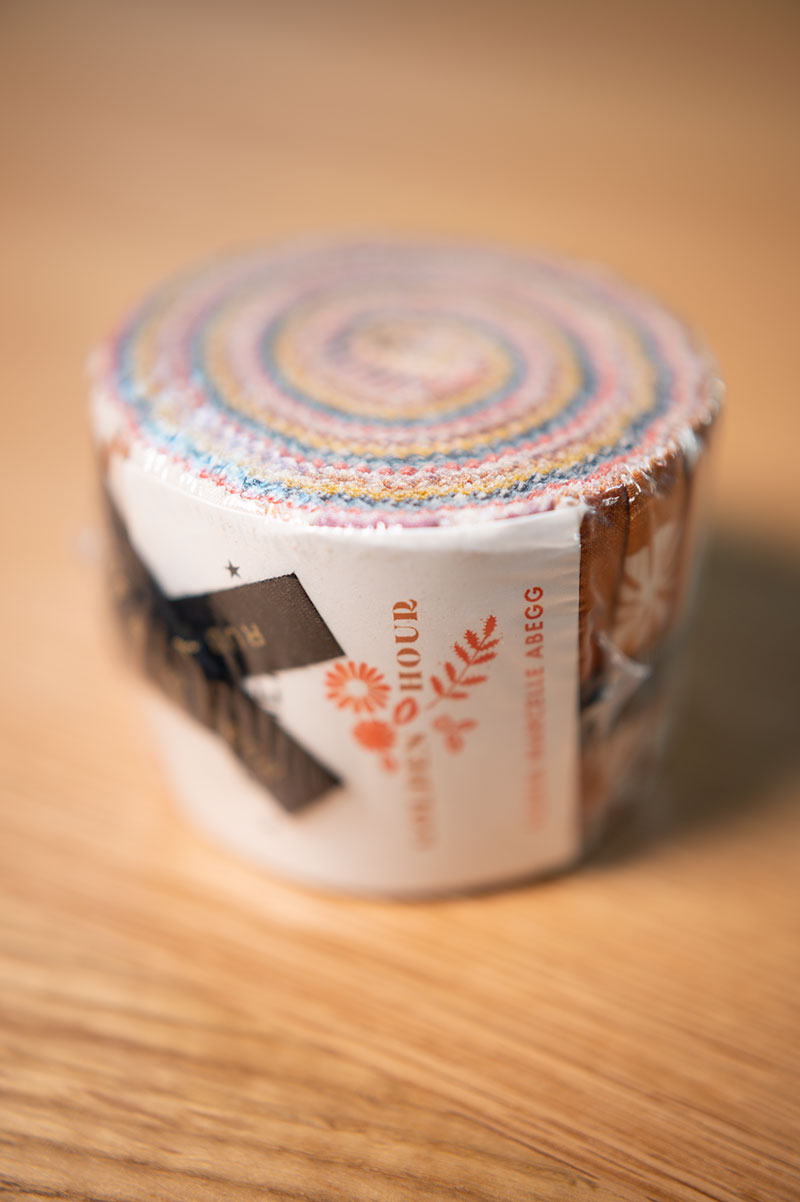
- To keep this extra easy, I used fabric I had in stash in the form of a charm pack. If you don’t know, a charm pack is a type of precut that are 5″ squares. Charm packs are generally inexpensive, and often we have a few of them hanging around with no real plan of how to use them.
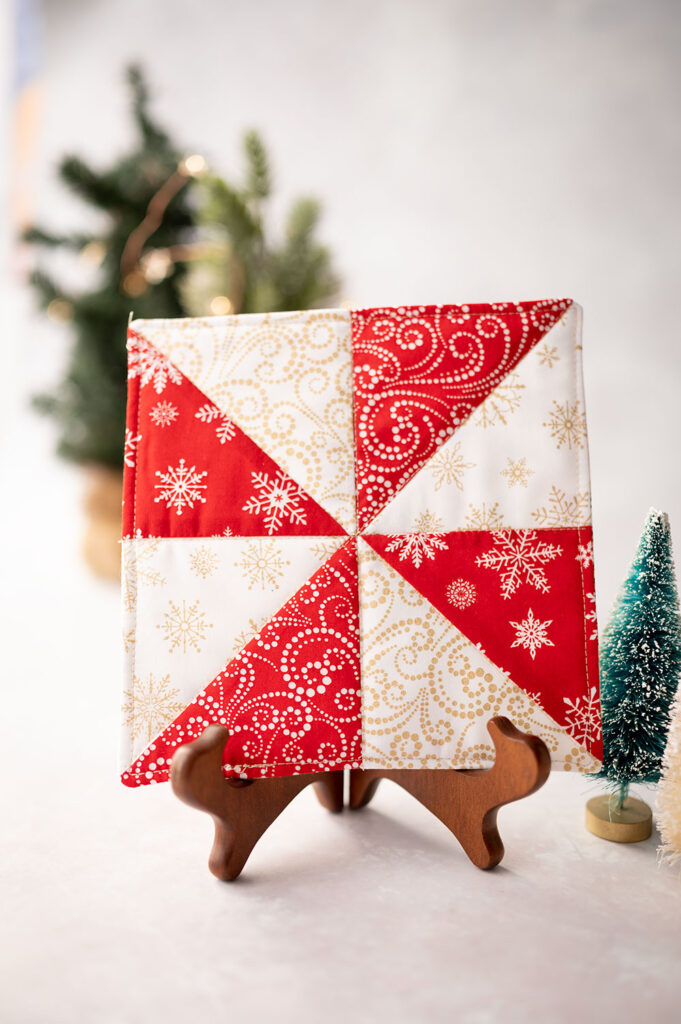
- Continuing with the theme of keeping this easy, I decided to play with designs using half square triangles. HST units are often the first quilt unit we make once we get past a couple patchwork or straight 4 patch block projects.

Mug Rug Pattern – Supply List
- Fabric: I used a Holiday charm pack (affiliate link) for my front and a Christmas fabric I had in stash for my backing.
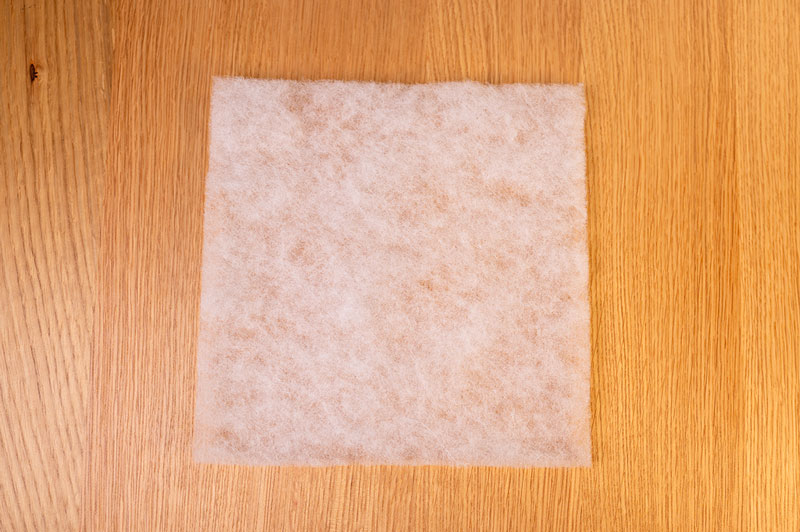
- Batting: I used what I had in my scraps, (affiliate link) but any weight of batting is fine.
- Sewing Supplies – Sewing machine, thread, pins or clips, ruler disappearing ink pen, Clover point turner. (affiliate link)
- Cutting Tools – Scissors, rotary cutter and cutting mat.
WHAT KIND OF FABRIC DO YOU USE FOR A MUG RUG?
Cotton fabric will protect your furniture and not be damaged by heat. Steer clear of polyester and other synthetic fabrics, which may mark or even melt when heat is applied. Mug rugs are a perfect way to use up quilting cotton scraps.
WHAT KIND OF BATTING DO YOU USE FOR A MUG RUG?
The batting will protect your table. Cotton batting can be used as well as insulating batting. (affiliate link) Fusible fleece (affiliate link) or even felt can also be used but may need to be doubled if it does not provide enough protection. Cut the batting the same size as the project front and back panels.
Ok, Ok, Ok Enough chit chat. Let’s see How to make a quilted Mug Rug, NO BINDING
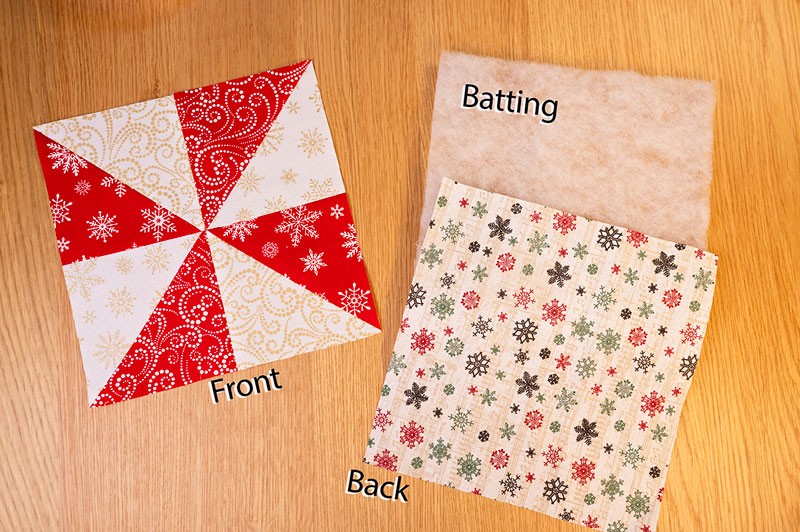
Construct the Front panel and cut the backing and batting to the same size.
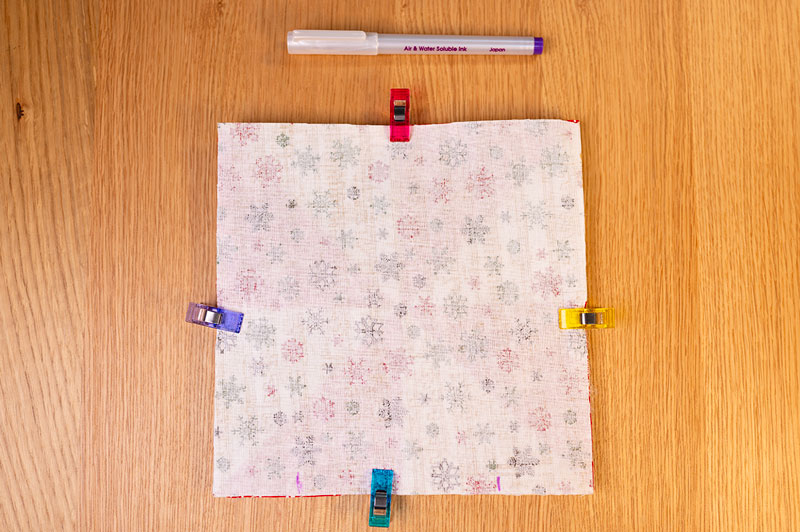
Make your quilt sandwich:
- Place batting as the first layer
- Place front panel on the batting with right side UP.
- Place backing as the top layer right side DOWN.
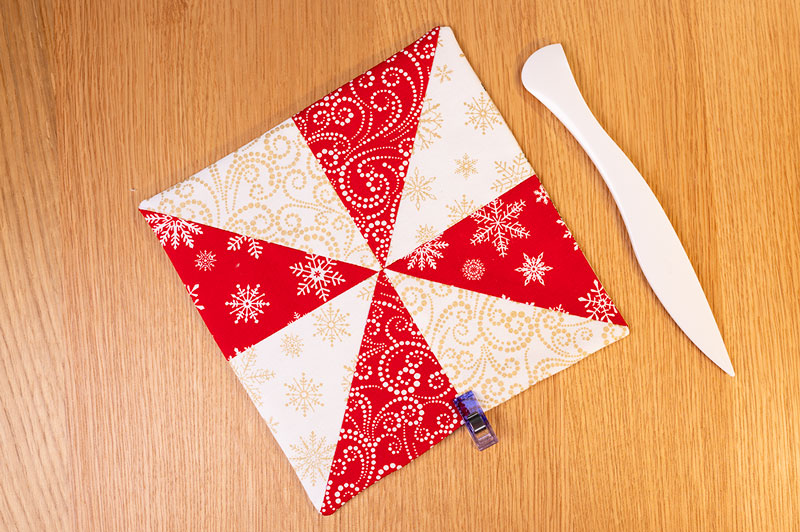
- Secure the mini quilt sandwich.
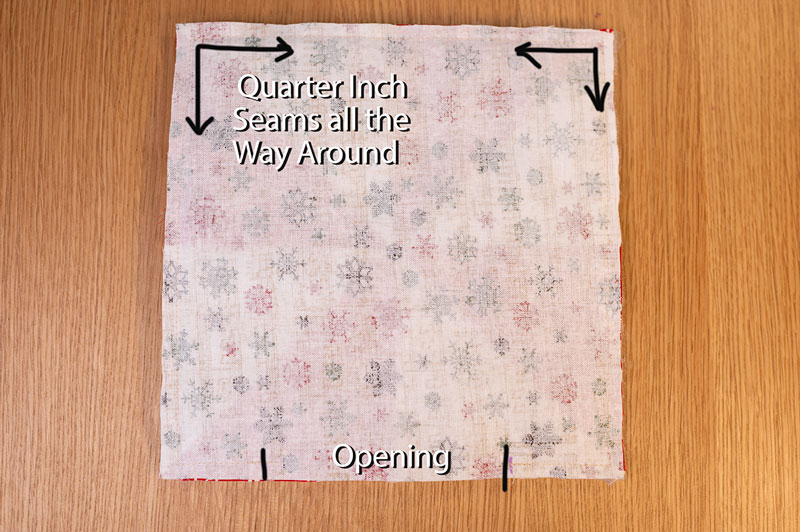
Sewing the mug rug together
After marking an opening at least a couple inches wide, start at one end of the opening and sew all the way around with a quarter inch seam allowance until you reach the other side of the opening. Back stitch to secure the sewing at the beginning and the end.
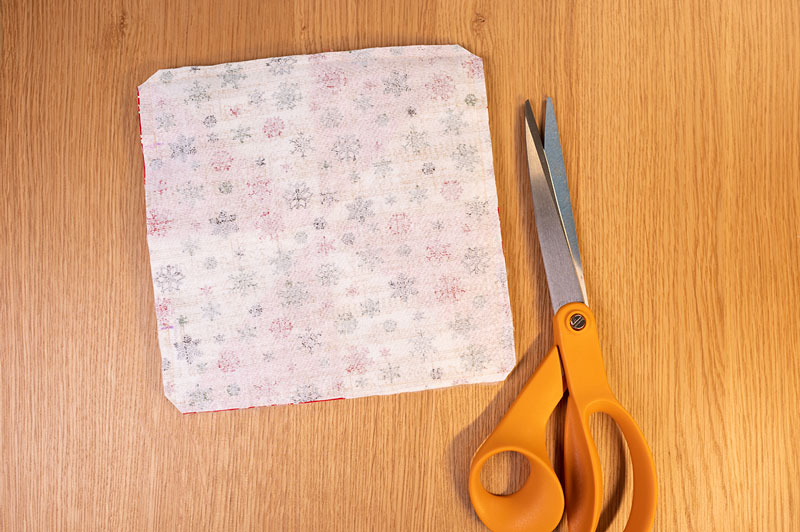
Careful clipping
Once sewn, use fabric scissors to carefully clip the corners so they turn out in a better, sharper result.

Sewing from the opening Clipped corners
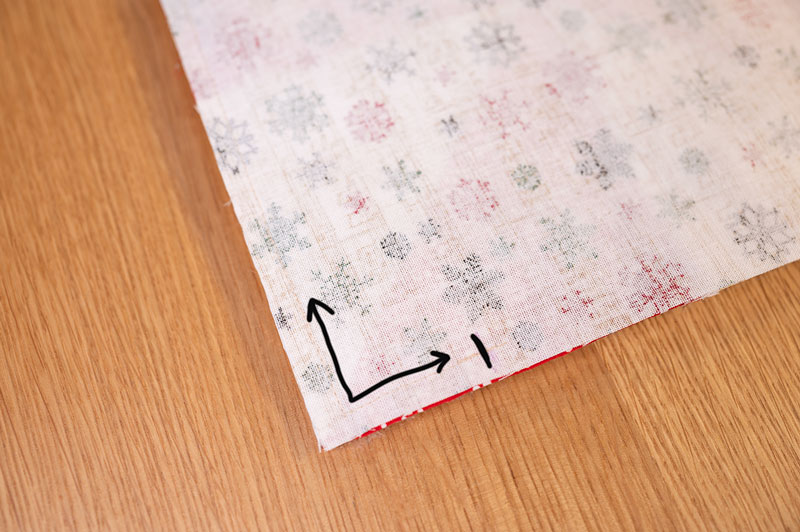
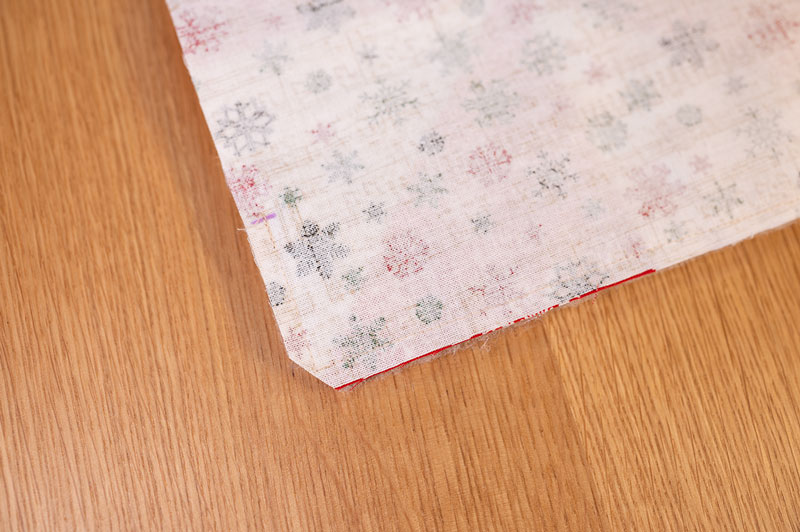
Carefully clipping corners close to the 90 degree sewing line will yield a nicer result when it’s time to turn the work right side out. Cut close but not through the stitches. If you cut the stitches, it will cause a hole in the corner.
Now it’s time for the fun part! Time to turn out the work!
Right sides out!
- Use the point turner to open the seams and poke out the corners. Do this carefully as we want to have sharp edges and not holes.
- Press the turned out project being careful to press the opening seams inward for edge stitching and closing.
Pressing makes a huge difference
Careful pressing and the use of steam will set your project in place for edge stitching. We will sew all the way around the project about 1/8 inch from the edge using a 3mm stitch length. Edge stitching provides a nice finish AND closes the project opening in one swoop.
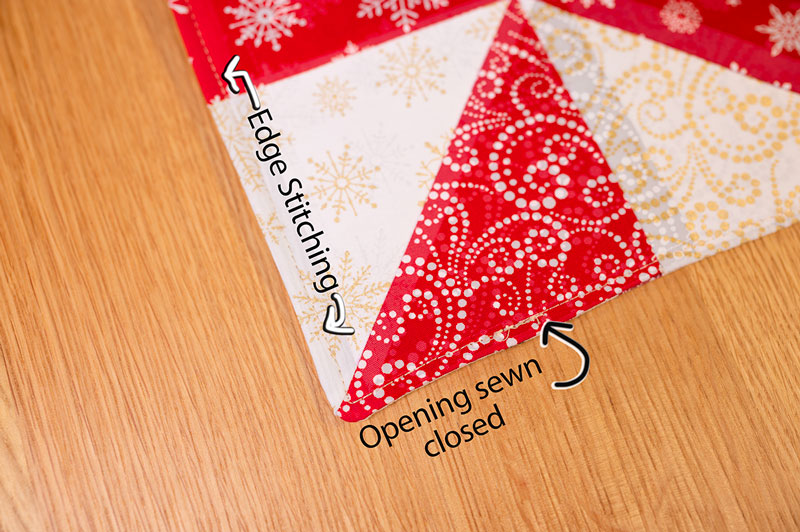
Edge Stitching
Notice how the edge stitching with a slightly longer stitch length both secures all the layers of the project together AND closes the opening. Be sure to back stitch at the start and stop of your sewing.
Just in case you missed it, the edge stitching sewn at the end is done in lieu of binding.
Once you have sewn the edge stitching, your project has the opening closed and it is secure. You now have two options:
- Call it a day and start a new mug rug.
- Quilt your project as desired.
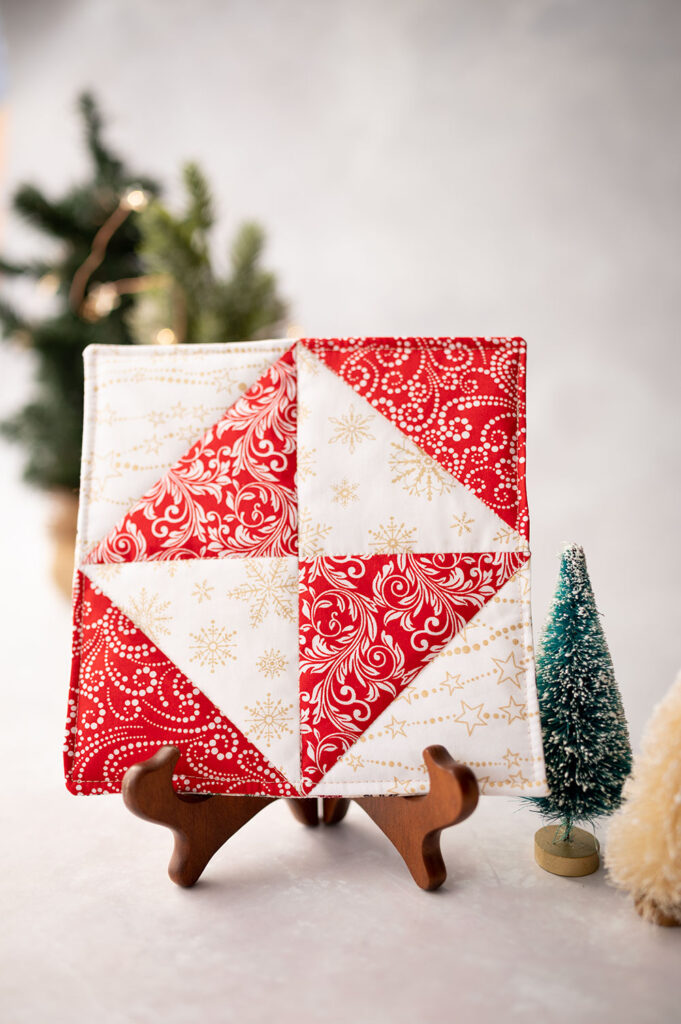
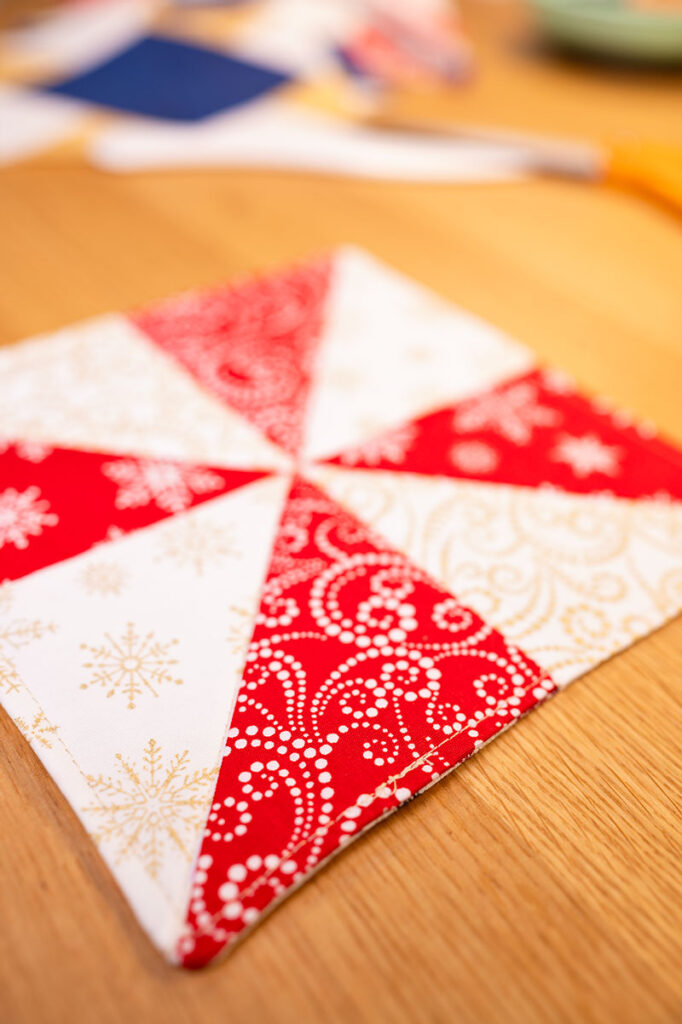
I chose to quilt my mug rugs with simple stitch in the ditch quilting, but you can quilt however you like. The quilting serves to secure the layers together and gives a lovely finish to the project.
The best part of the project is no quilt binding!! I personally find quilt binding to be fiddly and rather stressful, but on a project this small it’s positively nerve wracking. I make most of my smaller projects like this. It’s much easier, and I think they still look quite nice being finished with stitching instead of binding.
🪡
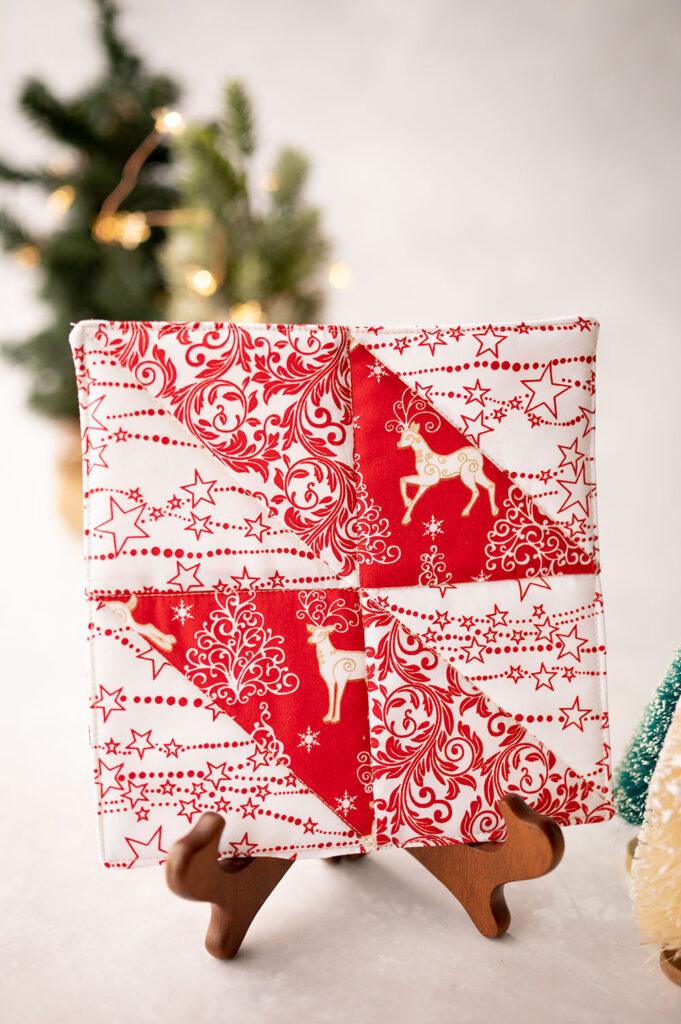
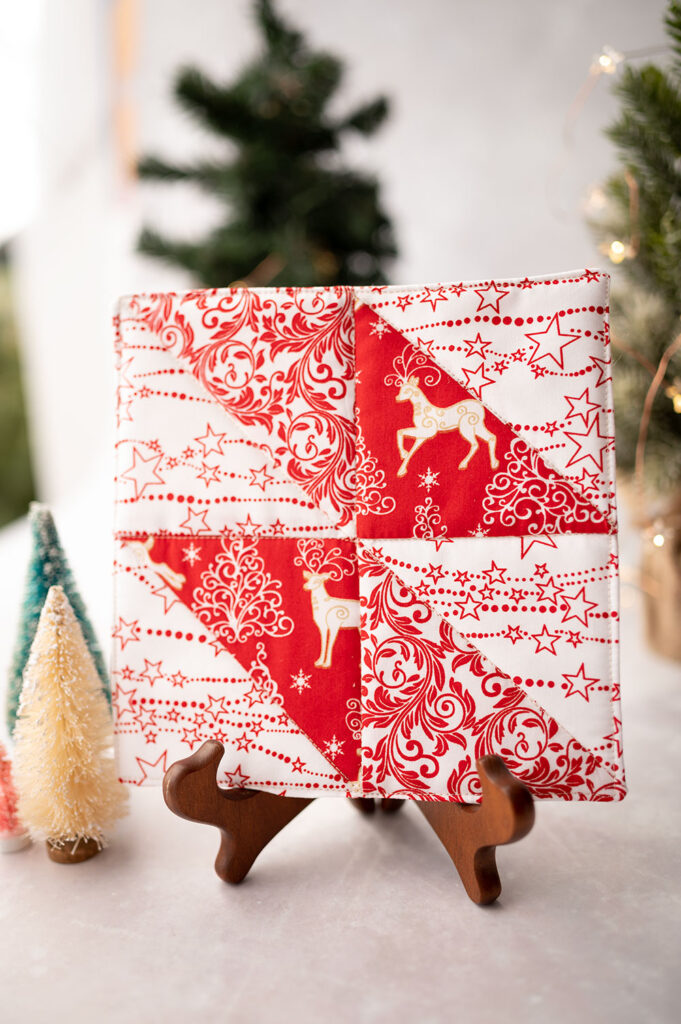
This tutorial was designed to be an over view about how to put together a mug rug project. If you would like to see how the decorative front panel was put together, I wrote a separate post about that. Here I share several ideas with you on creating your own designs and provide some tips and tricks on working with the fabrics for the best look.
A fun aspect of this project is that the front panel can be anything you want it to be, really any size you like. Cut the batting and backing from the front panel so the sizing is exact without excessive measuring.
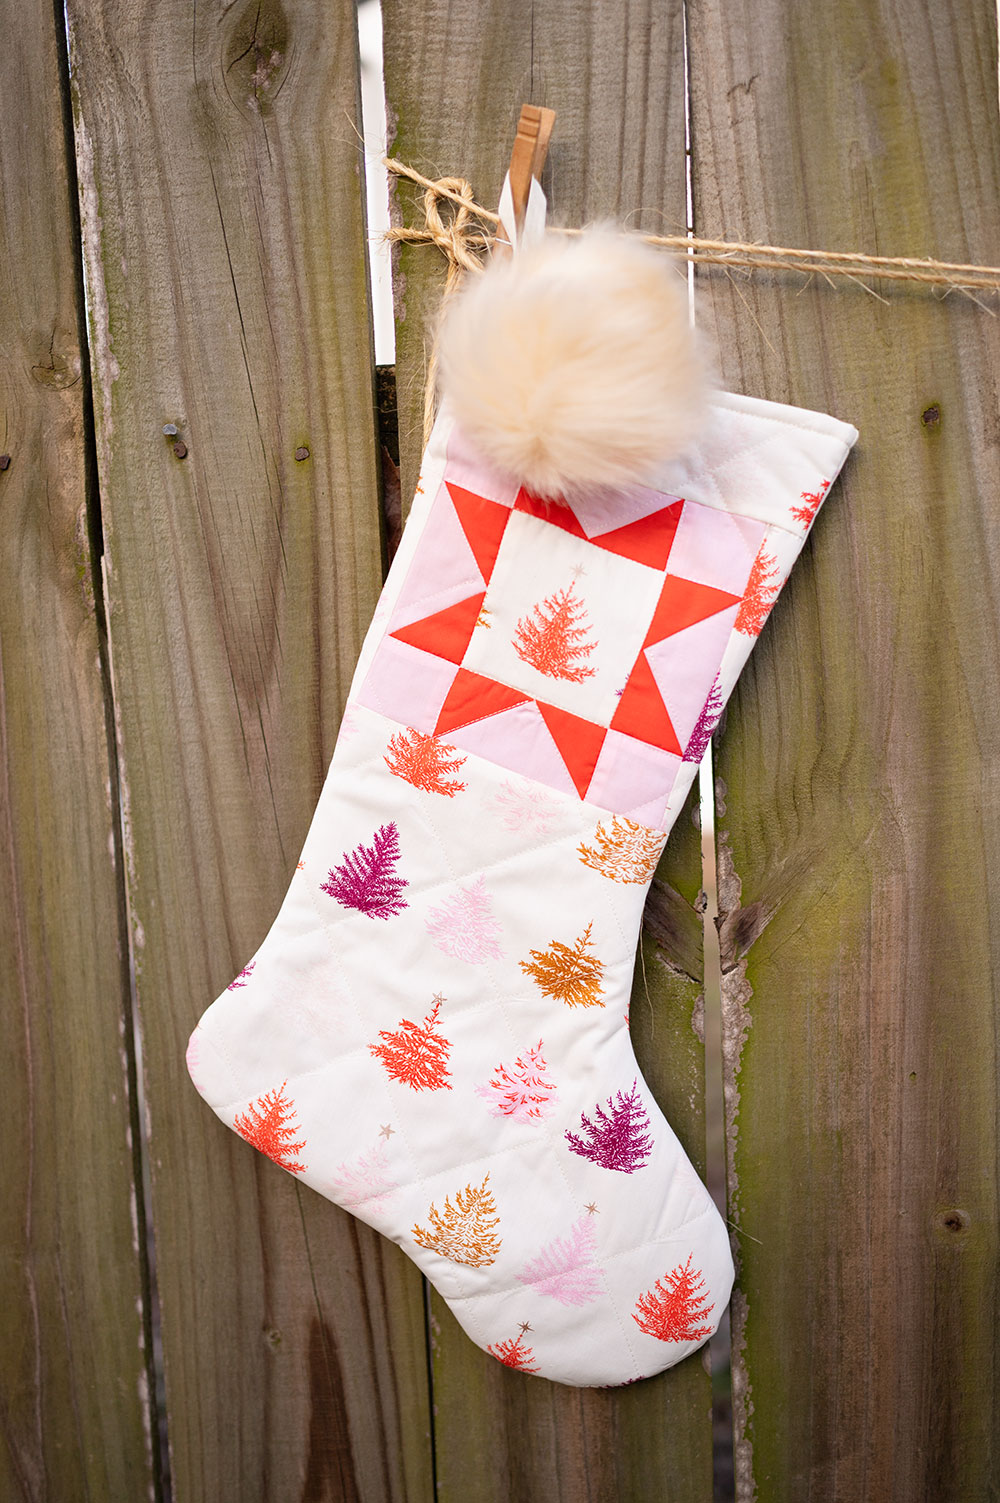
Today’s pattern is presented in Christmas colors; however, you can use anything you like, and make them for any season. But who doesn’t love a fun new Charm pack in Christmas fabric?
🎄

Hi! I’m Pattymac
Quilter, Baker, Maker
I’m a creative lifestyle blogger living and working in Coastal Virginia. When not baking or quilting or taking pictures, I’m out exploring the cookbook section of my favorite library or munching on my own home baked cookies at a classic movie matinee.