How to make a Quilted Christmas Stocking
Disclosure: This post may contain affiliate links. As an Amazon Associate, I earn from qualifying purchases. 😊
Christmas and crafting are synonymous so today let’s learn how to sew a quilted stocking for Christmas.
We’ve all seen those gorgeous quilted holiday stockings flooding Pinterest. But have you wondered how to put a quilt block design INTO your stocking layout? I couldn’t find any specific instructions to make what I wanted, so I decided to make up my own. Let me show you how to make a quilted Christmas Stocking with the quilt block of your choosing!
First things first:
What this tutorial is NOT:
- This tutorial is not the specific steps to take to make a Christmas stocking. If you need detailed instructions, I walk you through how to make a quilted Christmas stocking in this tutorial where I demonstrate how to construct a lined stocking with a patchwork fabric.
- Today’s tutorial won’t get into specifics on quilting the outer shell of the stocking. This tutorial will demonstrate that process in a more thorough manner.
What this tutorial IS ABOUT:
- Today’s tutorial will talk about how to alter a Christmas stocking pattern of your choosing to include a panel featuring your favorite quilt block.
- The instructions are how to use your own existing pattern to fit in a quilt block design. But if you like the shape and design of the project featured in the pictures, I am developing my own pattern to share with you. Make sure you’re on my email list so you can receive notification of when it becomes available.

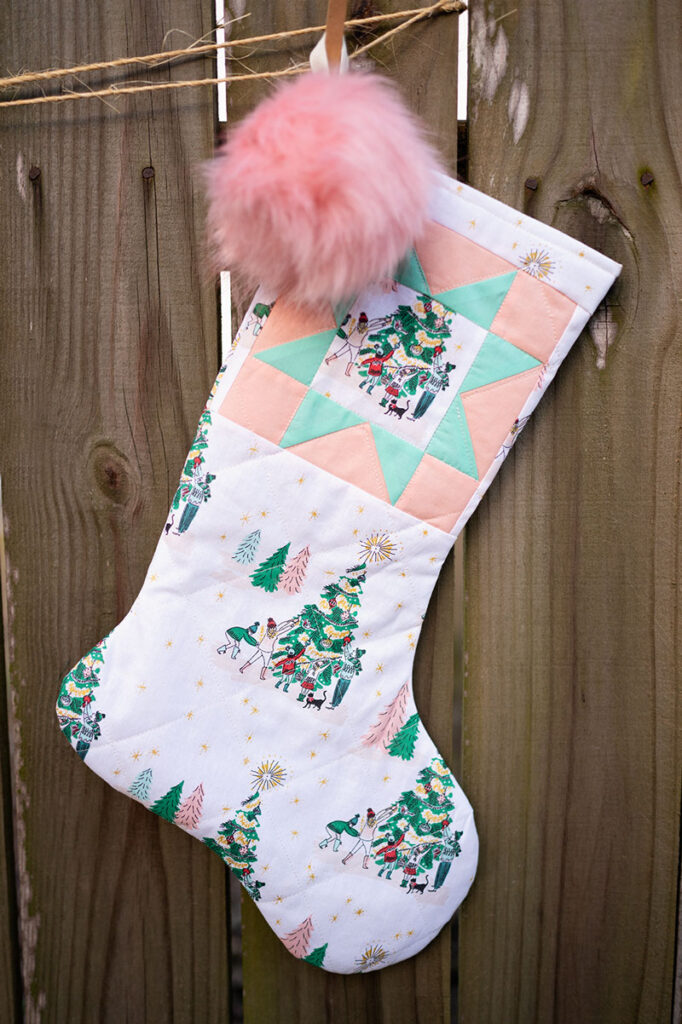
Stocking with a Quilt Block Insert A patchwork quilted stocking
Materials needed to make a quilted Christmas stocking:
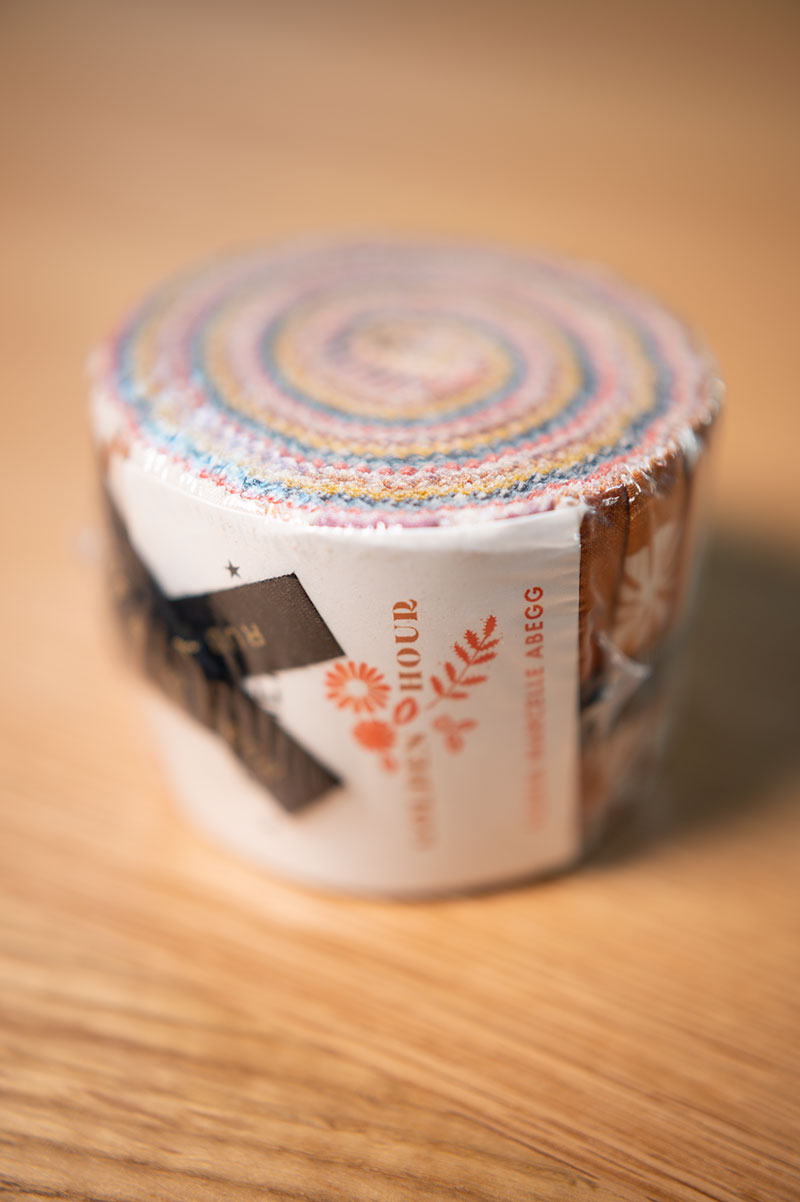
- Two fat quarter sized (18″ x 21″) pieces of fabric for the outer shell: Colorful quilting cottons are what I used. Scraps are suitable if you want to make the patchwork design for the front of your Christmas stocking.
- Two fat quarter sized (18″ x 21″) pieces of fabric for the lining: Inexpensive muslin (affiliate link) is what I used.
- Quilt Batting: I used a high loft 80/20, but use what you have on hand.
- Grosgrain Ribbon: I love Grosgrain ribbons for the hanger. It’s cut 8″ long and the ribbon is about half an inch wide.
- Thread: can be matching or contrast.
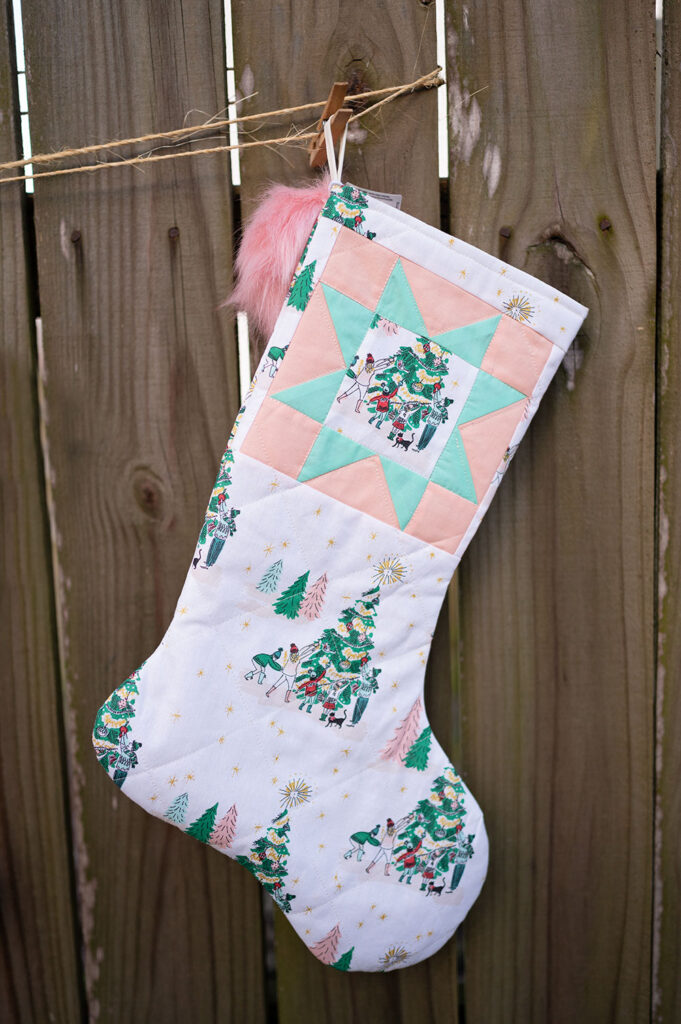
**A tip on fabric selection is to find something with a fun print that will allow for a little fussy cutting. A fussy cut center panel in a Sawtooth Star block is really cute.
**As in all quilting projects, assume quarter inch seams for all the panel piecing.
Tools needed to make a Christmas stocking:
- Rotary cutter (affiliate link)
- Cutting Mat (affiliate link)
- Pins
- Fabric scissors
- Disappearing ink pen (affiliate link)
- Point turner (affiliate link)
- Sewing machine: (affiliate link) recommend using the extension table and having a throat that allows the removal of the table to use as a narrow width sewing surface to make sewing the stocking top easier.
- Iron (affiliate link)
- Ironing Board
- A sleeve board is a big help (affiliate link) for pressing seams on a narrow project like this.
- All purpose presser foot (affiliate link)
- Walking foot presser foot (affiliate link)
- The pattern of your choice. I drew my own, but any pattern with a Christmas stocking will work. I have used McCalls 5778, (affiliate link) in the past, but I wanted a more rounded look to the toe and heel. So I drew my own version that is featured in this post.
- A way to hang your stocking. I used small magnetic hooks to hang mine on the front door. (affiliate link) Most front doors are steel doors, so the magnets will stick to them. If you live in a small place like I do, or don’t have a fireplace, hanging your Christmas stockings on the inside of the front door if a fun way to still hang stockings for Christmas.
Ok, Ok, Ok!! Now we have all the particulars about what we need to get this project going, so let’s see how to make a quilted Christmas stocking!
Cut the Pieces
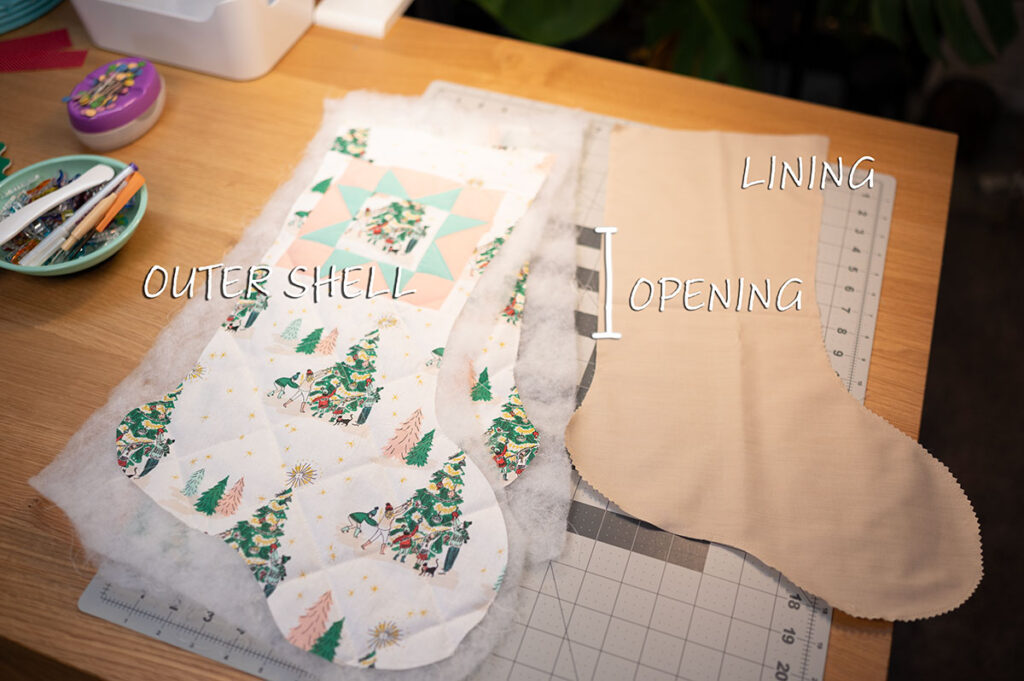
You’ll want to cut out two pieces for both your outer shell AND your inner lining. In essence, you are sewing two separate shells and joining them along the stocking’s opening.
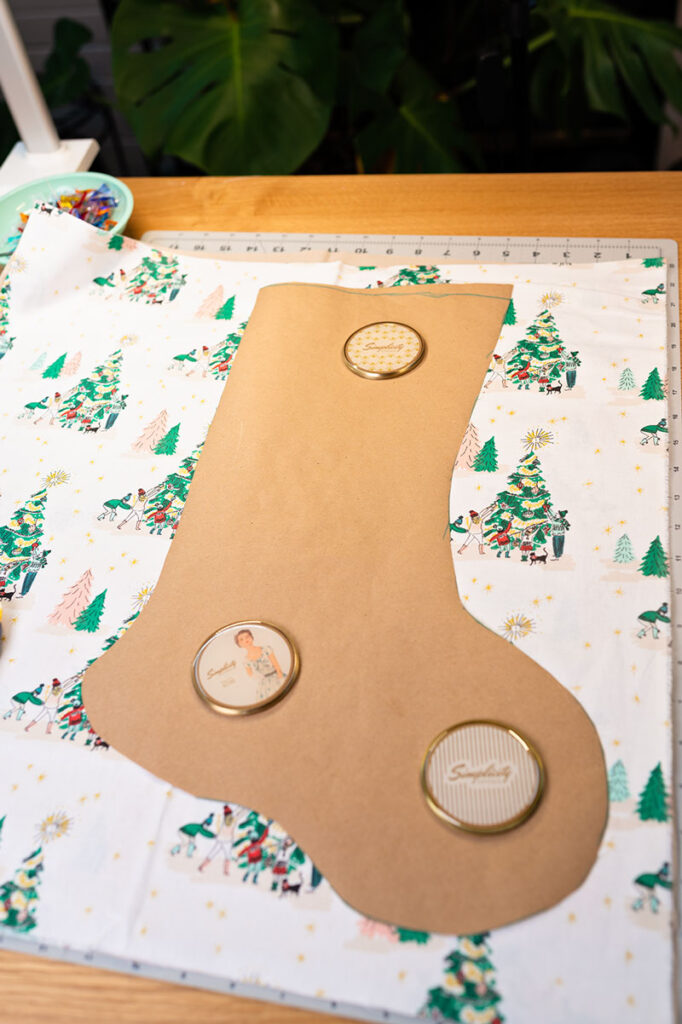
I generally lay out my pattern and trace around it with disappearing ink so I can cut out using the traced shape. It’s easier that way.
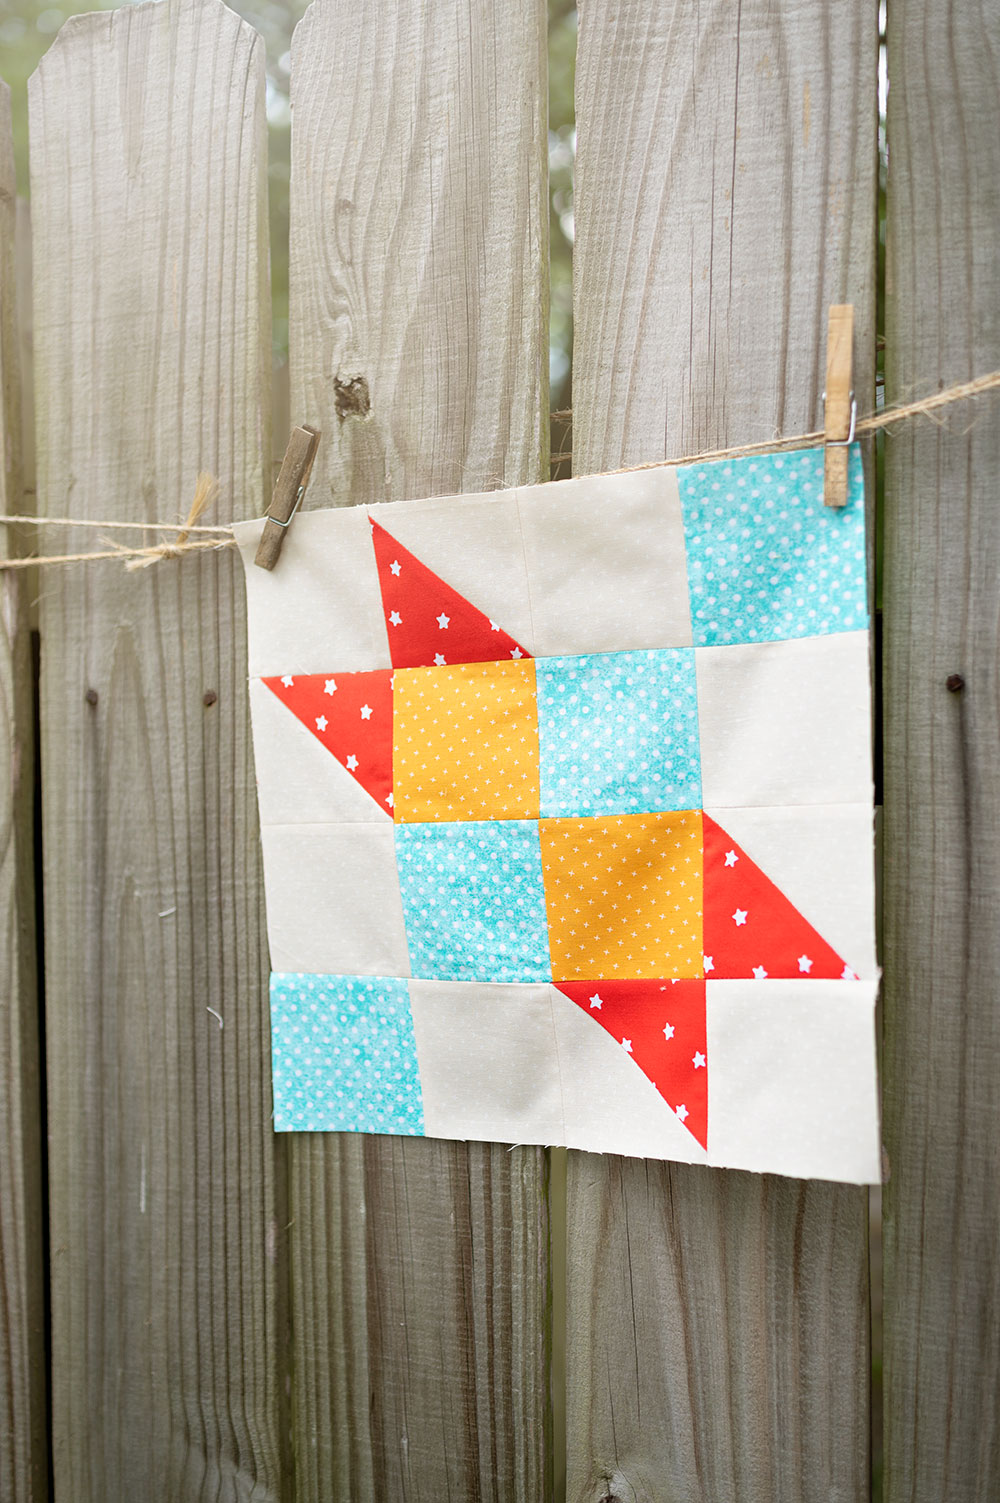
Make your favorite quilt block in a 6″ block size.
Any block design you like is perfectly fine, but I personally love the Sawtooth Star.
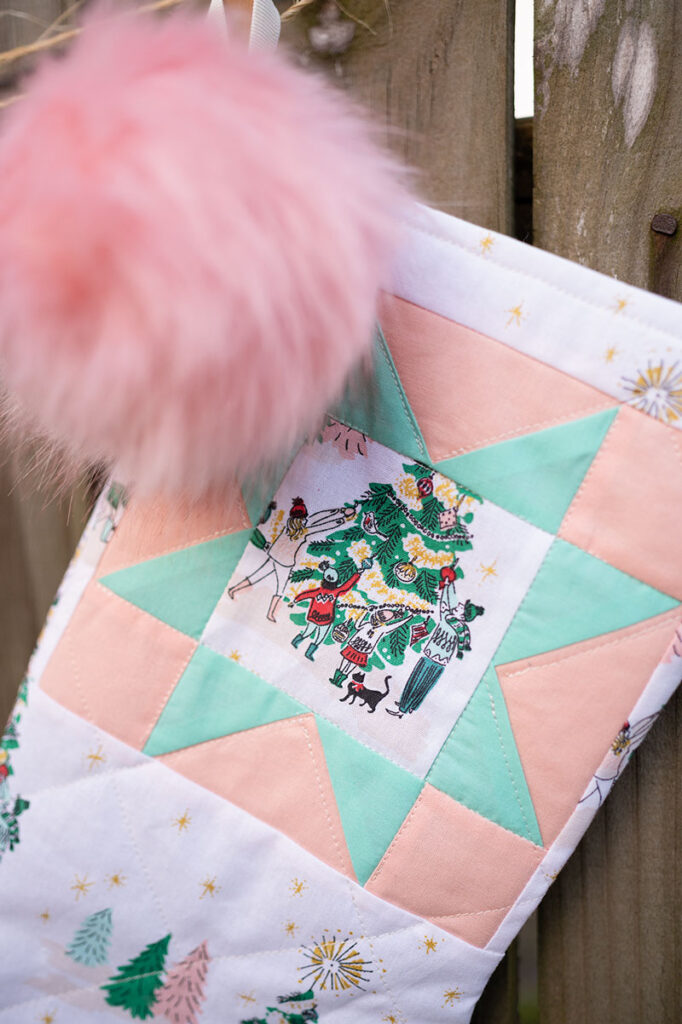
The center panel in a 6″ sawtooth star is a 3.5″ block so it’s perfect for a good fussy cut. I chose the part of the print featuring the family. The other two colors I used were picked from color appearing in the print.
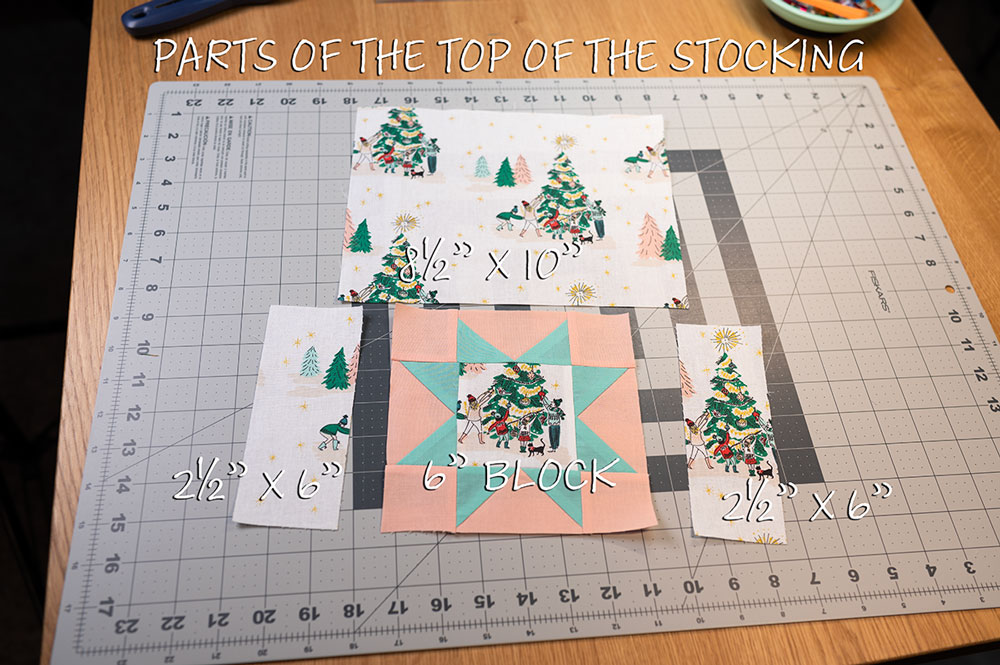
Once the quilt block is constructed, sew 2.5″ x 6″ panels on either side of the block. Sew a rectangle measuring 8.5″ x 10″ to the top of the feature panel. It is a little big, but oversized is better than not having enough.
Don’t worry if things aren’t lined up exactly. We will join this panel to the bottom of the stocking piece and then trim down to size.
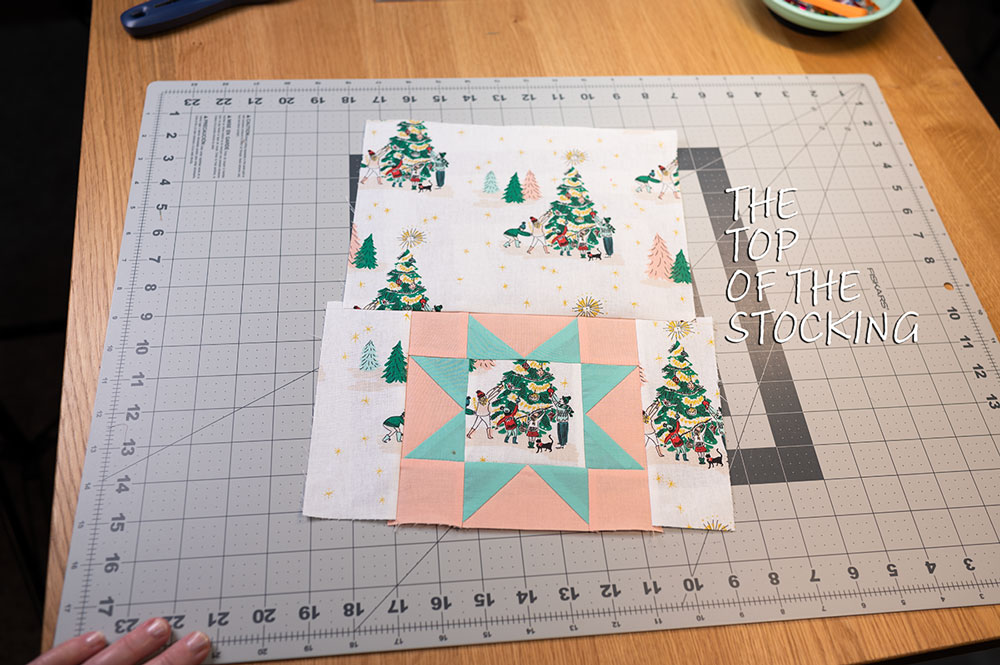
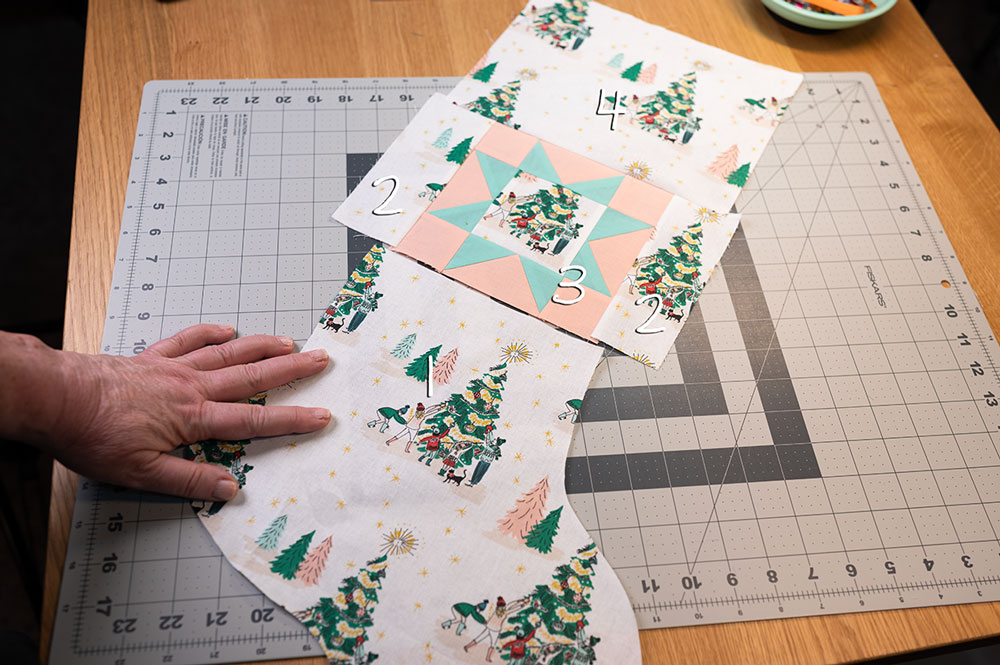
About 4″ above the curve of the foot, you will cut the front stocking panel into two pieces. You can utilize the top part to cut the pieces surrounding the block. Then rejoin the finished top to the bottom.
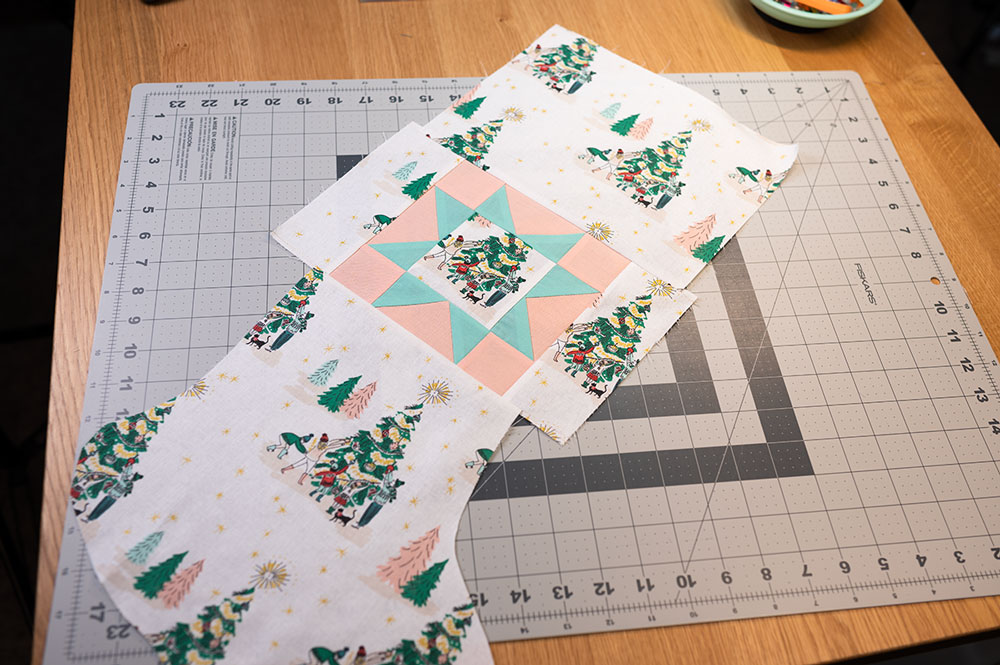
Heres how your fully pieced front panel will look. Don’t worry that it’s a little off, We’re going to trim it down.
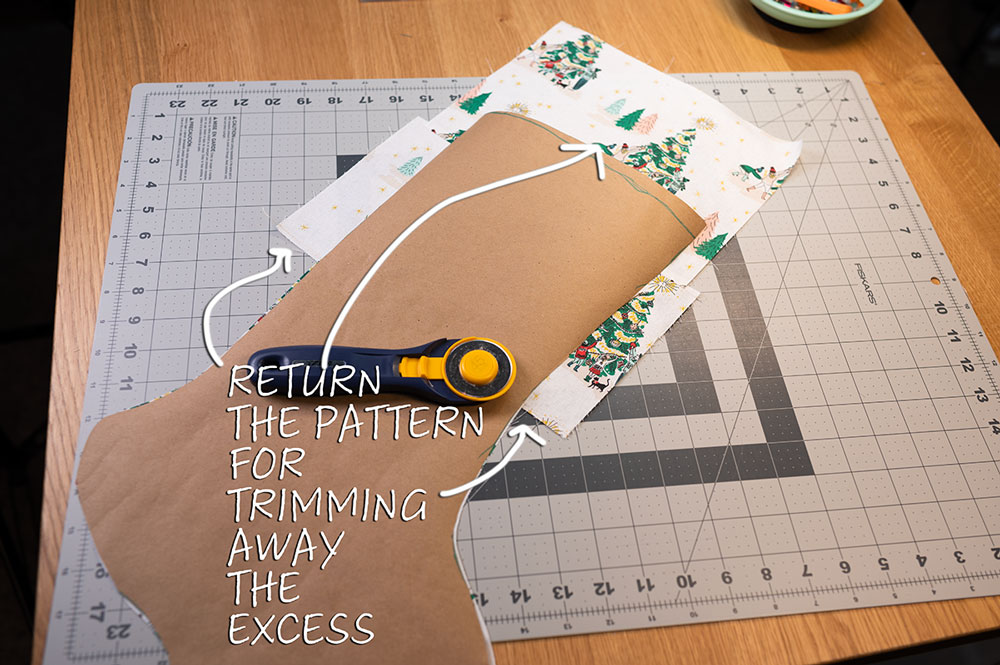
Line up the stocking pattern and trim away the excess. Make sure to leave enough space on both sides of the quilt block to allow for the seam allowance of a quarter inch. Jostle the pattern as needed to be sure you are not cutting through the quilt block.
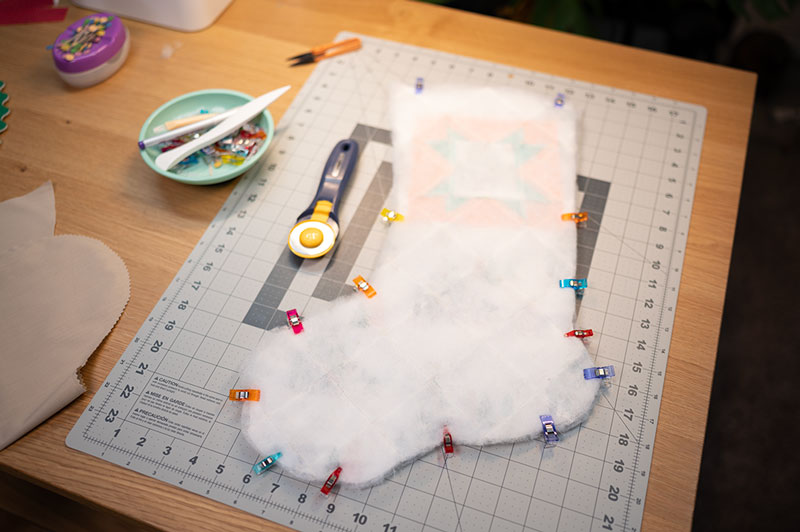
Lay your completed panel onto quilt batting and quilt as desired. I used a lattice pattern marked with my 2.5″ ruler and a Clover point turner. Mark the lines and quilt both the front and the back panels.
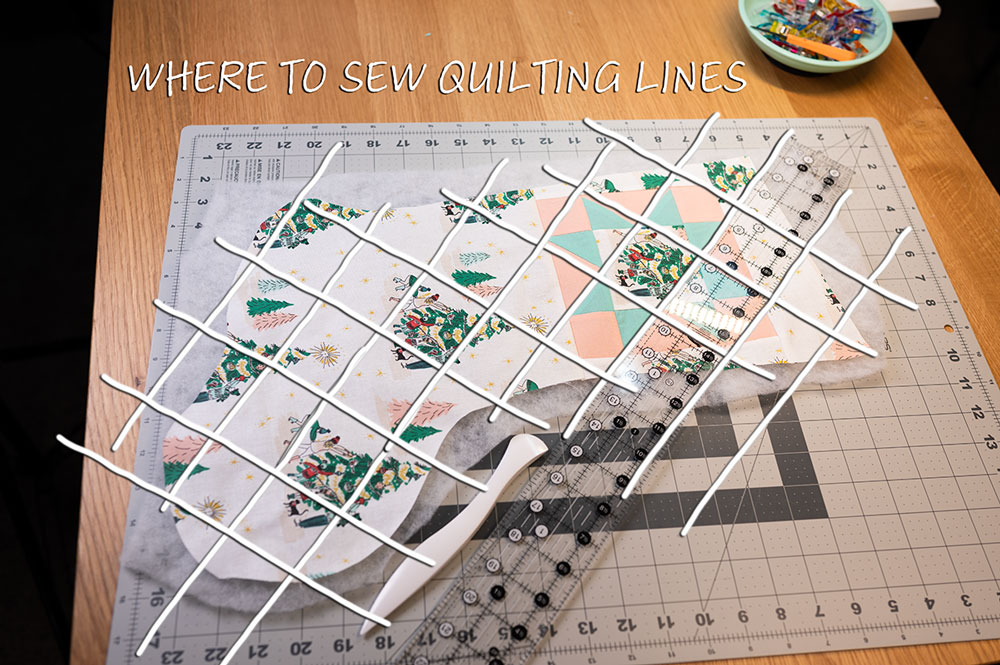
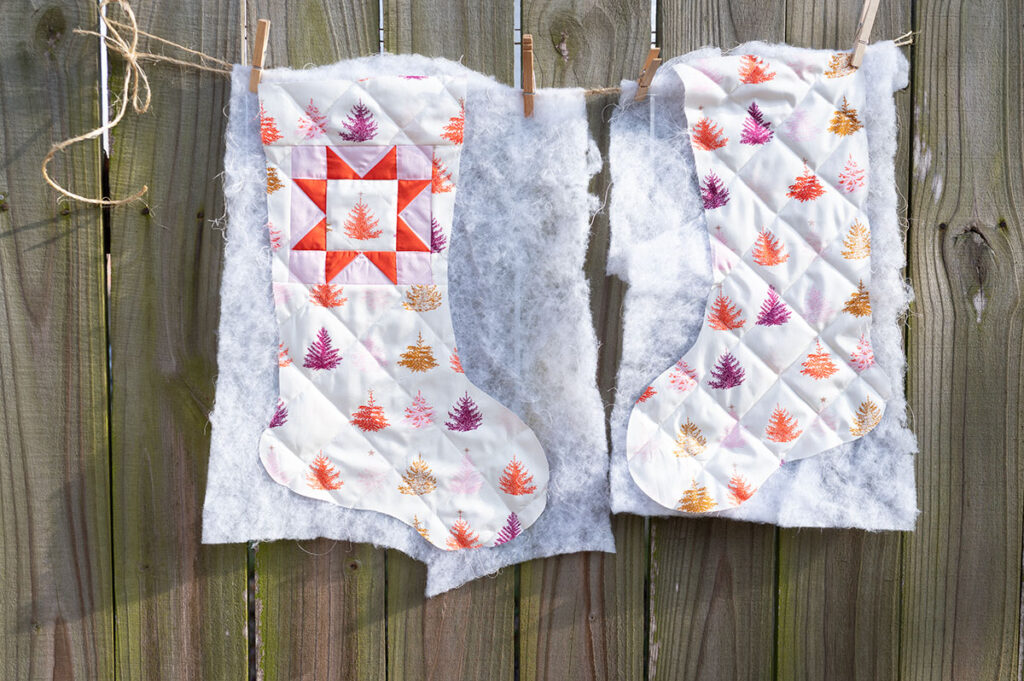
Here’s a font and back panel both quilted the same way. They are ready to be trimmed down and joined.
Remember to leave an opening when you sew up the lining. It’s where we will turn the work.
I recommend trimming down with pinking sheers and clip the concave curves.
Place right sides facing of the outer shell, and secure the two pieces together. Be sure to add your grosgrain ribbon hanger now.
Leave the top of the stocking open as you sew all the way around the perimeter. Backstitch at the start and finish of the stitch line.
This is where it feels weird. But trust the process.
Tuck the sewn outer shell inside the sewn lining. The lining is wrong side out, the outer shell is right side out. Carefully pin the top edge. Start at the opposing seams. Line them up, outer shell seams to lining seams, and pin into place. Ease the fabric together on either side of the seams so there is no puckering. I find that an abundance of pins really help.

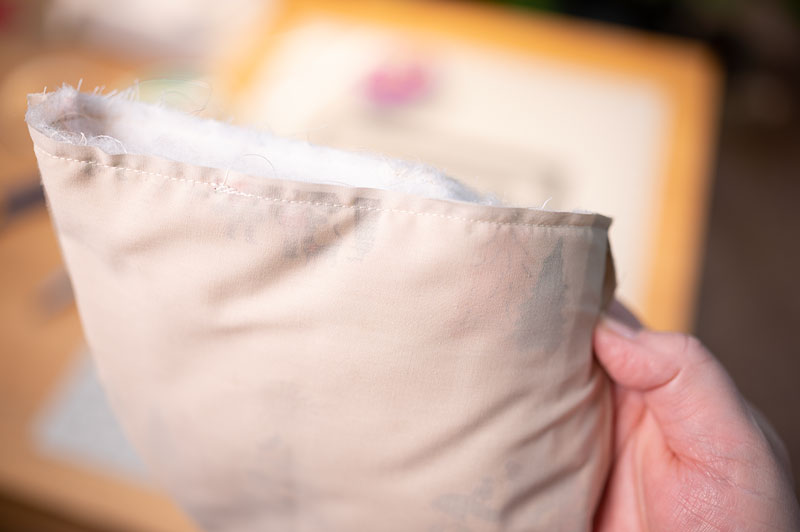
The top of your stocking is neatly together.
Take it to your sewing machine and using the walking foot and a 1/4″ seam, sew all the way around. Use a 2.5mm stitch length.
This is easier if you have the sewing machine set up like you would for sewing a sleeve or a pants hem.
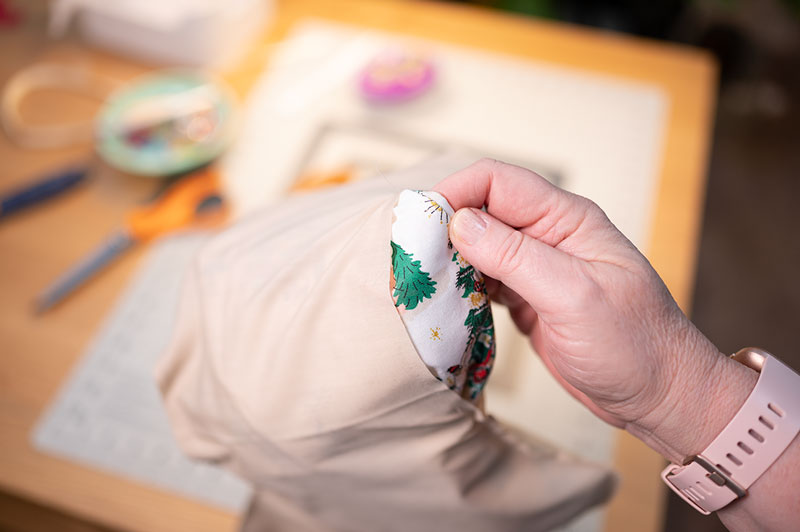
Now, pull your project right side out through the opening we left in the lining.
Pull everything right side out and you’ll have a funny looking project.
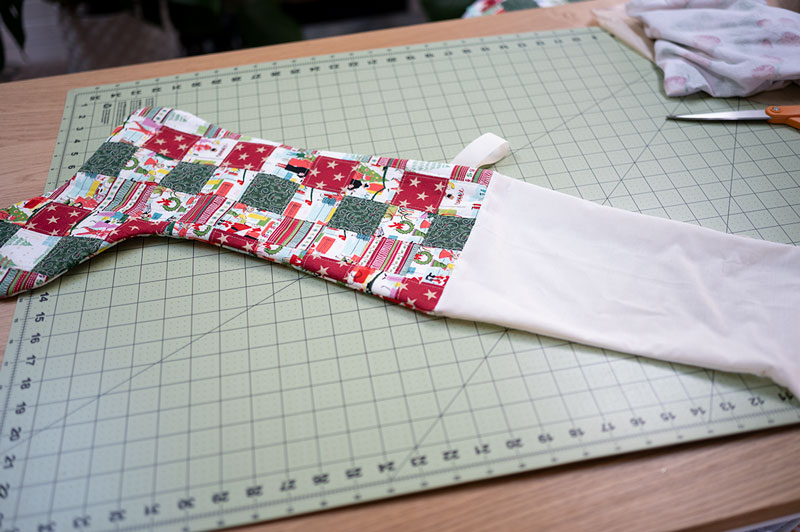
Your project is right sides out and connected on the top as you can see!
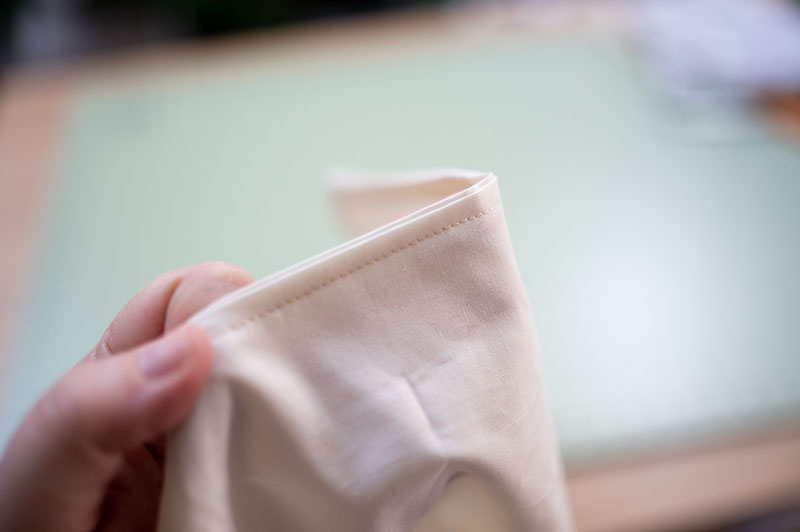
Press both halves nice and flat. Press the seam allowances in at that opening in your lining and go back to the sewing machine.
Stitch the opening in the lining closed and tuck the lining inside the outer shell.
Tuck the lining all the way down to the toe, and press the stocking. The sleeve board is really handy for giving the top edge a nice sharp press.
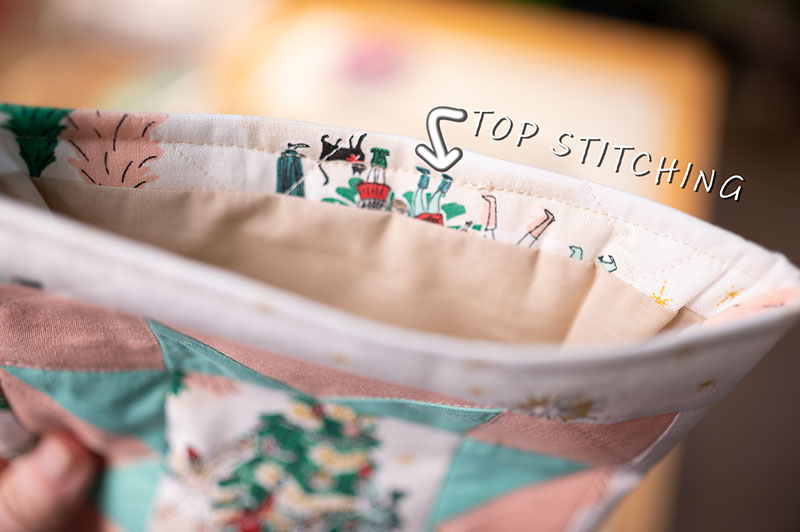
Take your stitch length back out to 3.5mm and edge stitch all the way around.
You could also use a pretty decorative stitch on this part as well.
**Remember to consult the complete instructions for constructing a Christmas stocking in this method by reading the post about the Patchwork Stocking. Refer to that tutorial if you are unfamiliar with putting a Christmas stocking together.

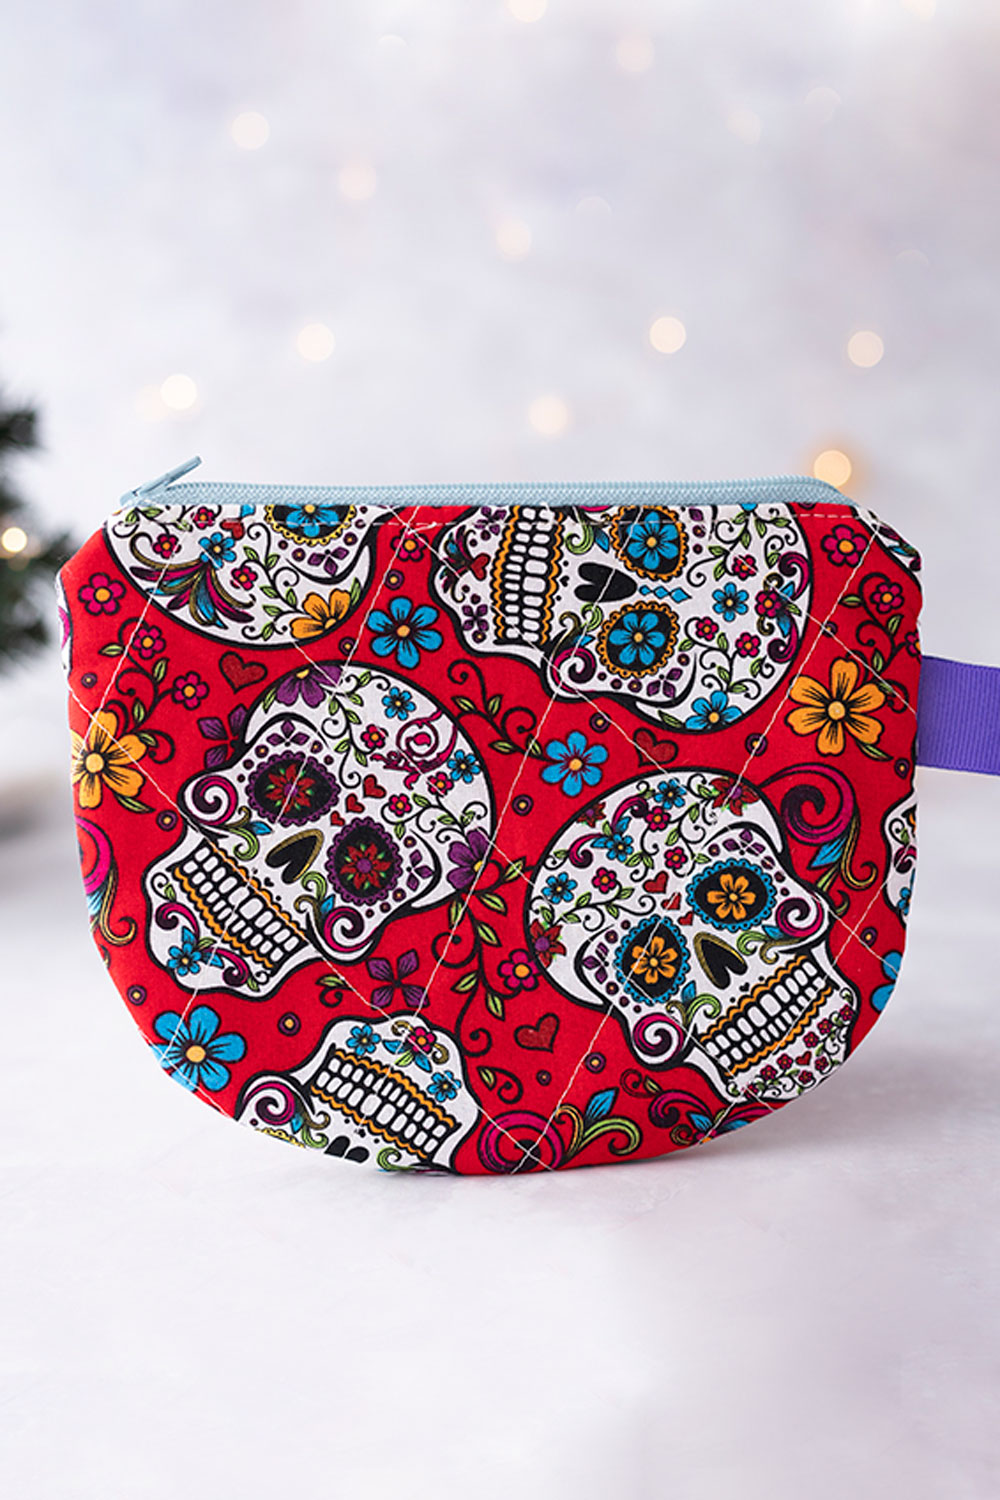
Don’t be afraid of unusual color choices for your Christmas Stockings
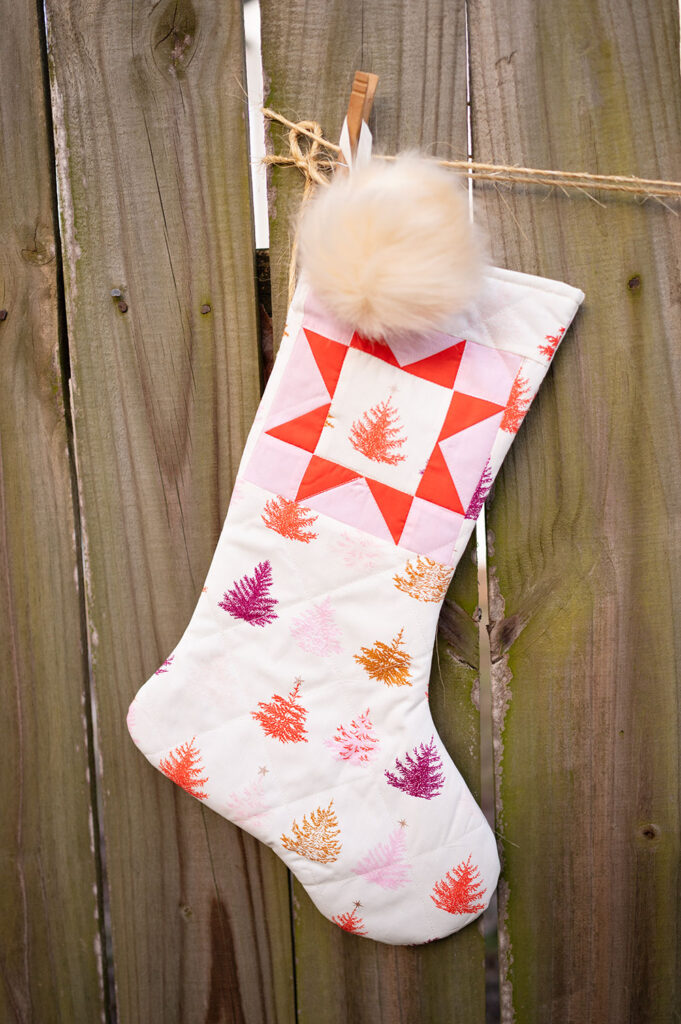
The typical combination of saturated red and green is naturally a popular choice for anything Christmas themed. But don’t think that’s your only option. And remember desaturated color such as the mint green and peachy pink are still in the red and green combination. The orange and pink color choice is highly unusual, but it works beautifully.
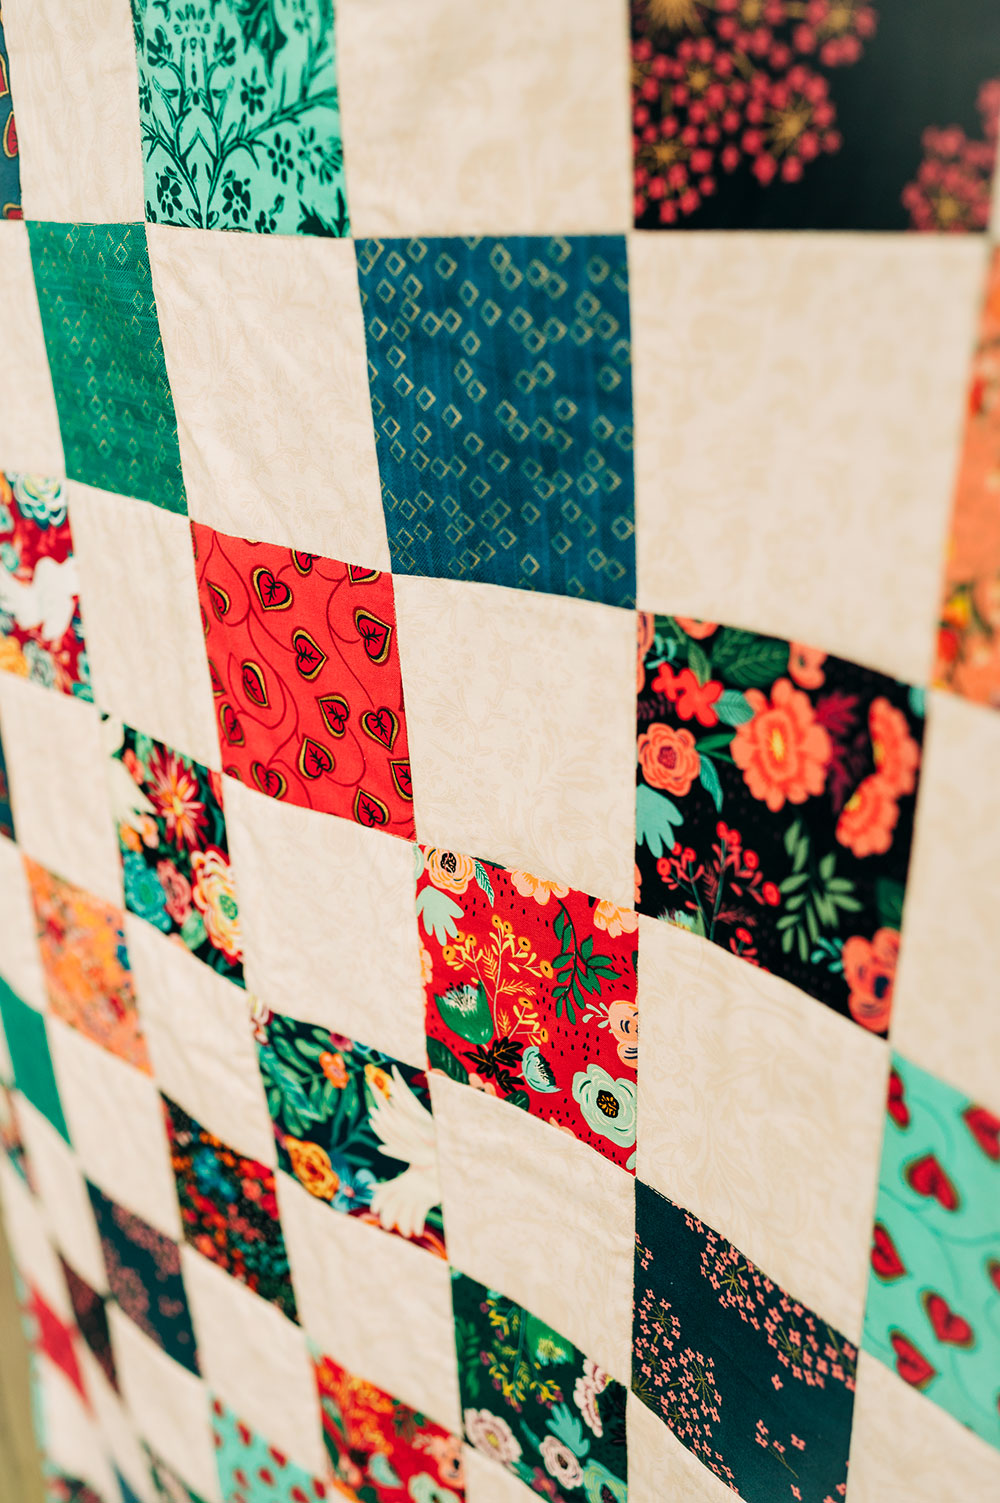
The key to your quilt block coordinating with the print is to use color in the block that appears in the main fabric. I used solids, because it’s easier to find a harmonious match. In other words, there aren’t competing prints. A Christmas stocking is a small project, so too many prints could quickly become overwhelming. I opted for a Sawtooth Star as my block and used the Eleanor Burns method of constructing the flying geese star points. But if that feels like too much, half square triangles work just as well. The big thing I want to stress here, is to use the main fabric to select your block colors and coordinate them the best you can. If you haven’t tried working with solids, this is a great way to give them a whirl.
Complementary Colors Analagous Colors
A little color theory goes a long way in designing the look of your projects.
- Complementary colors: Color that appears opposite of one another on the color wheel. (affiliate link)
- Analagous colors: Color that appears next to each other on the color wheel.
Color is tricky, and while there are no “wrong color choices” there are definitely guidelines that create color harmonies. I recently took an online course from Sarah Watts who is a fabric designer for Ruby Star Society. She has several classes, but the one I took is called Color Theory for Fabric Lovers. I thought it had great information for mixing your fabric stash or matching new purchases to existing stash. I will say that mixing some solids in with the prints makes this process a little easier to see and understand.

Don’t be afraid of a little experimentation
It’s commonplace in the garment sewing community to graft two different patterns together. They frequently mix a bodice from one dress pattern with a skirt from another. They call this a Frakendress.
So I guess this Christmas project could be called a Frakenstocking because we are cutting the top off the front of a stocking panel and replacing it with a pieced section that includes the quilt block.
My pattern is wide enough to accommodate a 6″ block but you might need something smaller if the neck of your pattern is more narrow. But that would be pretty unusual.
And that, my friend, is how to make a quilted Christmas stocking
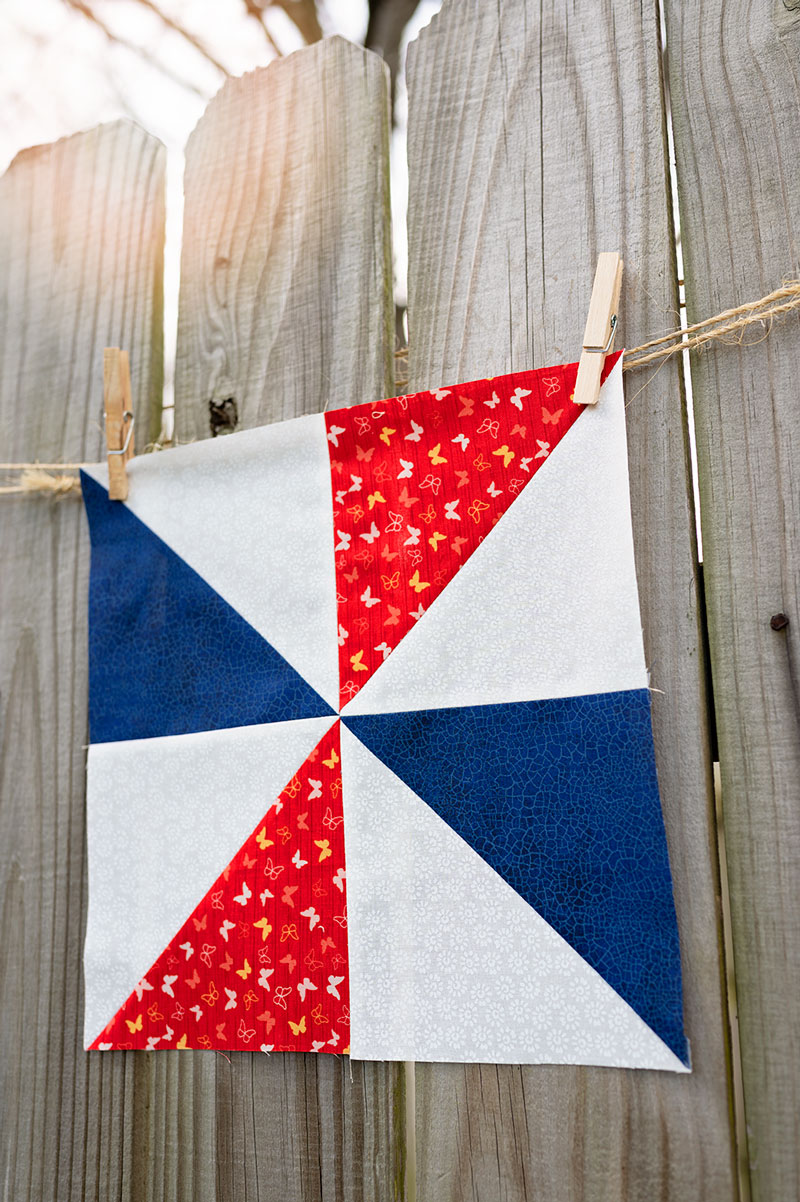
The hardest part of this project is picking out the quilt block you want to use. I personally love the Star motif because the star plays such a prominent role in the Christmas story. But if that feels too difficult for you in a 6″ size, try a pinwheel block. Even a 4 patch would be cute in the same space.
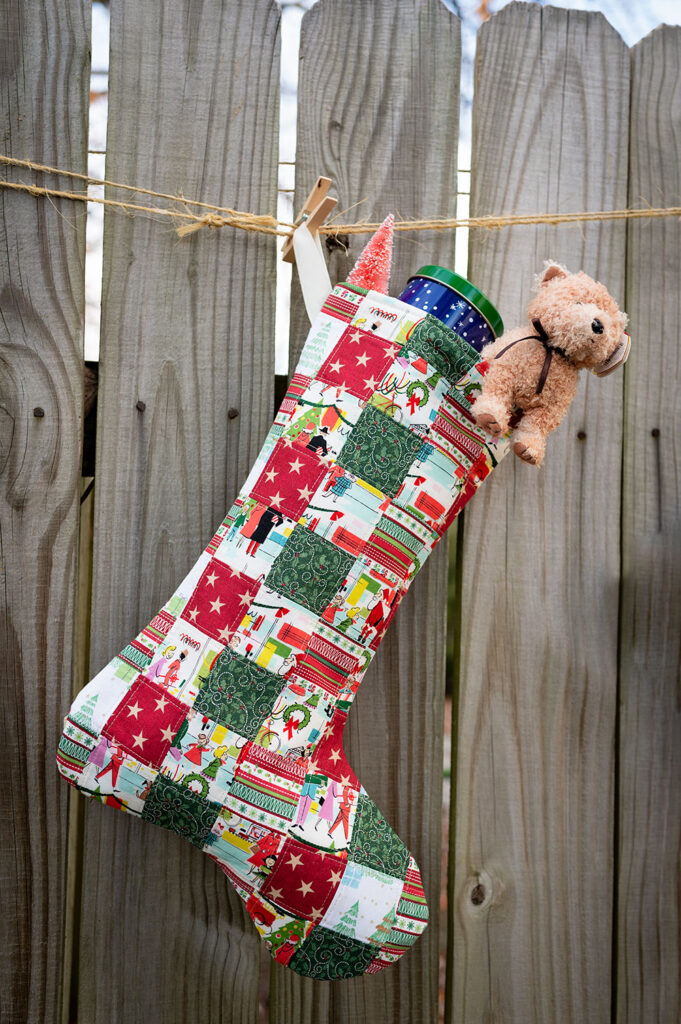
If the quilt block feels too difficult to figure out, find a bold print and quilt the fabric before cutting and sewing into the stocking shell. It is also quite striking.
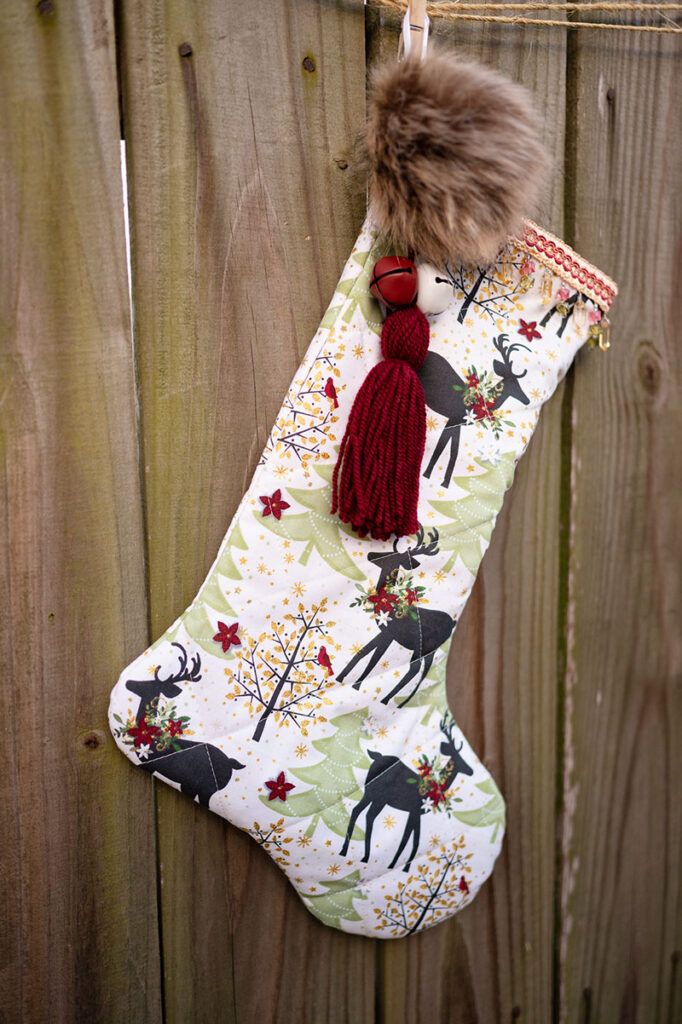
Simple ways to dress up a plain Christmas stocking
I added a fancy trim around the top of my stocking that I purchased from the super discount table in Joann one summer for maybe 50 cents a yard. So I have A LOT of it.
I also made a big yarn tassel with added jingle bells. Slipping a coordinating faux fur pom pom (affiliate link) around the hanger will finish off any Christmas stocking beautifully.
I hope this gets your creativity flowing with fun ideas for ways to personalize your own Christmas stockings! Half the fun of sewing and quilting is constructing something unique. There has been so much emphasis on over spending at the holidays, and I hope people are returning to old ways of smaller celebrations with more handmade gifts and treasures.
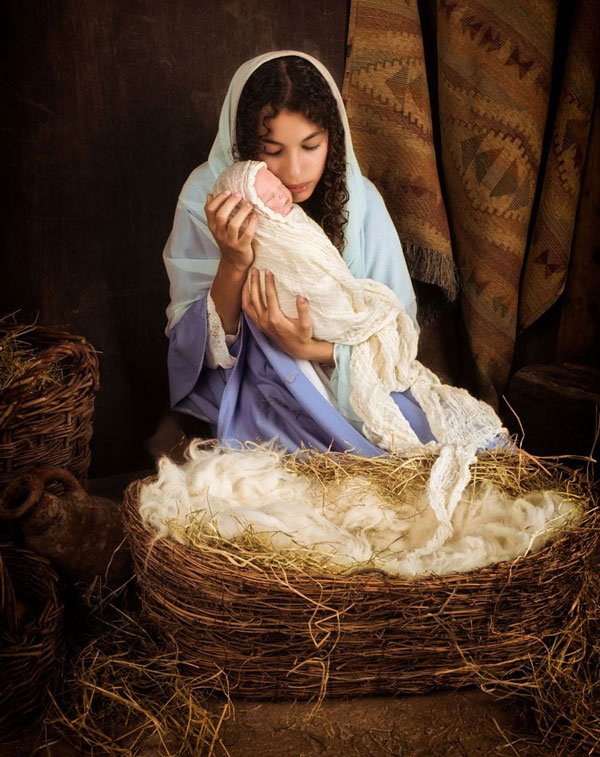
While learning how to make a quilted Christmas stocking is a fun activity, please never forget the real reason for the season which is the birth of our beloved Savior.
Luke 2:4-7
4 So Joseph also went up from the town of Nazareth in Galilee to Judea, to Bethlehem the town of David, because he belonged to the house and line of David. 5 He went there to register with Mary, who was pledged to be married to him and was expecting a child. 6 While they were there, the time came for the baby to be born, 7 and she gave birth to her firstborn, a Son. She wrapped Him in cloths and placed Him in a manger, because there was no guest room available for them.
Hi! I’m Pattymac
Quilter, Baker, Maker
I’m a creative lifestyle blogger living and working in Coastal Virginia. When not baking or quilting or taking pictures, I’m out exploring the cookbook section of my favorite library or munching on my own home baked cookies at a classic movie matinee.