Quilted Mug Rug Patterns
Disclosure: This post may contain affiliate links. As an Amazon Associate, I earn from qualifying purchases. 😊
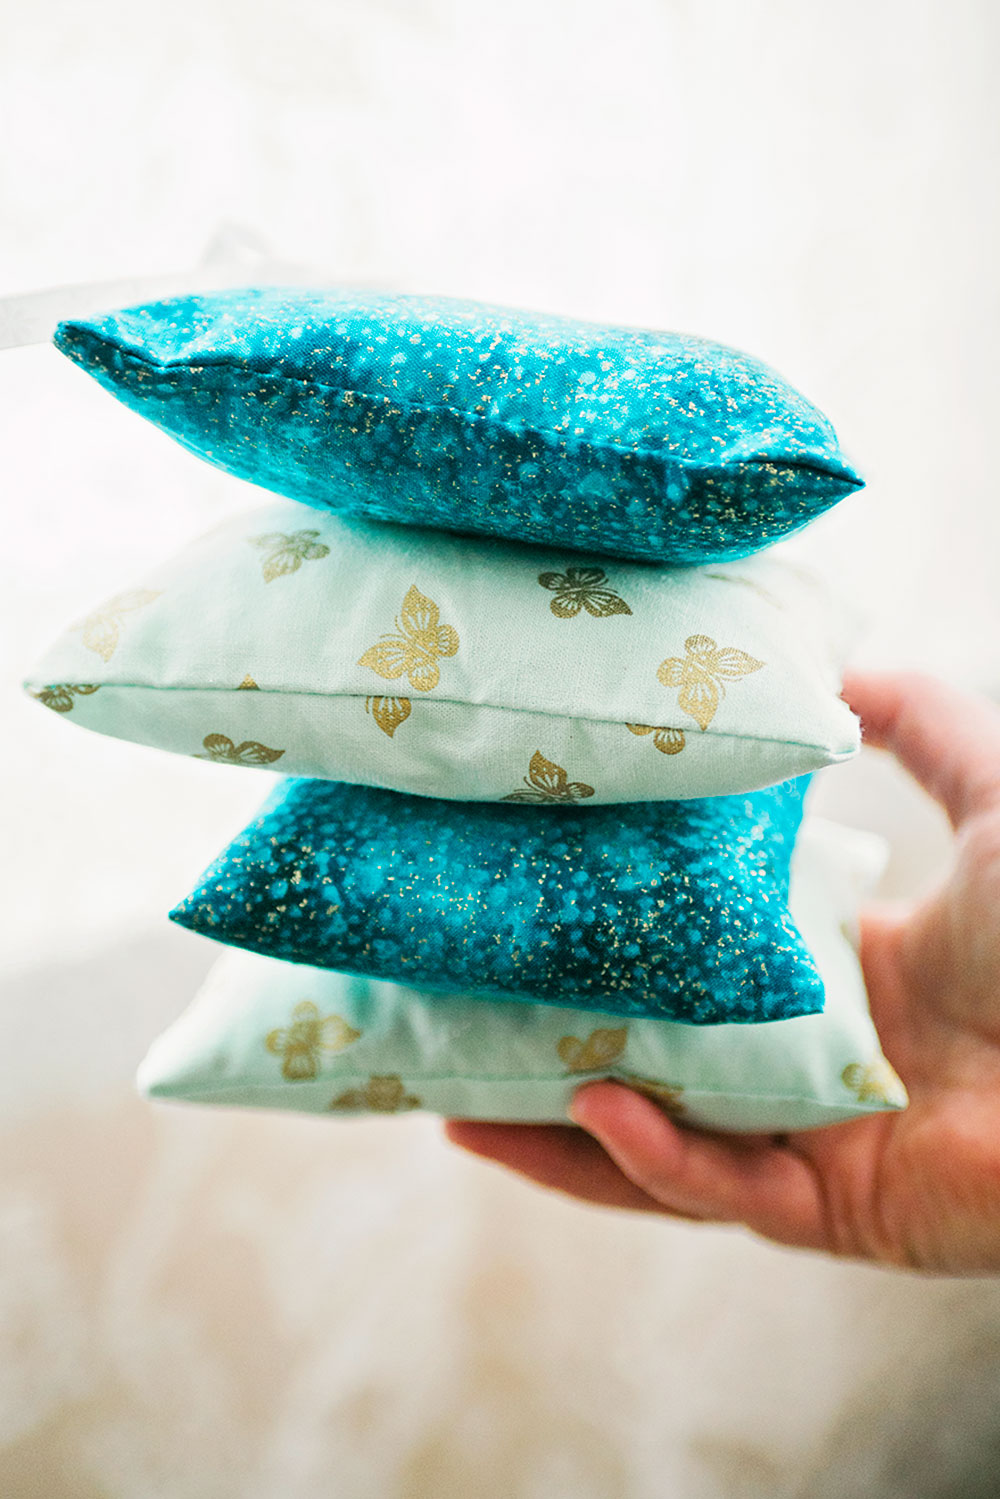
In the previous post, we learned how to construct a simple mug rug. Today let’s look at some free Quilted Mug Rug Patterns.
A mug rug is basically a mini quilt. This means it has 3 parts: a quilt top, batting and backing. We are going to investigate some ideas for simple patterns to use in your mug rug design.

The first question is always, “What size is a mug rug?”
I’m so glad you asked! Generally people put these together as mini placemats so there is space for a beverage (usually something hot) and a snack. They are often rectangular, but I find the square design works well, too.
The mug rug patterns shown today are all approximately 6″ square. Plenty big for an oversized mug and a hearty snack.
Let’s take a look at some Mug Rug Pattern Ideas
Charm Packs are a nickname for 5″ precuts that represent fabric lines.
I used a Charm Pack I had in my stash (affiliate link) to construct the projects shown in the pictures. You can expect a couple of cuts from each print in a line, and more depending on how many prints are in the collection.
A so-called charm pack has 42 individual 5″ squares. Each square measures 5 inches by 5 inches. If there are 42 fabrics in the fabric collection, you get one square of each fabric. If the designer doesn’t have 42 different fabrics, some will be repeated to have a total of 42 squares.
Some commonly asked questions about mug rugs
- What batting do you use for mug rugs? I used some 80/20 I had in my stash (affiliate link) that were leftover trimmings from other projects. This is where the leftovers from full sized quilt projects come in handy. But you could use fusible, 100% cotton or even Insul Bright™ (affiliate link) as your batting layer.
- What is the best fabric for mug rugs? Generally quilting cottons are best, but cotton canvas (affiliate link) also works well. You want a stable fabric that will hold up to frequent washing.
- What is the difference between a coaster and a mug rug? A coaster is designed to seat a cup and nothing more, a mug rug is larger, leaving you space for a cup of coffee, a bowl of cereal, cookies or other goodies.
So let’s get down to business and look at what we need to construct a quilted mug rug
- Four 5″ squares of quilting cottons: I pulled fabric from a charm pack (affiliate link) I had on hand, but scraps are suitable. Or squares can be cut from fat quarters or yardage. If you cut your own fabric, you can cut smaller squares for less waste.
- Quilt Batting: I used a high loft 80/20, but use what you have on hand.
- Backing fabric: I used scrap fabric I had in stash for the backing fabric.
- Thread: can be matching or contrast.
- Cutting Tools: You’ll need a rotary cutter (affiliate link) and fabric scissors to cut and trim this project.
- Quilt Rulers: I used a 3.5″ square ruler (affiliate link) to trim my HST units down to size and a 6.5″ square ruler (affiliate link) to trim the quilt top as well as cut the backing fabric and batting.

The first step in constructing the mug rug quilt top is selecting fabric.
Pick out two darks and two lights. Having a really dark fabric paired with something light or white will provide high contrast to really show off the pattern.
Working within a collection makes this easier because the colors and value are designed to complement each other. In other words, all the reds are the same! You don’t realize how different pigments are from one another until you’re tasked to pair them into pattern combinations.
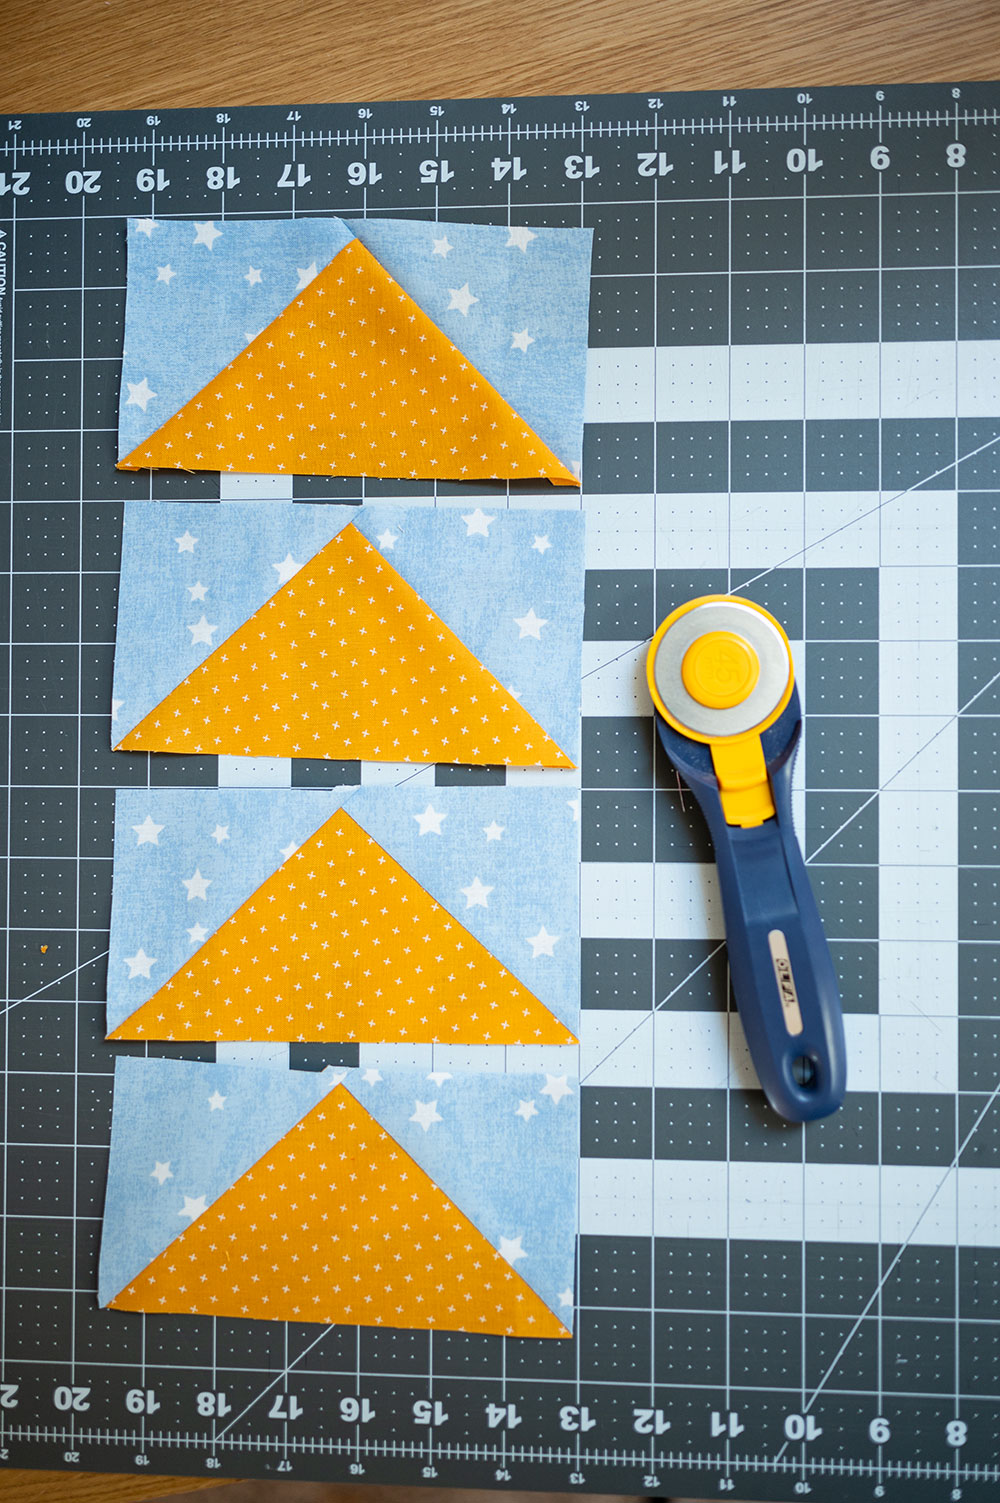
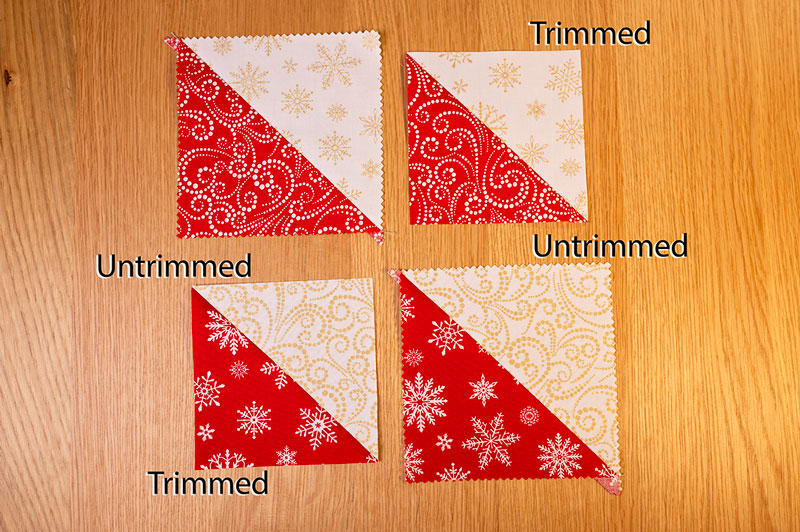
Time for Unit Construction
Make 4 half square triangle units using your preferred method. Then trim them to 3.5″ squares. Alternatively, trimming to 4″ squares would also work, but I used 3.5″ squares.
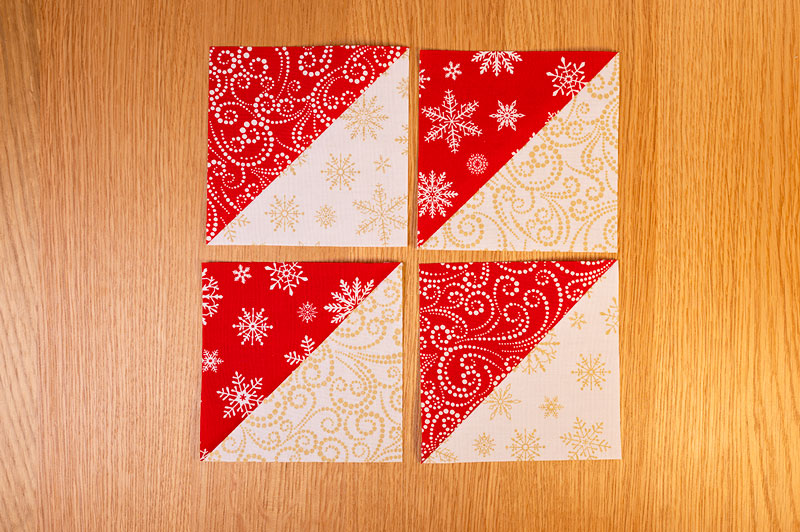
Arrange the 4 units in a pattern.
Now it’s time to pick out an arrangement for our colorful quilt top.
Exploring quilted mug rug patterns
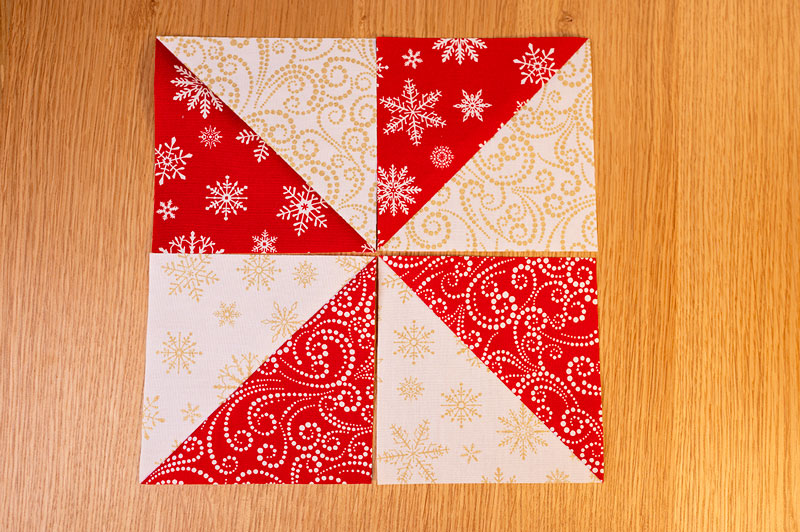
The most fun thing about working with half square triangles made with high contrast is that several design ideas can be explored simply by rotating the individual blocks. Let’s look at a few ideas.

Once we decide on a final look for our mug rug quilt top, what’s next?
Now we put it all together!
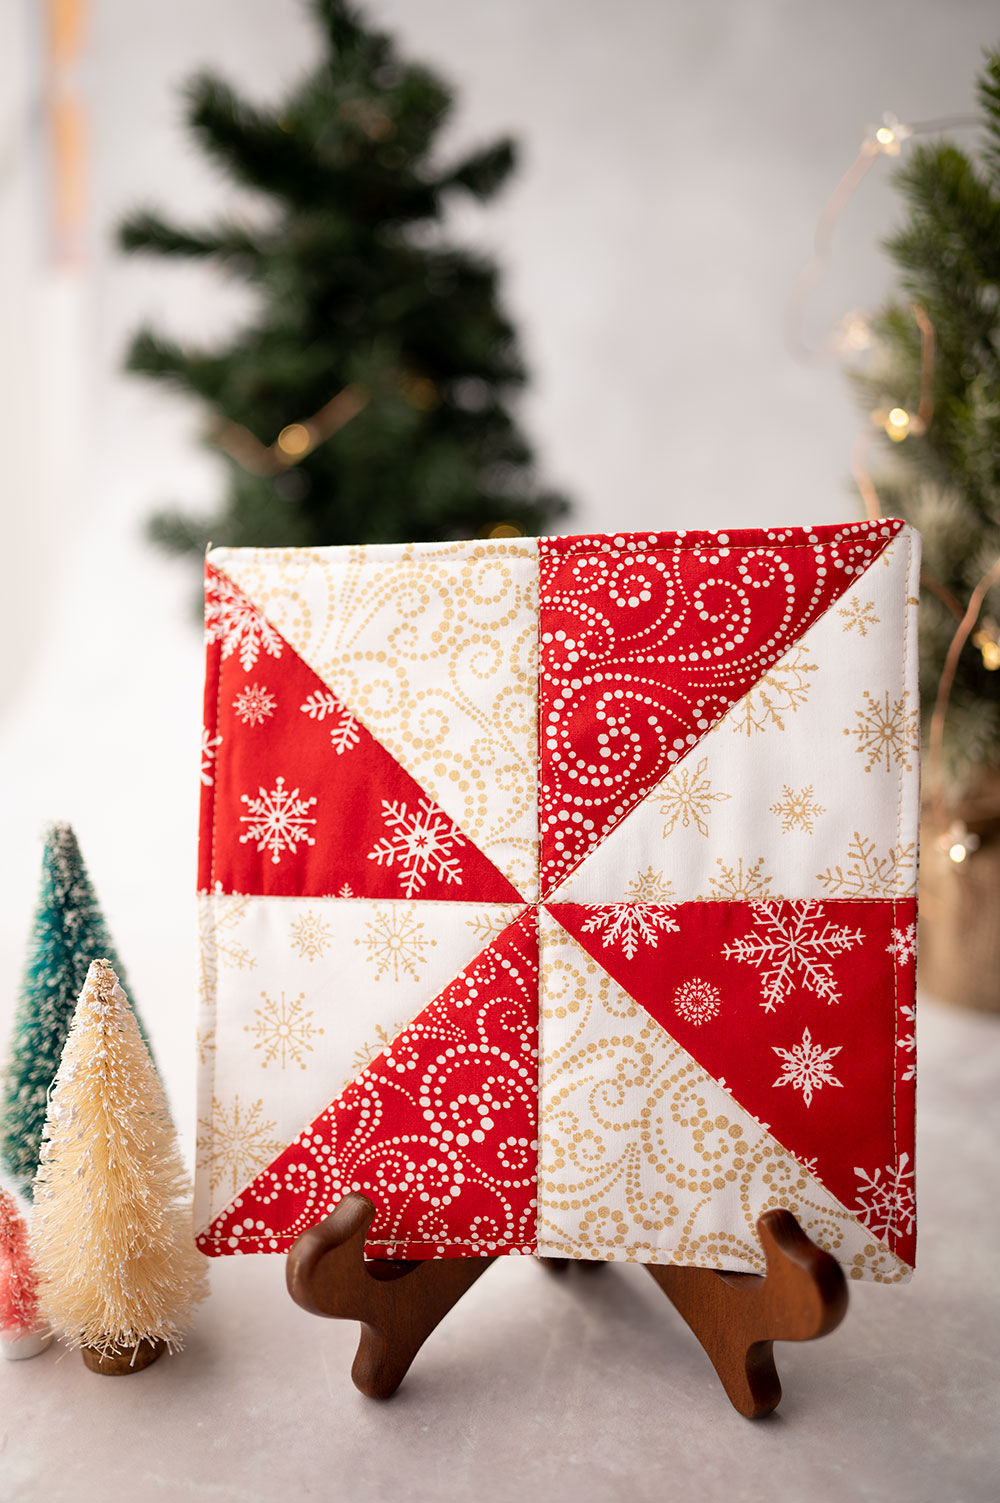
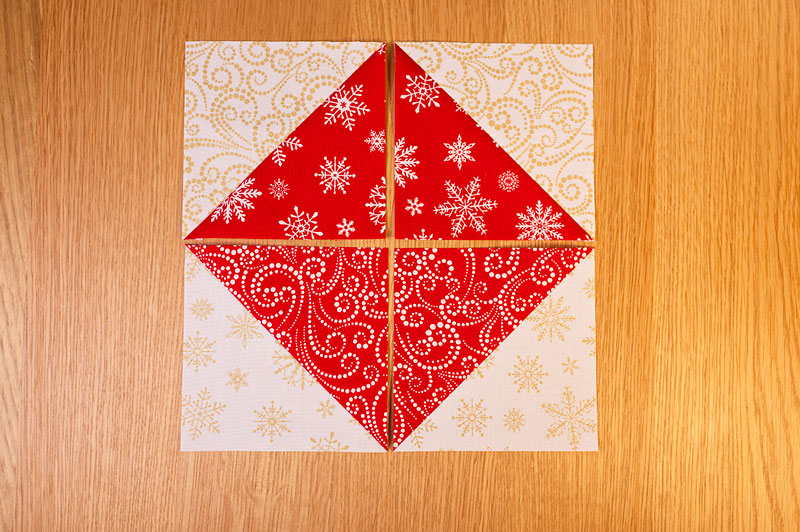
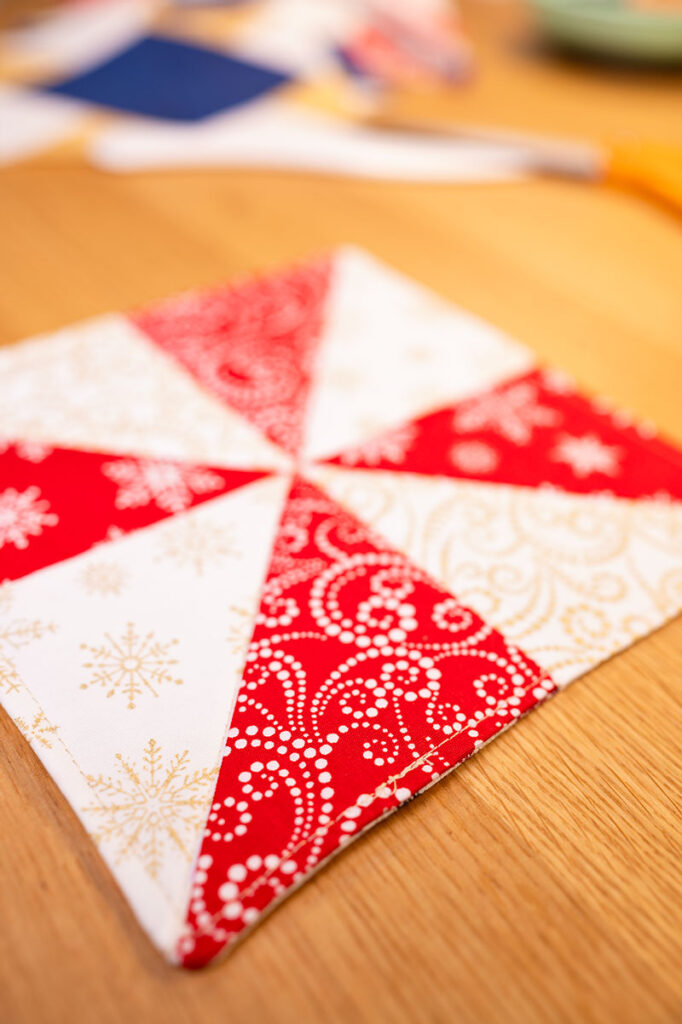
Lay out your design in the pattern you want to use. For this tutorial, let’s put together a pinwheel block.
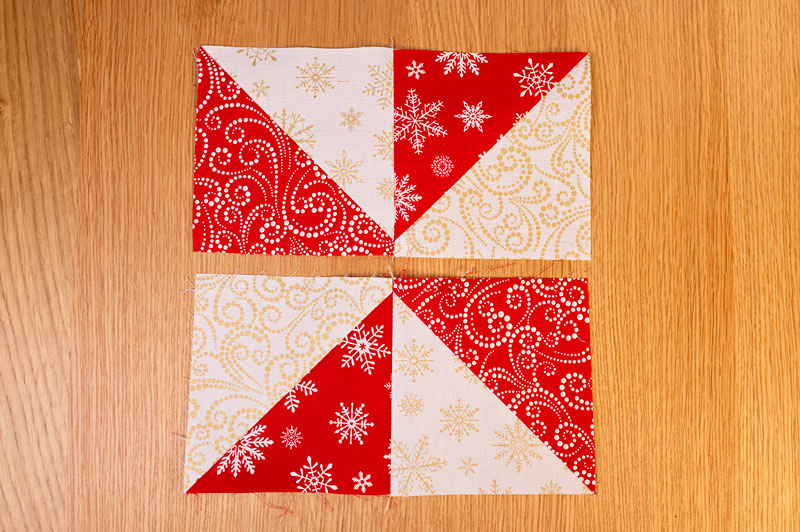
Stitch your top two units together and do the same with the bottom two. Carefully line up the points and be sure your seam allowances are correct.
Notice I slightly adjusted the position of the blocks from the first design shown in the first picture.
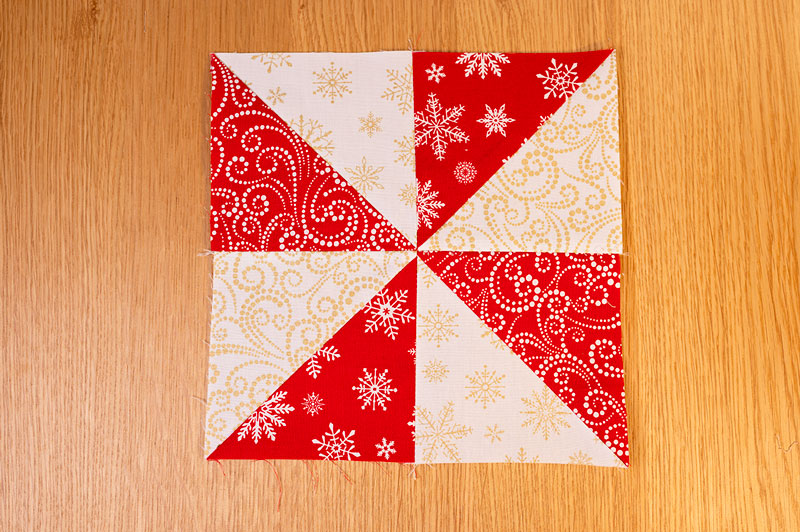
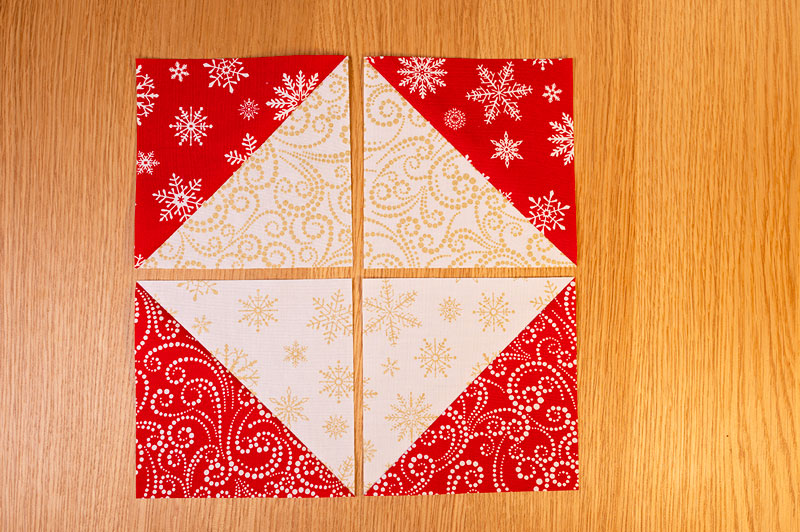
Finish the block by joining the top and bottom halves along the center seam.
Pinwheel is a classic block design, but it does take careful skill to line up all the points in the center and achieve a flat block. Take your time.
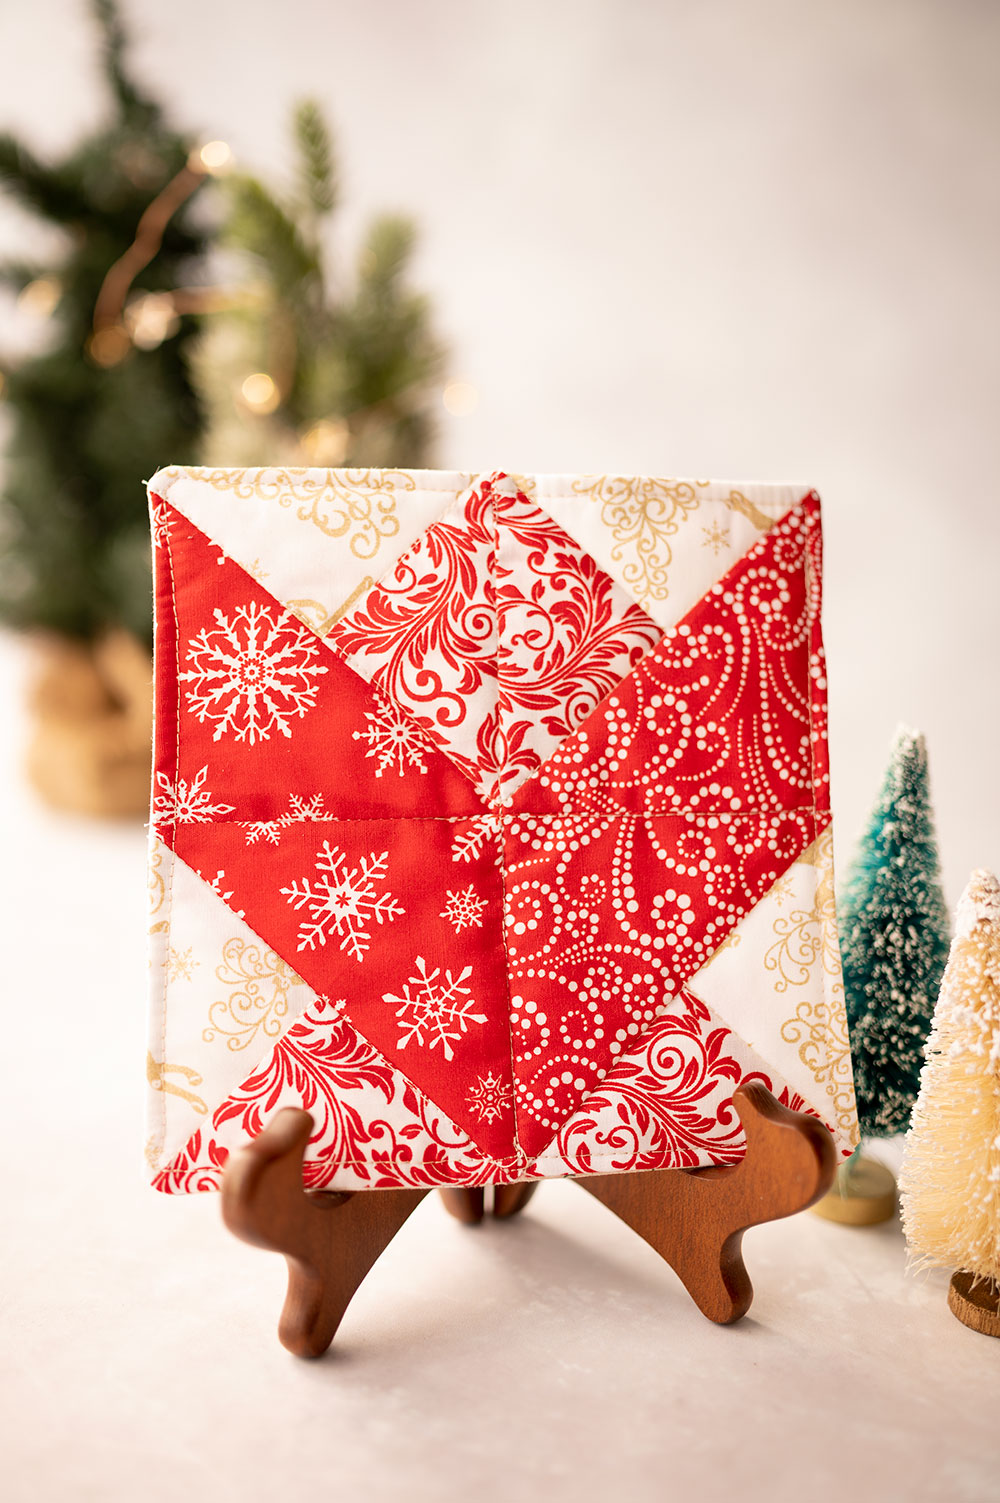
Trim the components to size.
Notice the pinwheel block has been squared up to a true 6.5″ block. All the edges are perfect as opposed to the version shown in the previous photo.
Trim the backing fabric and batting to the same size.
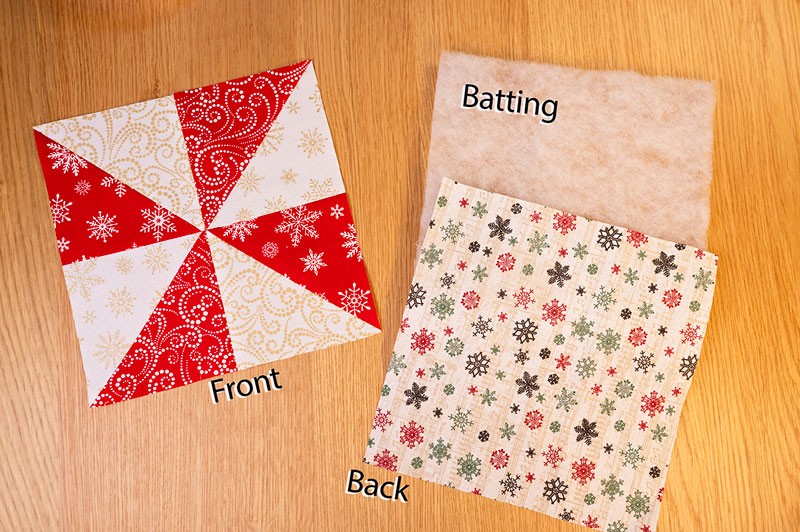
Complete your construction of the quilted mug rug.
Full instructions on finishing the mug rug are provided in the previous blog post, so please review those instructions for finishing.
This post is primarily reviewing some design choices and the previous posting is all about how to put the project together. It was a LOT of information and pictures so I thought splitting up the information was more user friendly.
💁♀️
What if I want something a little fancier for my quilted mug rug patterns?
The good news is that you can get as fancy with this project as you want! If you don’t like the size I’m suggesting here, then simply size up or down as you prefer. I know that many times when people are researching patterns or looking for project ideas, they want specific instructions. And while I do provide specifics, I encourage you to experiment a little, too. Especially with a small project like this one. It’s a fun way to try something different that maybe you wouldn’t do in a larger project that requires more commitment (and expense).
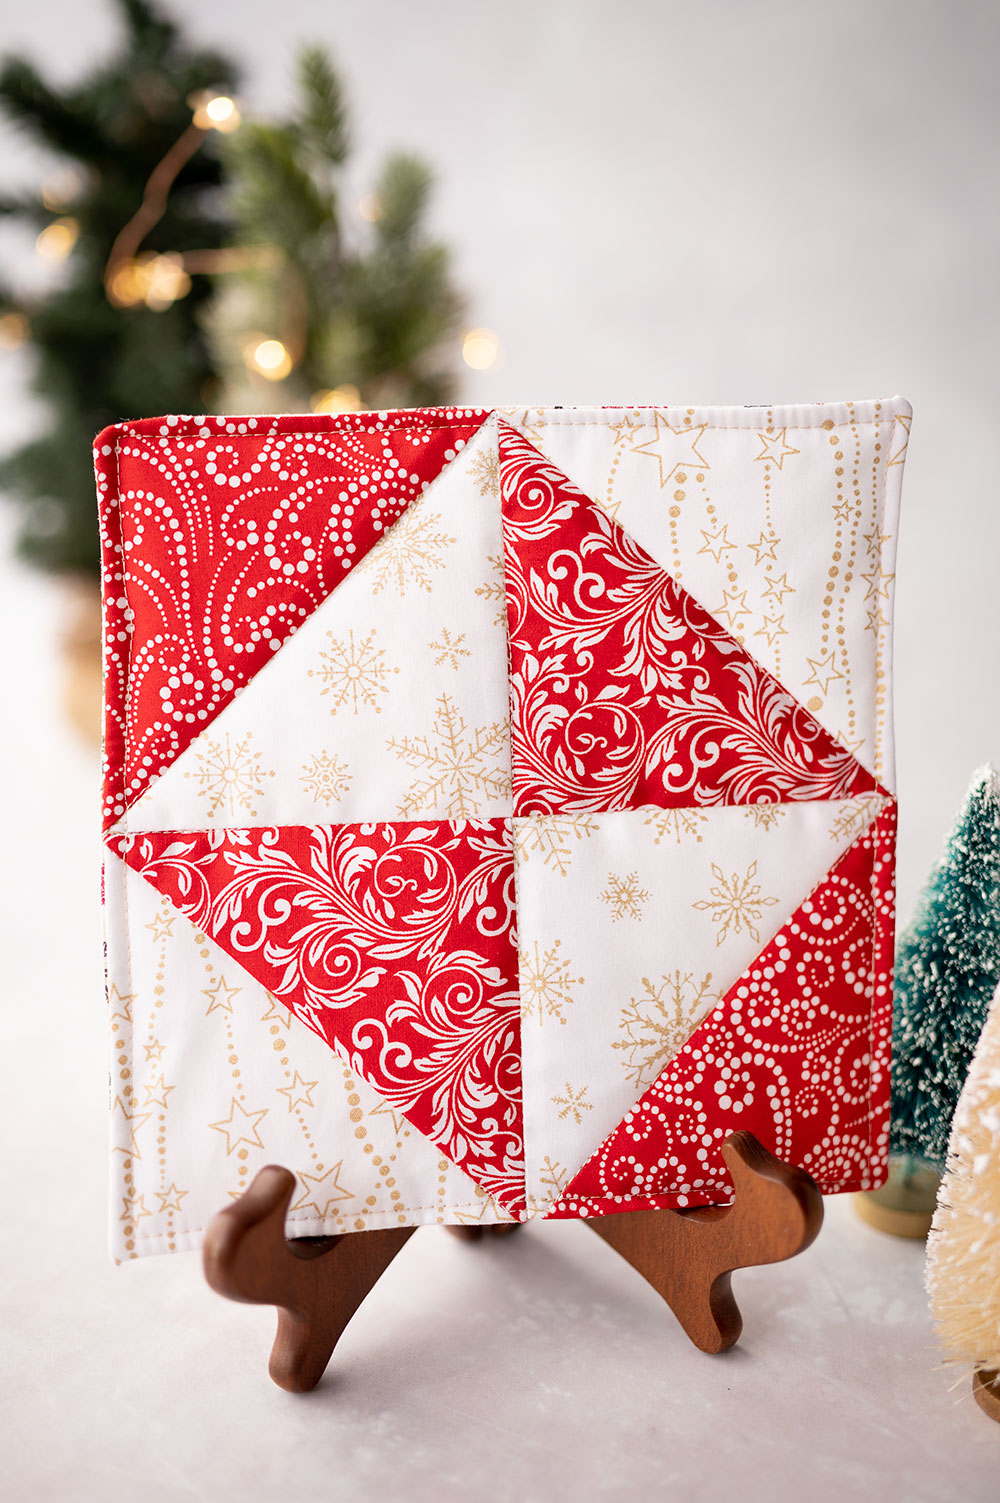
In another version of mug rugs I made, I used something called a quarter square triangle. I haven’t yet written a tutorial post on constructing that unit, so you will have to check back for that one. Be sure you’re on my email list so I can notify you when new projects and tutorials, including the quarter square triangle, goes live. But until then….

Stepping up the half square triangle game to a quarter square triangle allows for more complex shapes and design possibilities.
But they are tricky!
I made a pinwheel version and got my units a little out of place and the design is off. So getting off kilter is easy to do with these.
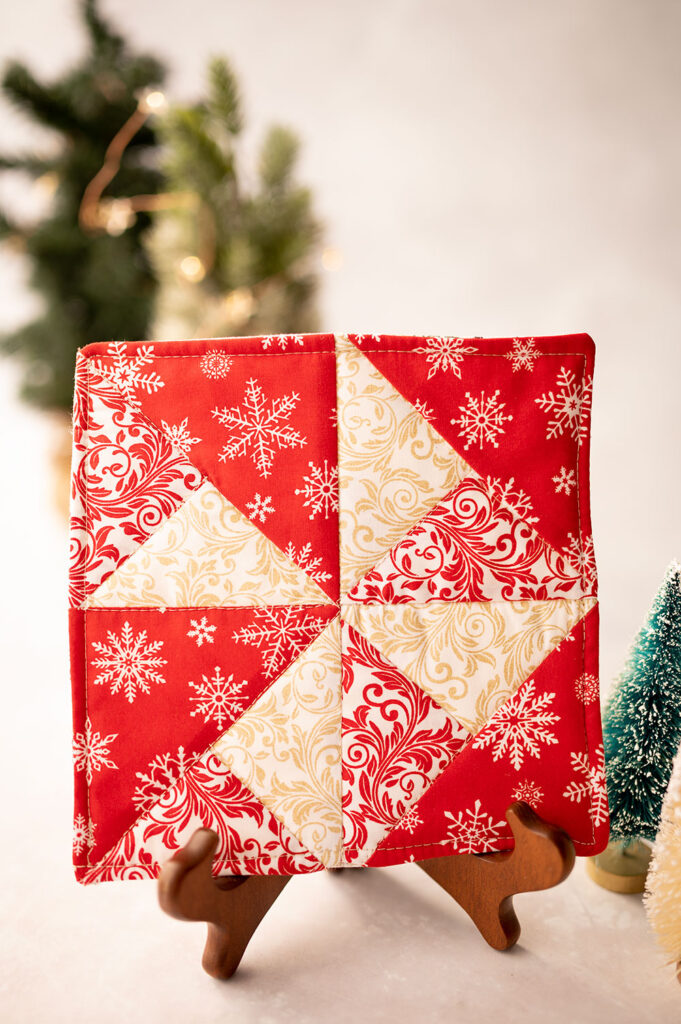
It’s a little off, but still usable.
Getting our color blocks in the right spot is a topic for another day, but since we’re having the conversation, I wanted to share all possibilities with you.
I like for you to see the not so perfect along with the best of the best, because I think it’s the best way to learn. Jumping in and letting yourself make a few mistakes is the best way to learn, to be perfectly honest.
🎓
Other tips and tricks for working with designs to use in your quilted mug rug patterns
- Simple is better: Focus on two colors in a dark and a light. A bright color with a neutral is always a good choice. Since a half square triangle is a square made with two triangles, selecting a light and a dark is pretty easy.
- Scale is everything: Opt for print sizes that reflect the size of your project. If your HST unit finishes at 3.5″ like the ones in the pictured projects, opt for smaller scale prints instead of giant, oversized elements.
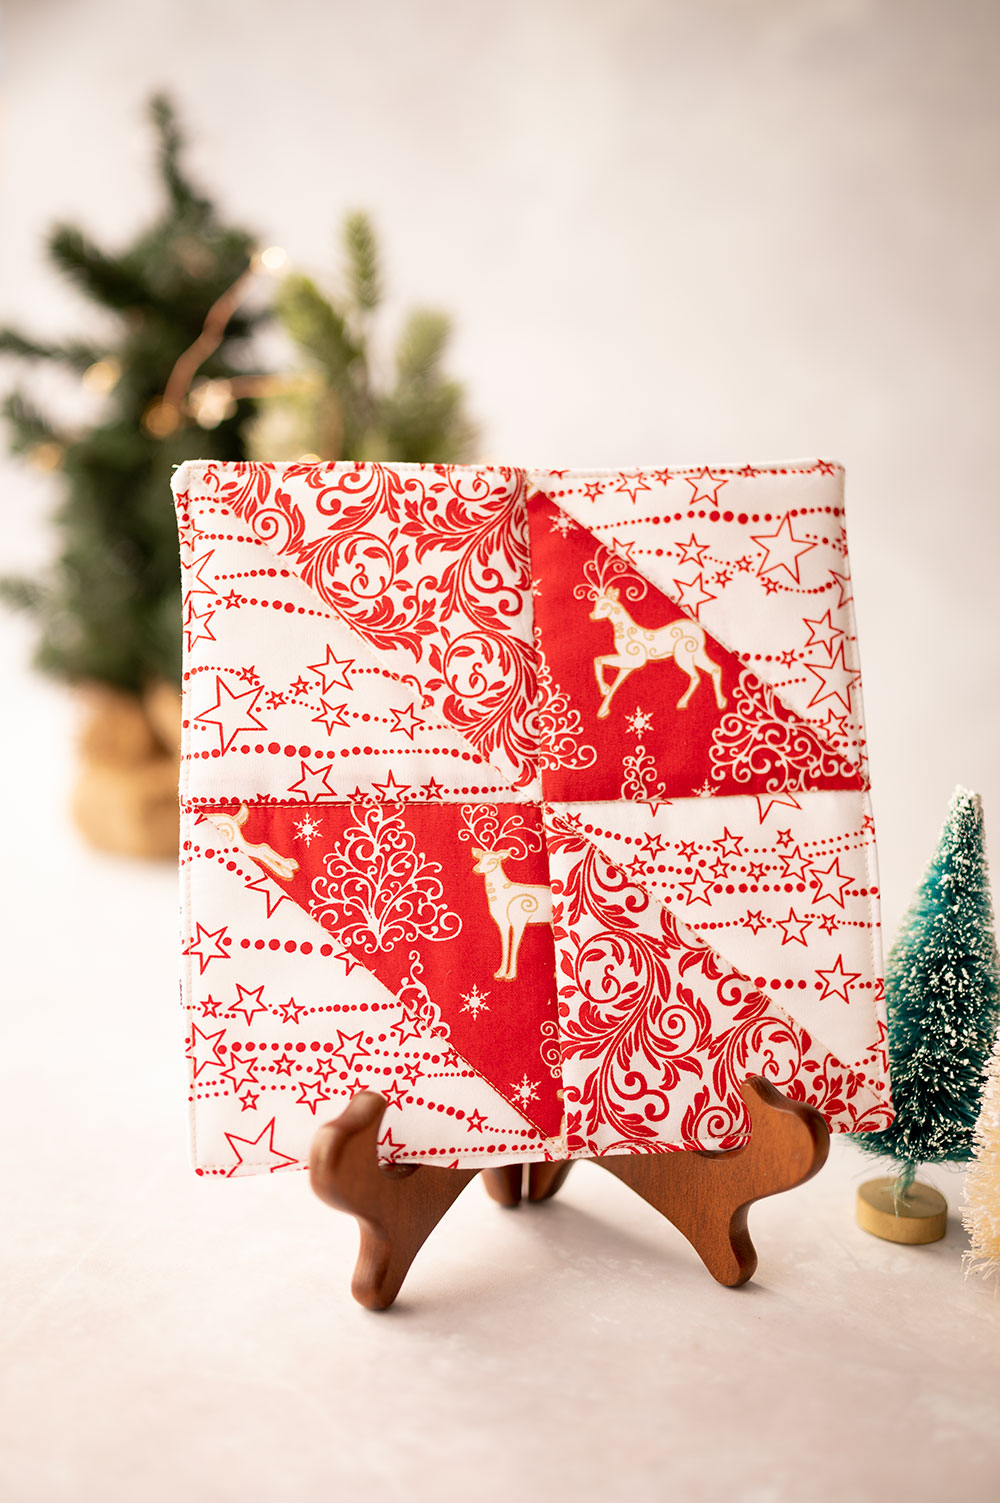
- Be mindful of directional prints: In a project that uses 4 HST units to construct a 4 patch, it is important to pay attention to the directional flow. Prints that are obviously going different directions will cause visual imbalance. Let me show you what I mean
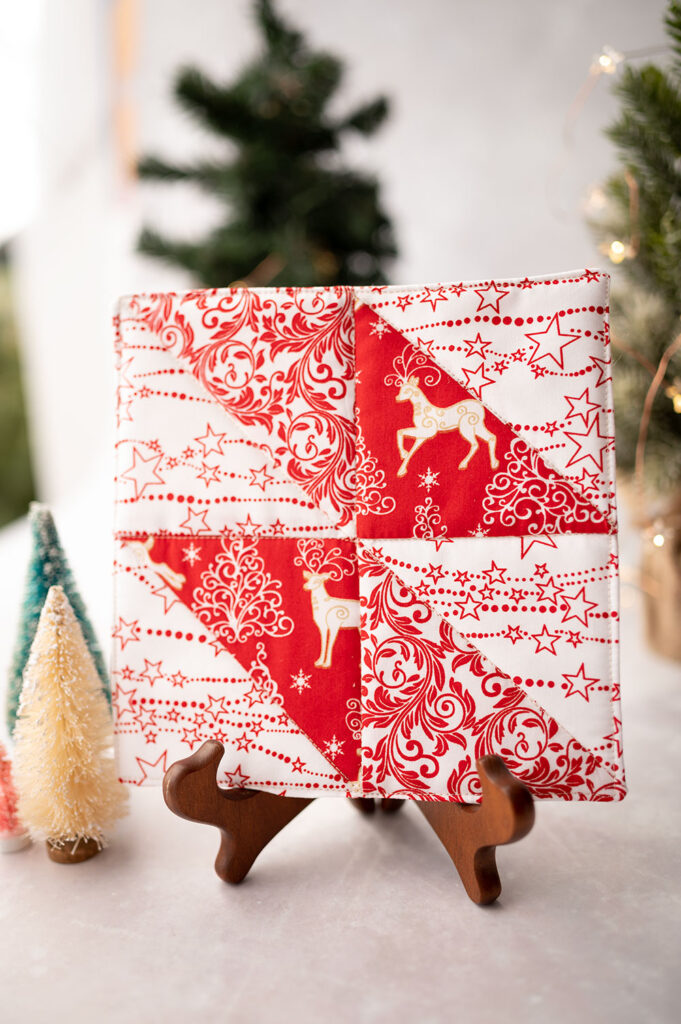
Watching the flow of directional prints
Notice there are 2 directional prints in this mug rug, the reindeer and the stars. When I put this together I was very careful to make sure the directional prints made sense. In other words, you don’t want to have a reindeer upside down. And if one of the star prints was flowing in a different direction, it would seem off.
So notice the flow of your prints before sewing anything together.
I hope this posting gives you some ideas that spark your creativity!
Sometimes color selection and patterns can become stressful or even difficult to pair. When it feels a little overwhelming, take a deep breath, and simplify your choices. Anything looks spectacular in a well sewn and finished project. If you are ready to get sewing but need a little more guidance, remember to read the post on how to put the whole project together. Designing your quilt top is the first step in piecing your quilted mug rug. But gosh is it ever fun!

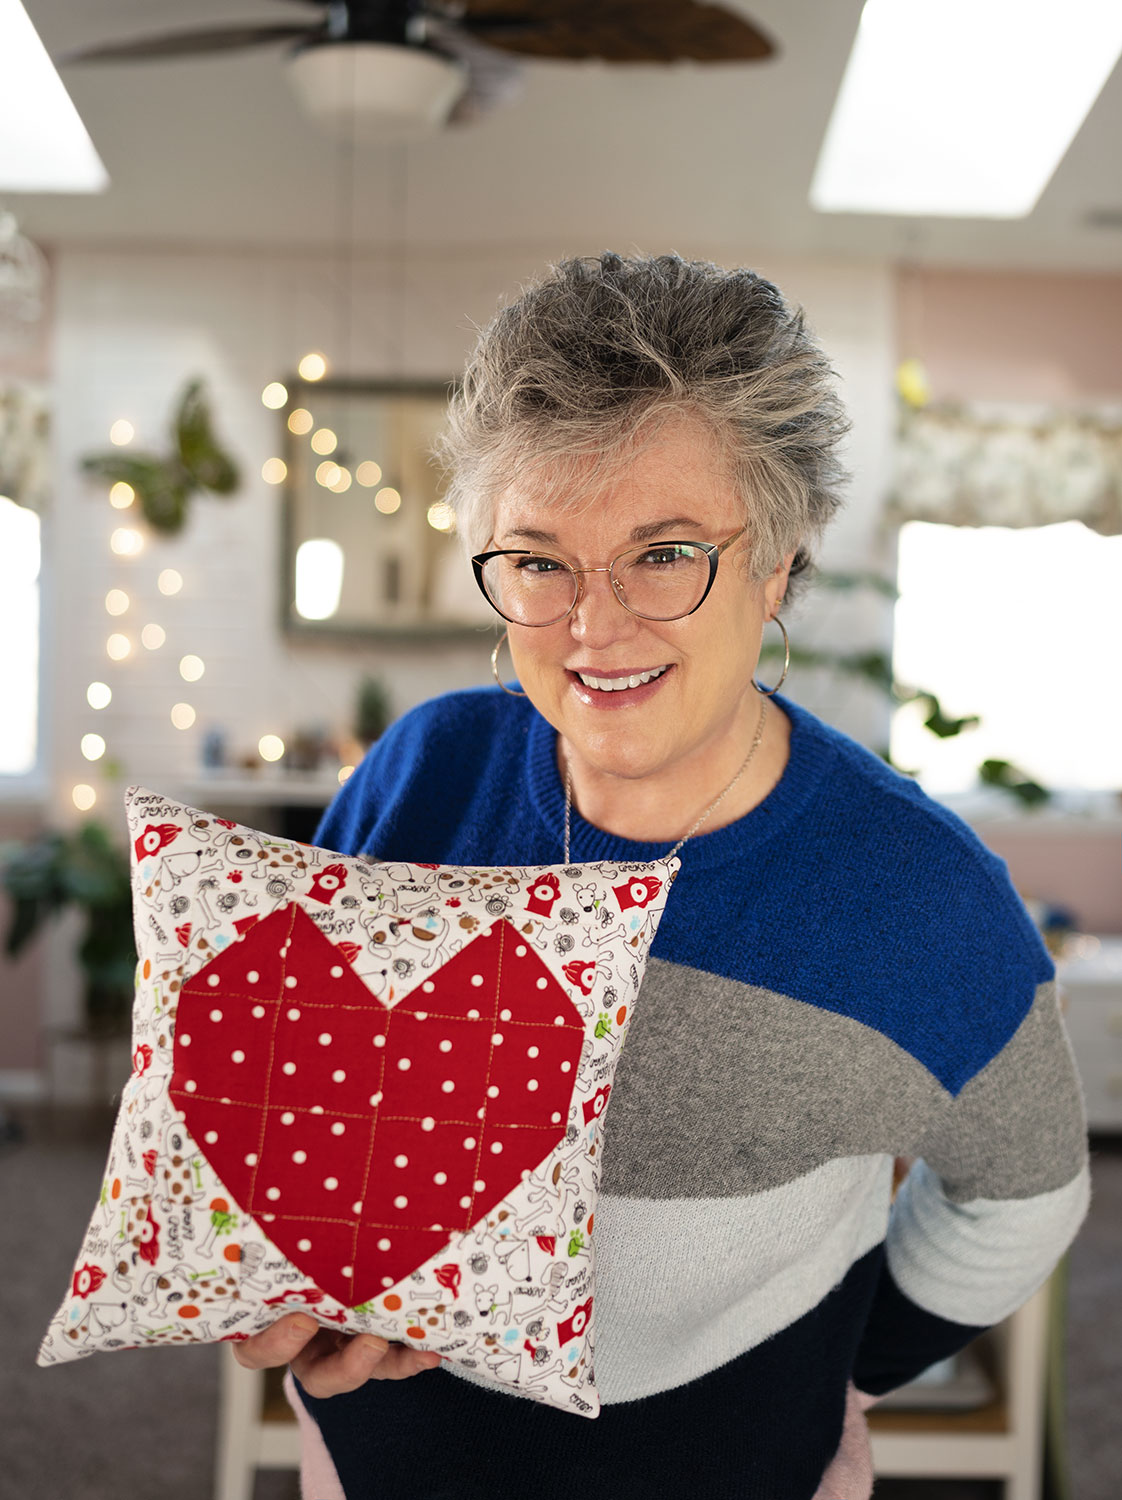
Hi! I’m Pattymac
Baker, Maker, Quilter
I’m a creative lifestyle blogger living and working in Coastal Virginia. When not baking or quilting or taking pictures, I’m out exploring the cookbook section of my favorite library or munching on my own home baked cookies at a classic movie matinee.