Fabric Storage Ideas for Fat Quarters
This post has affiliate links to products I use and love. If you buy something I can make a small commission, so thanks in advance. 🙂
Some say fabric acquisition is a hobby separate from sewing and quilting. What say YOU? I love the shopping as much as the making, but finding fabric storage solutions for all those fat quarters can be a challenge.
Let’s be honest. It’s impossible to pass up an irresistible print that may not come around again. And a beautifully wrapped bundle is even more temptation. Personally I love precuts because of the variety and access to a full collection at at more affordable price. But opened fat quarter bundles can very quickly get out of hand and generate a ton of clutter. So today, let’s talk about fabric storage Ideas for Fat Quarters.
Let’s start off by answering this question: Why are they called fat quarters? The definition states, “Etymology. The piece is made by folding a yard cut of fabric into quarters and cutting along the folds; it is fat in comparison with a quarter of a yard off the bolt, which would be a long thin piece only 9″ inches wide.”
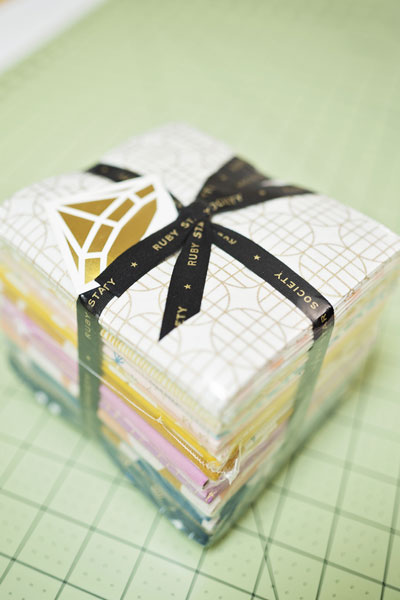
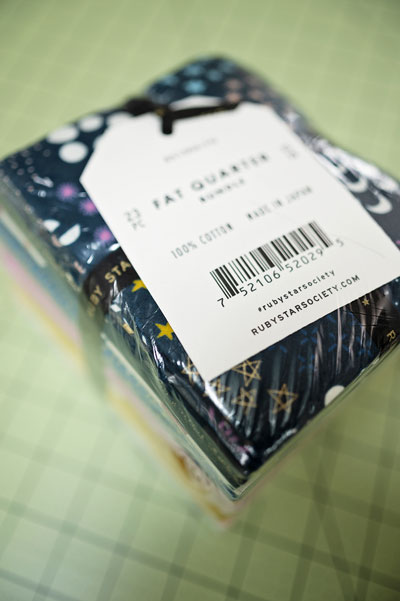
A fat quarter bundle is a fat quarter sized cut from each fabric within a fabric collection as pictured here, or a curated sample of fabrics. They can be only a few FQs or in the case of a large collection, can be several. Four fat quarters approximates a full yard of fabric.
Now we know WHAT a fat quarter is, the question becomes HOW do we keep them tidy?
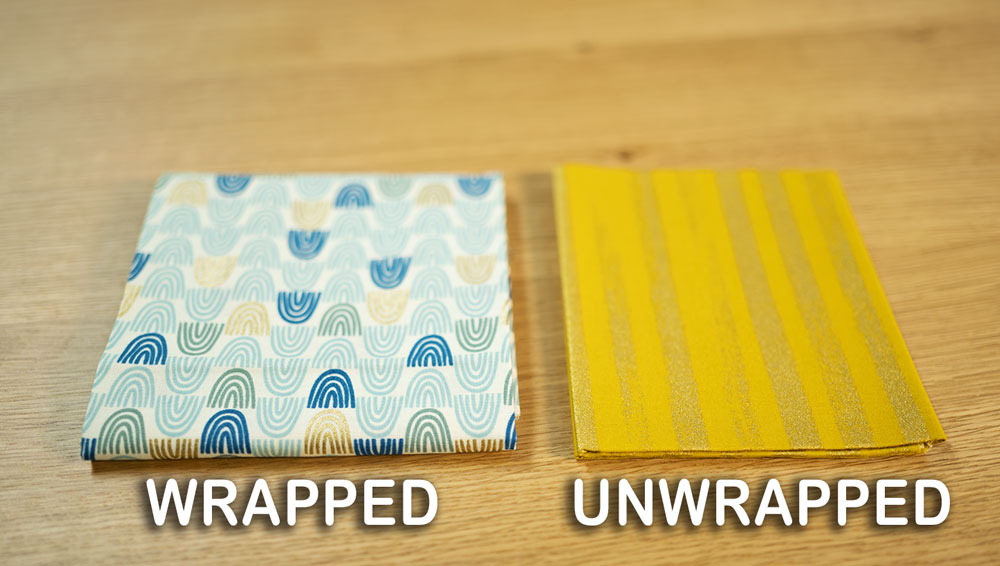
When they arrive in a packaged bundle, they are neat and as delightful to the eye as a pretty dessert. Once we break the seal and start using the fabrics, things get messy. The cuts are small and keeping them organized is a challenge.
There is no right or wrong way to organize your fabric. There is only the way that works for YOU. We are all different so one person’s way may not be something you like. And that’s perfectly fine! I love seeing how other people put their sewing spaces together, because each one is unique. And Fabric Storage Ideas for Fat Quarters are just as unique among quilters and sewists as are their sewing rooms.


One thing we can all agree on is that a tidy presentation is a thing of beauty we can ALL enjoy!
My method may not resonate with you, and that’s perfectly fine. No worries! We can still be friends. But so many people loved the way I converted my yardage to mini bolts of fabric, that it seemed sharing a method for smaller cuts was in order.
We need a few supplies to neatly fold fat quarters. Here’s what I used.
- Comic book boards trimmed to 5.25″ x 5.25″ square
- Plastic Alligator clips
- Fat quarters or other small cuts of fabric
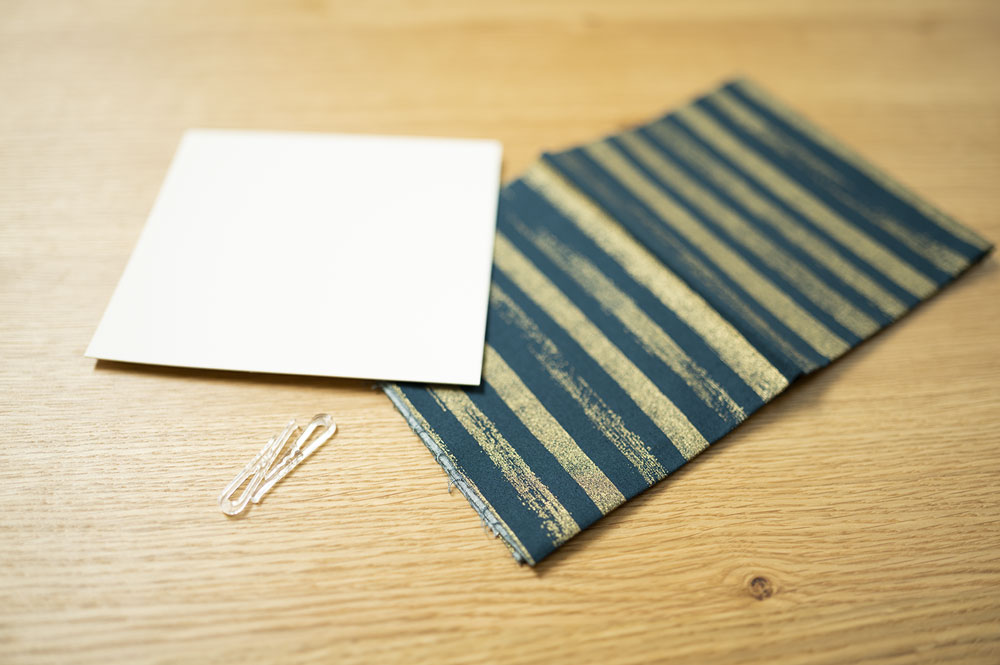
 What you’ll need for today’s project; a card, a clip and a fat quarter.
Why do I like my smaller cuts of fabric organized by wrapping them onto card stock?
- I like this method, because it’s personal preference. I like that the small cuts hold their shape. I can put them Marie Kondo style in a drawer, and see everything I have at a glance.
- I discovered I loved my yardage on mini bolts constructed using comic book boards, because it clearly displays my collection.
- Fabric wrapped on card stock is a great way to try out different colors and prints together.
- The uniformity when everything is folded on the same size card stock makes organization easier and a neater presentation which is so inviting to use.
- Wrapped fabrics can display neatly on a shelf or in a drawer.
I looked at a lot of videos and read several posts on how other people managed their smaller cuts of fabric, and everyone else had different folding techniques. I find that merely folding fabric leads to mess and clutter sooner than later, while fabric wrapped on card stock stays much neater.
How did I do it? I’m glad you asked! It’s super easy.
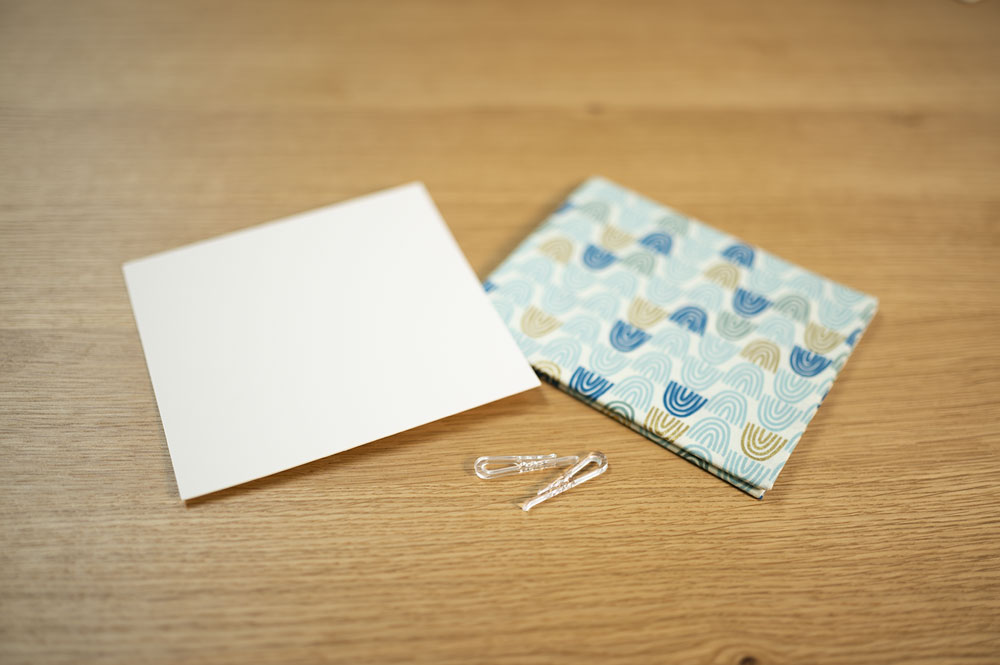
Begin by gathering your supplies. Each wrap will require a cut piece of card stock, two plastic alligator clips and a fat quarter.
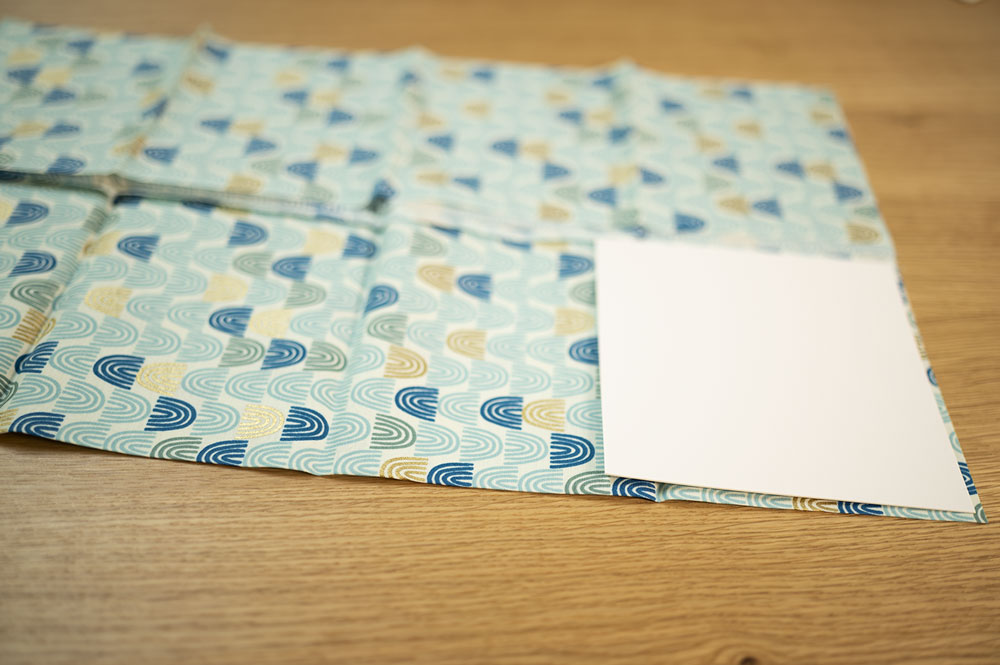
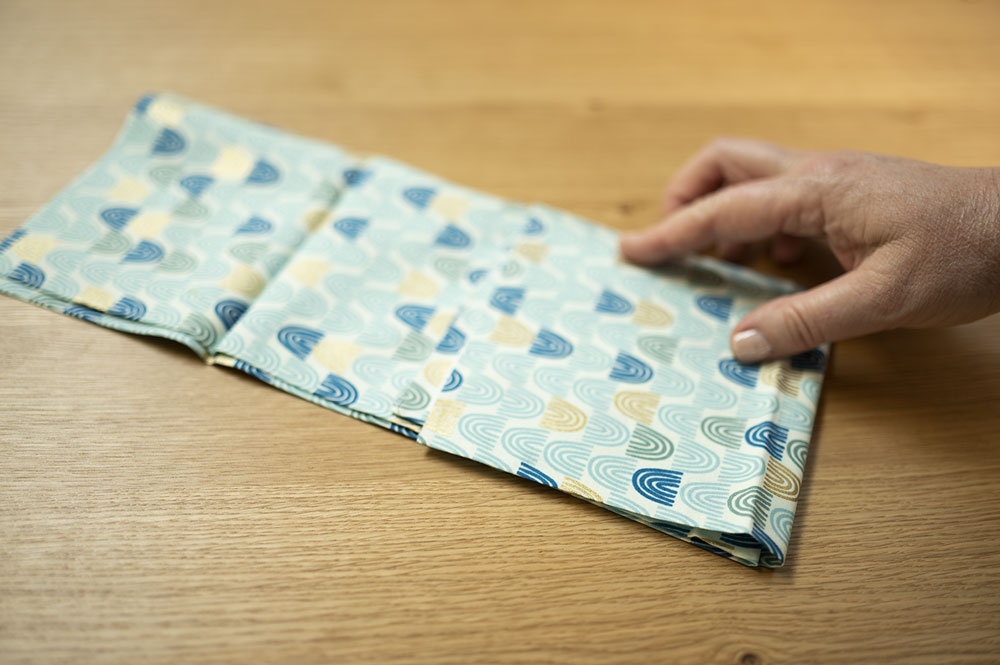
Open your fabric long ways and have the two cut edges meet in the middle. Lay the 5.25″ x 5.25″ cut piece of comic book board in the lower right corner.
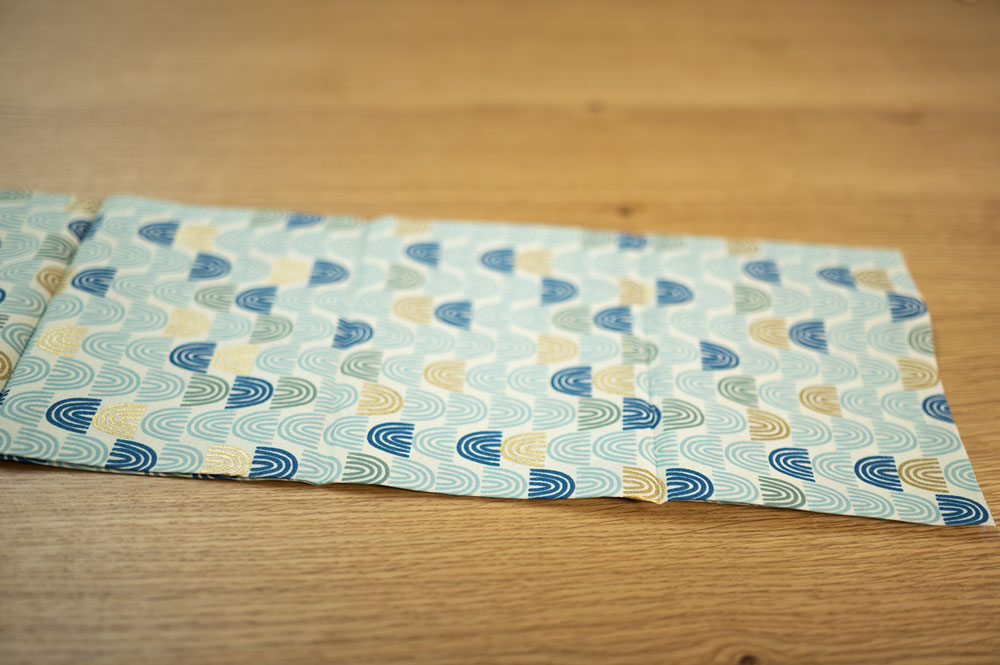
Fold the top over the bottom. Two folded edges are along the bottom and a cut edge is on the right side.
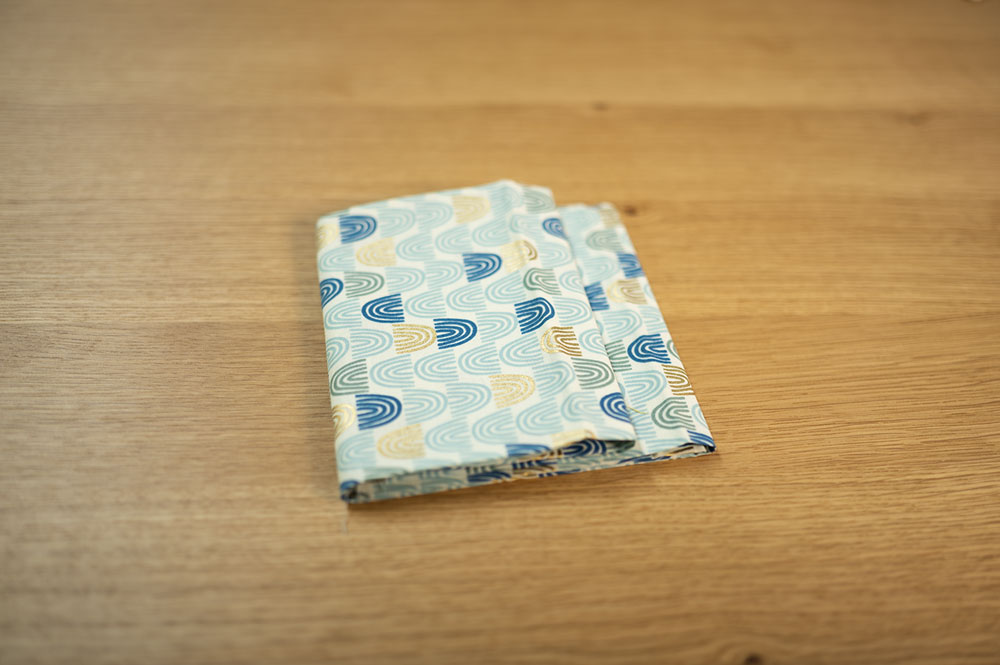
Fold fabric enveloping the card stock one turn to your left. Make sure the stock is flush against the folded edge on the right and straighten the edges top and bottom.

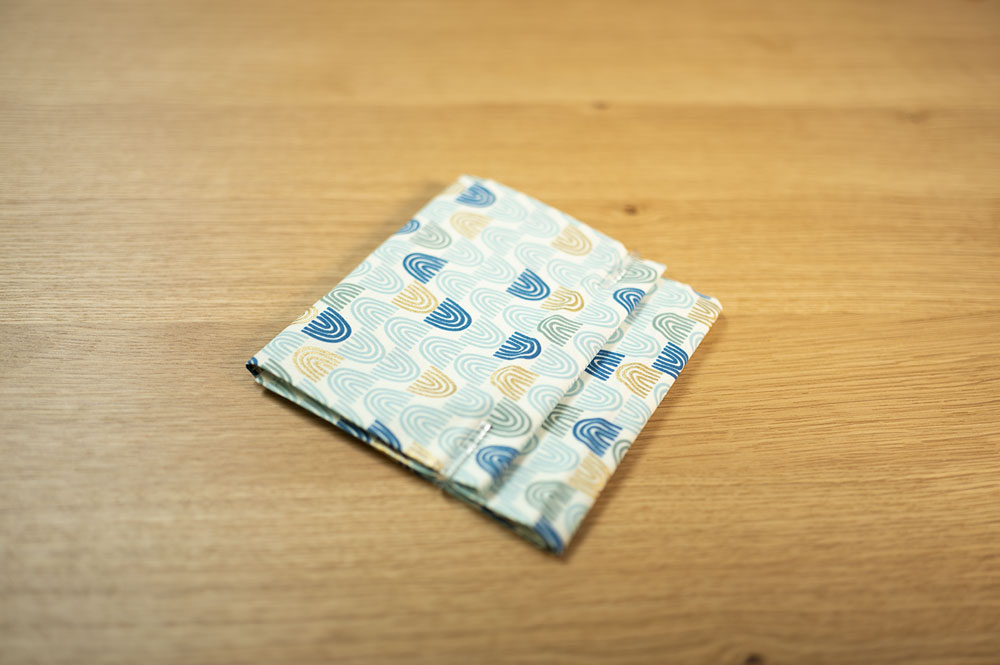
Fold the left side of the fabric raw edge in and almost meeting with the edge of the card stock.
Bring the left over the right to close the wrap. Your folded fabric package is ready to be secured. If it’s not secured, it will quickly come undone, and be a mess.
Place the plastic alligator clips top and bottom and be sure to secure the outside fold to the comic book board inside.
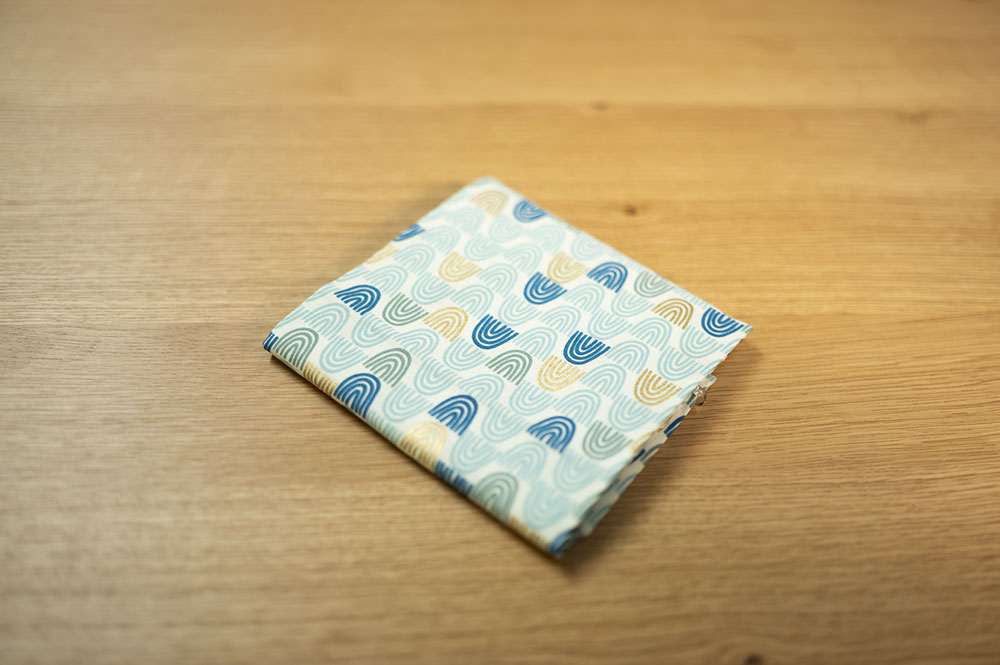
Flip the bundle over to see that the clip is hidden inside the fold. This way, you have a good sized surface of your print to try out with other fabrics.
You might have a couple of questions at this point:
- Why plastic alligator clips? The plastic won’t damage the fabric as it sits in storage. Coated paperclips can also work, but don’t use plain paperclips as they can rust over time and stain the fabric. A viewer recommended plastic alligator clips, and I think it’s a great suggestion.
- Do I have to use these comic book boards? The short answer is no. A lot of people will cut down cardboard from boxes, but that’s not the best method. Cardboard can develop an odor and you don’t want your fabrics to get smelly. Also the comic book boards I recommend are acid free, so they won’t damage your collection over time. We spend a lot of money on fabric, so taking care of it is in our best interest.
There’s nothing left now except to enjoy your beautifully wrapped fabric bundles!
If you prefer a video to written instructions, then please enjoy this video I made about my process. Thank you so much for dropping by, and I’ll see you in the next story! Happy organizing!
Hi! I’m Pattymac
Sewist, Baker, Maker
I’m a creative lifestyle blogger living and working in Coastal Virginia. When I’m not mixing or stitching or taking pictures, I’m out exploring the cook book section of my favorite library or munching my own home baked cookies at a mid week movie matinee.