Embroidery on Paper
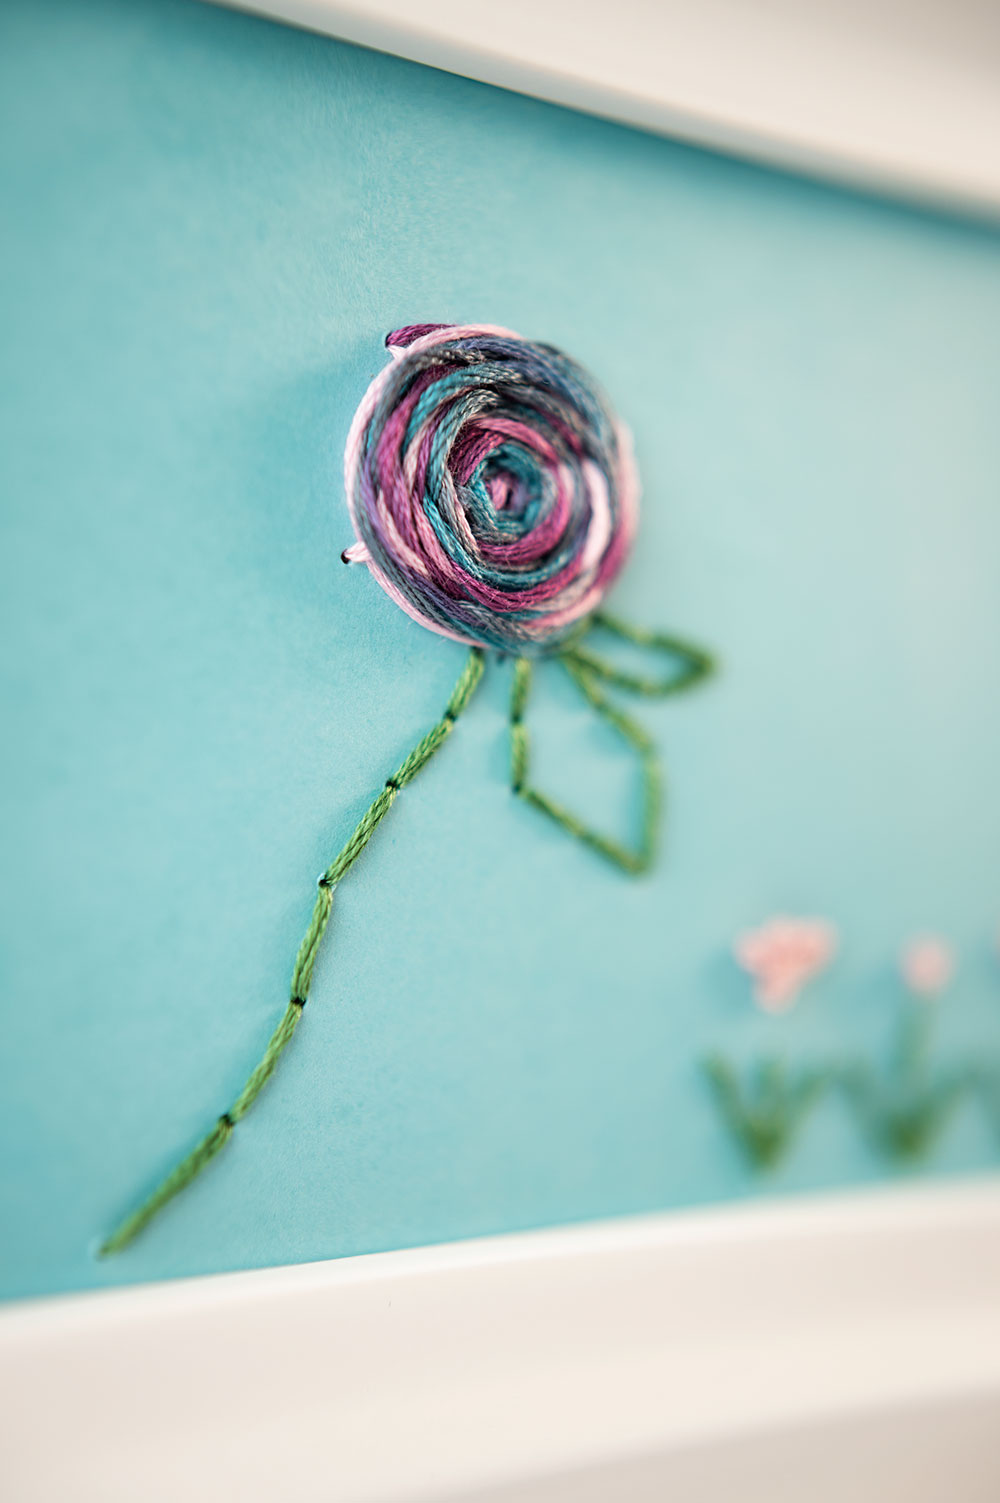
Embroidery on paper is a great way to use simple embroidery stitches with maximum impact. Today’s tutorial will show you how to make a beautiful Christmas Star card.
Has the embroidery bug bitten you yet? Or do you look at all the beautiful hoops people share online and think, “There’s no way I can do that.” Well my friend. You need to meet my new bestie, embroidery on paper.
If you think this is too hard, well quit that Stinkin’ Thinkin’, girlfriend and allow me to show you how to take an easy embroidery stitch, and turn it into a lovely card.
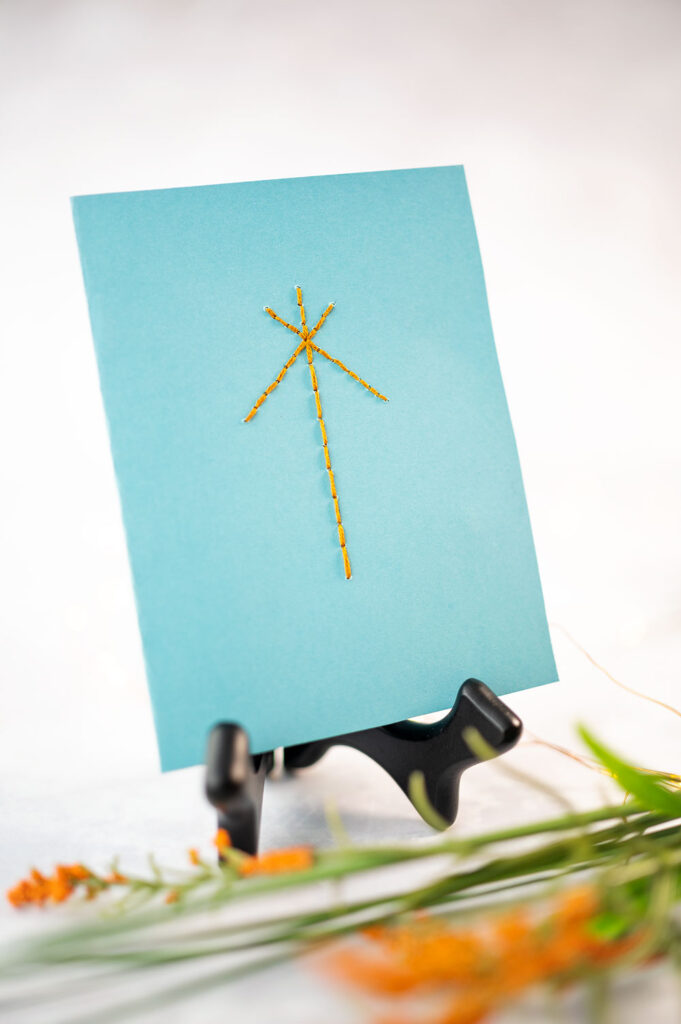
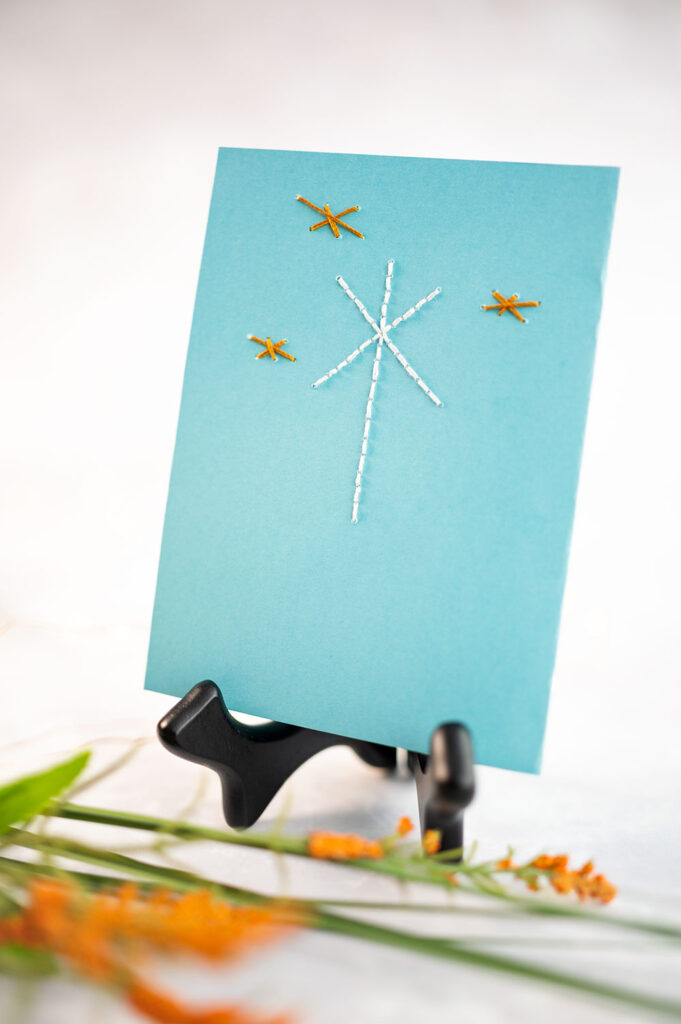
This beautiful card uses the backstitch to create the large Star element, and the Star burst motif is quickly and easily made to add a second eye catching element.
Why embroidery on paper?
It’s a surprisingly easy craft that looks incredibly special. The key to getting a beautiful finished result is setting up the card neat and even. I used a quilting tool to square up my side and bottom. And then I used it to draw my star element.
But you can use a gift card to sketch your star if you don’t have a fancy triangle. Get your crossed lines as close to 45 degree angles as possible for the best result.
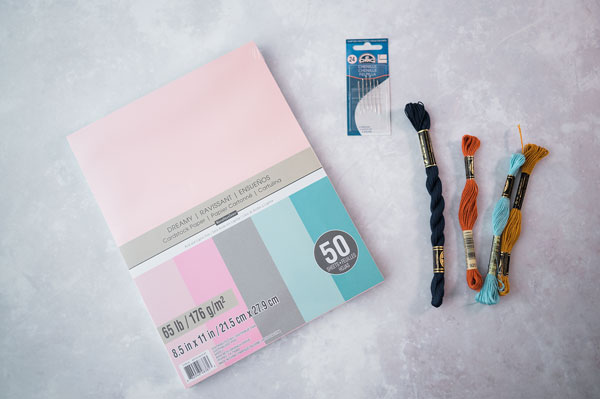
Here is your supply list for the Christmas Star Card:
- 65lb Cardstock paper
- Chenille sewing needles in size #24
- Embroidery floss. I used DMC #781 and #762 for these designs
- Washi tape
- Pencil
- Tool for drawing a straight line and 45 degree angles. I used my quilting triangle, but a gift card is also a good size for marking the lines
Other Supplies you will need to complete this Christmas card project:
- Scissors
- Cardboard
How to draw the card design:
- Fold full sheet of paper in half lengthwise and cut on that fold line. You have cut the piece of paper in half.
- Fold the smaller 1/2 sheet in half. This is your card.
- Trim the card to 4″ wide, making sure it’s square along the side and bottom edges.
- Using the pencil, lightly draw the central line first along the 2″ mark (the center of the card) following the long edges of the card. Draw a line 3″ in length.
- Using the pencils, lightly draw crossing lines at the upper one third mark of the first line at 45 degree angles.
How to set up the card for stitching embroidery on paper:
- Punch holes equal distance apart along the lines drawn on the card.
- To punch the holes, make a “tool” by pressing the eye end of one of the chenille needles into the eraser on the pencil.
- Use a small piece of cardboard behind the front part of the card that will receive the punches. In other words, only pierce the card front.
- Once holes are made, gently erase the pencil marks.
To Stitch the Card:
- Use 3 strands of embroidery floss to thread a chenille needle and start the first stitch by piercing at the lowest punched hole coming from the back to the front. Start at the bottom of the star.
- Secure a small tail of floss to the card using a bit of washi tape.
- Stitch the design in Backstitch. Which means coming up at hole A, down at hole B, up at hole C, and down at hole B.
- Complete the design and secure the last end with another small piece of washi tape.
I promised you a bonus element in the form of the starburst motif. The starburst is one of my favorite stitches to make in my stitched hoops and it looks great on paper as well.
To make a Starburst on your card:
- Punch six holes in the card front using the same “tool” and piece of cardboard we used to prep our big star.
- Make your holes parallel and slightly off center of each other.
- If you connected the dots, it would be in the shape of a parallelogram.
- Starting from back to front and using 3 strands of floss in a different color, secure the tail with washi tape as before.
- Simply stitch down in an opposing hole, come up in another opposing hole and repeat. This will make three stitches that will look like a smaller star when done. Secure the last tail with washi tape.
Some other helpful notes for making this card:
- Embroidery floss comes in a strand comprised of six smaller strands. You want to tease the strands in half and use three of those smaller strands as one overall strand for this card. You could go the full 6, but you would need larger needles to give an eye large enough to get all 6 strands of floss through.
- If you don’t have cute washi tape, you can use scotch tape. But the washi tape looks more fun on the back side of the card.
- The back side of the card can be covered with another piece of paper cut smaller to go inside the card. It would need to be glued in place. I chose to leave the work side showing. It’s a handmade item, and I think its fun to show the work that went into stitching even a small piece like this.
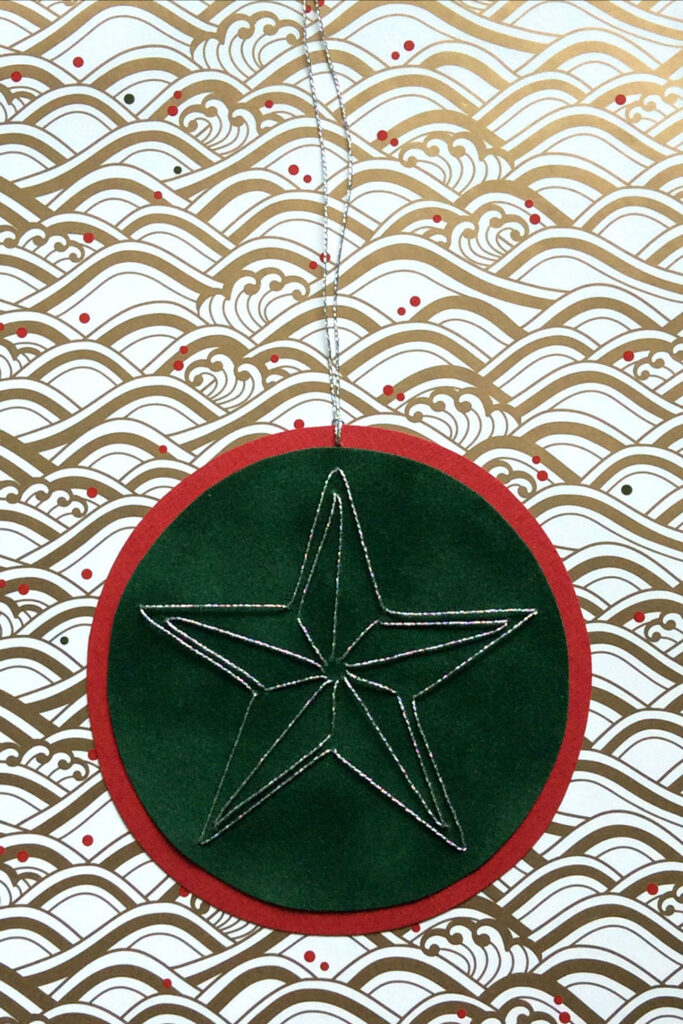
Today’s project was made in collaboration with my online friend, Ann Martin, of All Things Paper. We each made a fun star themed project as part of a Christmas in July celebration. Ann has a lovely website full of incredible paper inspiration I’m sure you will love. Visit her special post to see her beautiful design and learn how to make a hand stitched star ornament to share with people you love this Christmas.
Here is her beautiful hand stitched gift tag!
Embroidery on paper is a fun way to add a special touch to your holiday gifts. They work up quickly, and you can make them now to store away until the holiday season is here.
Whether you stitch the large star on its own or add the starbursts as an extra element, or make Ann’s lovely Christmas ornament, I am sure you will love embroidery on paper.
You might also like:


Hi! I’m Pattymac
Sewist, baker, maker
I love figuring out new ways to use pom poms, where I can stash more fabric, and I’m always wondering what to bake next…chocolate or lemon? When not dreaming up new things to make (or bake), I love riding my beach cruiser on the Boardwalk, enjoying classic movies, and planting new things in my tiny but mighty container garden.