Meet the Mischievous Topsy Turvy Bunny
Learn how to make the Topsy Turvy Bunny, a pom pom bunny craft with a cottontail and big floppy feet. He’s always up to something mischievous.
Christmas gets all the press. We attend special cookie baking swaps, heart warming movies run day and night, and we make all sorts special crafts to celebrate the season. My question to you is…
“Why should Christmas get to hog all the fun?”
Pattymac 2020
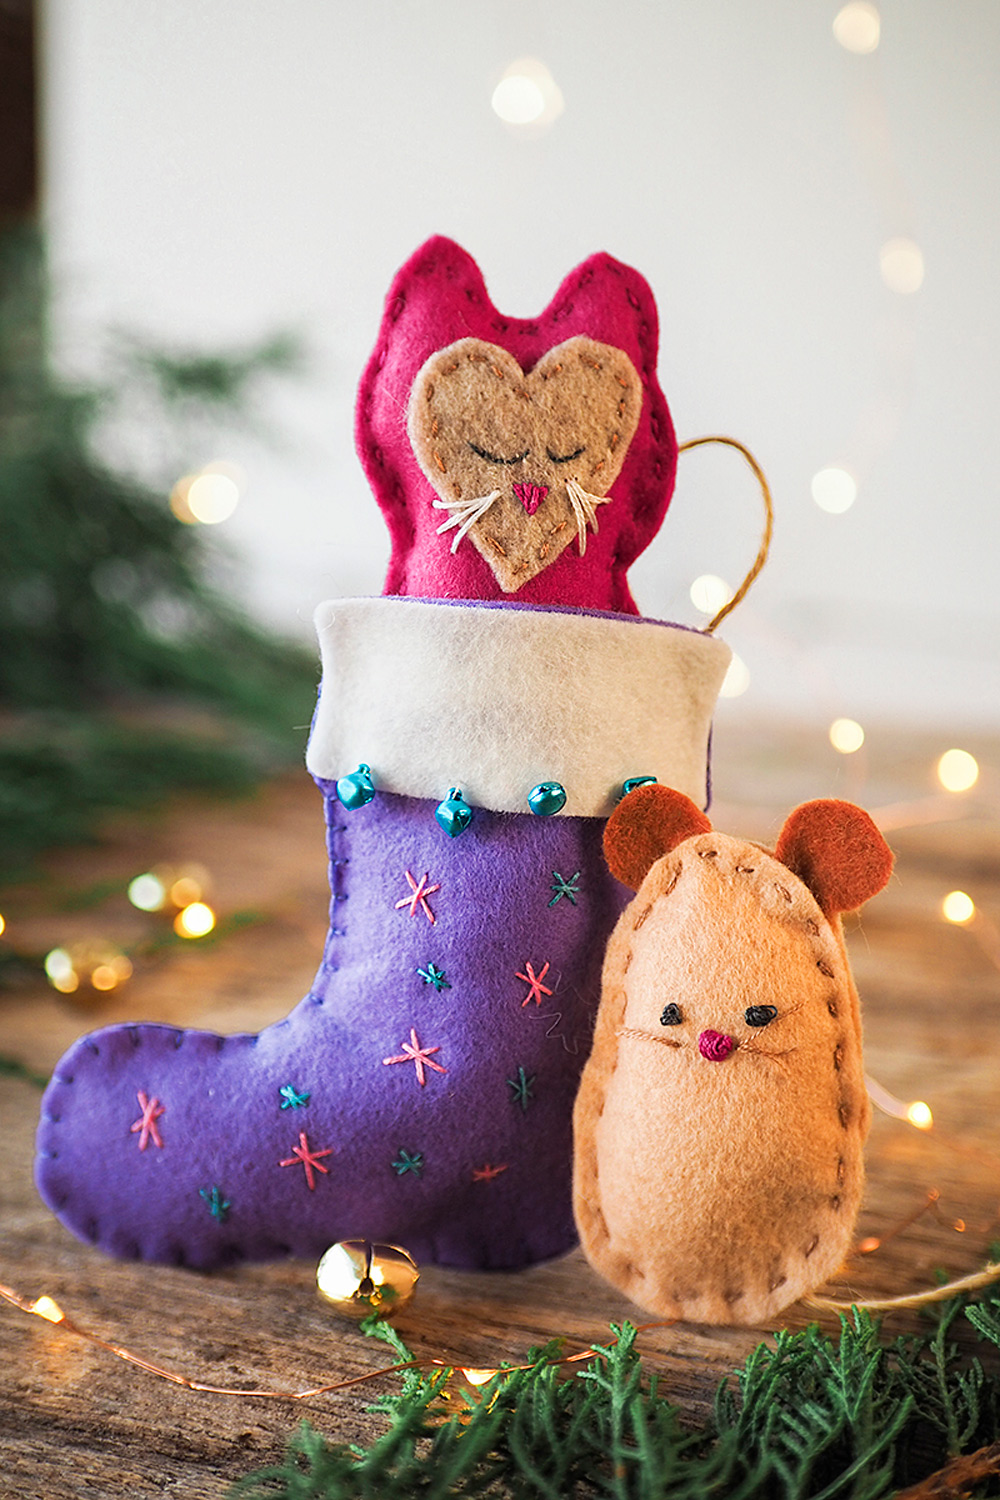
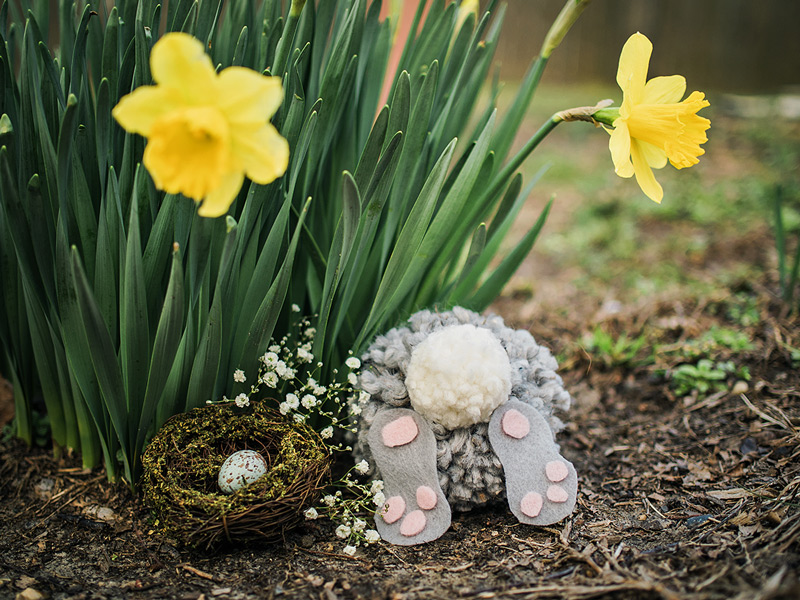
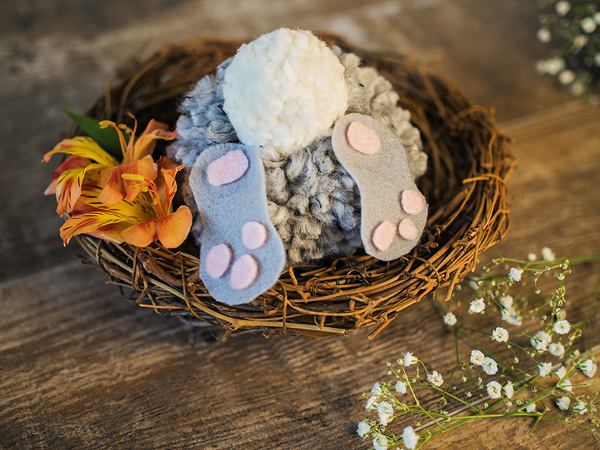
With that in mind, let’s make something special (just as special as any Christmas stocking IMO). This little guy may be placed in Easter Baskets or hidden on egg hunts. Allow me to introduce you to the Topsy Turvy Bunny.
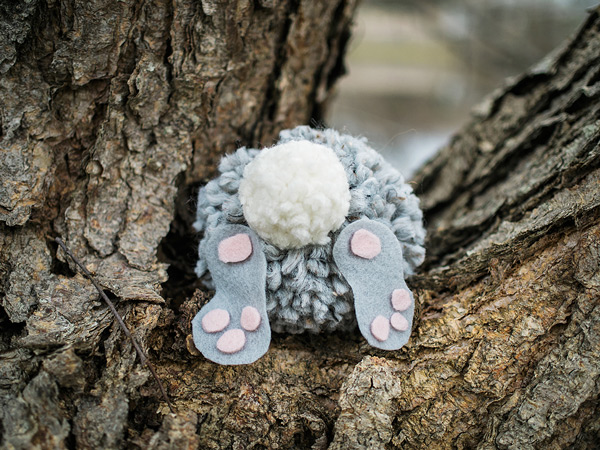
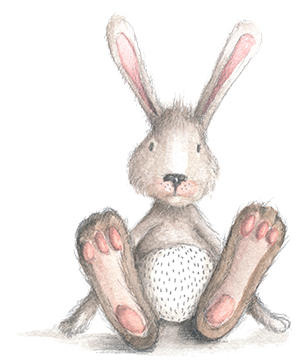
He’s named Topsy Turvy, because all you see is that wee cotton tail and those big floppy feet. This naughty little bunny rabbit has his nose stuck in something he shouldn’t be into.
As a back yard gardener, I can attest to the the fact that this is pretty much true to life. Rabbits always get into stuff where you don’t want them. And they really are as mischievous as Peter Rabbit.
Even though he’s an impish sort, making him is a fun and easy craft.
Here’s what you need:
- Yarn for the body. This can be anything, but I used Thick and Quick from Lion Brand in Grey Marble.
- Yarn for the cotton tail. This is preferably white. It is a cotton tail, after all.
- Two colors felt for the paws and pads.
- Large and small pom pom maker. I recommend the Clover sets.
- Tacky glue. It’s a brand name and works the best for these small craft projects.
- Scissors. Please invest in good scissors. I have a double set from Singer I use for all my yarn crafts and sewing projects.
- Hemp String. Trust me.
- My free Printable with all the instructions and supply list. You can get the free printable at the end of today’s story.
Super Bulky weight yarn works up fast and gives a very nice texture to the bunnies. If you haven’t used pom pom makers, then what are you doing with your life? That card board contraption works, but using the pom pom maker produces thick, beautiful pom poms. You can use them for all sorts of craft projects as well as topping your hats.
Here’s how to put the pom pom bunny together
- Make a large and small pom pom
- Attach the pom poms together and trim neatly.
- Cut out the feet and pads from felt and glue the pads to the feet.
- Glue the feet to the bunny.
- Allow bunny to dry at least a couple of hours but over night is best.
- Watch my video below for complete instructions.
- Get your free printable with instructions and a template for the feet.
This pom pom bunny craft is child friendly, so you can absolutely make them with your littles. It does involve scissors so for young children, it’s best that you make them and surprise the child. For older children, simply help them as needed.
Spending an afternoon making bunnies and snacking on homemake peanut butter eggs is about the best way I know to have fun family time. Better get hopping!


Hi there, I’m Patty.
Sewist, Baker, Maker
I love figuring out new ways to use pom poms, where I can stash more fabric, and I’m always wondering what to bake next…chocolate or lemon? When not dreaming up new things to make (or bake), I love riding my beach cruiser on the Boardwalk, enjoying classic movies, and planting new things in my tiny but mighty container garden.