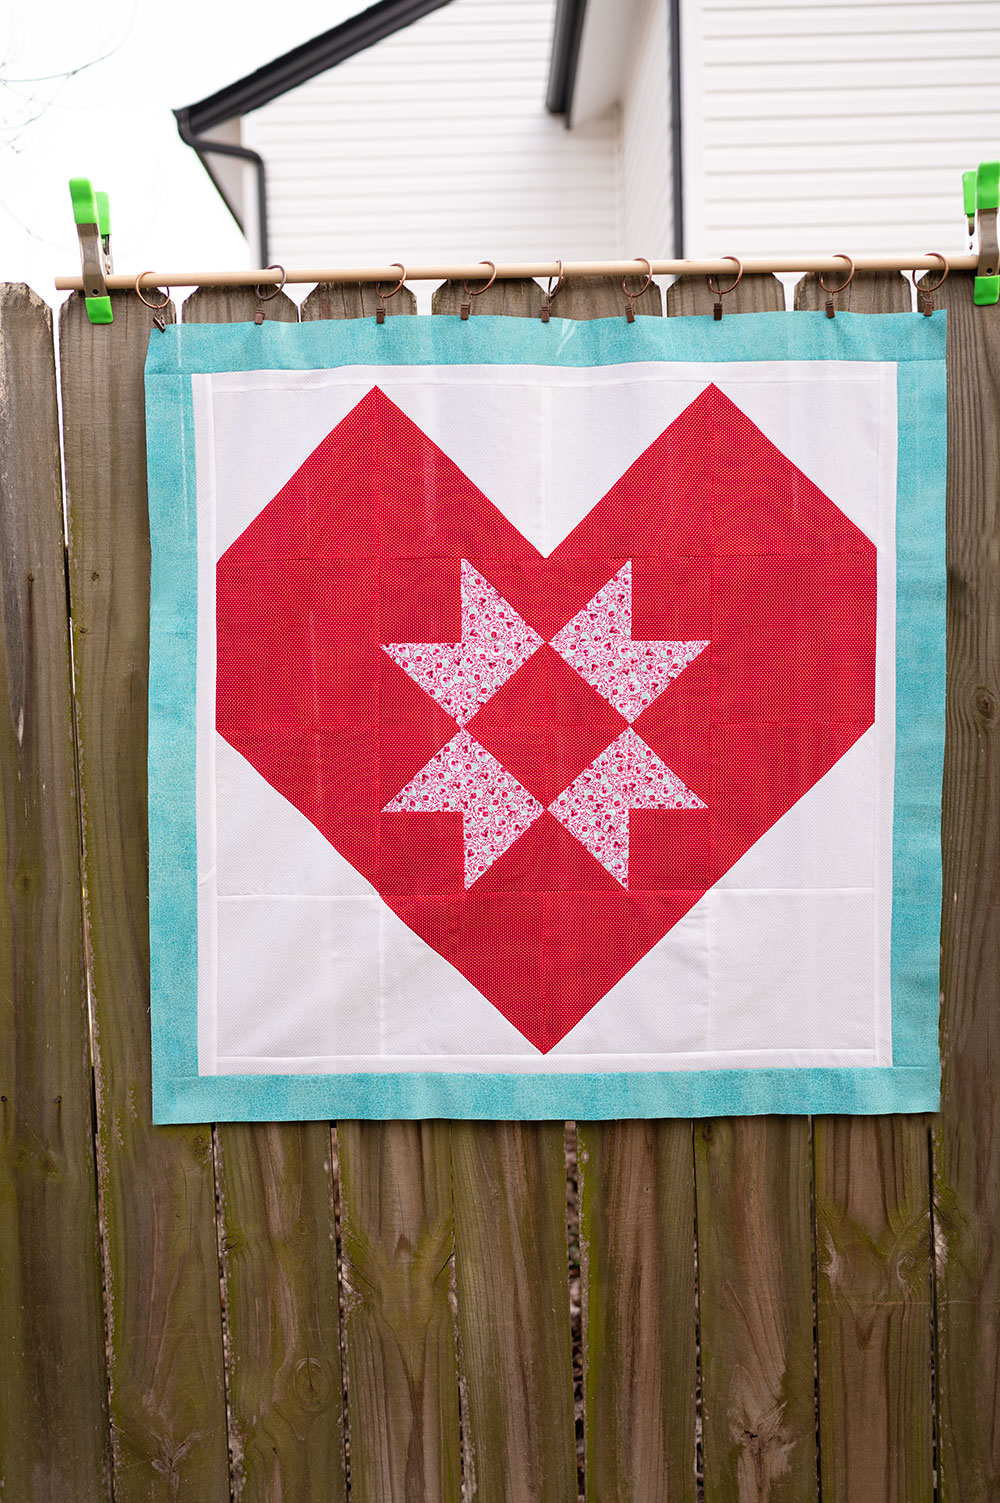
Star Quilt Block
This post has affiliate links to products I use and love. If you buy something I can make a small commission, so thanks in advance. 🙂
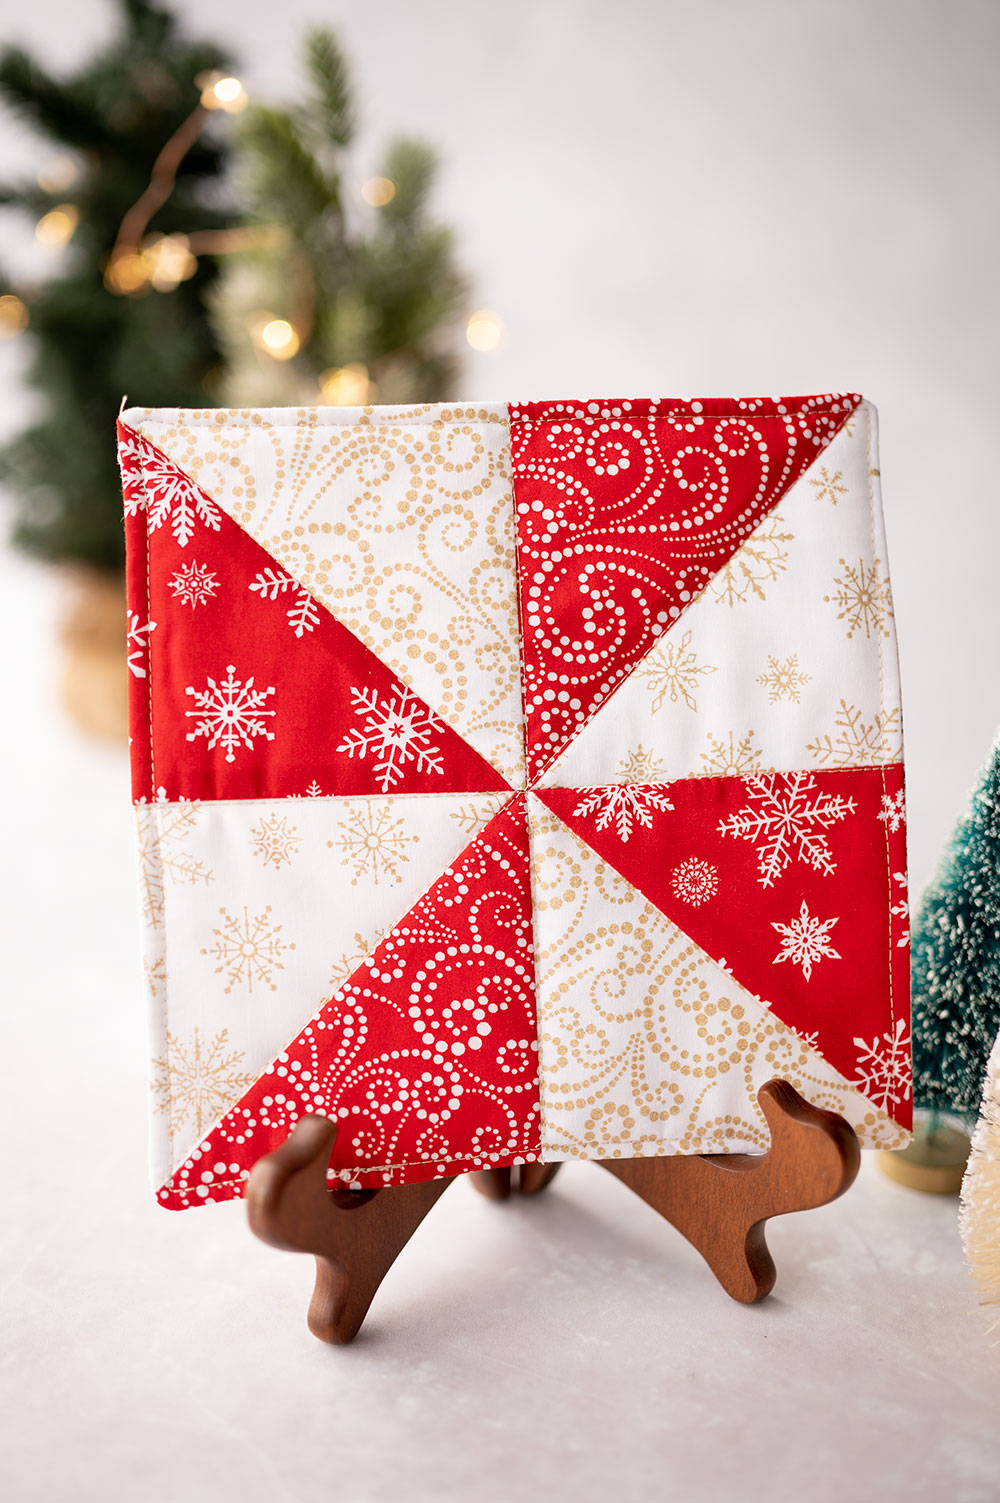
Let’s piece and sew a lovely Star Quilt Block!
Learn to cut, piece and sew a Star Quilt Block. One essential block design will create many variations for several fun projects.
A star quilt block is a fundamental building block in anyone’s quilting practice. We construct the pattern from 16 individual smaller blocks, much like my Ribbon Star Quilt block. To be honest, the only real difference between the two patterns is how the four center blocks are rotated (and the fabric choice in the 4 outside corners).
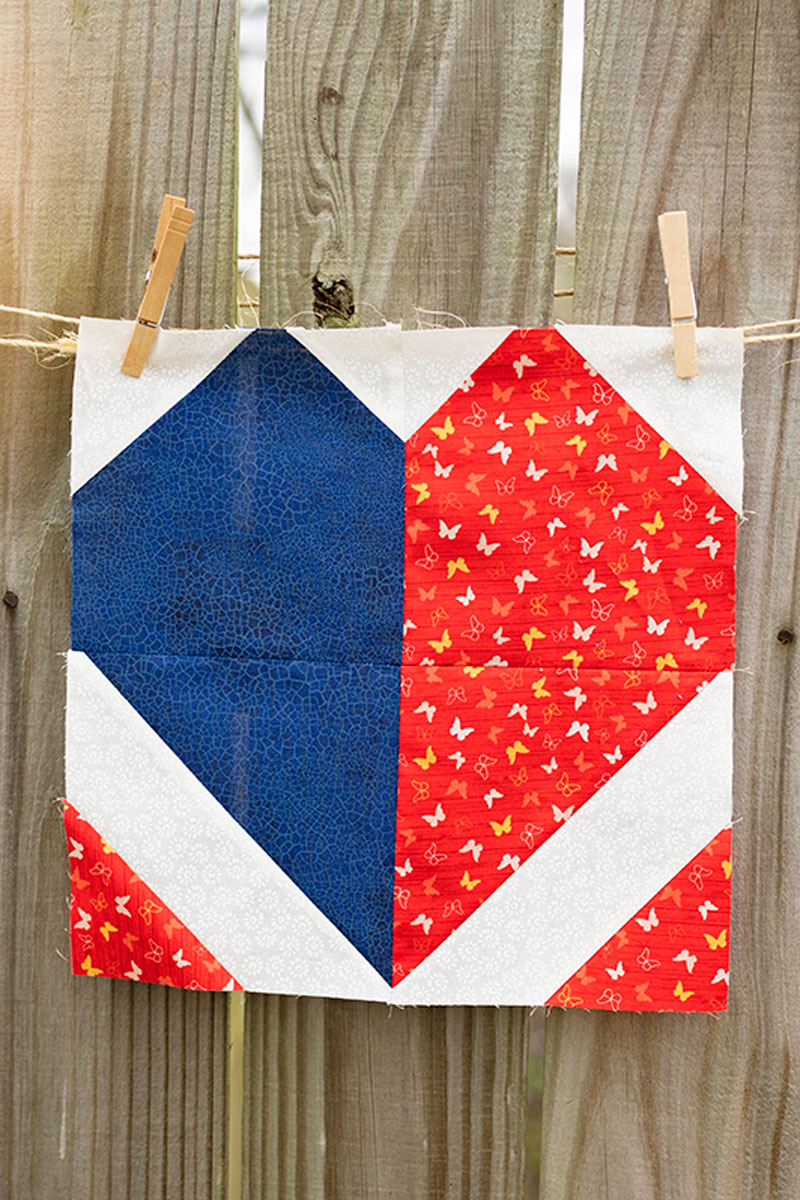
Let me show you my favorite Half Square Triangle techniques while making the Arrow Star Quilt Block!
Arrow Star Quilt Block– Materials List
- Fabric A: Main Fabric (the pumpkins)
- Fabric B: Secondary Fabric (the blue)
- Fabric C: Background Fabric (the light colored fabric)
Keep in mind, you may use any three fabrics you desire. I notated them specifically in the materials list to allow you to clearly see and understand where they fit into the finished block. Your block will look the best if you use fabrics with high contrast, so the shapes are prominent. If everything is in the same value (light and dark range) then the shapes will not show up as well. So be mindful of your fabric choices.
Arrow Star Quilt Block– Tools and Equipment List
- Sewing Machine
- Cotton Thread
- Rotary Cutter with sharp blade
- Disappearing Ink Pen
- Acrylic Rulers
- Self Healing Rotary Cutting Mat
- Iron & Ironing Board
Cutting Instructions:
- Fabric A: 6 Squares
- Fabric B: 2 Squares
- Fabric C: 8 Squares
Tips and Tricks:
- Where this whole thing gets tricky is in the making of the HST blocks which are the prominent block for this design. An HST is a half square triangle, so if you need some help making those, I have a blog post with video for constructing them. Even if you are familiar with making them, I still invite you to take a look at my particular method.
- In the making of half square triangles, we are sewing two blocks together along the bias, or the diagonal. The method I used for this block was to make my hst blocks 2 at a time.
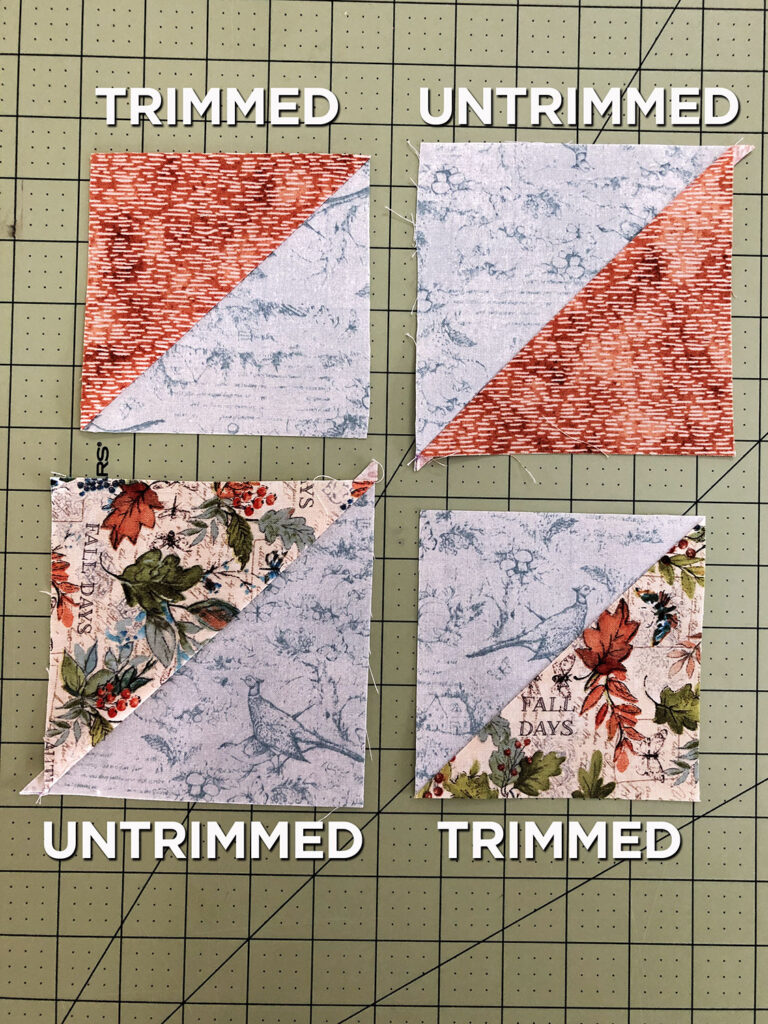
- In the end, once you’ve cut and pressed your hst, you need to square up the block. This means trimming it down to the FINISHED size you need for your pattern. Any blocks that go into the making of hst blocks will need to be an inch larger than the finished size of the hst. In other words, when working with individual blocks that are 3.5″ for block piecing, you would cut the blocks used to make the hst a full inch larger to allow for seam allowance and trimming. So those blocks that are ultimately the 3.5″ hst will be cut at 4.5″ to get the block to the correct size and to be accurately squared.
Clear as mud, right? Look at this graphic showing the trimmed and untrimmed blocks.
Let’s talk about specific cutting instructions for the block as shown:
- Fabric A: 6 Squares — 6 Squares at 5.5″
- Fabric B: 2 Squares — 2 Squares at 5.5″
- Fabric C: 8 Squares — 4 Squares at 5.5″ AND 4 Squares at 4.5″
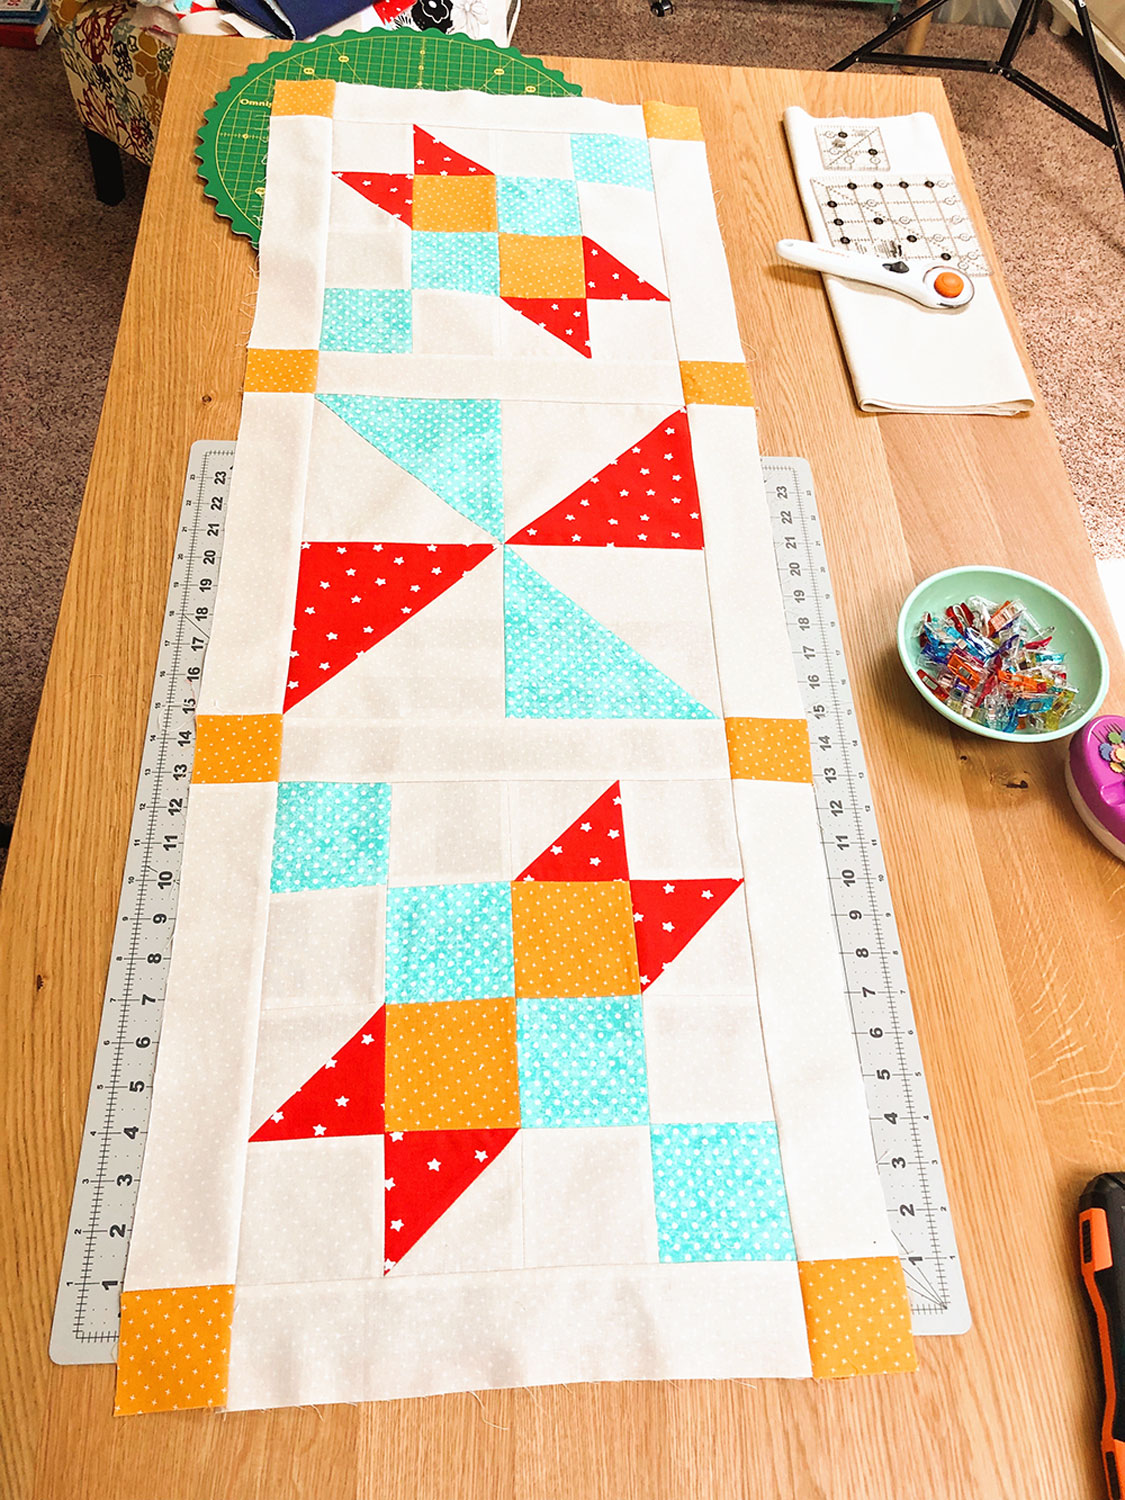
Here is how we arrange the blocks to construct our finished star.
- All of the squares going into half square triangle blocks will be constructed from blocks cut at 5.5″ and the 4 squares of fabric C cut to 4.5″ squares will be in the corners.
- All half square triangles are trimmed down to 4.5″ so when it’s time to piece the block, everything is trimmed to 4.5″ squares.
- The finished size of the block will be 16.5″ square.
- Once the sashing is sewn on, the block will be a 16″ finished block.
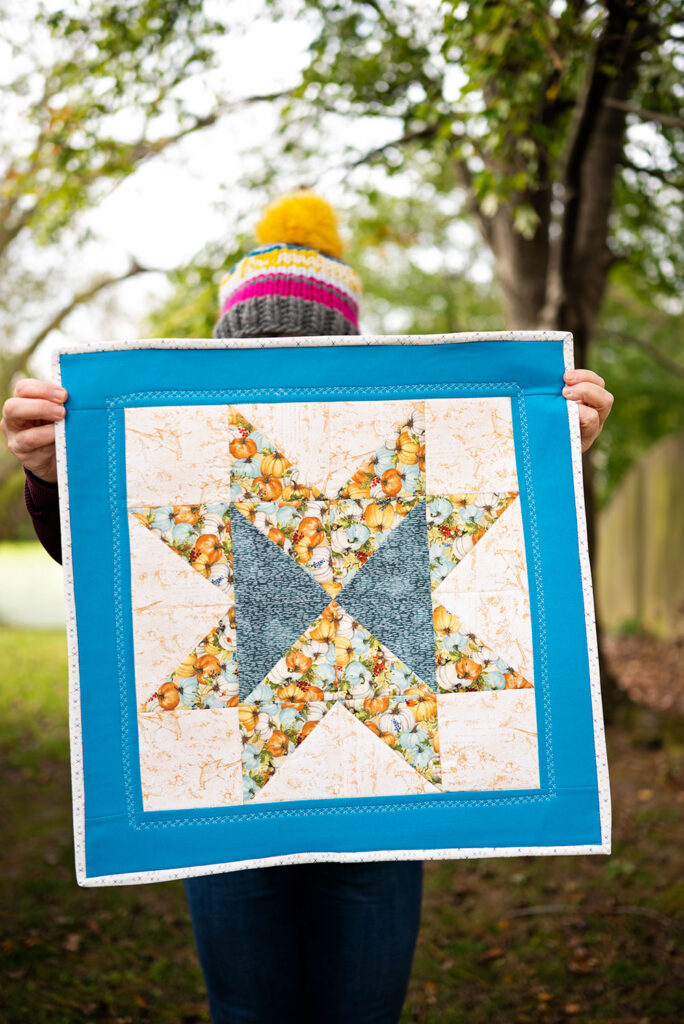
To finish the block for purposes of a wall hanging or to display on the door, follow my instructions in the Ribbon Star quilt block tutorial. Today’s post will share just the block with you.
Clicking on the image below will take you to the free pattern download. Download and print!
You might also like:

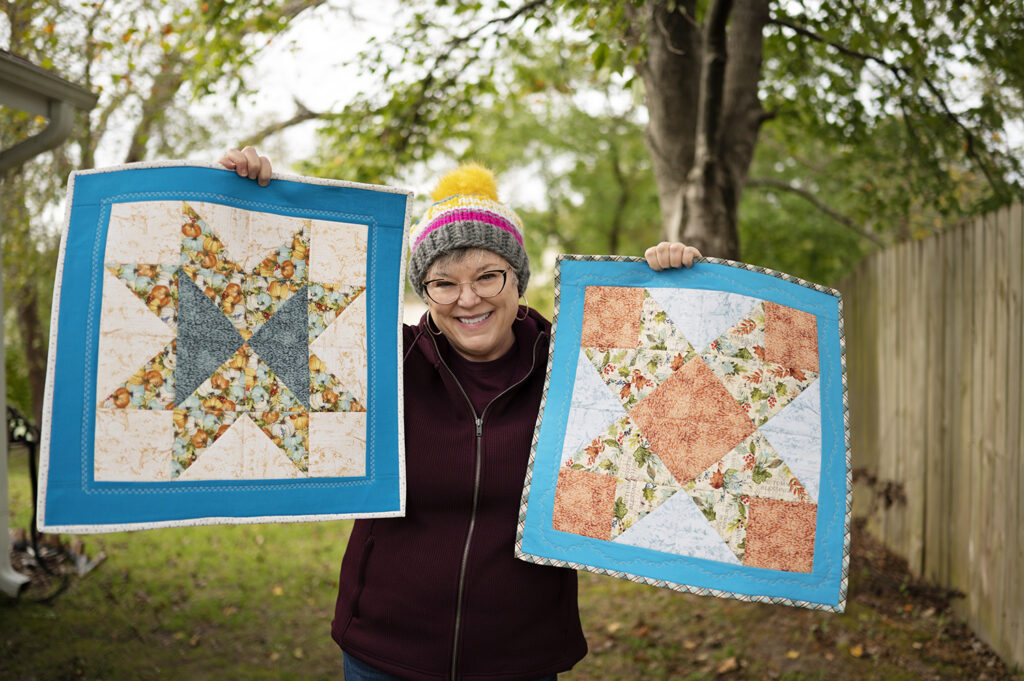
Hi! I’m Pattymac
Sewist, baker, maker
I’m a creative lifestyle blogger living and working in Coastal Virginia. When I’m not mixing or stitching or taking pictures, I’m out exploring the cook book section of my favorite library or munching my own home baked cookies at a mid week movie matinee.