Perfect Points in Quilting
Few things in a maker’s life are as satisfying as achieving perfect points in quilting. It’s not as elusive to achieve as you might believe.
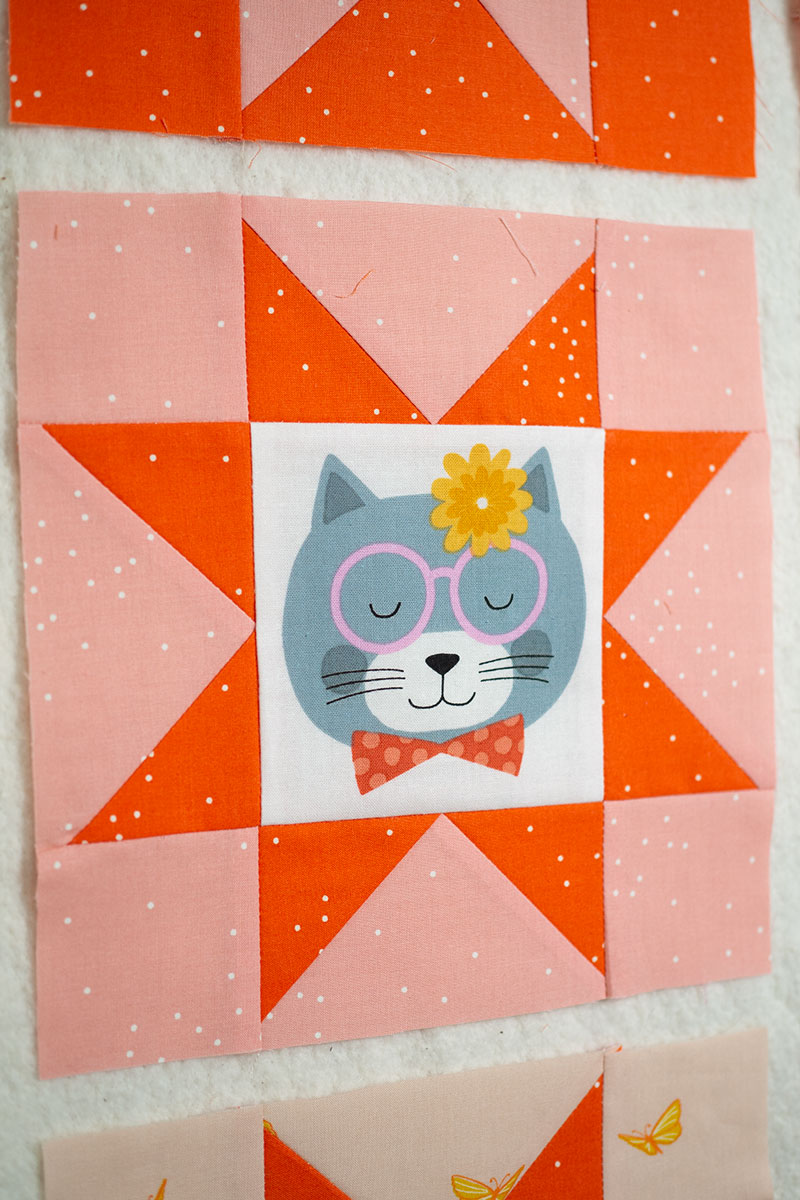
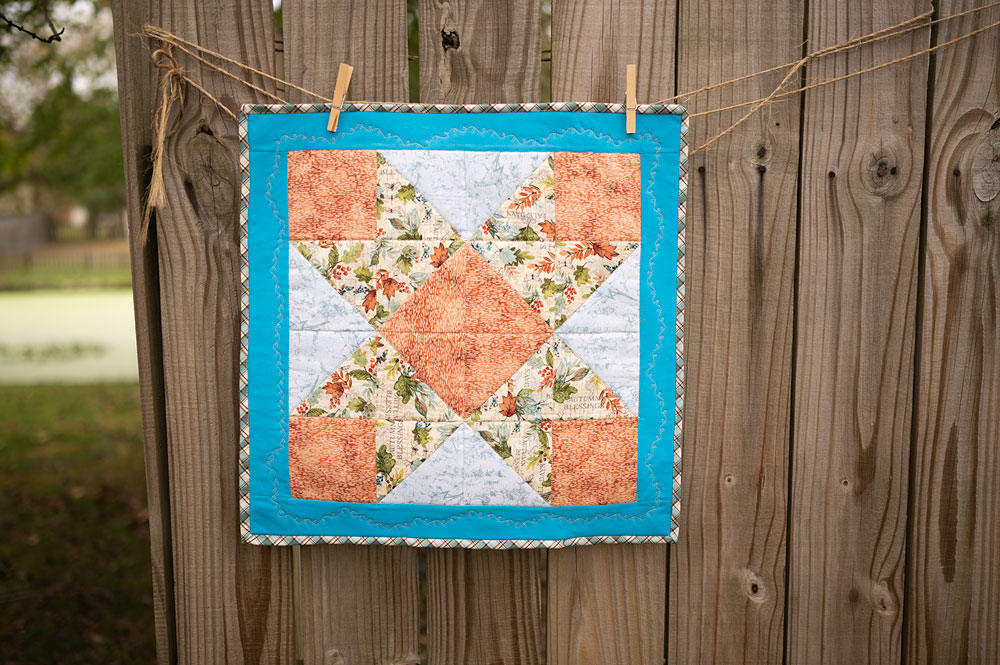
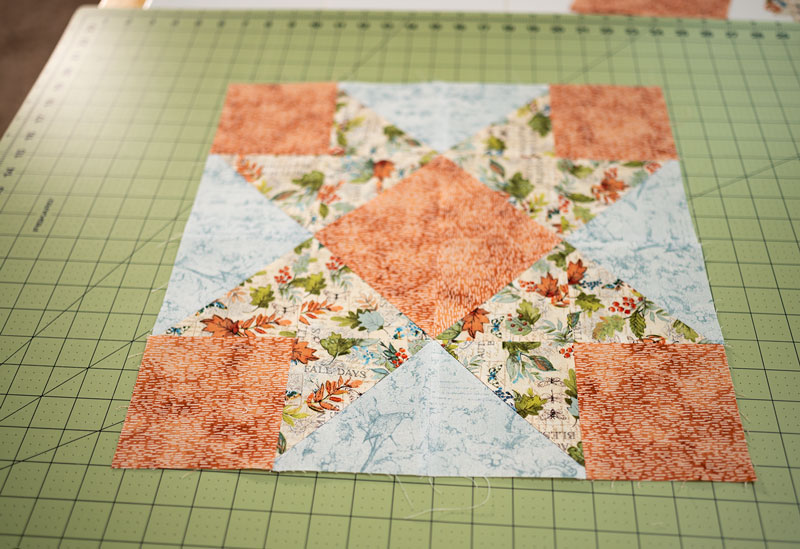
So many blocks and patterns in quilting use half square triangles or actual triangles to create points in stars and pinwheels and the like. So often when piecing these blocks, we can become frustrated by having the tips of our stars cut short. A star block relies on having perfect points in your quilting practice.
Nobody wants their beautiful star point cut short.
Getting your points sharp comes down to a few steps:
- Accurate cutting (which boils down to good quilting rulers)
- Accurate 1/4″ seam allowances
- Proper pinning
- Close attention to visual queues that help you place the seam lines as you connect rows and blocks
- A plan for pressing the seams to aid in both keeping the block flat and in assisting the intersections of multiple points to line up.
The 3 little words that change everything: Accurate Seam Allowance.
It’s the simplest thing ever, and yet it’s also quite difficult. Achieving perfect points in quilting is the ultimate exercise in sewing an accurate 1/4″ seam allowance.
In quilting, the 1/4″ seam allowance is pretty much EVERYTHING. It’s critical to get that right so the blocks measure accurately and all the seams line up as they are supposed to. I use a 1/4″ seam foot and hatched marks on my machine to keep my fabric edges where they are supposed to be.

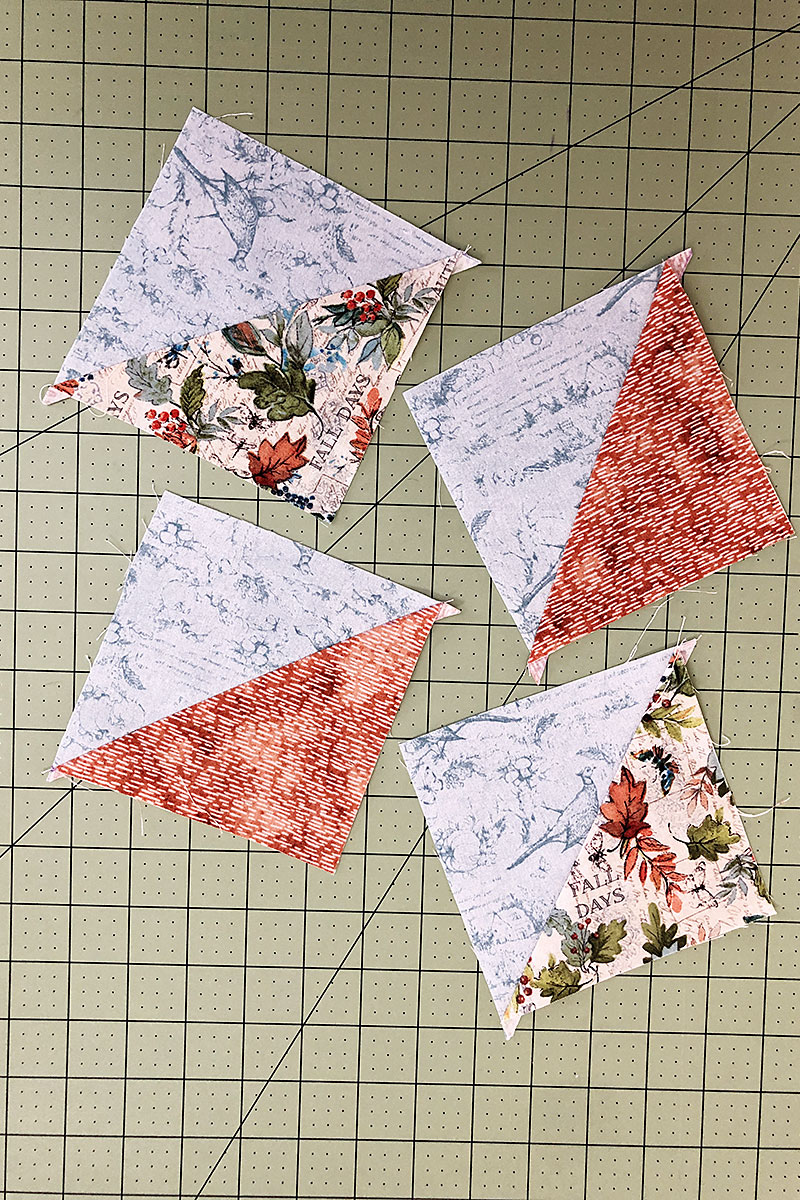
Also, it’s important to perfect your half square triangle construction. To learn more about creating perfect HSTs please read my post about those.
A lot of our star point blocks are made by careful placement of HSTs, so it starts with having your building blocks correct.

Perfecting your HST is the first step 
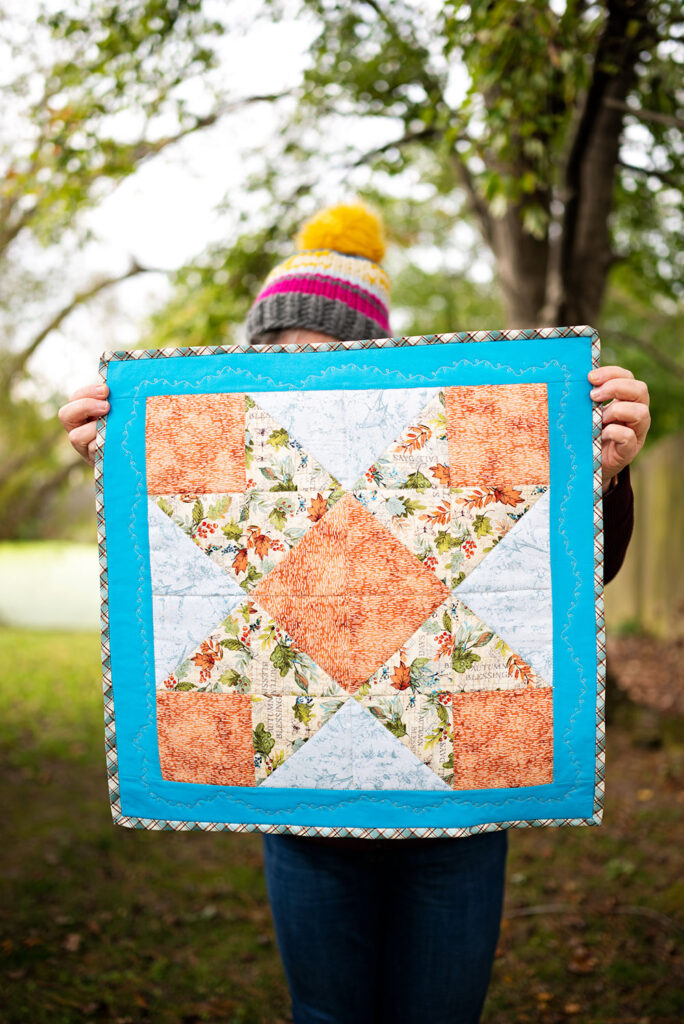
Perfect points are their own reward
Now that you have an accurate 1/4″ seam allowance figured out, a few individual blocks are cut and pieced properly, it’s time to start piecing those rows together. How do we get our seams to line up?
To get seams to line up when putting rows (and later blocks) together, accurate pinning is necessary. I absolutely LOVE wonder clips, but when we want to sew a seam that will lead to points, pins are you friend.
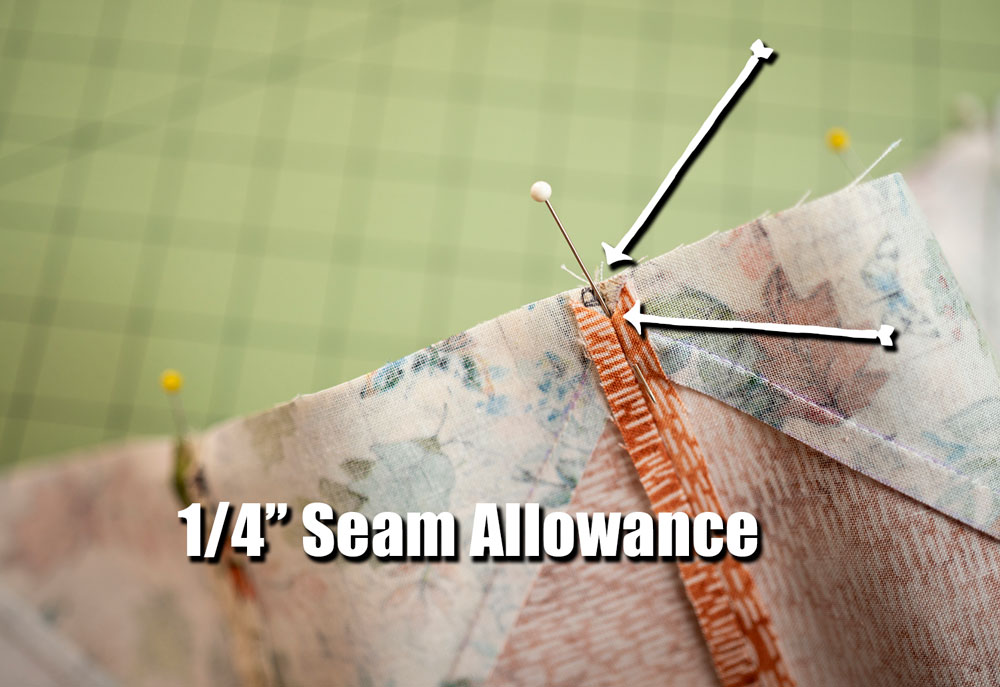
To accurately pin:
- Place fabric right sides together.
- Insert pin close to fabric edge making sure to pierce through BOTH seams. This holds fabric in place at the seam line.
- Exit the pin through the right side of the fabric and just off the seam line which ensures the fabric stays in place.
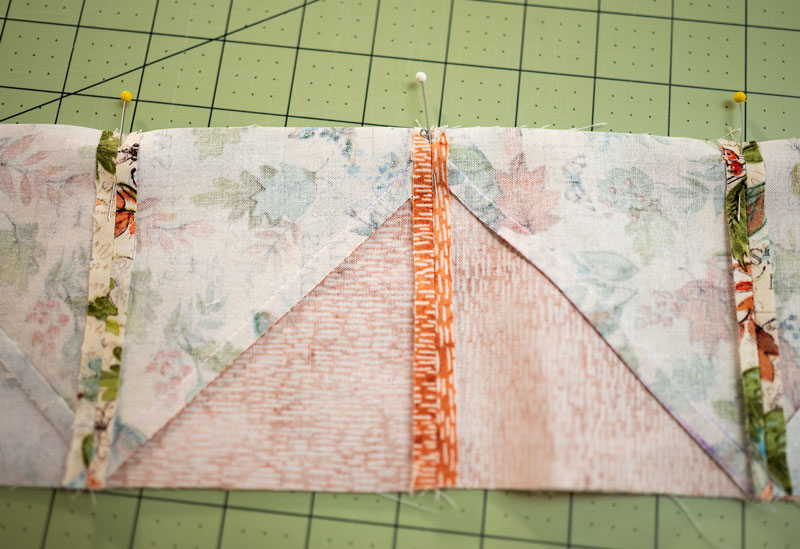
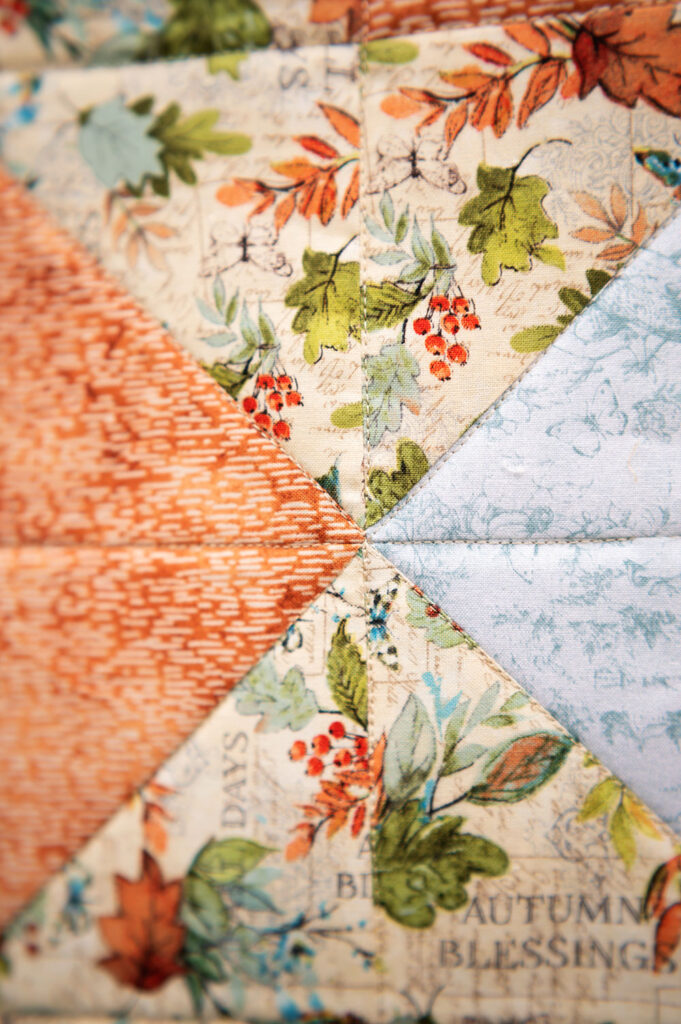
Earlier I mentioned visual queues to help you place the seam lines you’re sewing right where they need to be. What do I mean by that?
See that little “v” shape? You want your seam line to run a thread’s width to the left of that point.
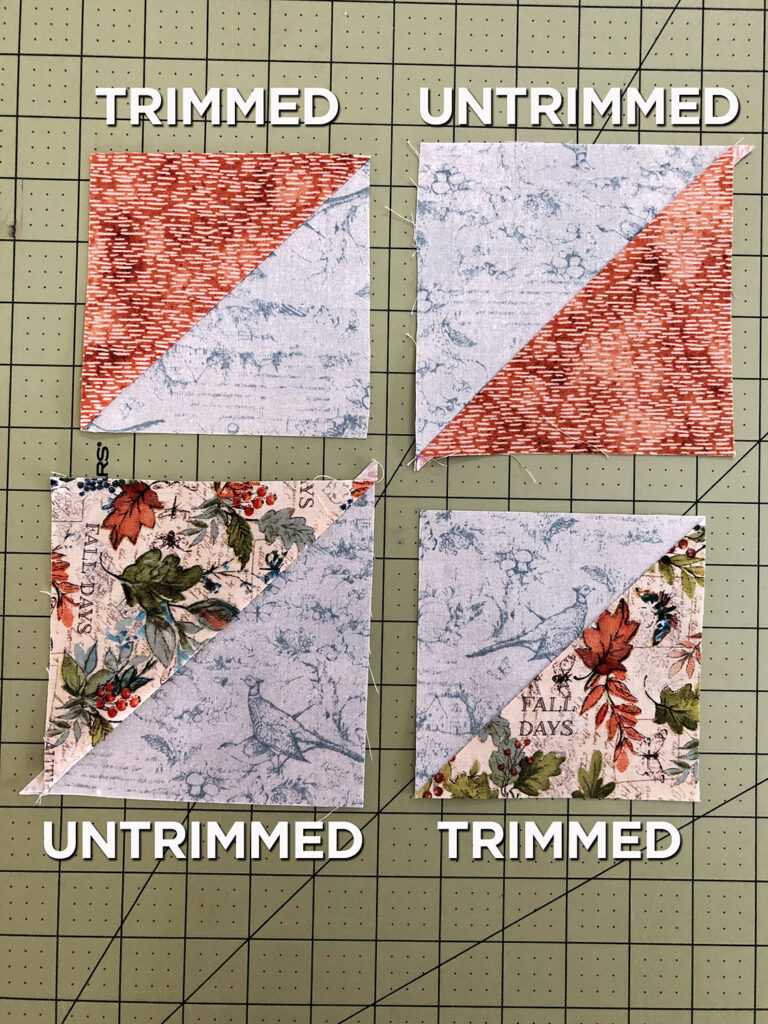
Other visual queues to look for are what appears to be “extra” fabric which is the seam allowance that yields the points we are creating. It looks like this.
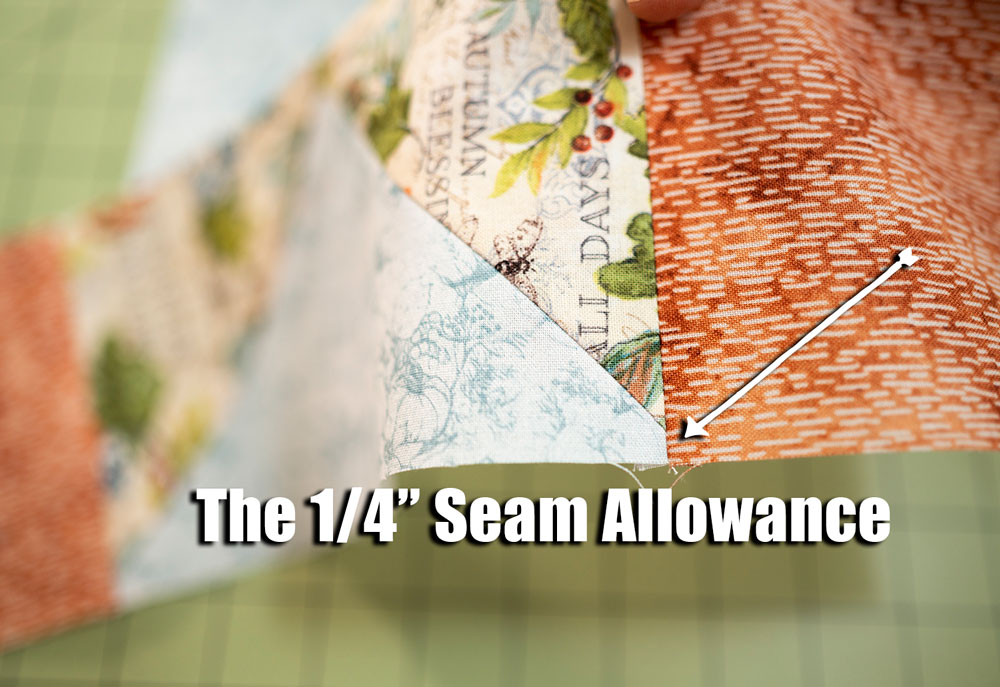
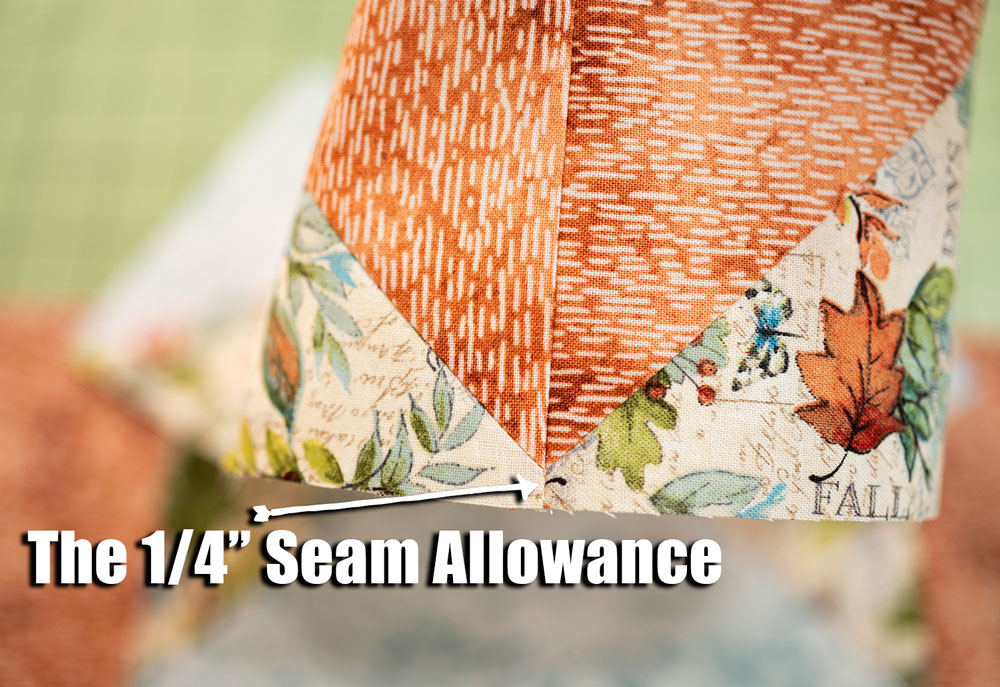

That “extra fabric” is, in fact, the seam allowance! That extra bit will be “eaten up” in the seam allowance and once everything is pieced and pinned and sewn correctly, the result is an intersection of seams leading to sharp points.
The final tactic necessary to have beautiful points, is a good pressing plan for the block. You will want the seams to lay as flat as possible so the finished block, and eventually the quilt top, are as flat as can be.
I like to use a mixture of pressing to the dark side with all my HST blocks and the pressing the remaining seams open.
Nesting seams is also a very common technique for ensuring the joining seams are flat. I personally have better results when my seams are pressed open.
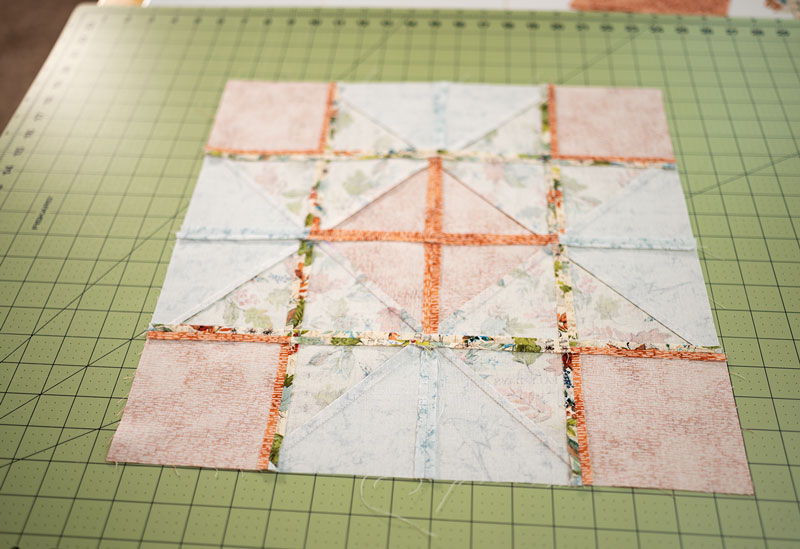
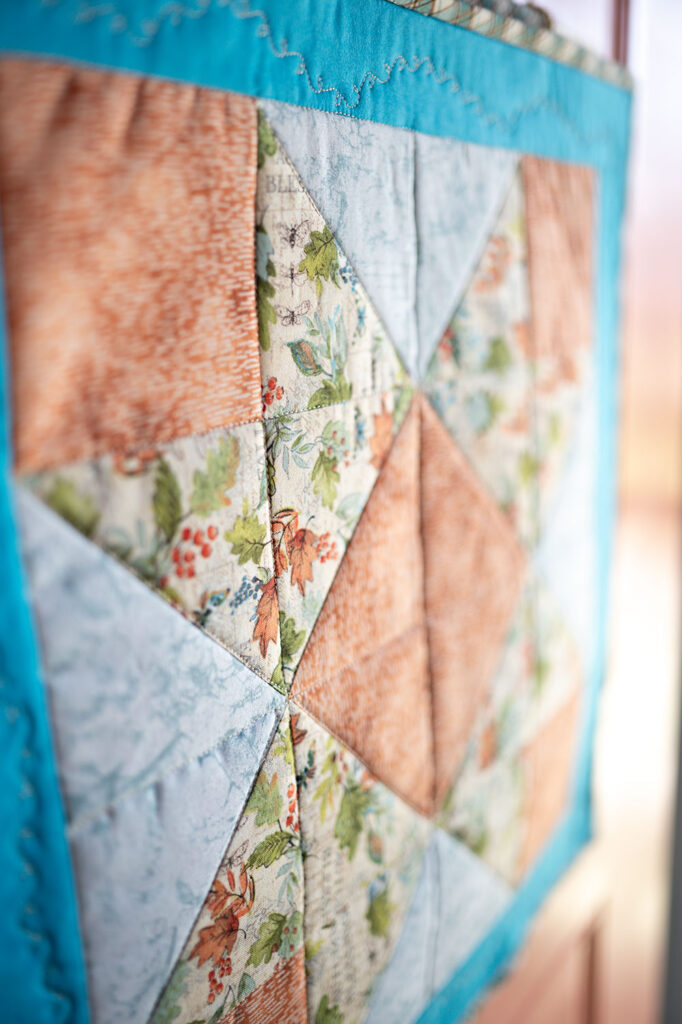
As you can see, it’s not just one thing that gets us to our goal of perfect points in quilting, but following a series of steps.
Taking this one part at a time and mastering each step along the way will assist you in not only creating beautiful quilt blocks with perfect star points, but will allow you to find that satisfaction that can only be experienced when a quilt block presses into sharp points.
And if you don’t have perfect points at every intersection, it’s not the end of the world! Don’t get so bogged down in perfection that you forget to enjoy yourself.
And if you don’t have perfect points at every intersection, it’s not the end of the world! Don’t get so bogged down in perfection that you forget to enjoy yourself.
You might also like:

Hi! I’m Pattymac
Sewist, Baker, Maker
I’m a creative lifestyle blogger living and working in Coastal Virginia. When I’m not mixing or stitching or taking pictures, I’m out exploring the cook book section of my favorite library or munching my own home baked cookies at a mid week movie matinee.