Why did my cake stick to the pan
This post has affiliate links to products I use and love. If you buy something I can make a small commission, so thanks in advance. 🙂
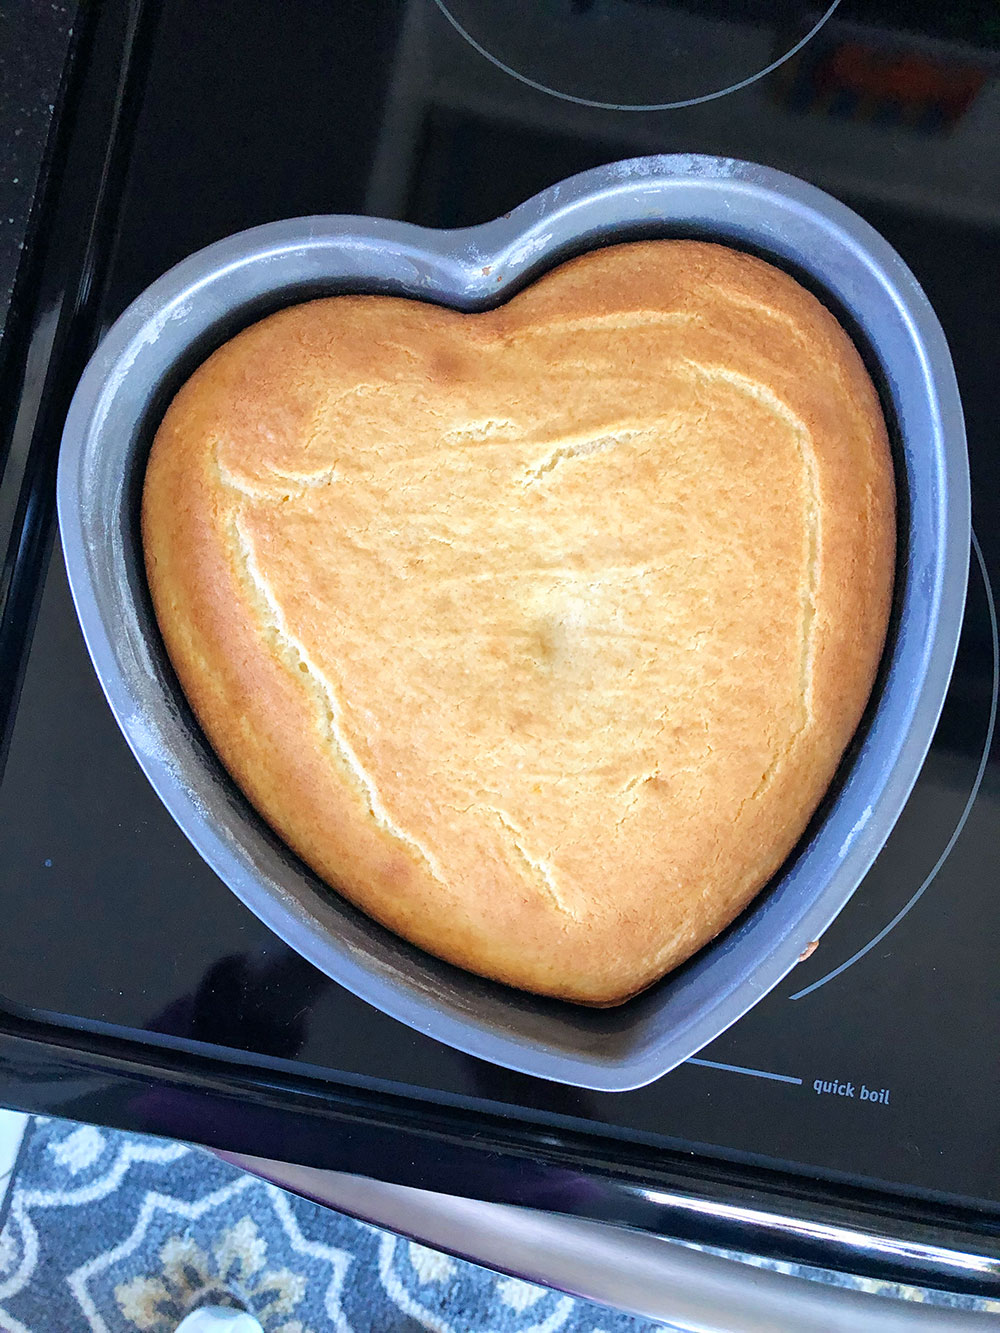
We’ve all been there. We measured and mixed and poured and timed and baked and cooled, and when the time came to tip the cakes out of their pans, the unthinkable happened. It wouldn’t budge, and we were left to remove our carefully baked cake in pieces. Why oh why did my cake stick to the pan?
Kind of sounds like an old country song, doesn’t it?
The truth is, baking is all about preparation. We should have all our ingredients measured and laid out ready to go. We should have our oven preheated. And we should have our cake pans prepped and ready to receive cake batter as soon as it’s mixed.
And if you prepare properly from the start, you will never be left wondering why oh why did my cake stick to the pan?
There’s a familiar instruction in cake recipes that says to “grease and flour” your pan.
It seems like such a little thing but, if you skip this step, guess what. Your cake will stick to the pan no matter how much you tilt and tap and smack and slam it on the counter.
Truth be told, if the sides of the cake stick to the pan, it’s pretty easy to run an offset spatula around the inside rim to loosen it. But if your cake sticks to the flat bottom of a cake pan, you’ll be scooping out pieces. This is not ideal for a layer cake.
So preparation is key! Fortunately, prepping a pan properly is not difficult.
Here are the steps to follow:
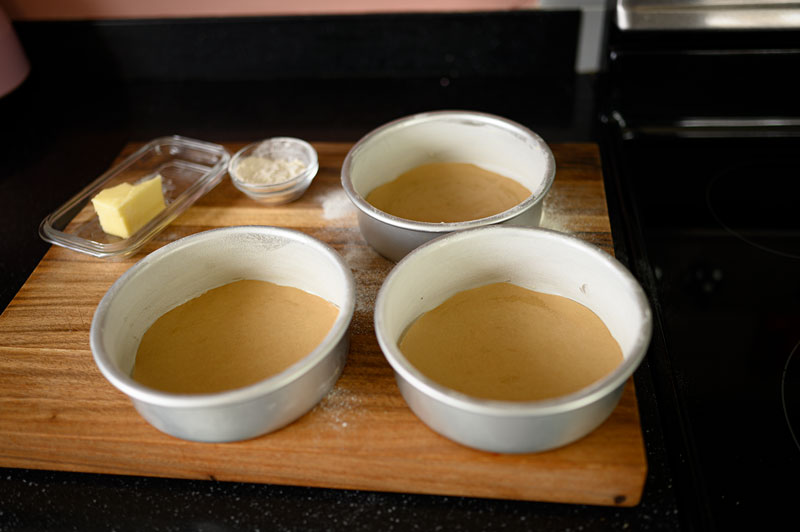
- Lay clean parchment paper on a flat surface and trace around your cake pan. Cut out that traced circle, and put it to the side. Make one for each cake pan you will be using.
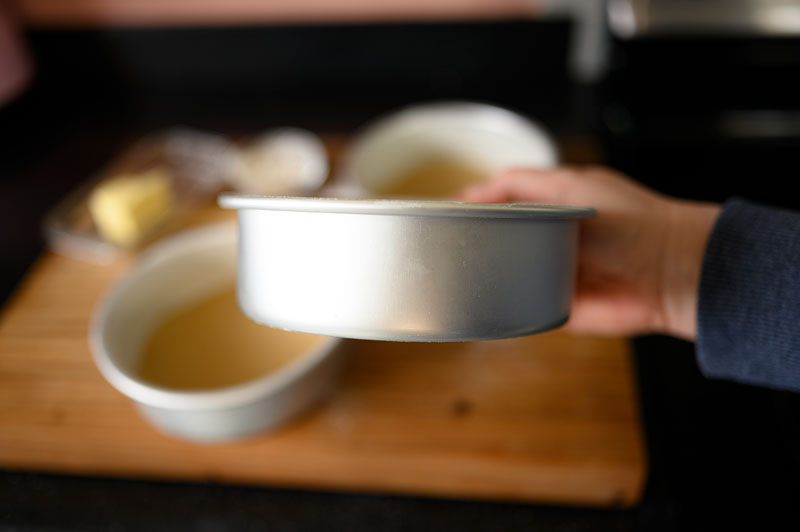
- Using a clean paper towel, liberally, but evenly, butter the inside of your cake pan. Smear it neatly all over the bottom and sides of the pan, and make sure you get it into all the corners.
- Sprinkle a teaspoon or two of all purpose flour into the pan and tap it around, coating all the surface area inside the pan. (if you are making a chocolate cake, use cocoa powder instead of all purpose flour) Make sure to include the sides. When you’re done, turn the pan upside down and tap it on a hard surface. The excess flour will come out and you are left with a beautifully buttered and floured can pan. I generally do this in the sink so the excess flour is easily cleaned up.
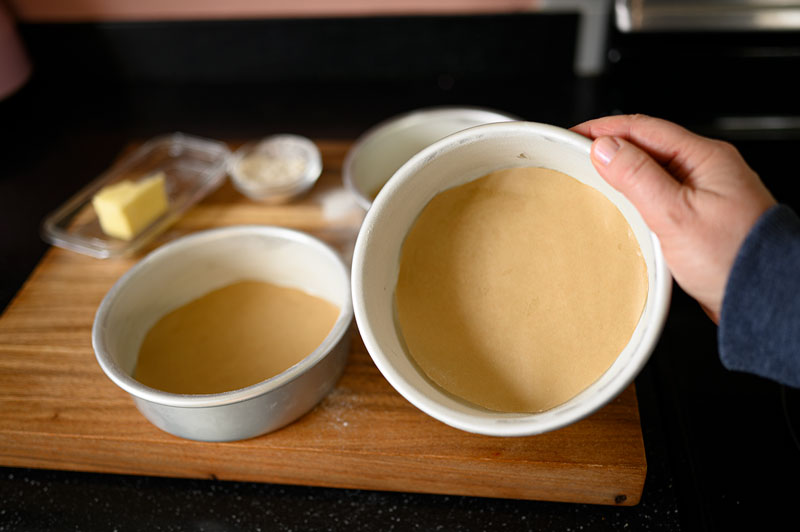
- Lastly, put one of those parchment rounds we cut out in the beginning into the bottom of each cake pan. Lay it right over top of the bottom we buttered and floured. This piece of parchment is your insurance.
Some people say the parchment is redundant. That you don’t really need it.
You know what I call it? Insurance.
I like a little insurance when I’m baking. It’s time consuming, and depending on what you bake, it can be quite expensive. So why not have the extra insurance of the parchment round. It’s an extra 2 minutes on the front end to pretty much guarantee your baked cake will practically fall out of its pan when the time comes.
![]()
![]()
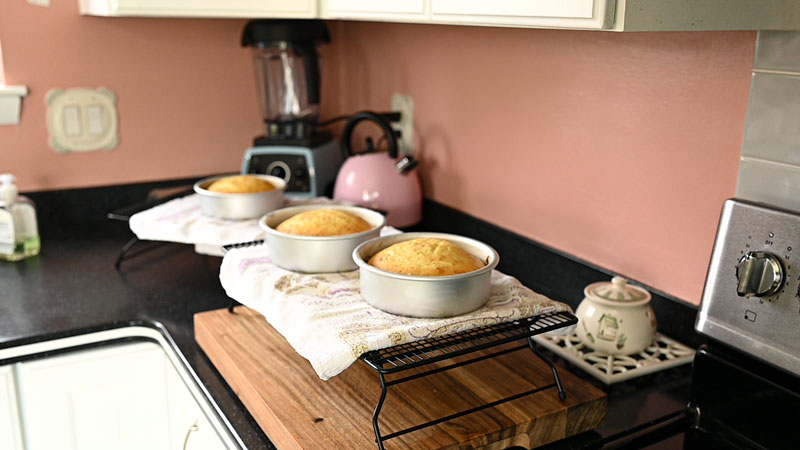
Cool the cakes in the pan for about 10 minutes after they come out of the oven. Run your offset spatula around the edges to make sure the sides are clean and then carefully tip your cakes out of the pan.
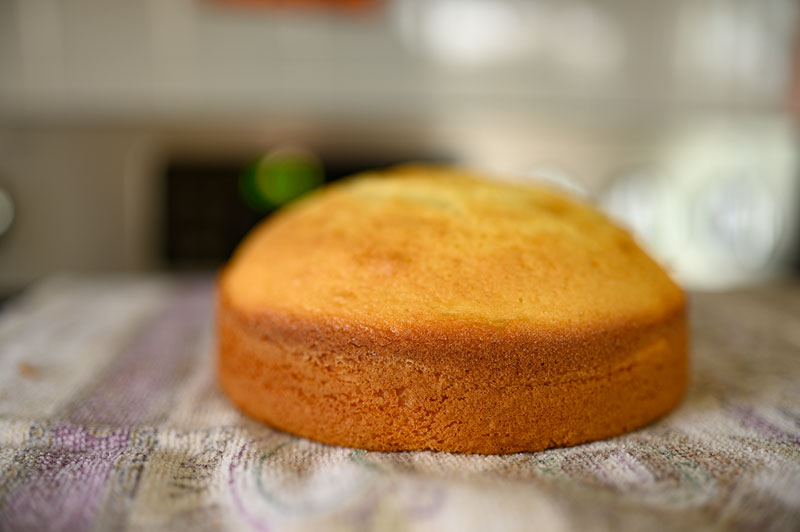
I like making 6″ cakes, so I tip them into my hand and then let them finish cooling on a clean tea towel on my cooling rack. This way, it cools without taking on the pattern of the rack. It’s nicer for frosting if the surface is smooth.
This setup works well for layer cakes. For Bundt style cakes, liberally grease and flour the decorative pan being sure to get into all the nooks and cranies. I even do something similar for quick breads and cookie bars.
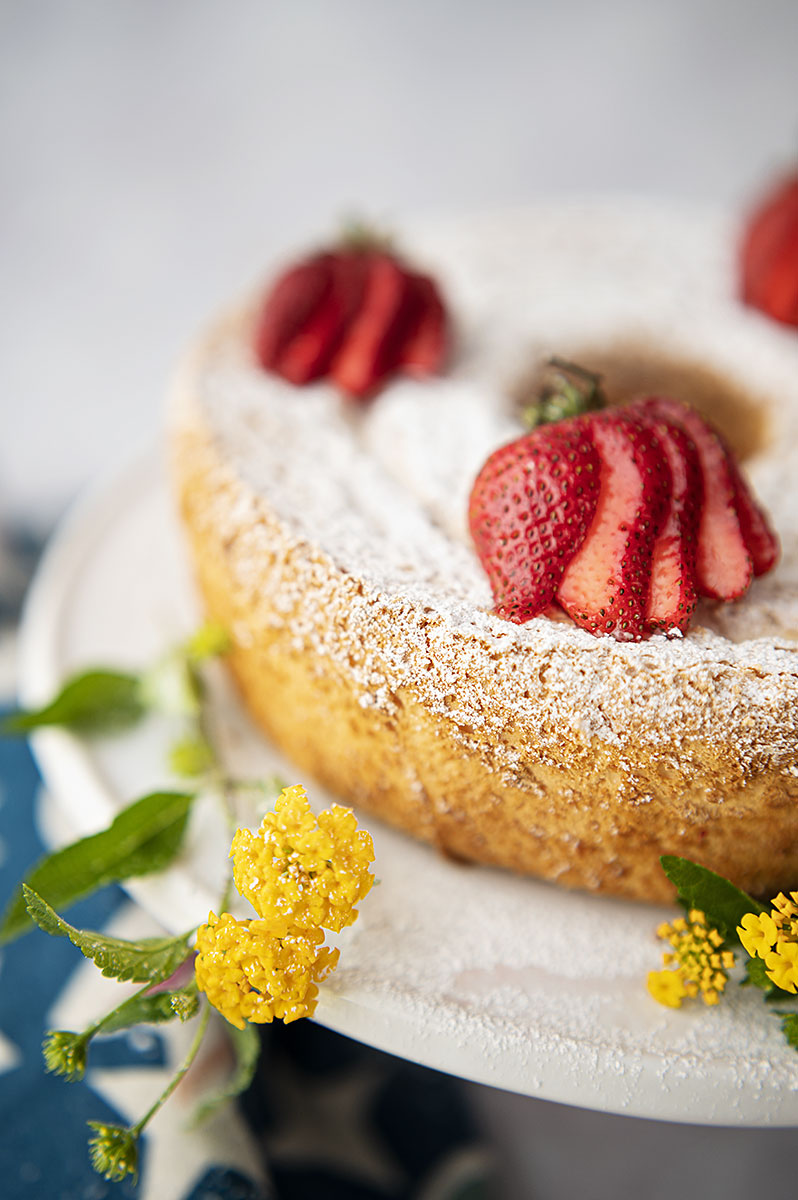
Next week I’ll be sharing my amazing cake recipe for the bakes you see in this post, so make sure you sign up for my newsletter list. I don’t want you to miss any recipes for how to make pretty layer cakes and cupcakes at home.
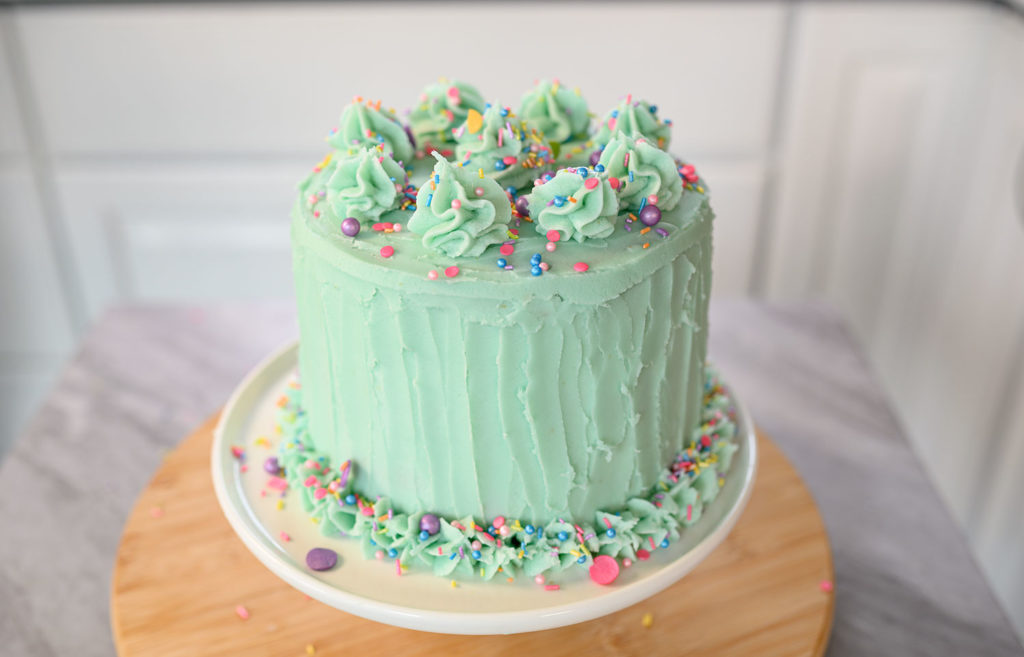
I design recipes for you, the home baker. Try my adorable layer cake made in my home kitchen, something YOU, the home baker, can make in your kitchen. Frankly, I’m fatigued on the over the top cakes all over social media, and wanted to share something for us regular people.
Because not all of us aspire to be professional cake decorators, and that’s ok!
I encourage you to take your time, and make something nice, but for heaven’s sake, don’t lose sleep over getting your frosting perfectly smoothed or setting up a 7 layer monster cake. Regular people really don’t need to do that for Sunday dinner or toddler’s birthday parties. Stop buying into the ridiculous hype, and embrace normalcy. Your anxiety will improve tremendously when you step off the instagram crazy train and embrace the authenticity of a home baked cake.
And it all starts with a perfectly prepped cake pan!
Tips for Selecting Cake Pans:
- A good quality cake pan is worth the investment. While I understand it’s tempting to buy that old set in the thrift store for 85 cents, it’s not generally going to give you the best results. I recommend cake pans from either Wilton or Fat Daddios. Both are great brands. They are light in color, so they warm and bake evenly. The sides of the pans are high and straight and this gives a better result for even layer cakes.
- Bake your cakes in the pan size recommended in the recipe. I personally love a 6″ size cake and share my cakes with you in that size. Read the recipe carefully.
- Make sure all the pans are the same type and size. If you bake a layer in a light pan and another in a dark pan, you won’t have even cakes. So invest in at least 3 pans each in a couple of different sizes so you have enough pans on hand when the urge to bake strikes!
Enjoying your own baked cakes and cupcakes at home is truly one of life’s simplest and greatest pleasures. Be sure you start out on the right foot, and prep the pans properly from the start. Enjoy my video demonstration on prepping cake pans to get started!
Related stories:
- Bake 6″ layer cakes using cake mix
- How to make a layer cake at home
- My original Cake Mix Hack Recipe
- How to make American Buttercream Frosting

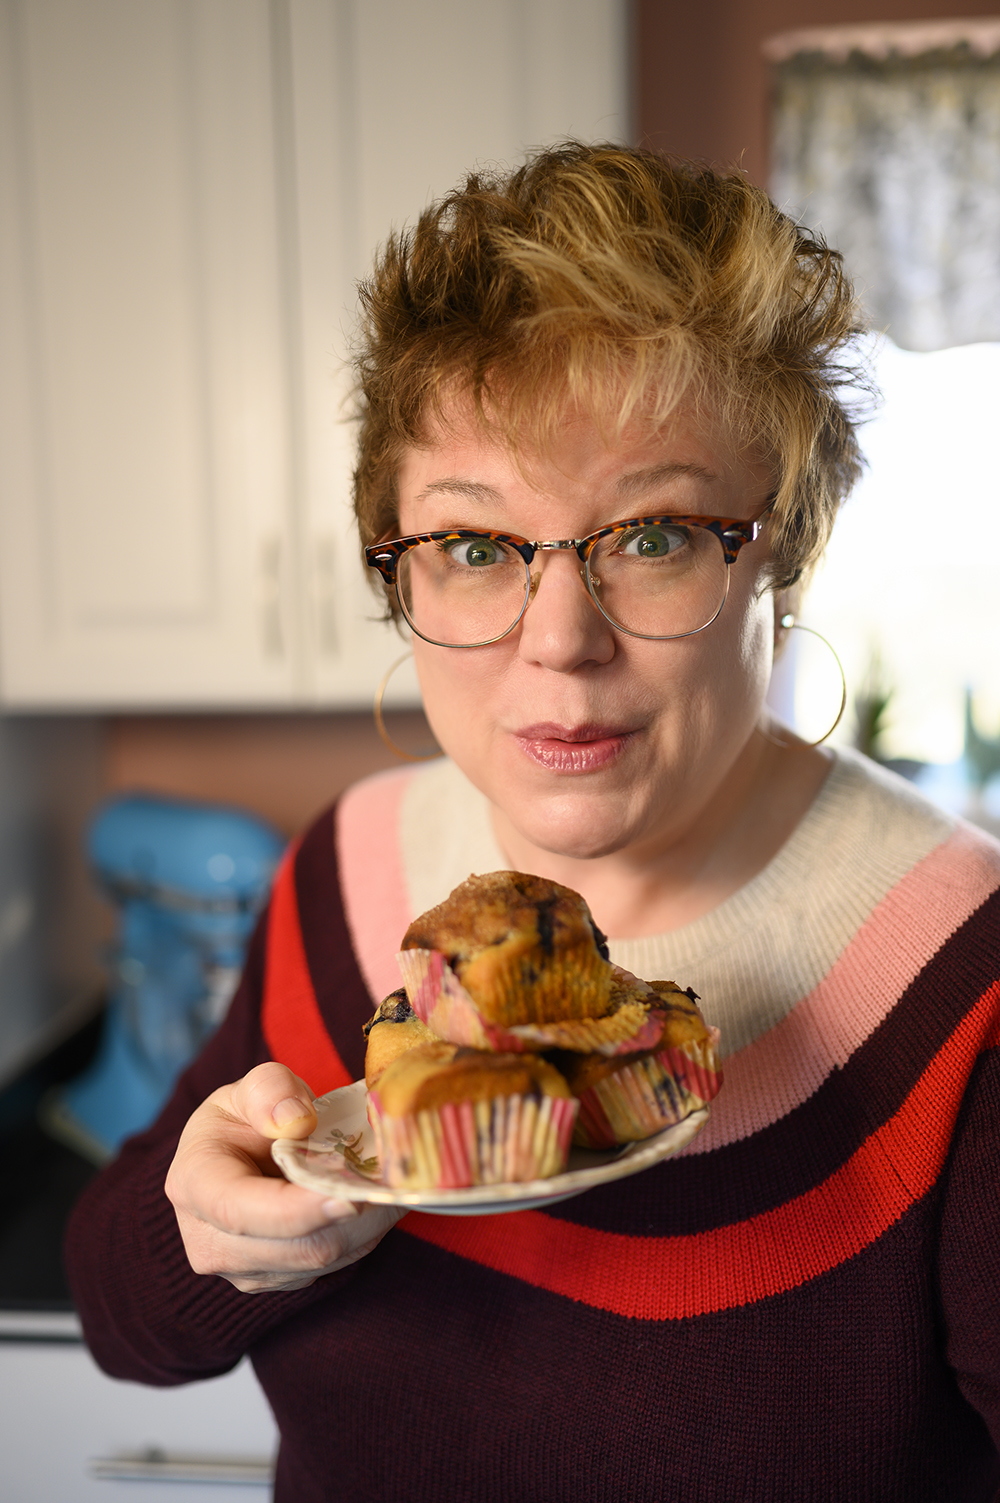
Hi there, I’m Patty.
Sewist, Baker, Maker
I love figuring out new ways to use pom poms, where I can stash more fabric, and I’m always wondering what to bake next…chocolate or lemon? When not dreaming up new things to make (or bake), I love riding my beach cruiser on the Boardwalk, enjoying classic movies, and planting new things in my tiny but mighty container garden.