Heart Shaped Cake
Disclosure: This post may contain affiliate links. As an Amazon Associate, I earn from qualifying purchases. 😊
While Valentine’s Day is the usual time our minds wander to all things hearts and flowers, what if you made a heart shaped cake anytime of year for those you love?
Today’s recipe is for those of us who are home bakers and not cake decorators. And while both of those are true statements, we still want to present a cake that is both delicious to the taste and lovely to the eye. Enter the Heart Shaped Cake. It’s a perfect cake for birthdays, Mother’s Day and, of course, Valentine’s Day.
How to make a heart shaped cake
Two ways to approach baking your own heart shaped cake
- Bake a square cake and a round cake. Cut the round cake in half and secure it to the sides of the square cake using frosting. This is the Martha Stewart method.
- Invest in the Wilton Heart cake pan, and it does the work for you.
I should let you know that I’m a gal who loves kitchen gadgets and tools. I can’t get enough when it comes to kitchen dilly doos. I’m also someone who likes to have the tool for the job. So I’m going to gravitate to the cake pan (affiliate link) and let it do the work for me.
Why buy a specialty cake pan?
- First of all, it’s fun to have special cake pan in your baking pantry. If your niece or granddaughter is over, they will be very excited about baking a heart shaped cake. So it’s a fun way to get them interested in baking
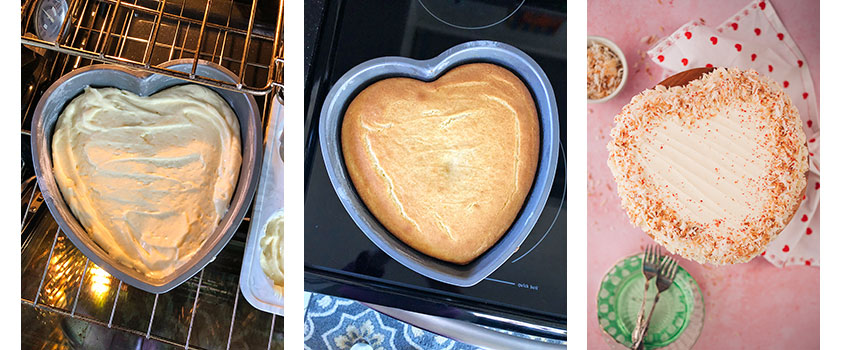
- The pan does all the work. All you need to do is mix your preferred cake, including mixes, and bake. No special cutting and securing involved. I didn’t even level the top on this cake OR split it to make layers.
- The pan is large enough to take an entire cake mix! So one pan is all you need. Even though it’s non stick, I would still recommend preparing the cake pan as you would with any other cake pan. (affiliate link) It’s not worth the risk of sticking. Except for the parchment paper step. That could be omitted, but grease and flour the pan even though this one is non stick.
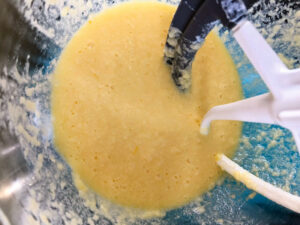
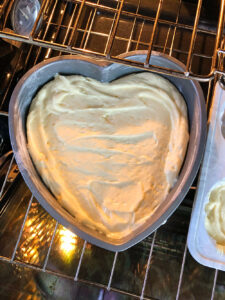
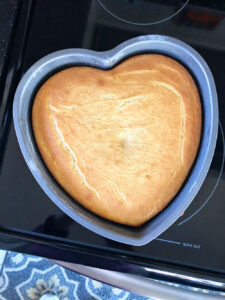
Batter, Baked, Decorated
What you need for this recipe
- Wilton Heart Shaped Cake pan. (affiliate link) Or make your own DIY version as described above.
- Cake Mix of your choosing. I used Dolly Parton’s Coconut cake mix, but you can use any cake mix you like OR mix a cake from scratch. I have a basic outline for how I like to doctor up my cake mixes, and this one was no different.
- Extra ingredients for the cake itself such as buttermilk, butter, coconut flavoring and eggs.
- Your favorite Frosting which uses butter, cream cheese, powdered sugar and flavoring.
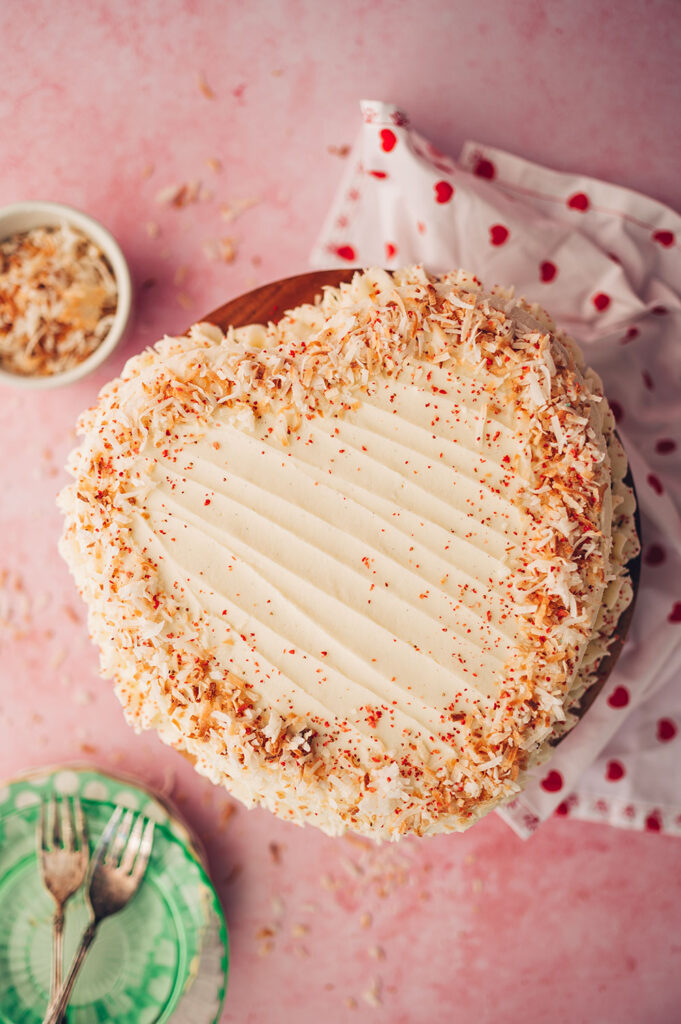
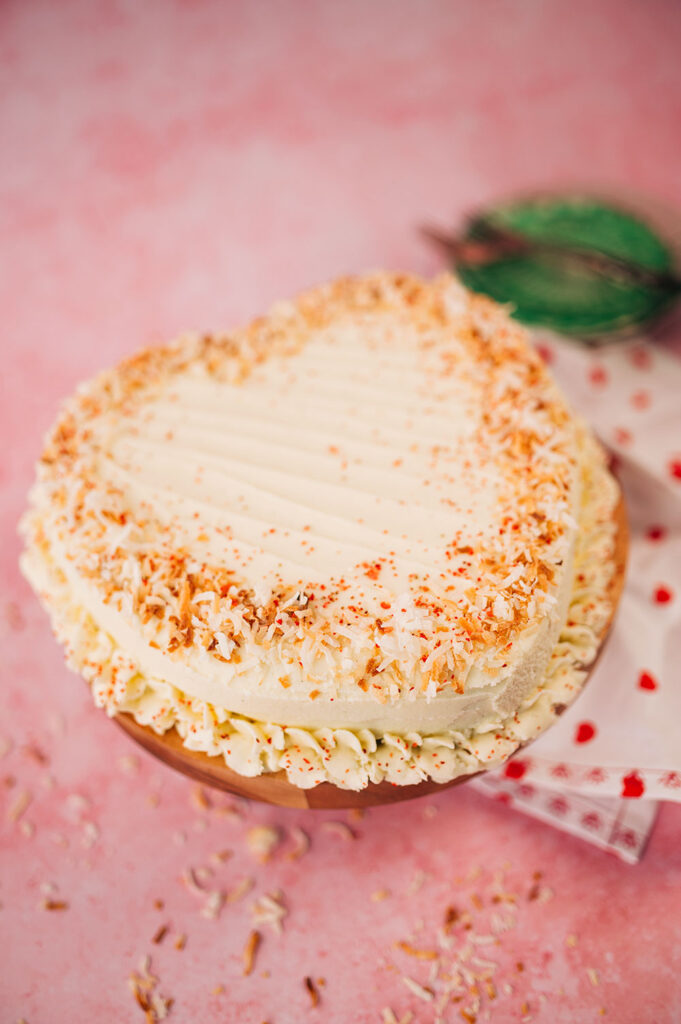
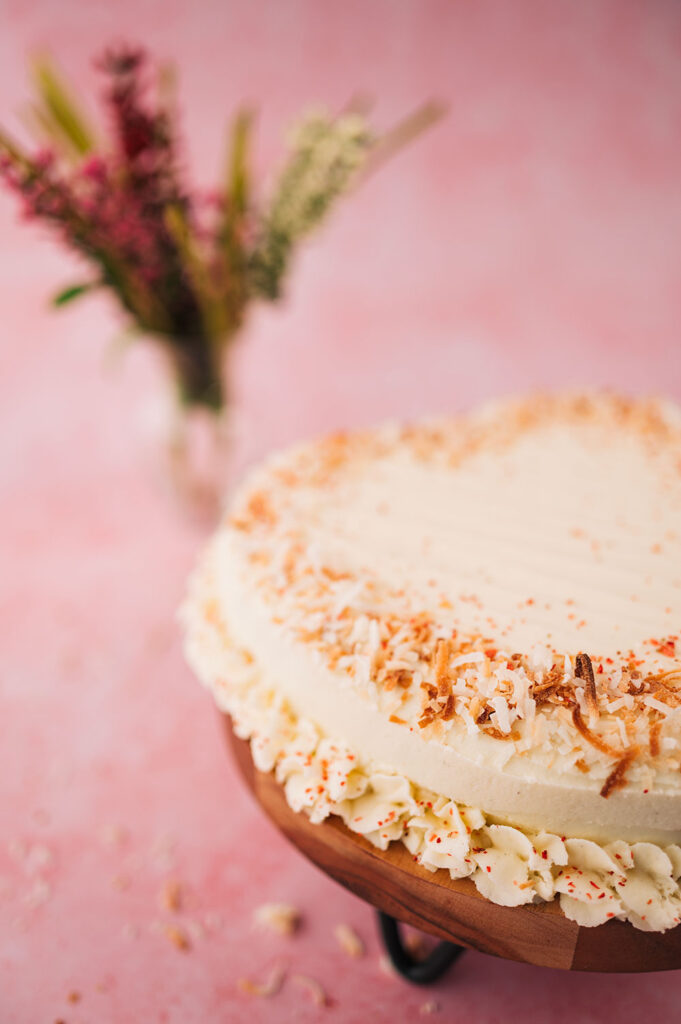
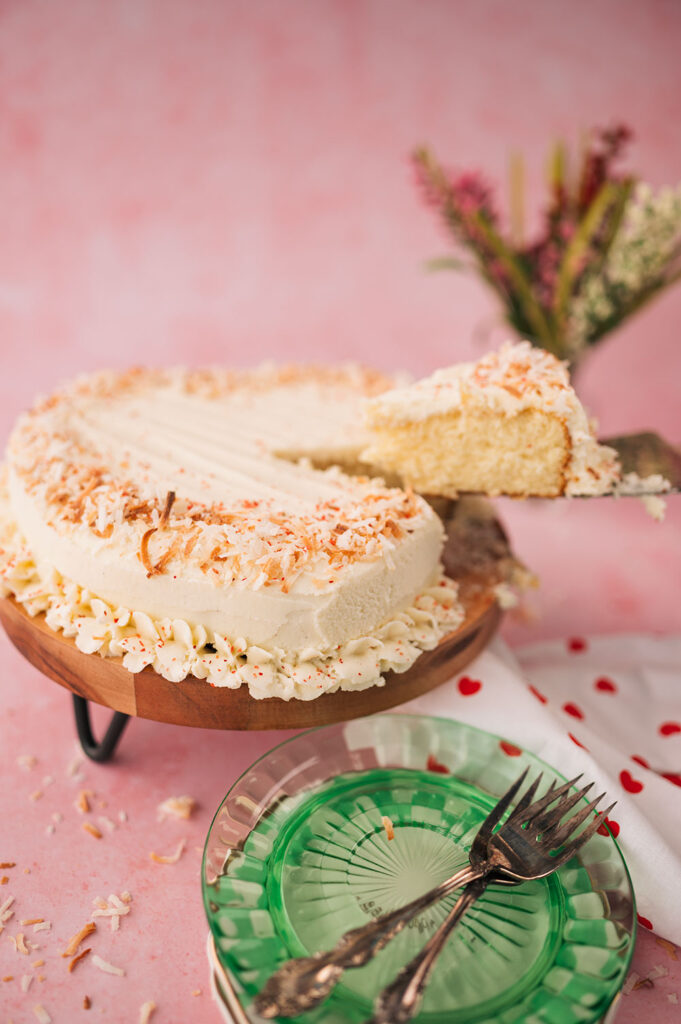
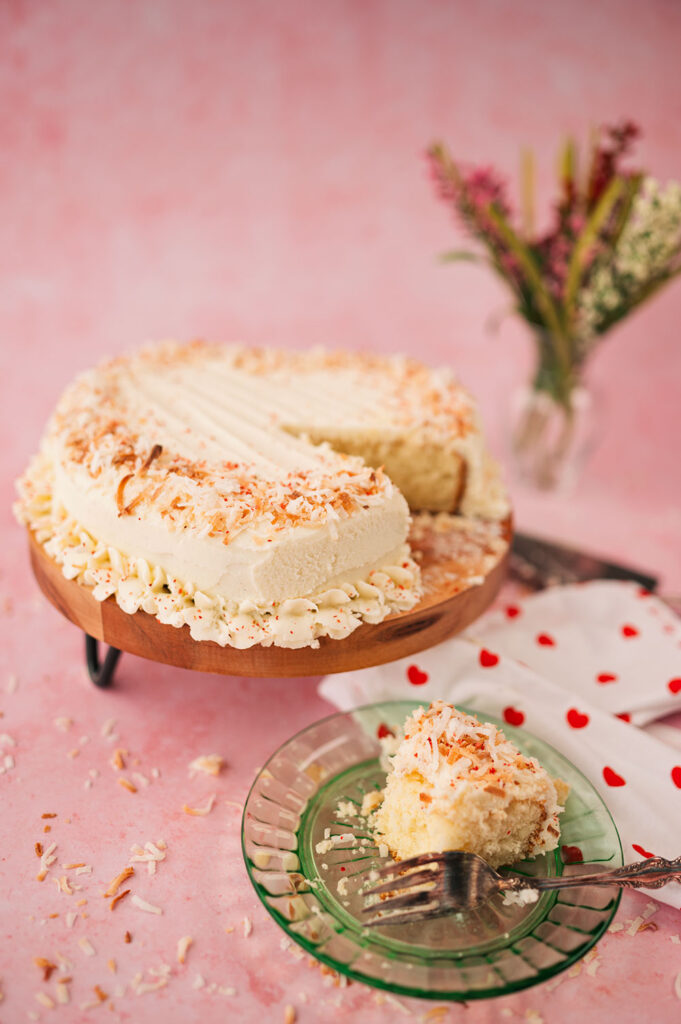
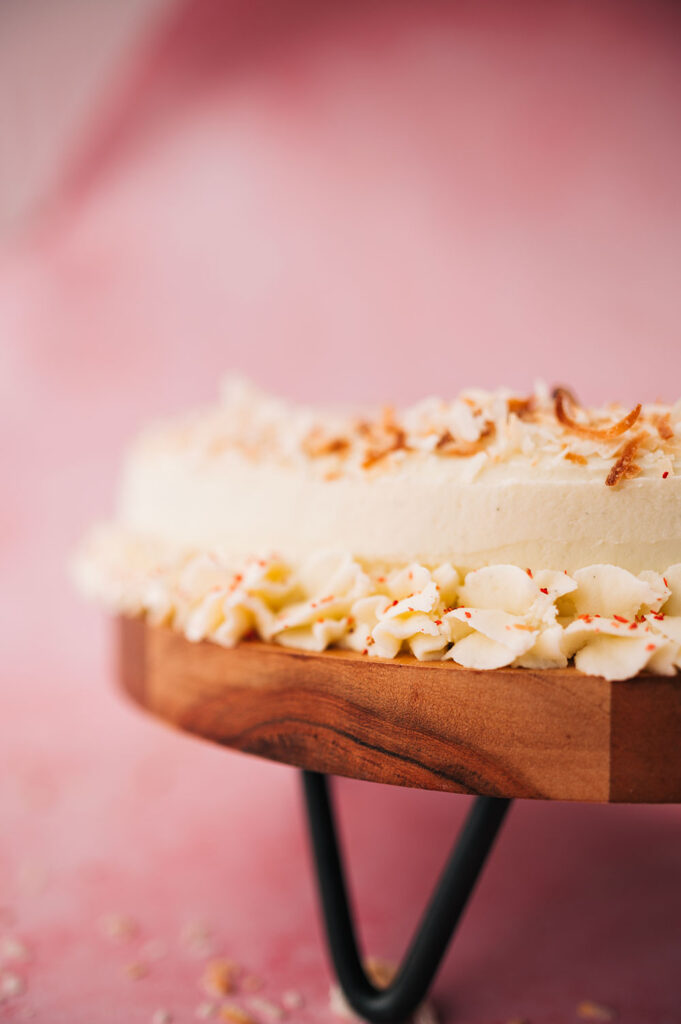
- Decorations of your choosing. I toasted sweetened coconut and sprinkled it around the edges. I had some leftover granules from freeze dried strawberries I’d pulverized for strawberry frosting I made a couple days earlier, so I sprinkled a few on for color. Sprinkles are also a great choice!
Optional special tools
- Small offset spatula (affiliate link) to spread the batter in the pan and to frost the cake.
- Frosting bag (affiliate link)
- Wilton 1M tip (affiliate link) to pipe rosettes around the base of the cake.
- Largish cake plate (affiliate link) to display the decorated cake
🎂
What Cake is best as a heart shaped cake?
Any cake you like can be baked into the shape of a heart. I used a cake mix, but your favorite from scratch recipe is also perfect. I recommend using a cake designed as a layer cake and not a pound cake or a Bundt® Recipe. Some cakes require specific pans to bake the best, so stick to your basic layer cake style cake recipes.
Cakes I would recommend for this pan
- Coconut Cake (cake mix hack) (coming soon)
- Seriously Moist Chocolate cake with Raspberry frosting
- Vanilla Cake Mix Hack
- Vanilla Cake with Strawberry Frosting
How do you cut a heart shaped cake?
The short answer is VERY CAREFULLY! 😆 Sorry. I couldn’t resist. Honestly, cut it anyway that works for you. If you have a lot of people over when you serve this, cut down center and cut slices perpendicular from there. I’m not all that fancy, so I simply sliced it similar to a layer cake slice. It worked fine and everyone loved it.
Fun crafts to enjoy WITH your Heart Shaped Cake
- Heart Table Runner: Table runners are a fantastic quilt project because they are pretty fast to make and using them elevates a plain table to something special
- Hemmed Napkins: The napkin in the photos is something I sewed to photograph with the cake. I used fat quarters which are often on sale and are easy to hem into pretty napkins.
- Quilted Heart Pillow: This little pillow features my most popular quilt block tutorial! It’s fast to make and adorable when it’s finished!
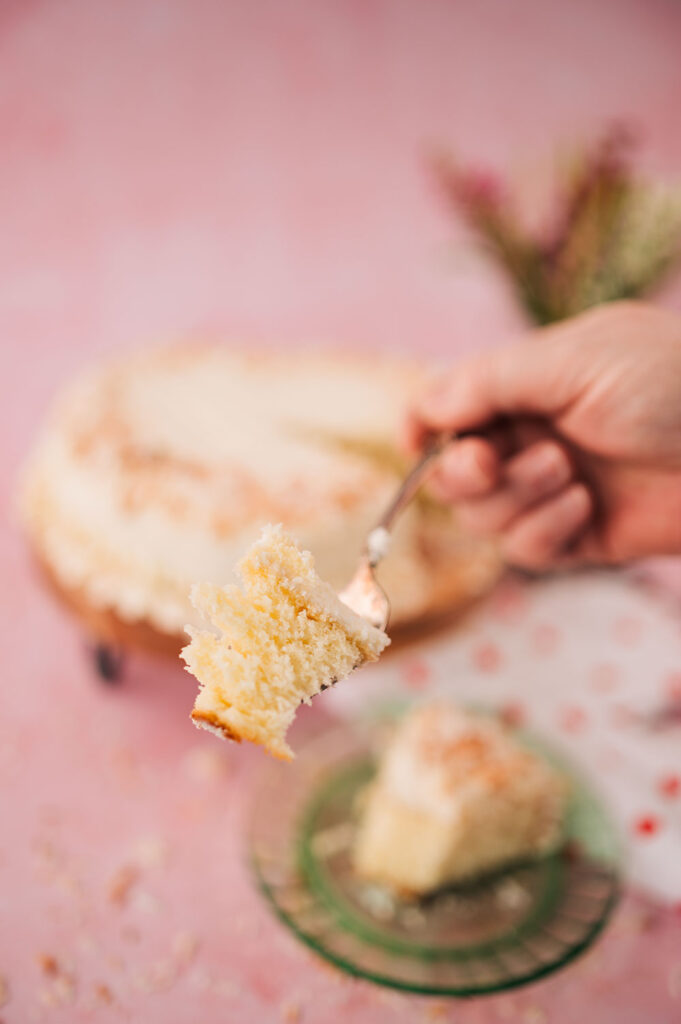
Enjoy your Heart Shaped Cake with the cake of your choice. It’s simple to decorate and whomever you serve it to will be super impressed at your baking prowess. No one has to know it was actually very easy to do.
🍰
Heart Shaped Cake
Description
Learn an easy method to bake a heart shaped cake
Ingredients
For the Cake:
- Cake mix of your choosing
- 3 eggs
- Melted butter of non flavored oil of your choice
- 1 tsp vanilla extract (or special flavored extract of your choosing)
For the Frosting:
- 1/2 cup butter (2 sticks)
- 1 pound powdered sugar
- 2 tsp of flavoring of your choosing
- 2 –3 tbs heavy cream or milk to thin frosting the desired consistency
Instructions
- Preheat oven to 350º F
- Prepare cake pan
- Mix cake mix according to directions.
- If using the Wilton Heart Shaped Pan, put all of the cake mix or batter into the pan.
- Bake for 40 – 42 minutes or until middle of cake springs back. Start checking at 35 minutes for doneness. Because there is so much batter in the pan, you’ll have to bake a little longer than if the batter was spilt up in 2 or 3 pans.
- Once baked, cool in the pan for 5 minutes then pop out of pan and place onto a cooling rack to completely cool.
While cake is cooling, mix the frosting
- Whip the butter using a paddle attachment until white and fluffy, about 5 minutes.
- Add flavoring about halfway into beating the butter.
- In 2 additions, add sifted powdered sugar. Mix on Medium until well incorporated.
- Add milk or cream until frosting is desired consistency adding a tbs at a time.
Notes
Cake mixes are written with pretty specific mixing instructions. So follow those instructions for the best result. Personally, I recommend putting the wet ingredients into the mixing bowl first and combine them well before adding the cake mix.I find it’s better mixed that way.
The mixture will look slightly curdled, but that will remedy itself once the dry ingredients are added.
Once the dry ingredients are added, follow the mixing instructions exactly. Set a timer! You’re mixing on low speed for 30 seconds and 2 minutes on medium. Don’t over mix and don’t run the mixer on high. It’s a Goldilocks thing here.
You’ll be rewarded with a lovely, thick cake batter. Remember to test doneness with the spring back method and not the tooth pick version. The cake will continue to bake in the pan when it’s out of the oven. And we don’t want to over bake the cake.
Hi! I’m Pattymac
Baker, Maker, Gardener
I’m a creative lifestyle blogger living and working in Coastal Virginia. When I’m not mixing or sewing or taking pictures, I’m out exploring the cook book section of my favorite library or munching on my own home baked cookies at a mid week movie matinee.


