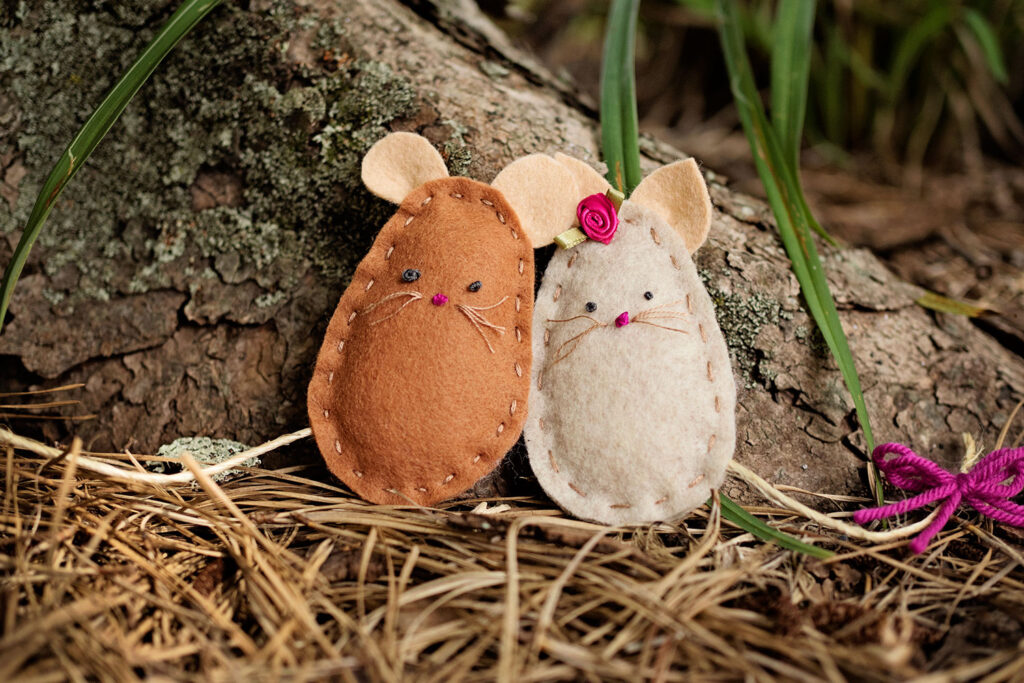
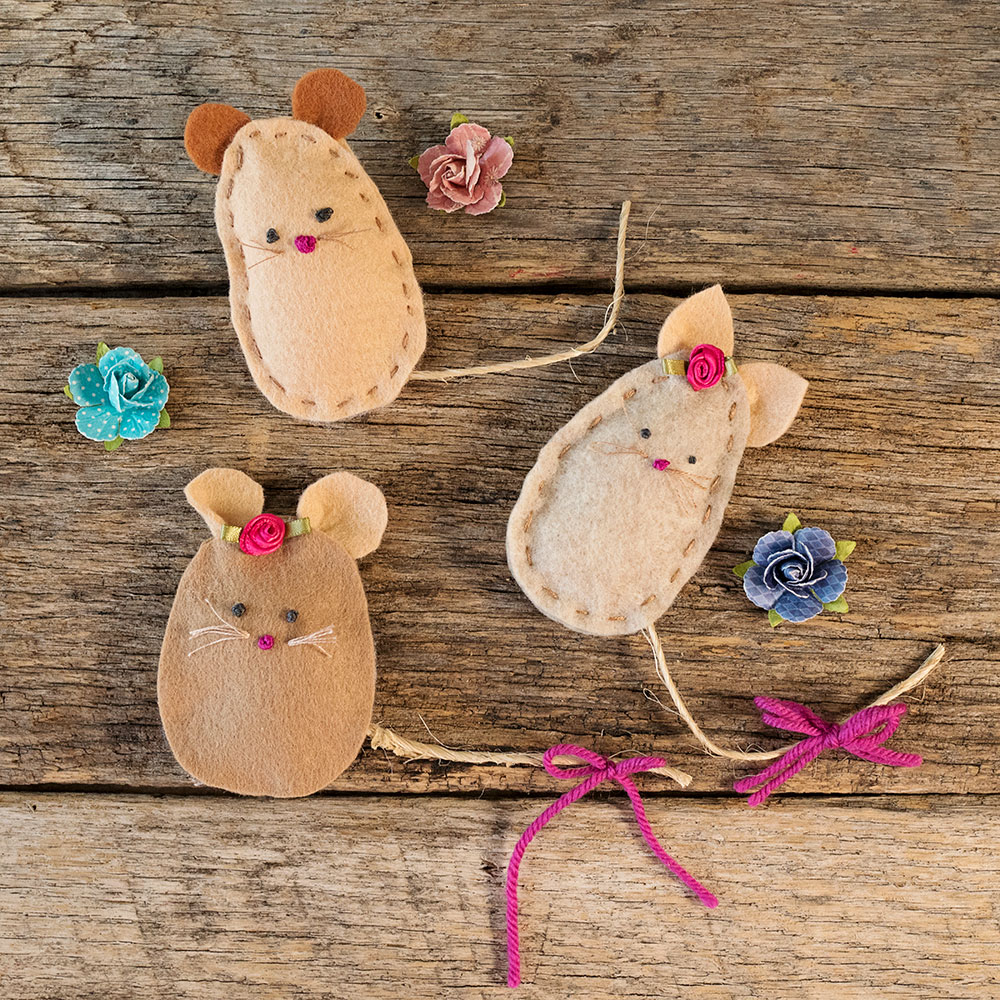
Mr. & Mrs. Mouse, a fun Felt Craft Idea
Hand sewing a Mr. and Mrs. Mouse set is an adorable and fun felt craft idea. This project uses simple shapes and easy embroidery stitches to create darling felt softies. A free pattern is included so you can make your own Felt Mouse, a favorite softie toy with small children.
Do you ever try out something new, and then love it like crazy? Then you will totally understand how I feel about today’s felt craft project idea. So fun! And talk about CUTE!
Don’t let the words embroidery stitches scare you. This simple felt craft uses French Knots and running stitch to sew these darling softies. Easy peasy.
Materials list to sew Mr. and Mrs. Mouse:
- Three colors of felt
- Three colors of embroidery floss
- Embroidery needle
- Something to make a tail. I used twine, but you could use yarn or even embroidery floss.
- Tacky Glue
- Polyester pillow stuffing (Poly-Fil)
- Fabric Scissors
- Paper scissors
- Free pattern for today’s felt craft idea, the Mr. and Mrs. Mouse set
- Optional** ribbon trim and yarn to tie a bow on the mouse’s tail
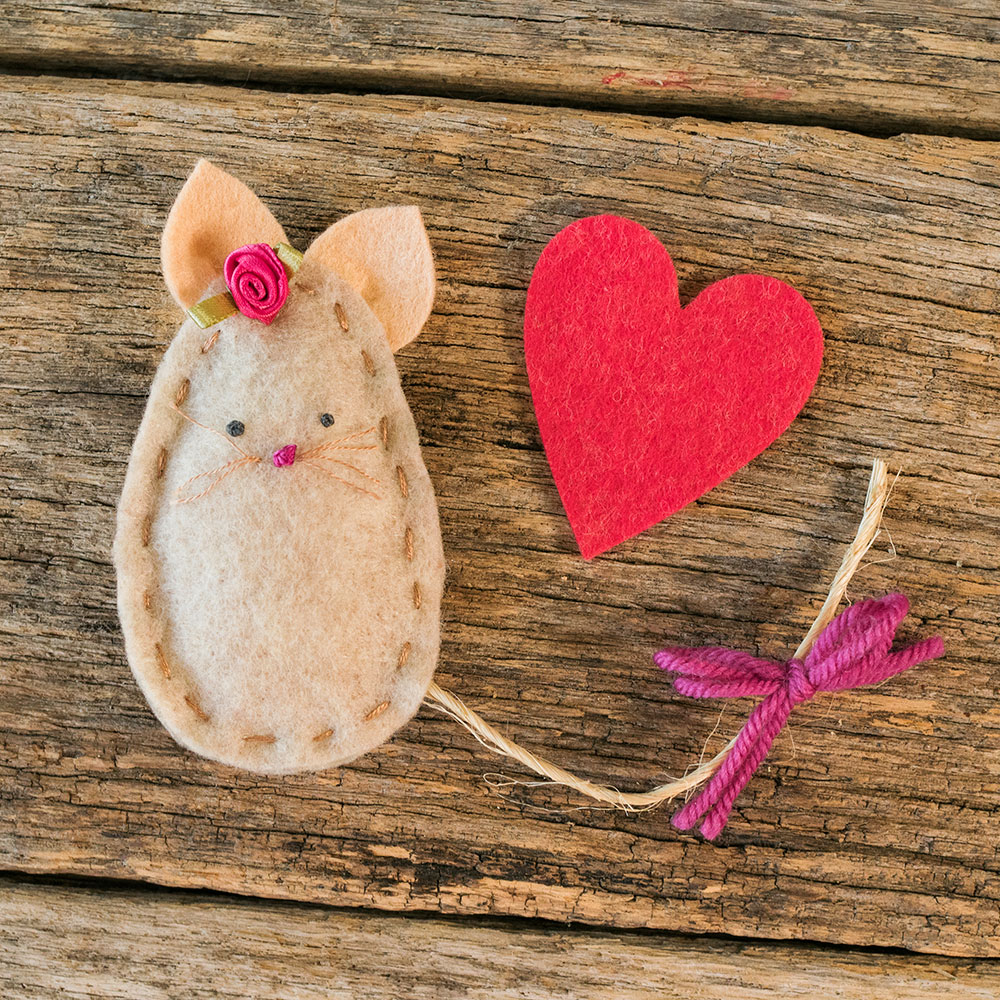
Concerned about sewing? Skip that part and glue your mouse body together. Both versions are cute, but I love the folk art touch the hand stitched edge gave the mouse. However, don’t let a little hand stitching be a barrier to making this sweet felt craft idea.
Instructions to make Mr. and Mrs. and Baby Mouse:
- Download the free pattern.
- Gather the supplies listed above.
- Cut out the felt bodies and ears, and a 4″ section of something for a tail.
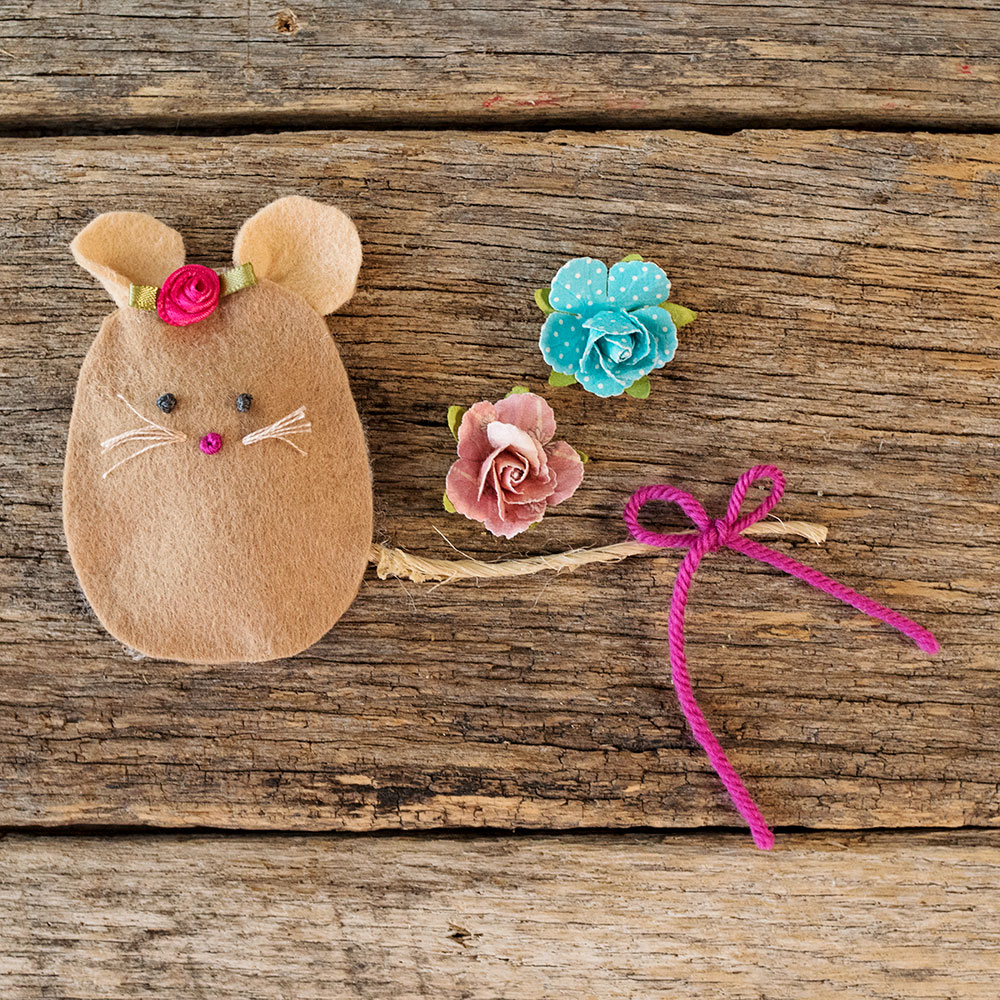
- Mark the face on one mouse body piece, and using French knots, make eyes and a nose.
- Make the whiskers and secure on the back with a dab of glue.
- Pinch the ears together at the pointed end and stitch together with simple overcast stitch.
- Assemble the mouse by laying the plain piece flat, lay the ears with the pinched side on top of the first layer and then cover with the embroidered face.
- Tuck the tail into one side and towards the bottom glue it to the bottom layer of felt.
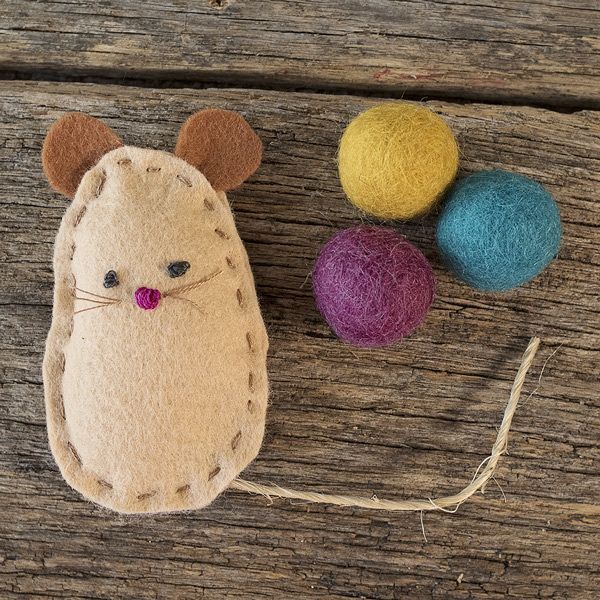
- Hold mouse together and stitch around the outside edge using running stitch. All this means is stitching in small even stitches to secure the back and front.
- Leave an opening at the bottom and in that opening, stuff inside a little Poly Fil.
- Place the tail and use a little glue to secure inside the mouse.
- Stitch the mouse closed.
A felt craft is the cutest surprise to make for your kids as they go back to school.
Stitch a mouse and hide it in their bookbag. Then when they get to school, and pull out that first book, a precious little toy will be waiting for them! Even a grumpy teenager is going to smile upon finding something special like a little mouse tucked in their back pack. It’s a sweet way to say, “I’m thinking about you,” without having to get mushy.
Let’s be real for a minute. As I’m writing this project for you, it’s 2020. Everything is scary and difficult and confusing right now. There is so much anxiety this year around school. Having a little softie will likely provide big comfort.
Even if school is your kitchen table again this fall, propping a mouse on the laptop as a surprise is a fun way to cut through some of the anxiousness.
Enjoy this light hearted video that shows the mouse family and how to make them. I’ll teach you how to do the simple embroidery stitches, and demonstrate how to put this simple felt craft idea together for you on camera.
Happy stitching and stay tuned for more craft and sewing projects.
You might also like:

Hi! I’m Patty
Sewist, Baker, Maker
I love figuring out new ways to use pom poms, where I can stash more fabric, and I’m always wondering what to bake next…chocolate or lemon? When not dreaming up new things to make (or bake), I love riding my beach cruiser on the Boardwalk, enjoying classic movies, and planting new things in my tiny but mighty container garden.