Milkbar Birthday Cake Recipe
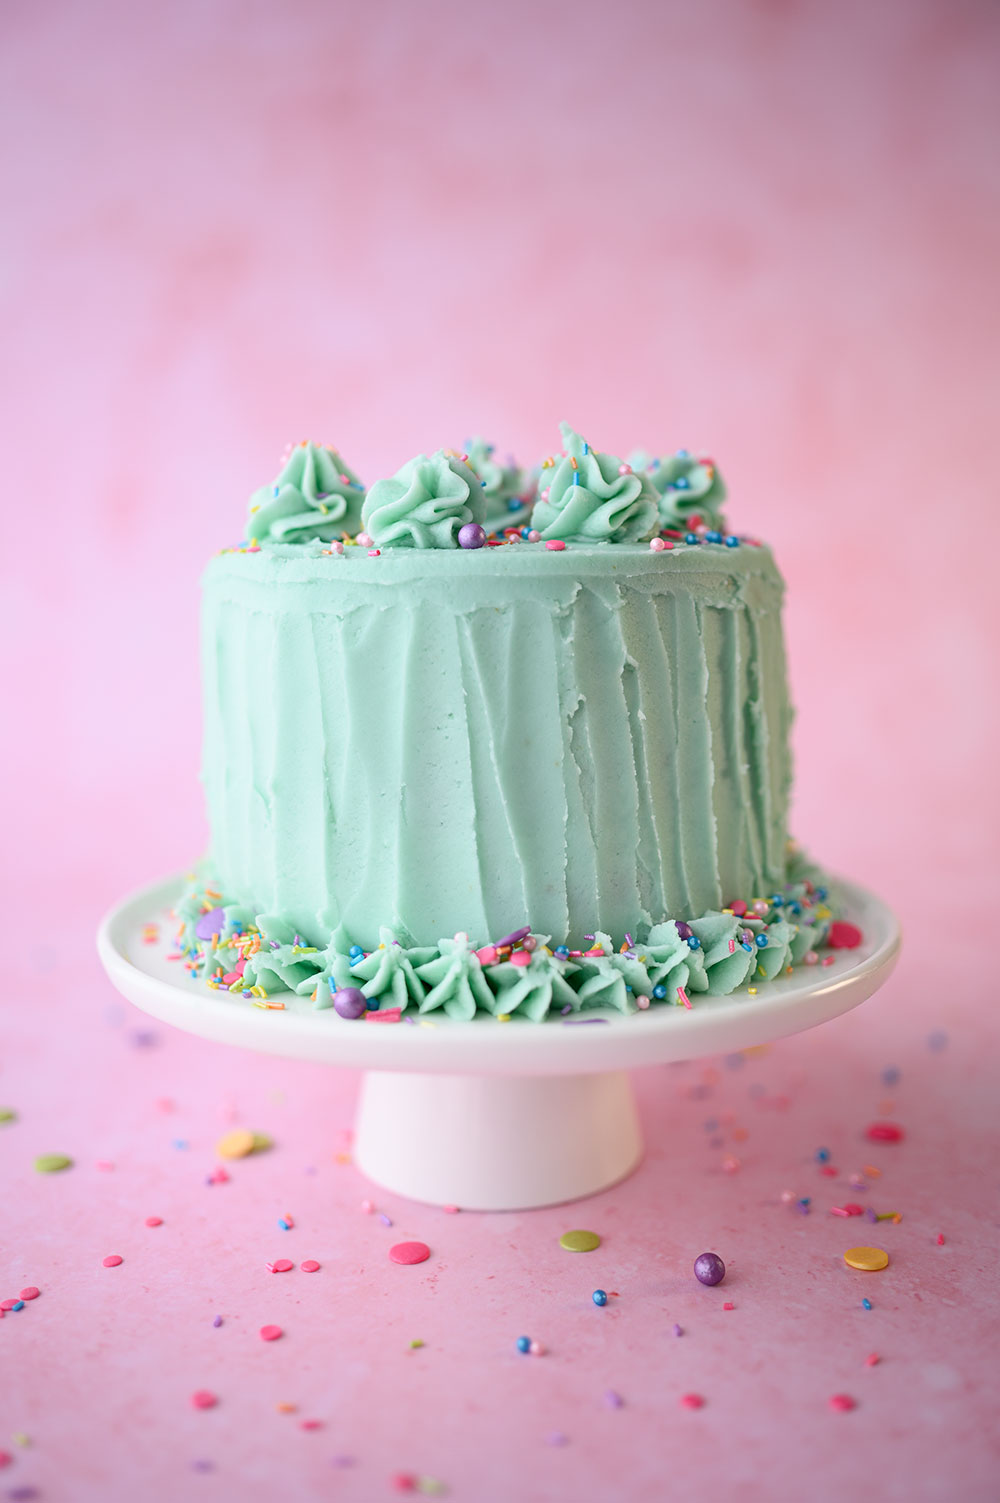
Few cakes are as famous as the one in today’s post. Created by Christina Tosi, let’s take a look at the Momofuku Milkbar Birthday Cake recipe.
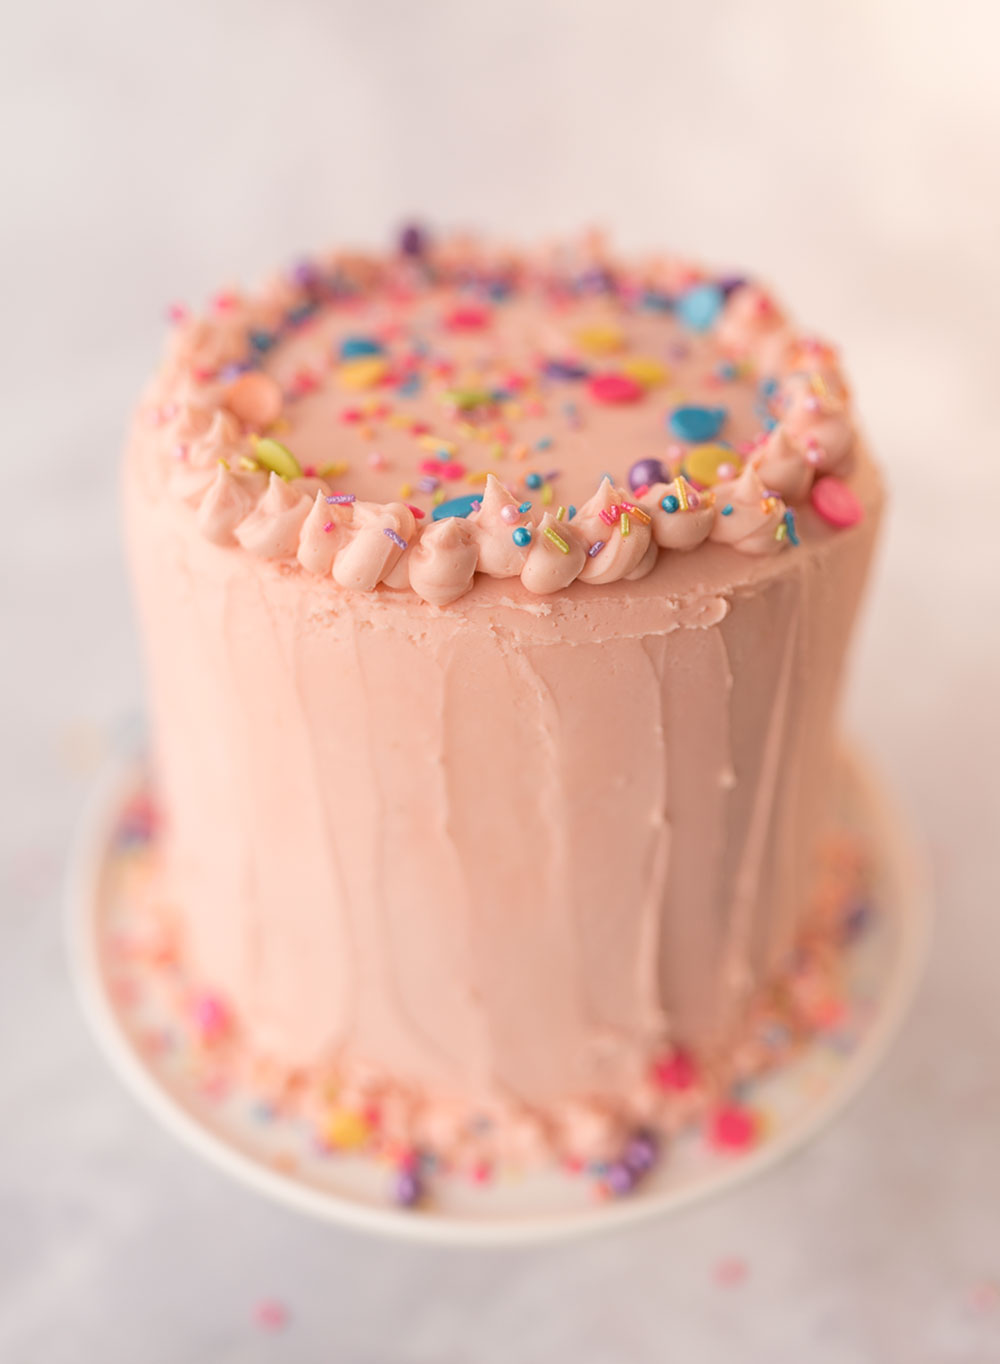
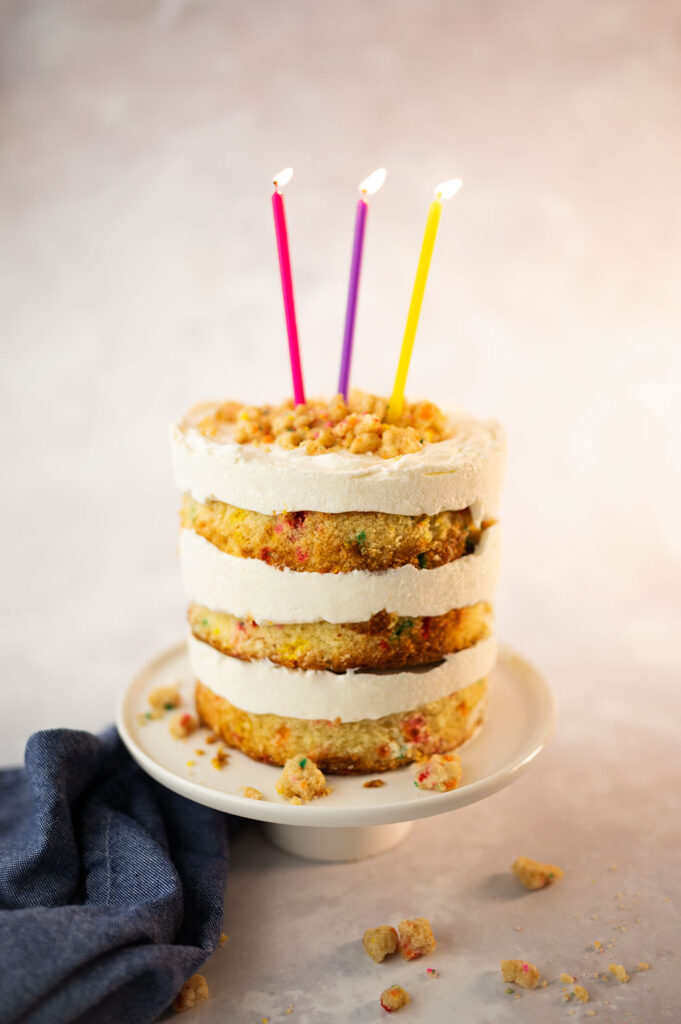
As far as home bakers and baking bloggers go, the Momofuku Milkbar Birthday Cake recipe is viewed with reverence and fear. It’s revered, because it basically invented the concept of the naked cake. It’s fear inducing because the ingredient list can seem long, the tools can be unfamiliar and the assembly is a little unusual. I was afraid to make this specialty layer cake for the longest time. But as my birthday drew near, I decided it was the only cake for me this year.
What I find most intriguing about Christina Tosi, and the concept of Milkbar, is her unpretentious approach. While she’s classically trained in pastry arts by the French Culinary Institute in NYC, her goal is to replicate the flavors of her favorite Funfetti cake mix and toss all that over the top decoration out the window. I love her for that.
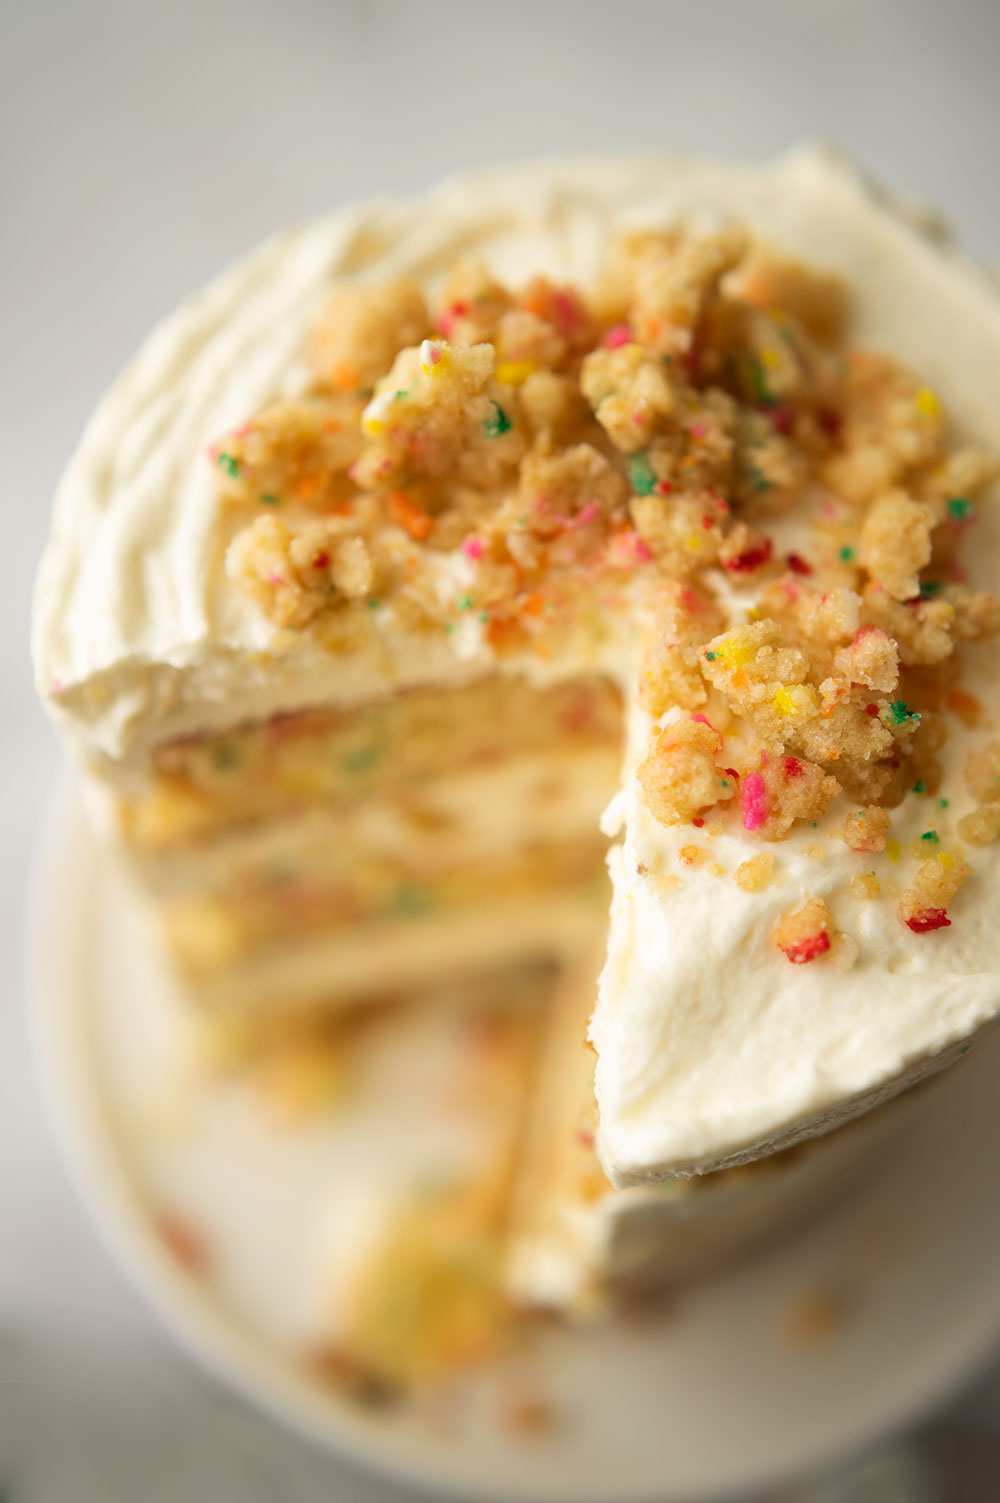
She writes recipes that celebrate the low brow treats her mom and family loved as she was growing up and enjoying rural life. Her version of a birthday cake with a cake crumb topping and rainbow sprinkles are the epitome of home baking.
For someone to make it to NYC, work in the biggest, trendiest restaurants in the city and still retain that love of everyday American flavors and foods scores major points in my book.
I purchased the original Momofuku Milkbar Cookbook on Amazon as a used Library book. I had checked it out from my library to read, and when I didn’t want to return it, I knew I needed my own copy. So finding my own version of a library book felt like a tremendous win.
I made the cake using all the tools and ingredients that Tosi has in her original recipe. So many people are above using the shortening and clear vanilla that are an integral part of the Milkbar recipes. I can’t tell you how many bloggers I visited before I made this cake myself to get a feel for the process, and nearly all of them made this as an all butter cake with real vanilla. I’m sure it’s a good cake, but….
To that I have one thing to say. You’re missing the whole point.
Why would you go to all the work and follow the instructions to make a specialty cake, and then not follow the recipe? It boggles my mind. Honestly people, if you aren’t using her ingredients, you aren’t making her cake.
No shade, but it seems incredibly arrogant to me. So my version is her version, and I recreated her original recipe to the greatest extent of my ability. I loved the final result.
The Milkbar Birthday cake recipe may feel intimidating as heck at first glance, but it’s really just a layer cake with a couple of fillings.
What goes into the making of the Momofuku Birthday Cake recipe?
- 3 layers of 6″ cakes
- Frosting
- Birthday Cake Crumb which is a filling
- Cake Soak which is the second filling
Special tools and equipment used to make the Momofuki Birthday Cake recipe:
- 1/4 sheet pan: I use these to bake my birthday cake crumbs.
- 6″ Cake ring: I used this to trim my layer cakes. I used the cake ring to neatly trim the cake layer edges revealing the soft, colorful cake beneath the golden sugar crust.
- 6″ Cake pans: I baked the cakes in my pans because the 1/4″ sheet pan I purchased is not exactly the same size as used in the cookbook. So the cake would not have baked properly.
- Acetate: I used 6.3″ acetate to have one piece that was tall enough and not have to layer in two sheets.
- 6″ springform pan: I built my cake in the springform pan because it’s easier to get the frozen cake out of the pan with this as opposed to building in the cake ring.
- 6″ Cake round: I built my cakes on the cardboard round.
- Pastry brush: I used the brush to lightly glaze my layers with soak as opposed to drenching them. I did not want soggy cake, and I saw some soggy darn cakes on the internet where bloggers completely over did the soak.
- Large soup spoon: you’ll want a good sized spoon that you can bend the neck close to the spoon as this facilitates spreading the frosting inside the acetate architecture.
The Ingredients for the Momofuku Birthday Cake Recipe:
This is going to be a long list, because I’m compiling everything for all the components in one place. So grab a drink and let’s jump in.
- Super fine granulated sugar: Tosi calls for granulated, but I use super fine for all my baking. She swears by Dominoes sugar, and they have a super fine variety.
- Light brown sugar: she uses this in all her recipes so you will use it if you bake more of her recipes
- Cake Flour: finer crumb than all purpose flour
- Baking Powder
- Kosher salt
- Rainbow sprinkles: I prefer the Wilton brand jimmies for this because they are bright and the colors don’t run.
- Grapeseed Oil: I use this as my oil in all my baking. I see people sub in vegetable oil and I don’t really understand that. This is flavorless and is used as an emulsifier.
- Clear Vanilla Extract: The biggest bone people have to pick with Tosi is over her use of this artificial extract. I don’t really understand the issue they have. If you can’t have a little fun in your baking, why even bother?
- Butter: it’s cake and frosting, so you kind of need butter
- Vegetable shortening: The second big beef people have with Tosi’s recipes. Younger people can be incredibly anti shortening, but honestly it is so smooth and creamy. You can purchase organic, professional culinary shortening if Crisco totally freaks you out. I have both in my pantry.
- Eggs
- Buttermilk: I used buttermilk both for the cake as called for and in the Birthday Cake Soak
- Cream Cheese: Blended into the frosting
- Glucose: I used a Wilton brand of glucose. Don’t skimp on this because it really does lend a gorgeous sheen and texture to the frosting
- Corn Syrup: Another ingredient younger people flip out on. This is literally a liquid corn sweetener and Tosi is all about corn products.
- Powdered Sugar: For the frosting
- Citric acid: I used lemon extract
Hopefully, you are still with me on this legendary Milkbar Birthday cake recipe. Now is the moment you’ve all been waiting for. We are going to start putting this baby together. My suggestion is to do it over two days so you can enjoy putting the cake together. Otherwise, it is kind of a LOT in one session. It can be done, but it’s a lot.
How to assemble the Milkbar Birthday Cake recipe:
Day One:
- Make the Birthday Cake Crumbs: they mix and bake pretty quickly. So make them first and let them cool on the tray while you make and bake your cake layers. Once cooled, store them in an airtight container.
- Mix and bake your layer cakes: The original recipe calls for baking the cake batter in a sheet pan and then turning out the sheet pan and cutting your cake rounds using the 6″ cake ring. My sheet pan was quite a bit smaller than the 10×13 size called for in the cookbook. So I baked my cakes in the 6″ cake pans I always use. I prepped my cake pans as usual and measured about 350 grams of batter per tin. I baked at 350 degrees for 30 minutes. Another tip is to measure all your ingredients using the gram measures provided by Christina. It’s how she developed and makes all her cakes. I figure if the pastry chef says use the grams then I’m using the grams. It’s not hard to switch from cups to grams and once you do you will wonder why you waited so long. Once the cakes are baked and cooled, put them in an air tight container and pop them into the fridge for over night.
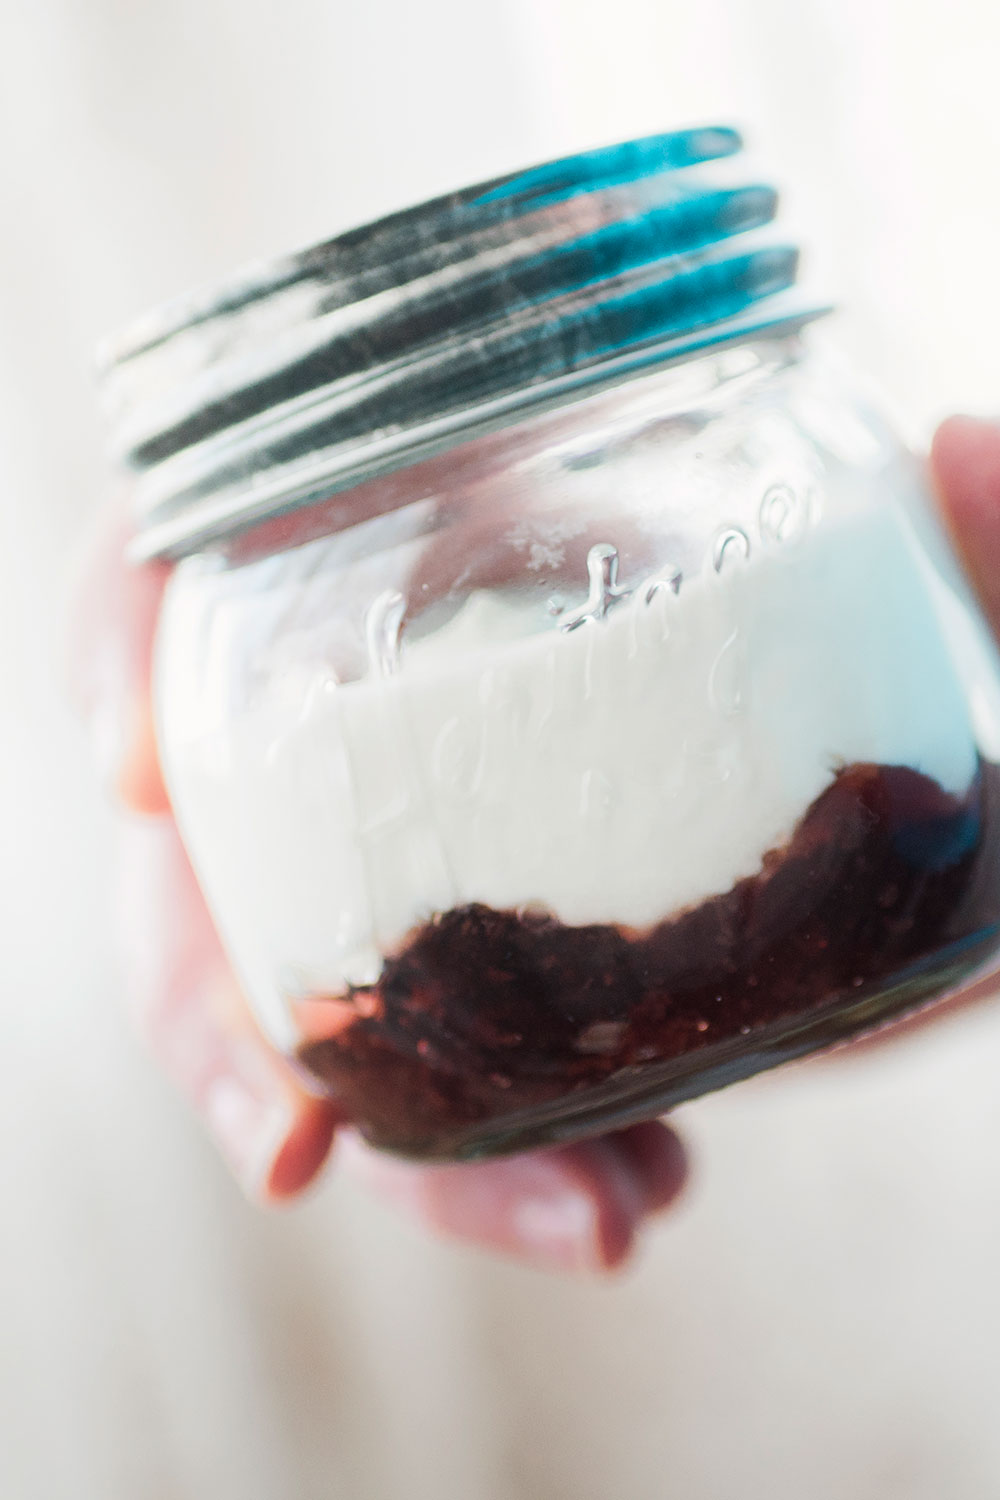
- Mix the cake soak: This is literally adding a little clear vanilla extract to the buttermilk so no big deal. But measure your milk and combine it with the flavoring so it can sit and steep over night in the fridge.
Day Two:
- Set up for cake assembly: Get out your 6″ springform pan. Set in on a 6″ card board round and place these items on the 1/4 sheet pan. Cut a piece of acetate long enough to encircle the inner diameter of the cake round and have a couple of inches of over lap.
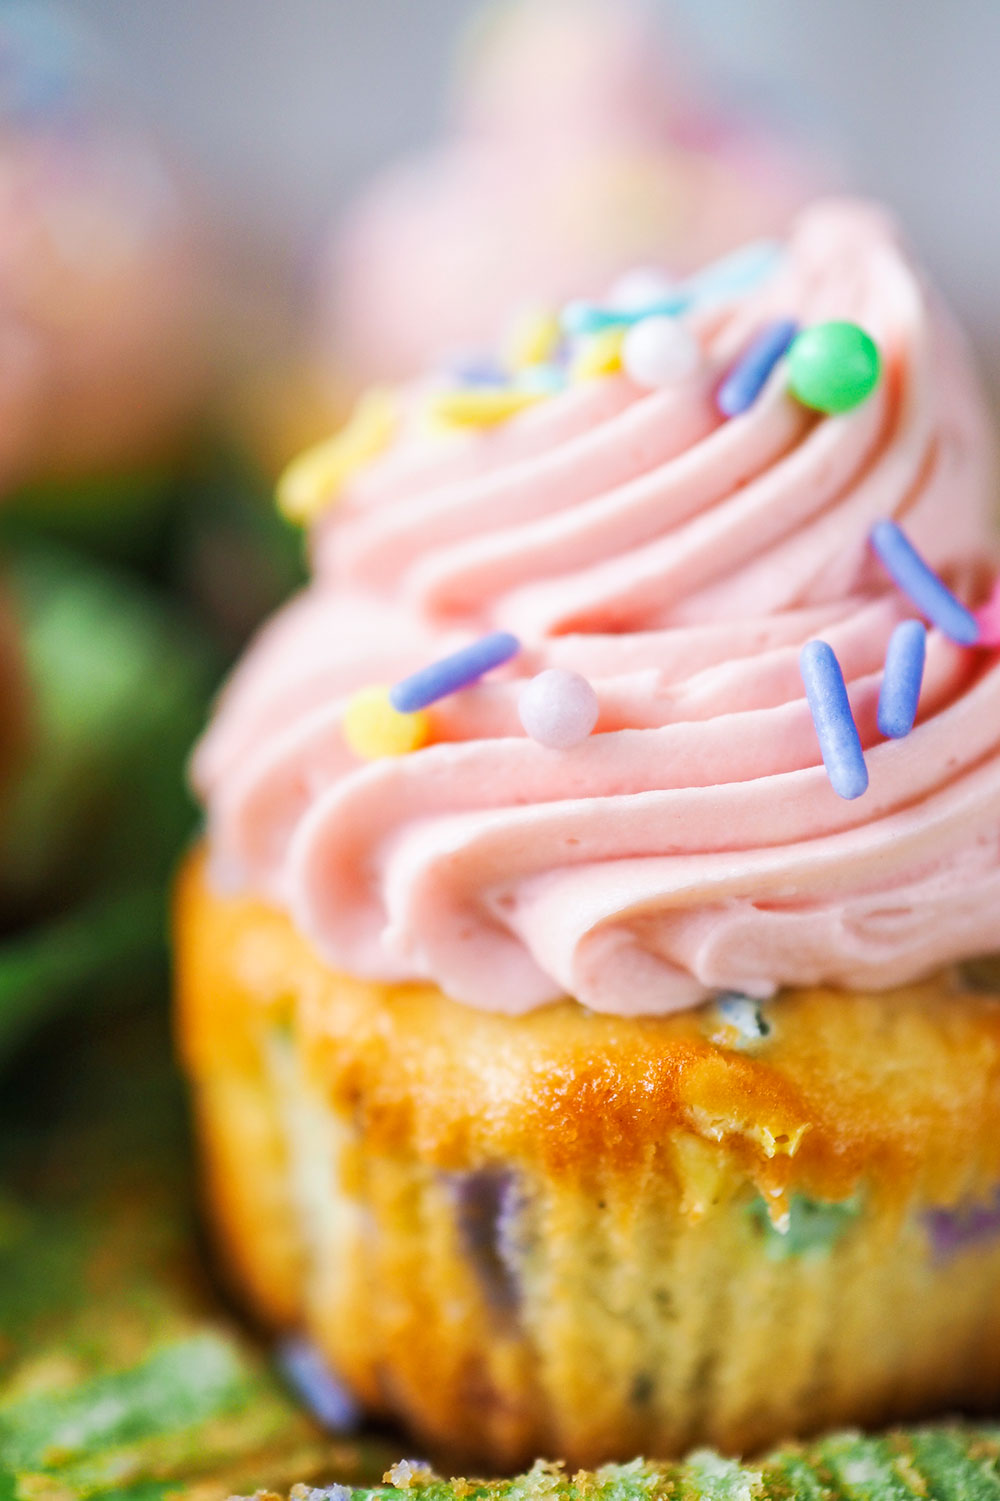
- Mix the frosting: Don’t skimp on the glucose and corn syrup here. This is not supposed to be your business-as-usual Buttercream. The gloss and fluffiness is not achievable without following the actual recipe. Also, I doubled the original recipe because I like a lot of frosting. I had a 16″ piping bag leftover and used it to pipe Unicorn cupcakes a couple of weeks later. The frosting froze and defrosted beautifully. If you are not as crazy for frosting as I am, you could go with the recipe as written.
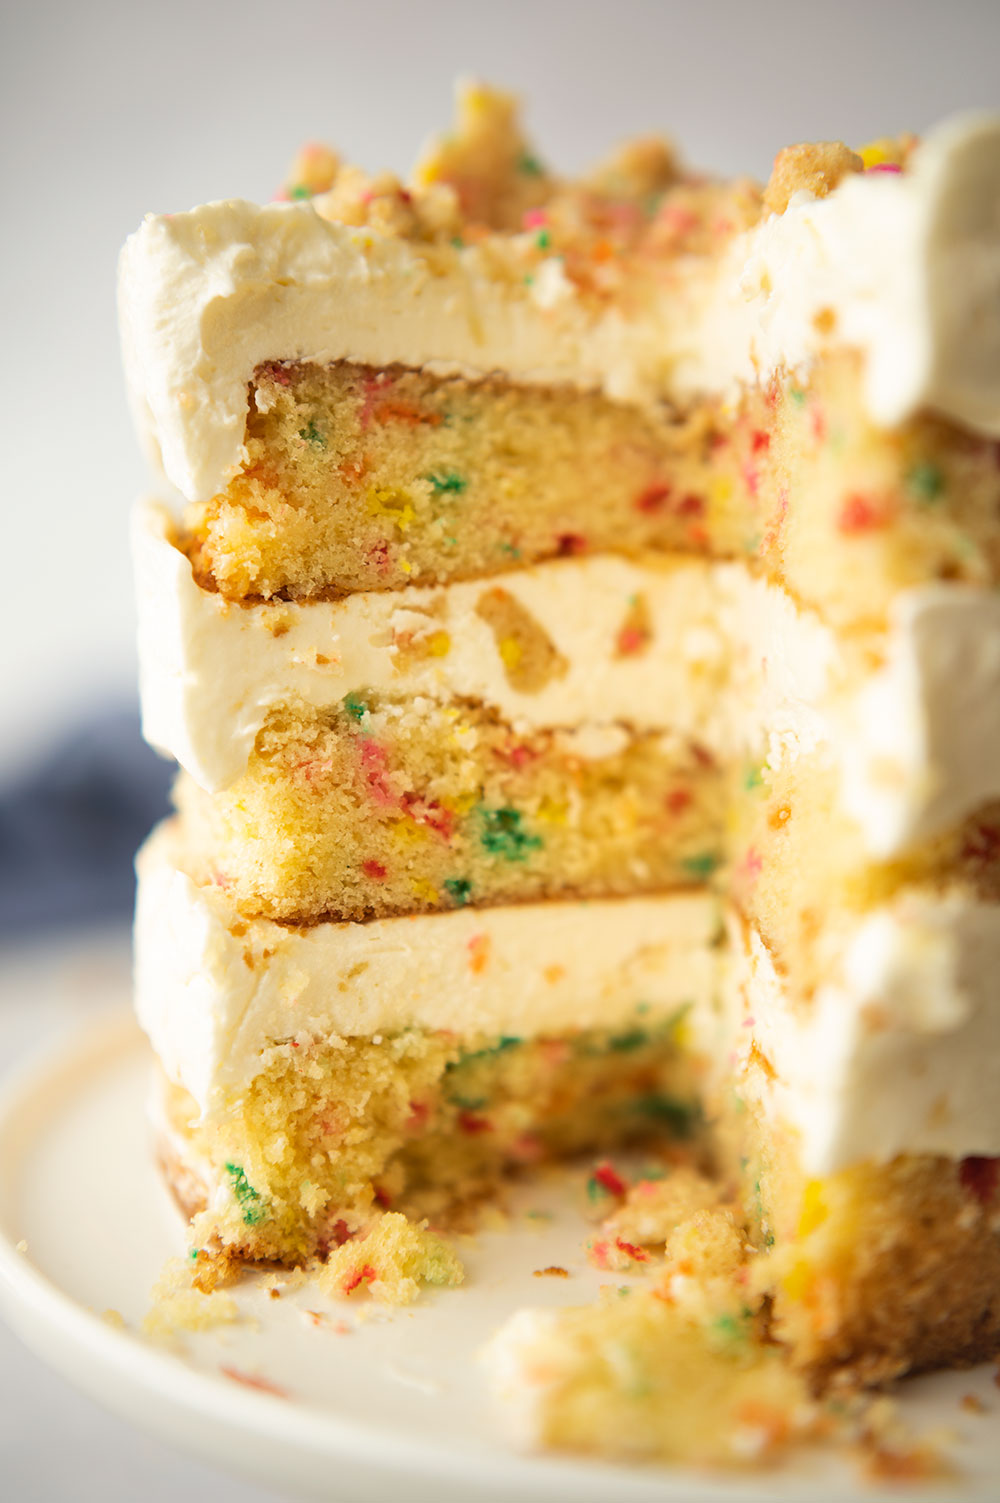
- Prep the cake layers: Use the cake rings to carefully shave off the edges of the cake layers to to expose the cake underneath the sugar crust. Using the cake ring and working your way around keeps the cake round. Use a cake leveler to level the layers and have them uniform. It looks so much better when the layers are all the same.
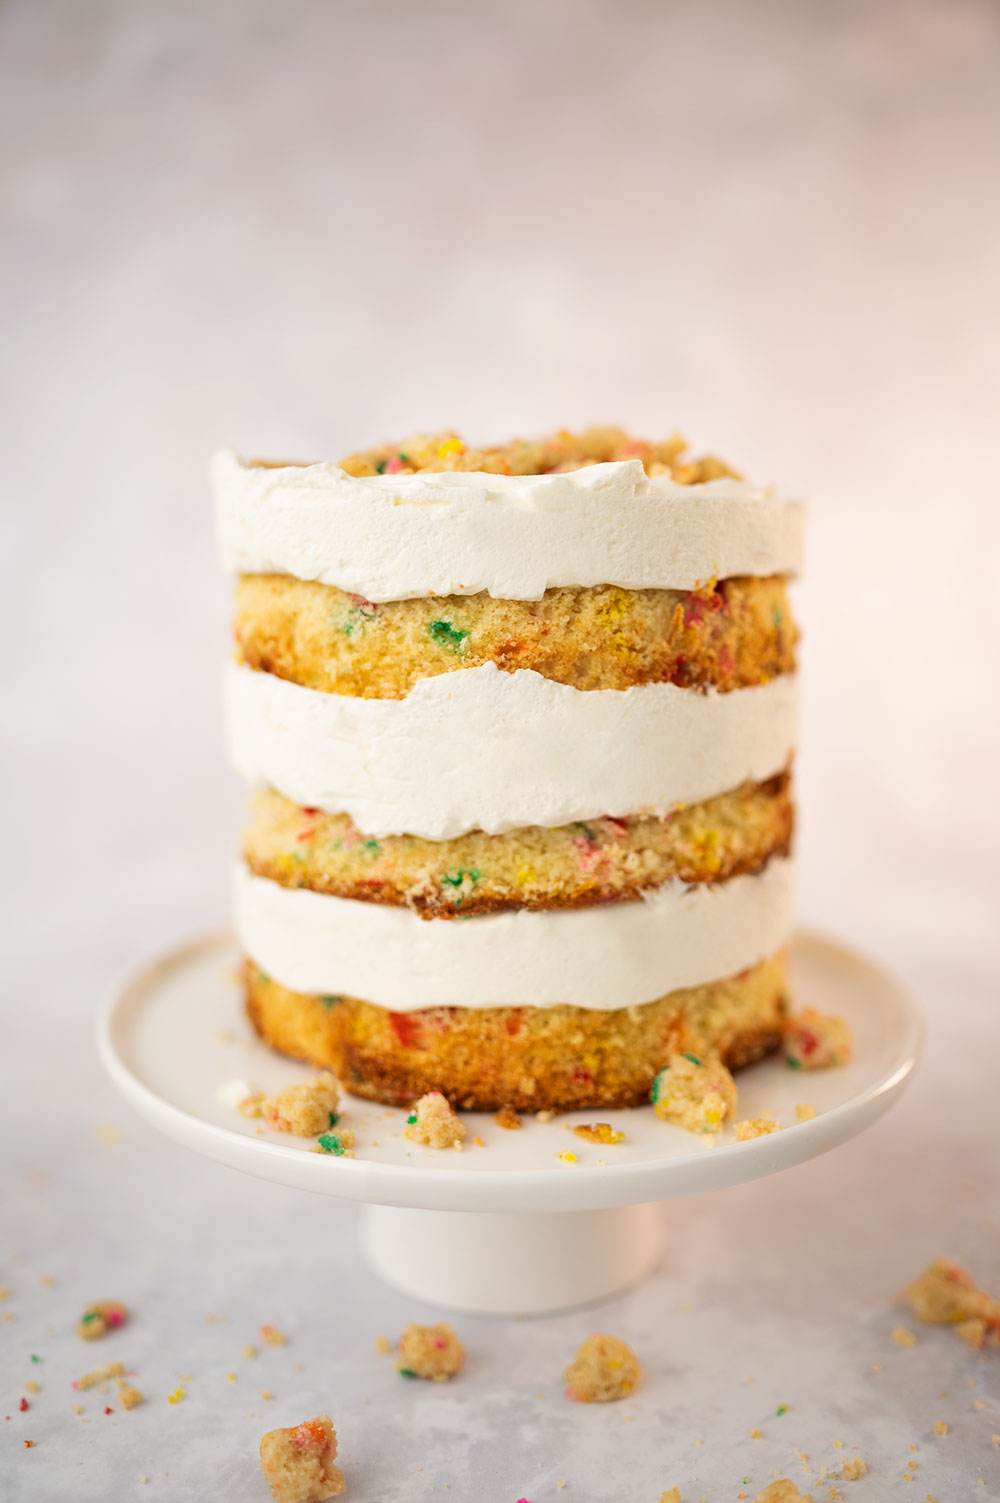
- Assemble the cake: pop a layer into the springform and acetate container. Brush the top of the layer using the pastry brush with the cake soak. Apply some frosting using the bent spoon. Smooth the frosting all the way to the edges. Sprinkle some cake crumbs. Add a little more frosting. Repeat with the next layer. For the top layer, apply cake soak, frosting and then sprinkle cake crumbs in a lavish manner on top. This is your decoration for the cake, so have fun with it.
- Freeze: Once the cake is assembled, leave it sitting on the sheet pan and move it into the freezer. Let it set up at least 4 hours, but over night works. Christina recommends 12 hours, but I thought it was fine at 4 hours.
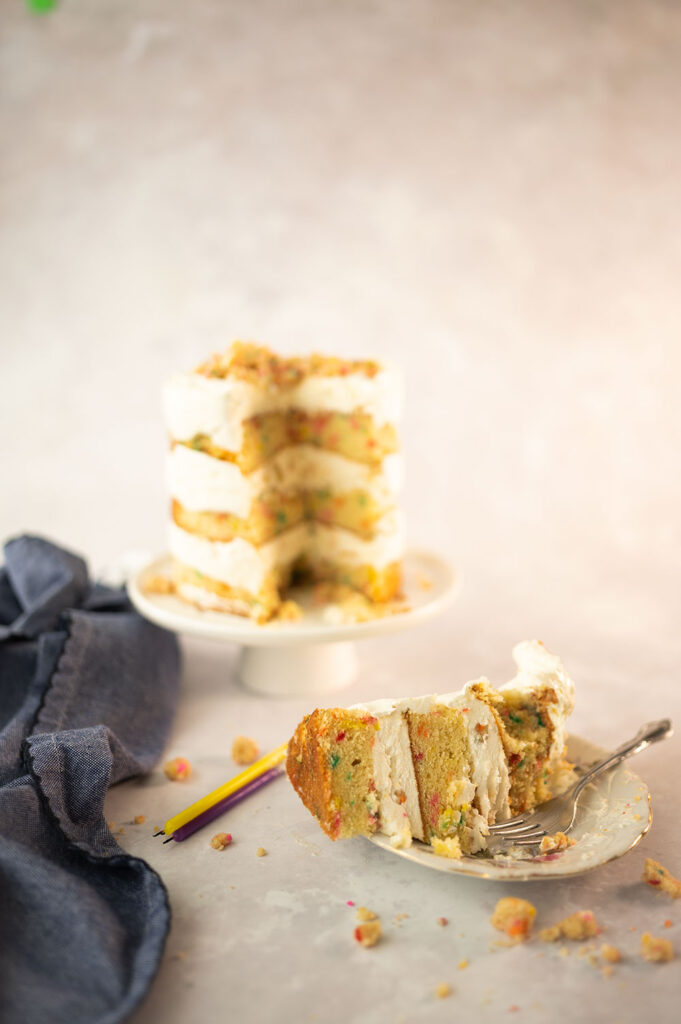
- Presentation: After freezing, take the cake from the freezer. Carefully open the springform pan as wide as it will go and slide up the cake gliding over the acetate. Peel off the acetate to reveal your gorgeous birthday cake!
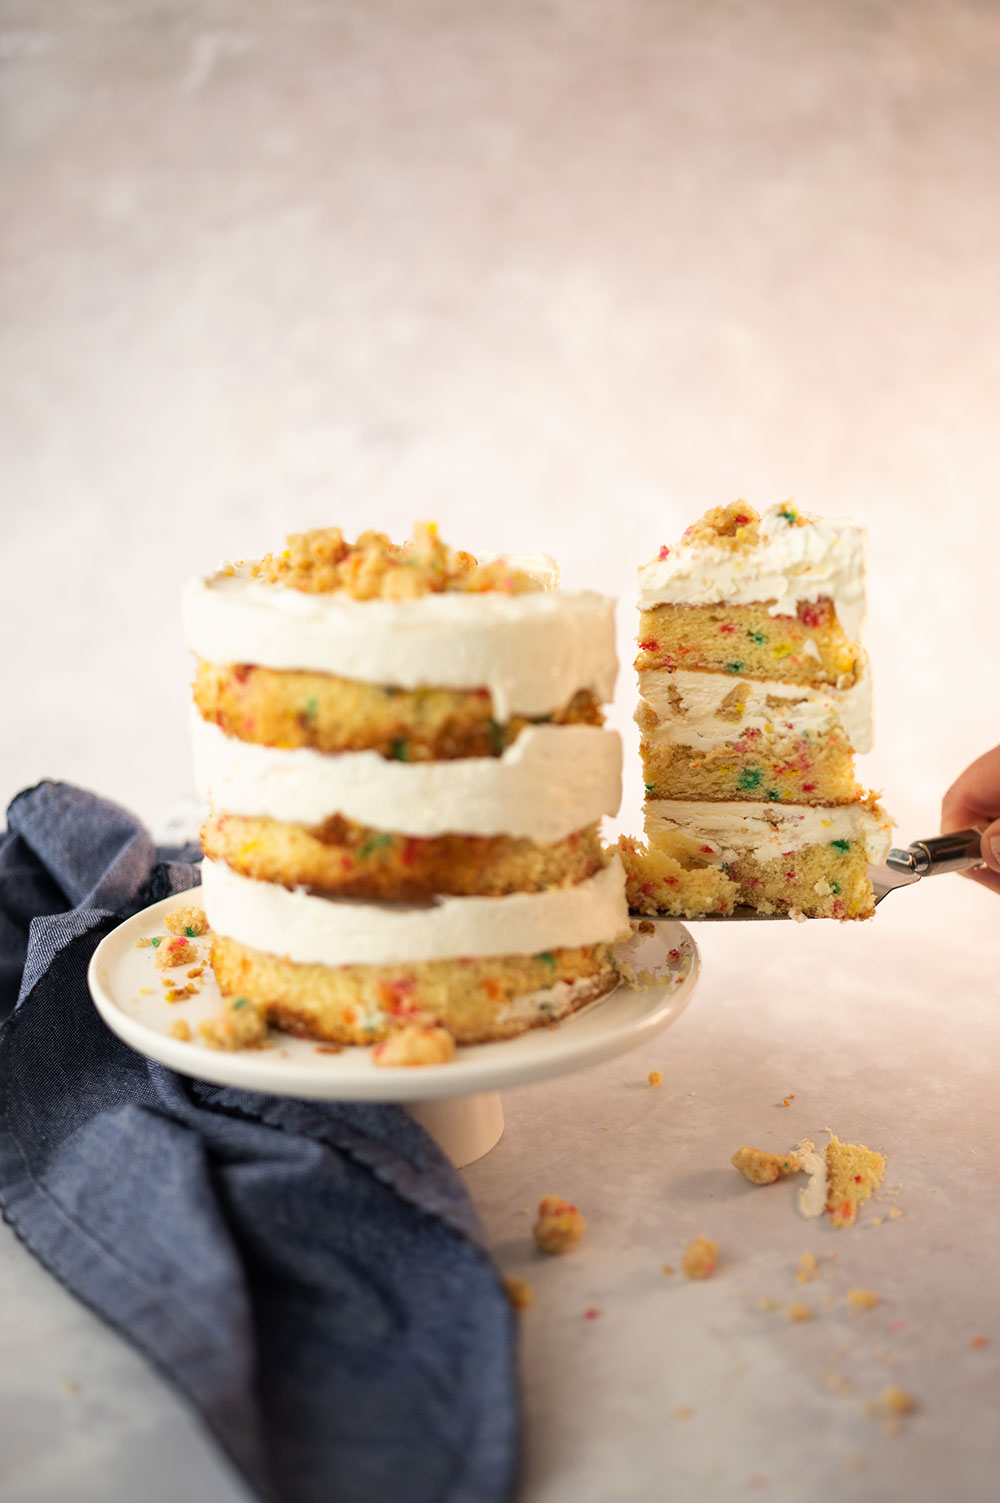
- Serving: dip a large chef’s knife or a serrated knife into a tall cup of very hot water. Wipe the hot blade dry with a kitchen towel. Quickly make a slice. Dip the knife in the hot water again, wipe dry and make another slice. Enjoy!
I know what you’re asking right now. “Is this thing worth it? Do I really want to embark on the journey to make my own Momofuku Birthday Cake?”
In a word, YES!
OK, OK, OK. I know. It sounds like a lot. Well, that’s because it IS a lot! Any layer cake is a ton of work. Even one made from cake mix is a lot of time and work. To be honest, I thought this was easier than my cake mix decorated layer cake, because filling the cake ring was way, way easier than applying and smoothing buttercream.
Let’s be completely honest with each other for a minute. It’s 2020 and nobody is going to go to NYC or DC on a tourist excursion for a while. It’s just not going to happen. And honestly, the shops get mixed (and a lot of bad reviews) on the products. I don’t think that’s a fault of Christina’s. It is difficult to scale a bakery up to the degree she’s scaled it and still hold onto the original magic baked in the tiny Manhattan kitchen where this mythical recipe was created. So short of Christina baking this for you, you probably need to bake it in your own kitchen to get the original Milkbar experience.
You might also like:
Milkbar Birthday Cake Recipe
- Total Time: 3 hours 20 minutes
- Yield: 12 slices 1x
Description
Few cakes are as famous as the one in today’s post. Created by Christina Tosi, let’s take a look at the Momofuku Milkbar Birthday Cake recipe.
Ingredients
Birthday Cake Crumbs
- 1/2 cup (100 g) granulated sugar. I used superfine sugar.
- 1 1/2 tbsp (25 g) tightly packed light brown sugar
- 3/4 cup (90 g) cake flour
- 1/2 tsp (2 g) baking powder
- 1/2 tsp (2 g) kosher salt. I used Fleur de Sel.
- 2 tbsp (20 g) rainbow sprinkles
- 1/4 cup (40 g) grapeseed oil
- 1 tbsp (12 g) clear vanilla extract
Birthday Cake Soak
- 1/4 cup (55 g) Milk. I used the buttermilk I already had on hand.
- 1 tsp (4 g) clear vanilla extract
Milkbar Birthday Cake
- 4 tbsp (55 g) room temp butter
- 1/3 cupe (60 g) shortening
- 1 1/4 cups (250 g) superfine sugar
- 3 tbsp (50 g) light brown sugar
- 3 eggs
- 1/2 cup (110 g) buttermilk
- 1/3 cup (65 g) grapeseed oil
- 2 tsp (8 g) clear vanilla extract
- 2 cups (245 g) cake flour
- 1 1/2 tsp (6 g) baking powder
- 3/4 tsp (3 g) kosher salt
- 1/4 cup (50 g) rainbow sprinkles
Birthday Cake Frosting
- 8 tbsp (115g) room temp butter
- 1/4 cup (50 g) shortening
- 2 ounces (55 g) cream cheese
- 1 tbsp (25 g) glucose
- 1 tbsp (18 g) corn syrup
- 1 tbsp (12 g) clear vanilla extract
- 1 1/4 cups (200 g) powdered sugar
- 1/2 tsp (2 g) kosher salt
- Pinch (.25 g) baking powder
- Pinch (.25 g) citric acid, but I used a 1/4 tsp lemon extract
Instructions
Birthday Cake Crumbs
- Pre heat oven to 300 degrees F.
- Combine first 6 ingredients in the bowl of a stand mixer fitted with a paddle attachment. Run mixer on low to combine the ingredient, maybe a minute.
- Whisk oil and vanilla and while mixer is running on low drizzle down the side of the bowl.
- Mix until clusters form.
- Spread clusters on the sheet pan lined with parchment paper and bake 20 minutes.
- Allow Crumbs to cool completely before using. They will keep at room temp in an air tight container for a week or in the freezer for a month.
Birthday Cake Soak
- Whisk milk and vanilla together and set aside.
Birthday Cake Layers
- Preheat oven to 350 degrees F.
- Combine butter, shortening, sugars and vanilla in the bowl or a stand mixer fitted with the paddle attachment. Cream on medium high for 3 minutes.
- Scrape down the bowl and add eggs one at a time allowing them to incorporate and turn mixer up to medium high. Beat in eggs for 2 – 3 minutes.
- Whisk together buttermilk and oil. Turning mixer to low speed, slowly stream in liquid. Once all the liquid is in the bowl, increase speed to medium and run for 4 – 6 minutes. Mixture will turn white and be twice its original size. Do not skimp on this mixing time because it’s how you force the creamed mixture to accept the liquid. When no streaks remain, stop mixer and scrape down the sides.
- With mixer off add dry ingredients and sprinkles. Turn mixer to low speed and run until dry ingredients are just incorporated, maybe 60 seconds.
- Divide mixture evenly across 3 prepared 6″ cake pans and bake 30 -35 minutes. Check for it being fully baked by the spring back method or insert a wooden skewer.
- When done put on cake rack to cool 10 minutes in the pan before turning out. Allow turned out cakes to cool completely to room temperature.
- Finish cake assembly or do as I suggest above and put the layers in an air tight container and let them rest in the fridge over night.
Birthday Cake Frosting
- Combine the butter, shortening and cream cheese in a large bowl on a stand mixer fitted with a paddle attachment. Beat on medium speed until fluffy and well combined. About 3 minutes.
- Scrape down bowl. Turn mixer to low speed and stream in the glucose, corn syrup, lemon extract and vanilla. Turn mixer to medium high and beat mixture another 3 minutes. It should be a smooth glossy white mixture.
- Scrape down bowl, add half the dry ingredients and run mixer on low until combined. Stop mixer, scrape down sides and add remaining dry ingredients. Run mixer on low speed until all the sugar is incorporated and then turn mixer to medium high speed and beat 3 minutes.
Assembly
- Prep the cake layers: Use the cake ring to carefully shave off the edges of the cake layers to to expose the cake underneath the sugar crust. Using the cake ring and working your way around keeps the cake round. Use a cake leveler to level the layers and have them uniform. It looks so much better when the layers are all the same.
- Assemble the cake: pop a layer into the springform and acetate container. Brush the top of the layer using the pastry brush with the cake soak. Apply some frosting using the bent spoon. Smooth the frosting all the way to the edges. Sprinkle some cake crumbs. Add a little more frosting. Repeat with the next layer. For the top layer, apply cake soak, frosting and then sprinkle cake crumbs in a lavish manner on top. This is your decoration for the cake, so have fun with it.
- Freeze: Once the cake is assembled, leave it sitting on the sheet pan and move it into the freezer. Let it set up at least 4 hours, but over night works. Christina recommends 12 hours, but I thought it was fine at 4 hours.
Notes
I used the recipe from the original Momofuku Milkbar cookbook, but the recipe also appears on the official Milkbar website.
The full instructions for how I assembled the cake are in the body of the blog post. So carefully read and reread those instructions.
I like a LOT of frosting, so I doubled the frosting recipe as it’s given on this card. I wanted to convey Christina’s recipe as she wrote it, but I personally doubled my frosting. I had some left over, but I never think of left over frosting as a bad thing.
- Prep Time: 3 hours
- Cook Time: 20
- Category: dessert
- Method: baking
- Cuisine: american


Hi! I’m Pattymac
Sewist, baker, maker
I love figuring out new ways to use pom poms, where I can stash more fabric, and I’m always wondering what to bake next…chocolate or lemon? When not dreaming up new things to make (or bake), I love riding my beach cruiser on the Boardwalk, enjoying classic movies, and planting new things in my tiny but mighty container garden.